

Open the approach, then the encounter
Different positions, not the same place
- Entrance
- Geoclaw cave entrance
- Underground target
- Geoclaw encounter area
- Entrance
- Minespine cave entrance
- Underground target
- Minespine encounter area
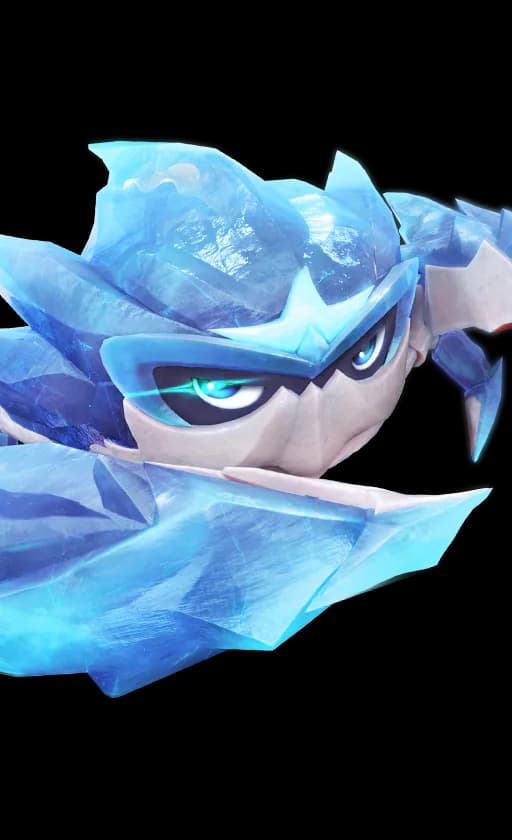

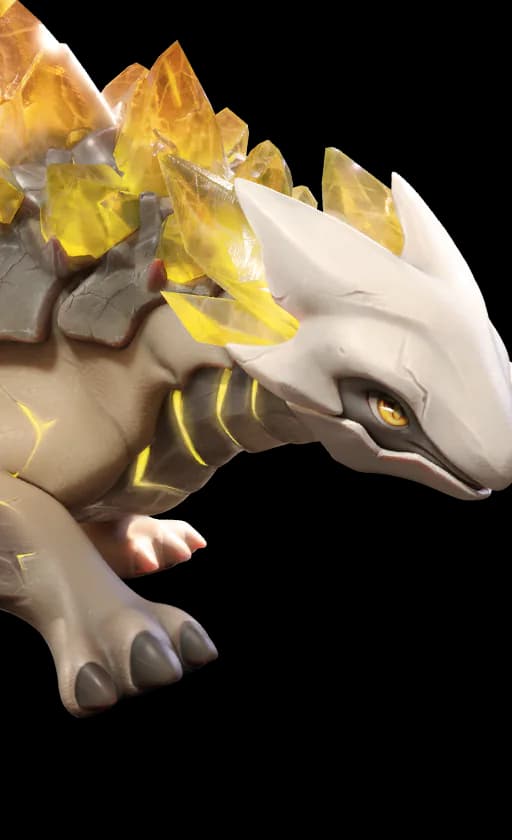

The coordinates select locations on our Atlas, not coordinates to type into the game. They distinguish the surface approach from the underground destination. The Atlas’s Geoclaw Cavern and Minespine overlays help keep that distinction visible.
Minespine: the Tunneling approach
- 1Bring Tunneling before travelling
Use an Aniimo with the named Tunneling ability, such as Budclaw. Hundant’s Dig is a different ability and is not a substitute for passing the tunnel obstruction.
- 2Reach the entrance marker by Beast Fang Ridge
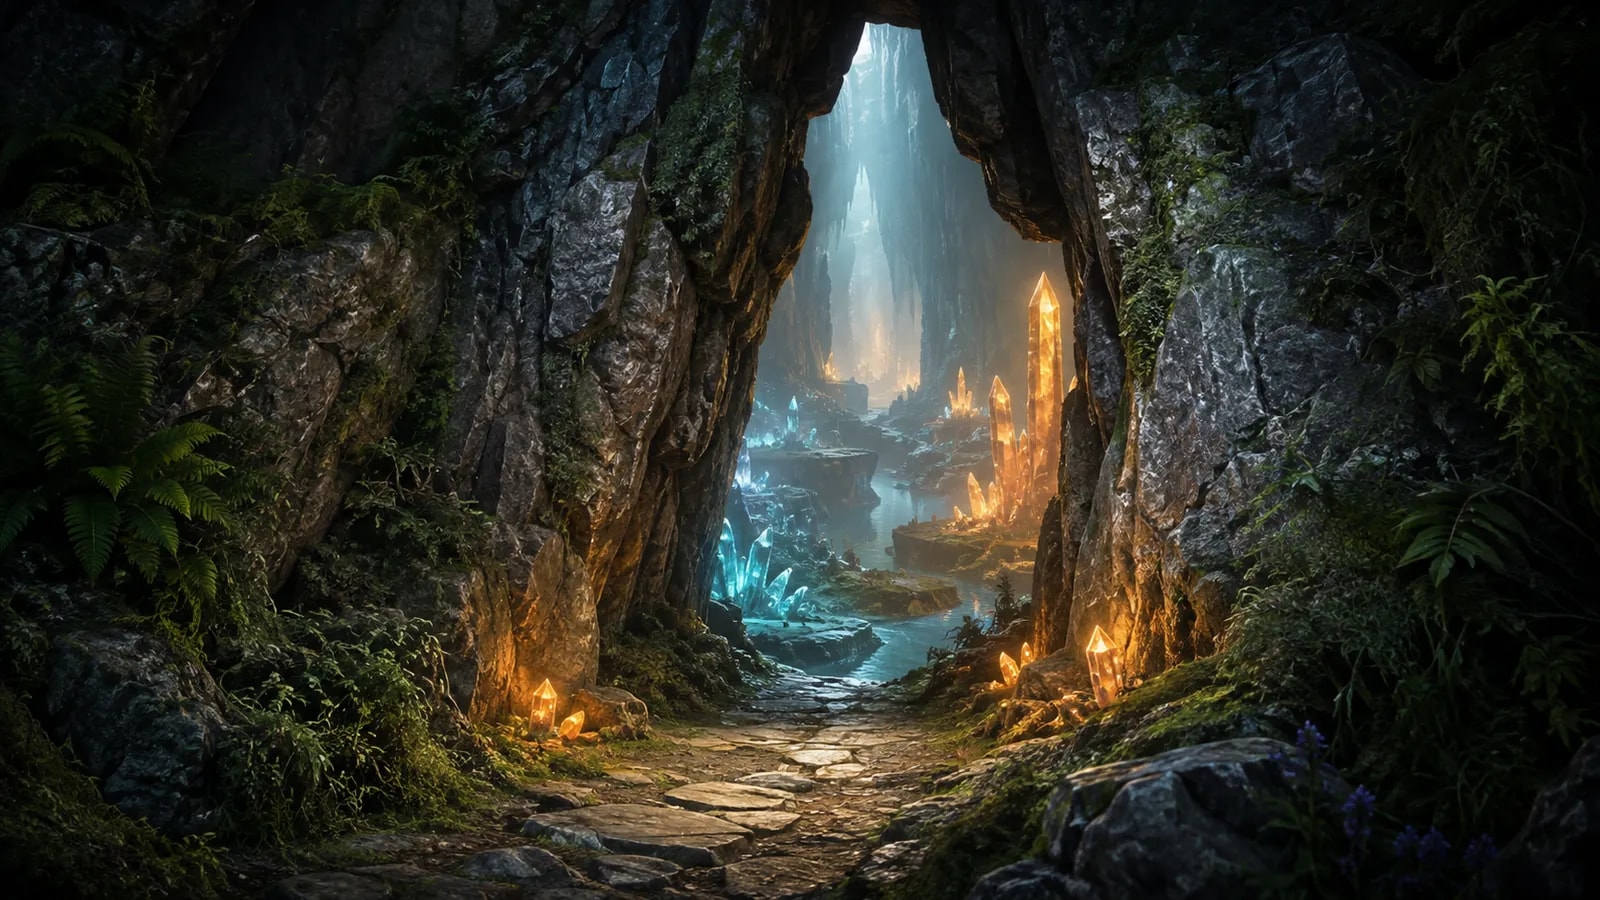
Approach the rock formation from its accessible base. In beta gameplay, the route rounds a crevice to a dark opening bordered by orange crystals; the chest on the ridge is a separate detour.
- 3Twine and tunnel through the obstruction
Switch to the Tunneling creature at the narrow passage and use its traversal action. Do not keep attacking the wall or digging a random resource point.
- 4Follow the inner passage and activate the Bloom
The filmed route proceeds along the passage to a Bloom on the right. Activate it before turning toward the encounter so a failed attempt does not require repeating the whole approach.
- 5Prepare before entering the arena
From the Bloom, the filmed approach turns right toward Minespine. Heal and check the encounter level before committing; finding the entrance does not mean the boss matches your current team.
Geoclaw: enter below the surface pin
- 1Select the Geoclaw entrance
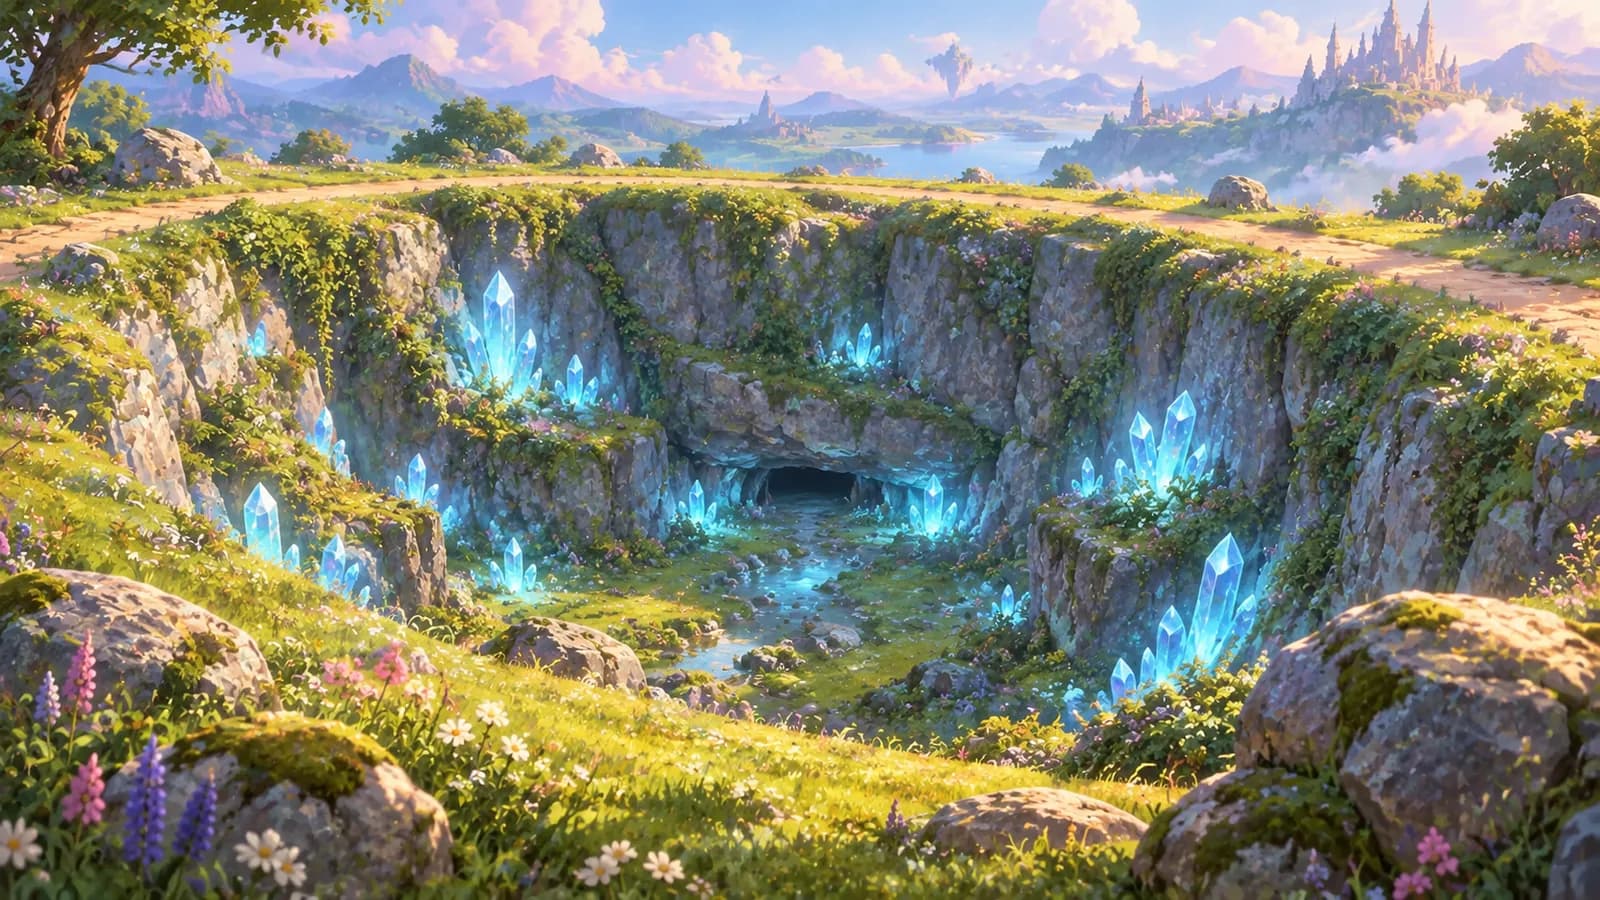
Open the Nimbus Fields entrance link. Look for the grassy rim above a deep opening lined with blue crystals. The Alpha marker is farther inside; walking toward it across the surface leaves you above the cave.
- 2Descend to the lower opening
Go down into the crystal-lined depression and look along the rock face at its bottom. The entrance is a low dark gap beneath an overhang, with blue crystals beside it. Switch the Atlas to underground here.
- 3Pass beneath the low overhang
Twine into a small form for the tight opening, then move into the passage behind it. The filmed approach changes form at this gap; do not keep trying to run an oversized creature into the rock above it.
- 4Follow the blue growth between the roots
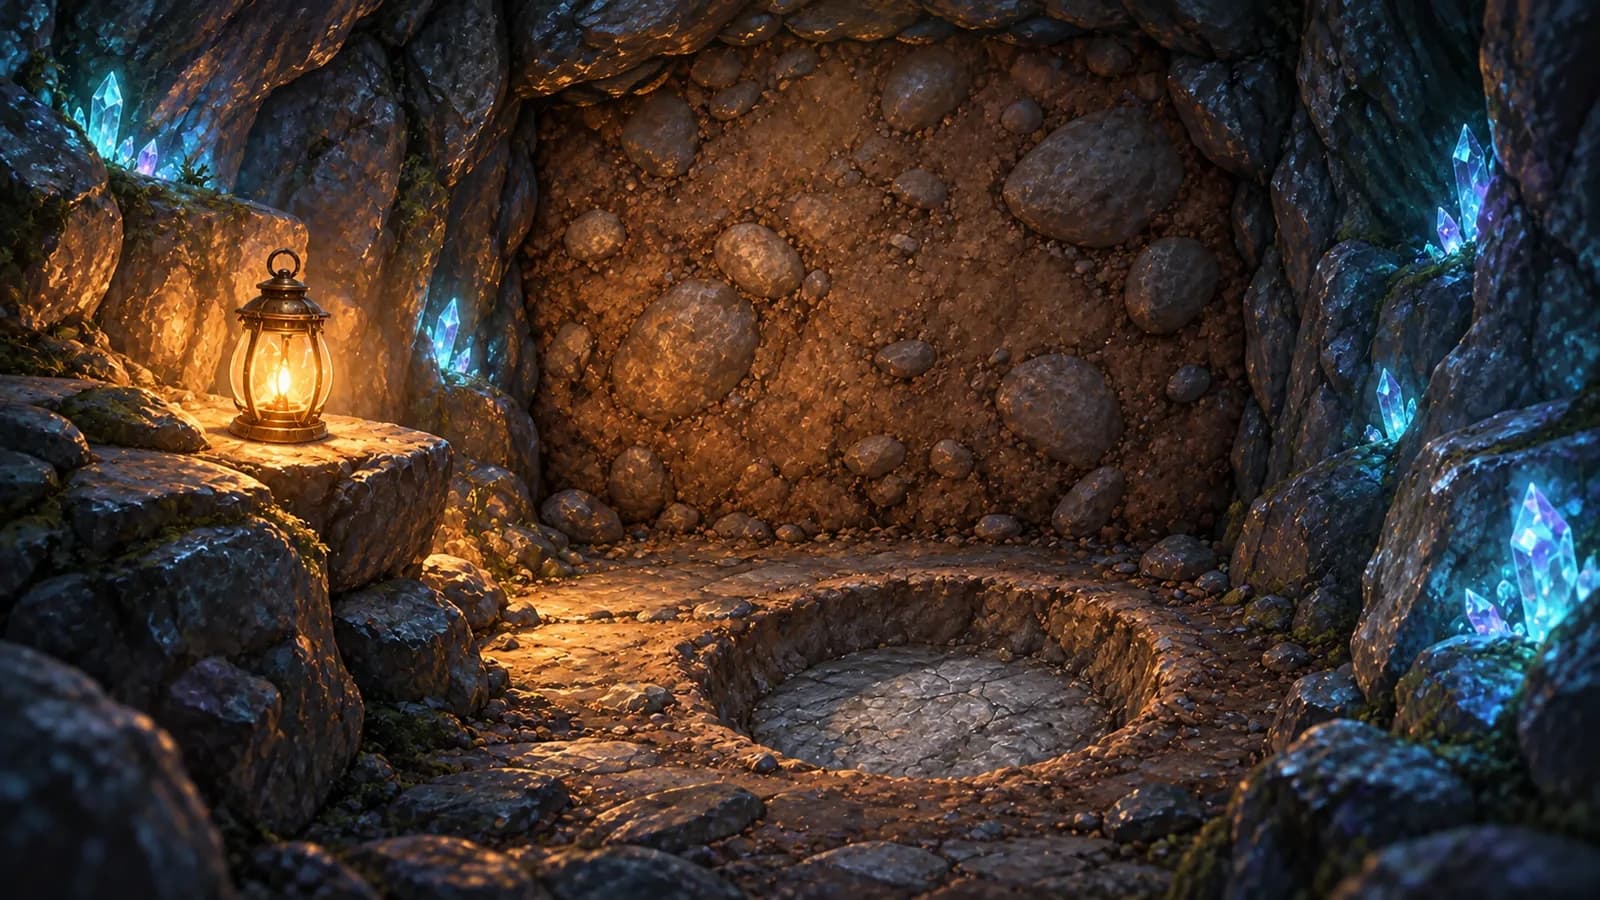
Continue along the walkable floor bordered by glowing blue plants and exposed roots. Follow the passage as it opens into the broader chamber, keeping the underground encounter selected. The approach reaches a moss-covered boulder at the chamber’s edge.
- 5Check the encounter on arrival
Look past the mossy boulder into the open floor for the large crystal crab. Stop outside its immediate space, heal and switch from travel forms to the intended boss team. Check its Alpha identity and level before fighting or throwing an Aniipod.
These interior landmarks come from an English beta route published before July. The July chapter preview also shows the crystal-lined depression, but full July playback required a Bilibili login. Use the visible landmarks and current Atlas together; this is not a claim that the launch cave was playtested.
If the pin seems unreachable
- Check whether you selected the entrance or the encounter. They are separated horizontally as well as by cave depth.
- Check the exact traversal ability. Dig, Tunneling and climbing solve different obstacles.
- If you are standing above the target, return to the entrance instead of trying to drop through solid terrain.
- If a boss is absent, check its encounter state and refresh rules in the world boss guide. An empty cave is not proof that the entrance is wrong.

Frequently asked
Why is the Minespine marker inside a cliff?
It marks the underground encounter, not the entrance. Open the separate entrance pin, bring Tunneling and follow the cave passage.
Can Dig replace Tunneling for Minespine?
No. The approach uses Tunneling to pass an obstruction. Dig is a different traversal interaction.