


The five-second pod choice
A stronger pod is the last lever, not the first. A sleeping or unaware target is easier to catch, Break damage raises the chance again, and Researcher capture skills add another free advantage before an item leaves your hand.
- 1Make the catch easier first
Approach without alerting the target or put it into Break, then read the chance the game gives you. Better preparation costs no catching item.
- 2Separate odds from aim
Low catch chance is an odds problem; a distant or erratic target is a throw problem. Aniipod Mega fixes only the first, while Aniipod Hyper and Aniipod Track add throw assists without beating its 2× rate.
- 3Spend the cheapest answer
Use Aniipod by default, Aniipod Pro for a modest bump and Aniipod Mega when you need the full ordinary 2× multiplier.
- 4Protect the special tools
Keep Tumbler for a Wild Surge, Aniipod Ultra for a must-catch target, Sparkling Cube for a Sparkling you truly want, and Legendary Aniipod for the one-time Irisalis encounter described in the Irisalis unlock guide.
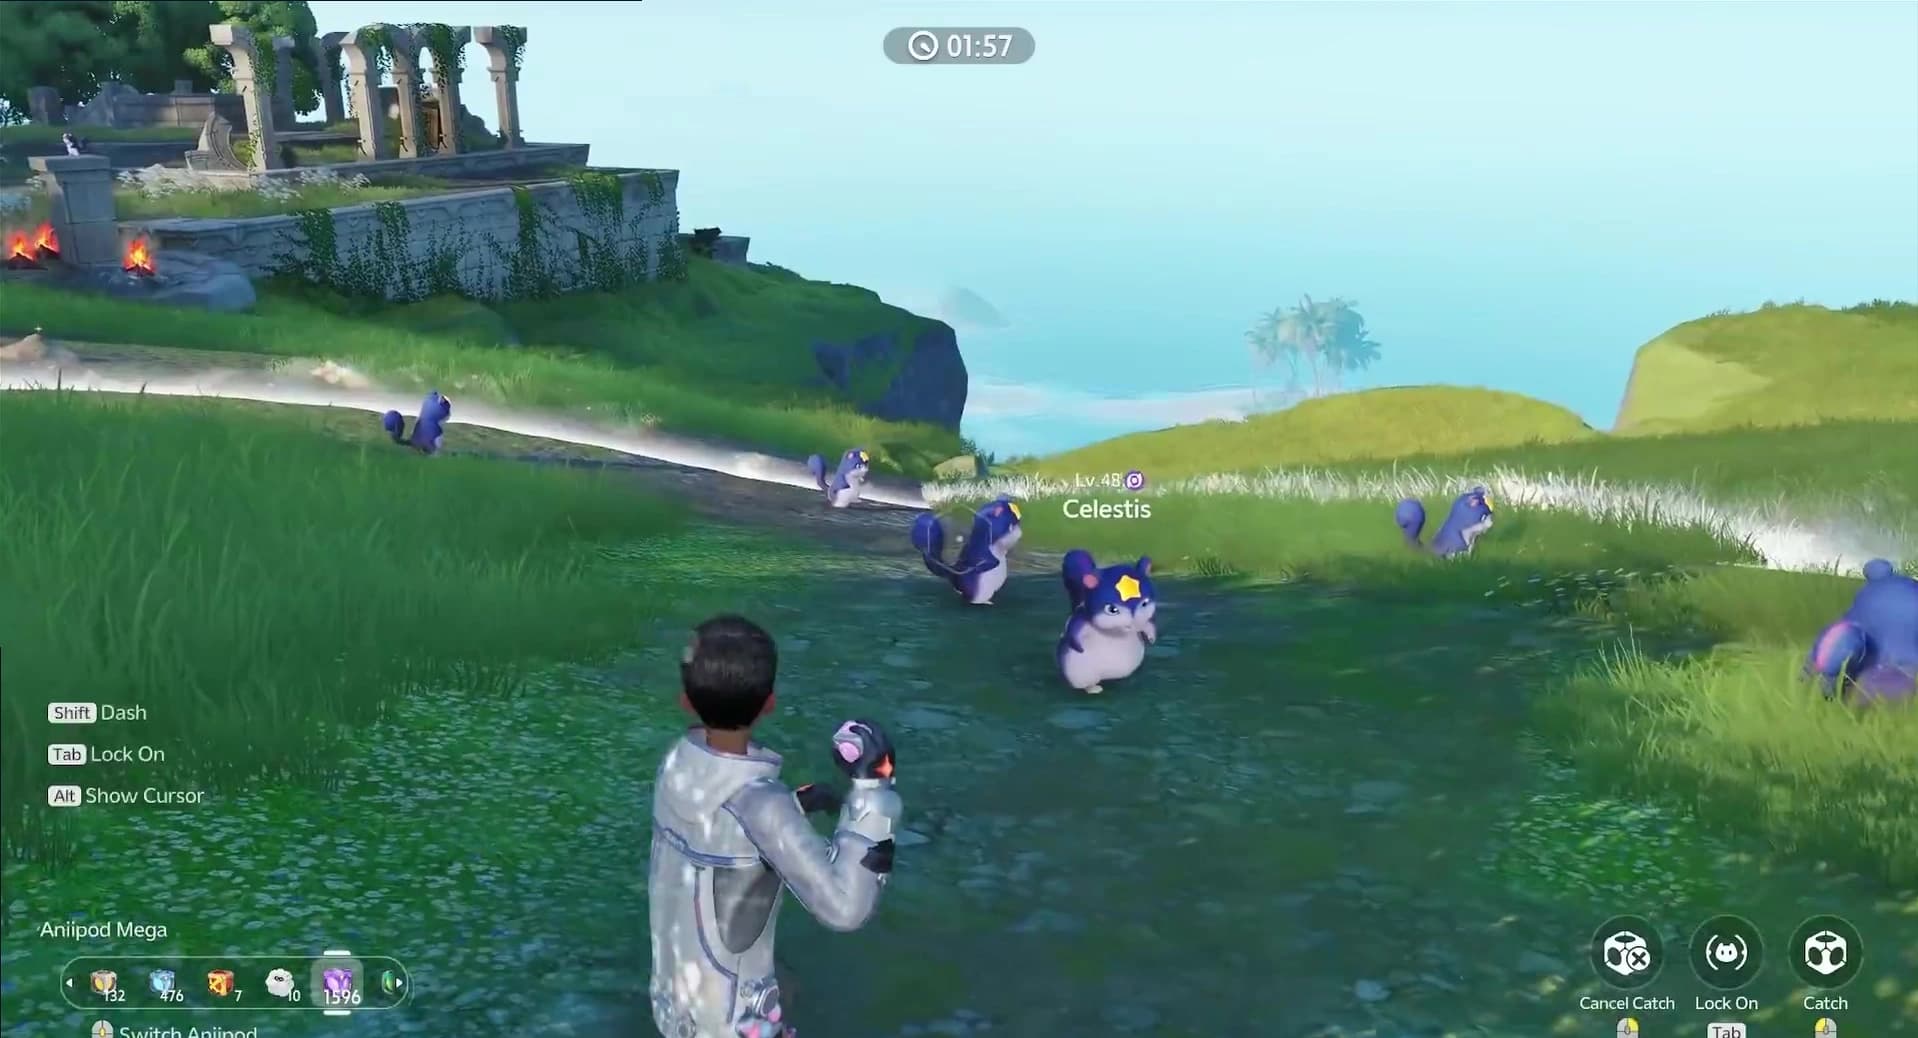
Every catch rate and best use
The nine functional models are not a straight ladder. Five cover ordinary field catches, one handles Wild Surges, two guarantee a result anywhere, and one is crafted for the one-time Irisalis encounter covered in the Irisalis unlock guide.
- AniipodRare
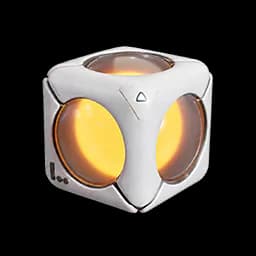 1x
1xBaseline catch item; no added multiplier is listed.
Use it whenThe target is routine and the displayed chance is already comfortable.
- Aniipod ProEpic
 1.5x
1.5x1.5× catch rate.
Use it whenThe baseline chance needs a cheap, moderate lift.
- Aniipod MegaEpic
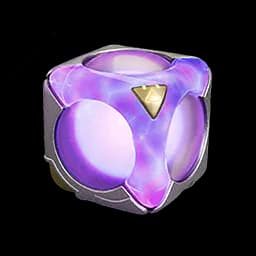 2x
2x2× catch rate with no throw assist.
Use it whenYou need stronger odds and can already land the throw.
- Aniipod HyperEpic
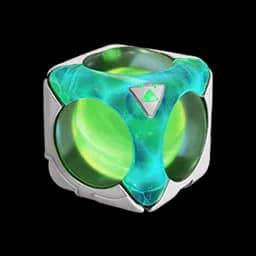 2x
2x2× catch rate, faster toss and longer range.
Use it whenThe target is distant or the normal throw falls short.
- Aniipod TrackEpic
 2x
2x2× catch rate with auto-tracking after the toss.
Use it whenThe target moves enough to make an ordinary throw unreliable.
- TumblerEpic
 2x / 6x
2× normally; 6× for Aniimo gathered through Nurture.
Use it whenA Wild Surge puts several targets in its rolling path.
- Aniipod UltraLegendary
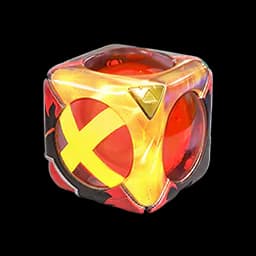 Guaranteed
Guaranteed catch; Acquired Potential is at least Elite.
Use it whenFailure is not acceptable and the target is worth the guarantee.
- Sparkling CubePrismatic
 Guaranteed
Guaranteed catch, Perfect Potential and a guaranteed Sparkling result.
Use it whenYou want this target as both Sparkling and Perfect Potential.
- Legendary AniipodEpic
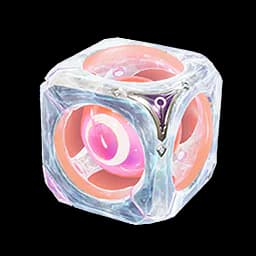
Crafted from legendary tokens earned through world exploration and story progress.
Use it whenOpen and seal the one-time Irisalis encounter in the Irisalis unlock guide.
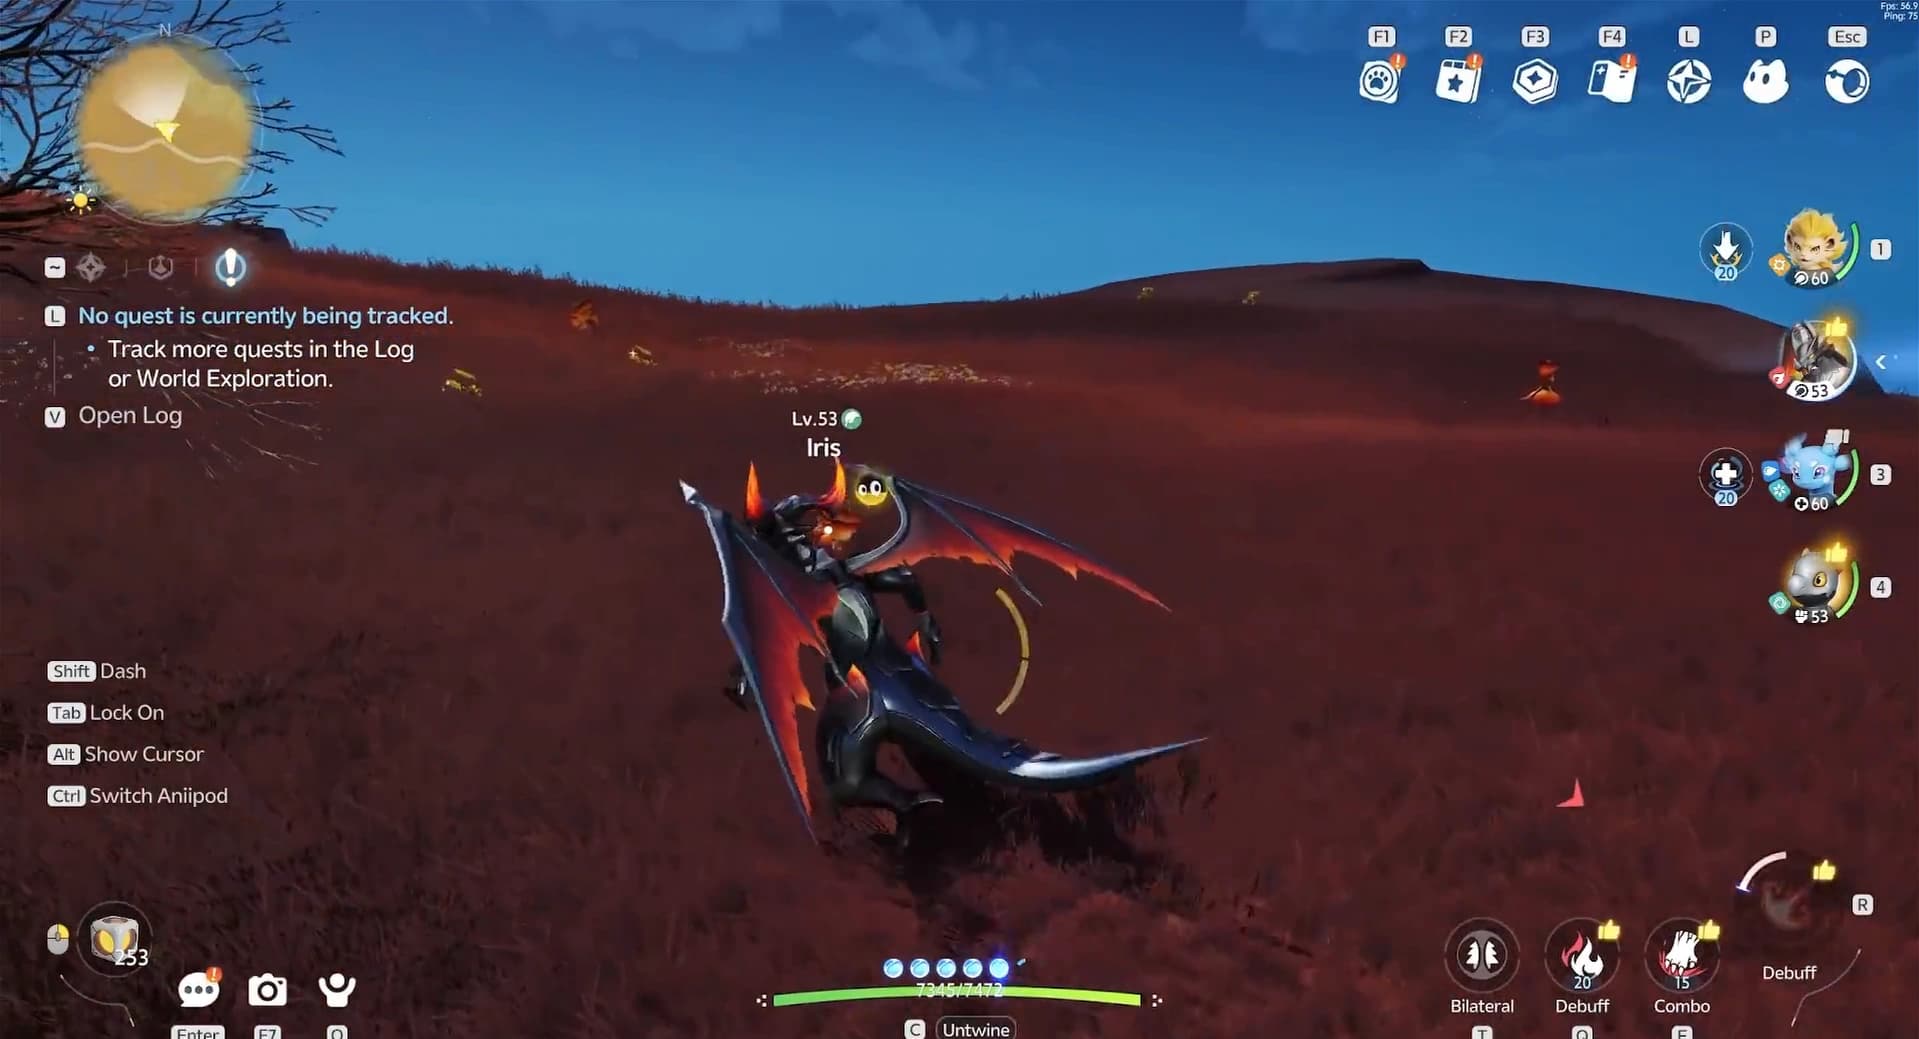
The catch chance formula
Pawprint publishes the arithmetic behind the percentage on your screen. Every attempt starts from a Base Chance set by the target and multiplies it by the situation you created.
- Outside combat: Final Chance = Base Chance × Aniipod Multiplier × Level Multiplier × Back Attack Multiplier × Special Status Multiplier.
- In combat: Final Chance = Base Chance × Aniipod Multiplier × Level Multiplier × HP Multiplier × Special Status Multiplier.
- Target already defeated: Final Chance = Defeated Base Chance × Aniipod Multiplier × Special Status Multiplier.
- Base Chance itself: Configured Chance Group × (1 + Character Base Catch Bonus).
The Chance Group comes from the Aniimo’s own template, so a Tier 3 target stays Tier 3 whatever level it spawns at. Before any of this runs, the game checks whether the target can be caught at all; if it cannot, the chance is set to 0%.
| Area stage | Tier 1 | Tier 2 | Tier 3 |
|---|---|---|---|
| Standard Areas | 56% | 42% | 28% |
| Early to mid stage | 50% | 38% | 25% |
| Mid stage | 44% | 33% | 22% |
| Mid to late stage | 38% | 29% | 19% |
| Late stage | 32% | 24% | 16% |
| Catch 'n' Climb Tower | 40% | 30% | 18% |
Every multiplier that moves the number
Four multipliers sit between the Base Chance and the figure you see: the pod in your hand, the level gap, the target’s condition and, depending on whether you are in combat, either its remaining HP or your approach angle.
| Catching item | Multiplier |
|---|---|
| Aniipod | ×1 |
| Aniipod Pro | ×1.5 |
| Aniipod Hyper, Aniipod Track, Aniipod Mega | ×2 |
| Tumbler | ×2, rising to ×6 on Wild Surge targets |
| Aniipod Ultra, Sparkling Cube | Guaranteed success |
| Level Difference | Multiplier |
|---|---|
| 10 levels or fewer | ×1 |
| 11 levels higher | ×0.8 |
| 12 levels higher | ×0.6 |
| 13 levels higher | ×0.4 |
| 14 levels higher | ×0.2 |
| 15 or more levels higher | ×0.1 |
Out-levelling a target buys you nothing extra: once your level is the higher one, the multiplier stays at ×1. Twelve levels of gap, on the other hand, cuts the chance to under two thirds, so a lone stretch target is worth a few levels of patience before it is worth a rare pod.
| Target HP | Multiplier |
|---|---|
| 0% | ×2 |
| 5% | ×1.65 |
| 10% | ×1.26 |
| 50% | ×1.1 |
| 80% | ×1 |
| 90% | ×0.9 |
| 100% | ×0.8 |
The Back Attack Multiplier is the outside-combat counterpart: ×1.5 when the server confirms you struck from behind with a standard Aniipod in hand, and ×1 in every other case. A Tumbler never collects it, so approaching a Wild Surge from behind is a positioning choice rather than a rate boost.
| Condition | Multiplier |
|---|---|
| Deep Sleep, Collecting Nectar | ×100 |
| Special Stun | ×4 or ×100 |
| Break catch bonus active | ×3 |
| Normal Sleep, Stun, Eating, Woozy, Lured | ×2 |
| Break | ×1.5 |
| Wary, Watching | ×0.9 |
| Leaving | ×0.8, or set directly to 0 |
| Cloak | ×0.5 |
| Rampaging, Bubble Barrier, Umbral, Already Has an Owner and other capture-prohibited states | Set directly to 0 |
That rule is the practical argument for the free preparation in the first section. Deep Sleep at ×100 or a nectar-gathering target at ×100 takes almost any Base Chance to a guarantee, and the same stack collapses to ×0.9 the moment the target notices you.
A handful of story Aniimo skip the arithmetic entirely. Their outcome is set directly, whether that is a forced success on a Break, a forced result on a back attack, or a forced success outside combat.
When the throw is the problem
Aniipod Mega, Aniipod Hyper and Aniipod Track all stop at 2×. Their difference is delivery: the first is the plain multiplier, the second reaches farther and faster, and the third tracks a moving target after release.
The target is easy to hit; only the catch chance is low.
A range or tracking assist that adds no extra multiplier.
The target is outside a comfortable normal throw.
Repeated misses or an unnecessary guarantee pod.
The target changes direction while the pod is in flight.
A 5,000-Credit tracker on a target that was standing still.
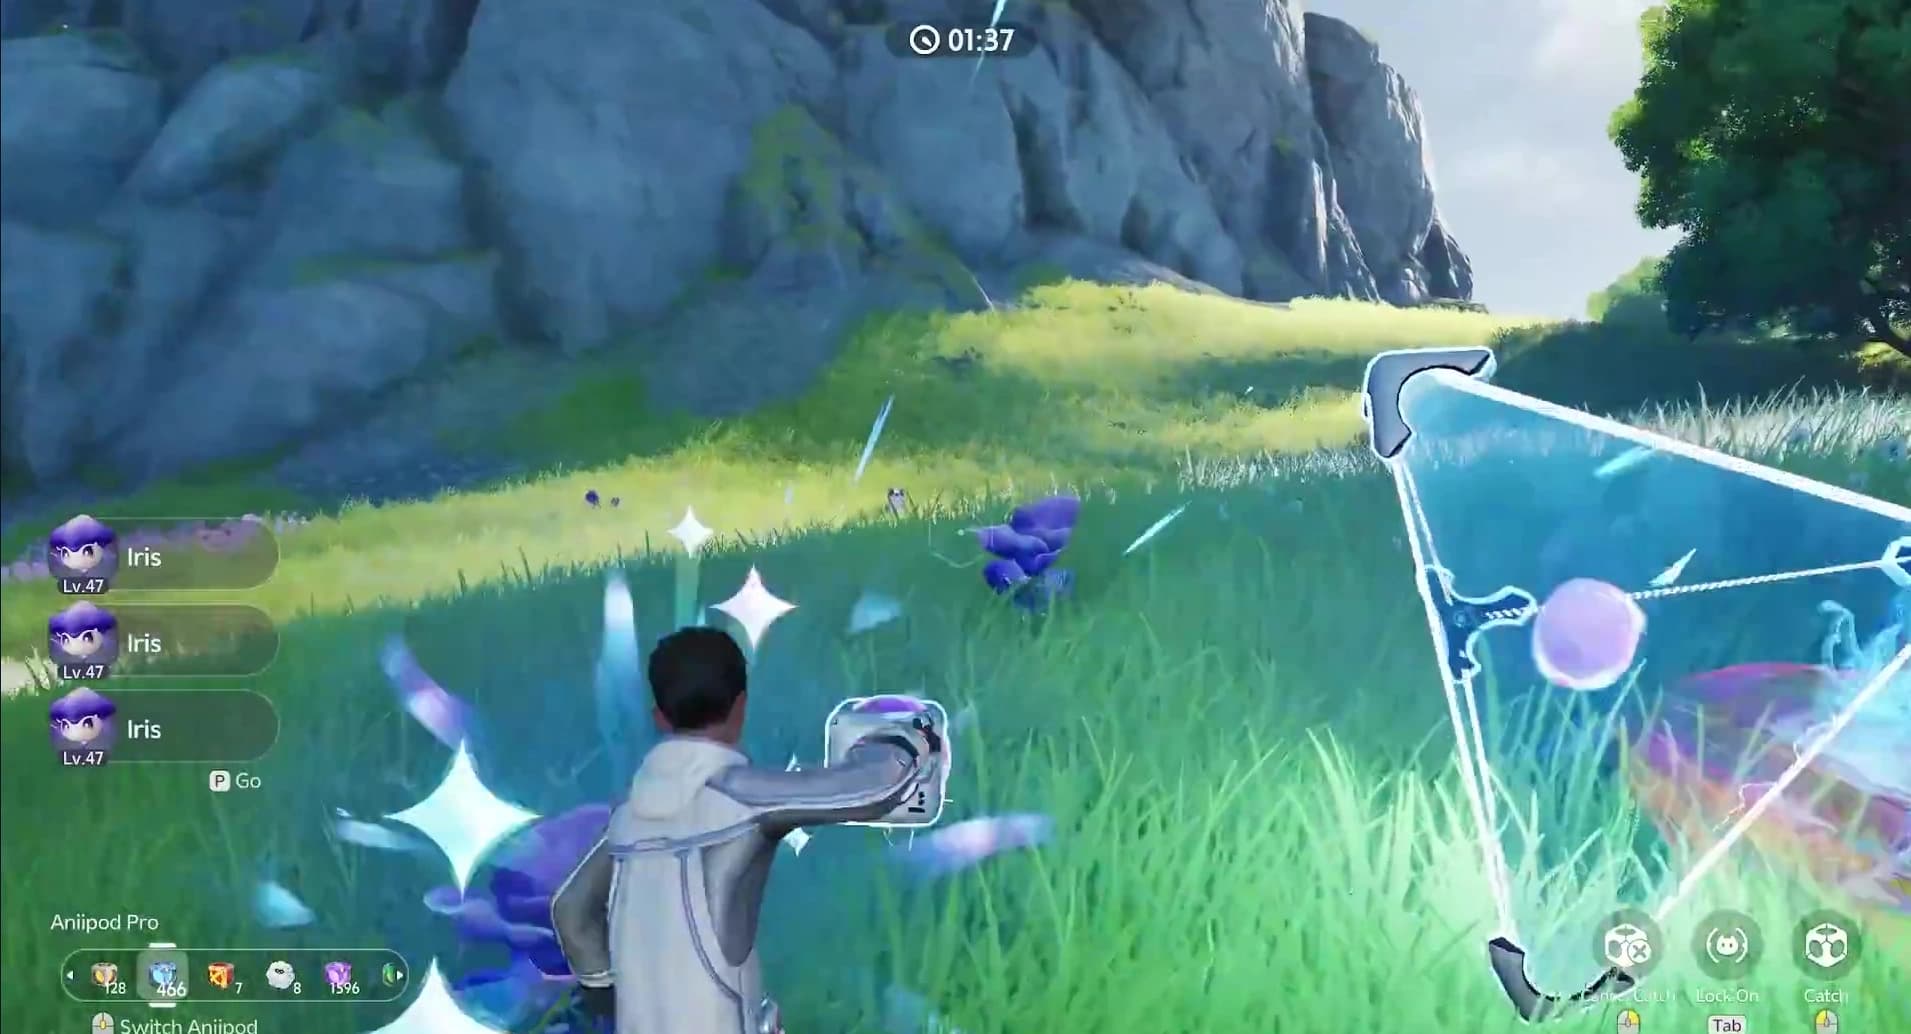
The Nurture exception
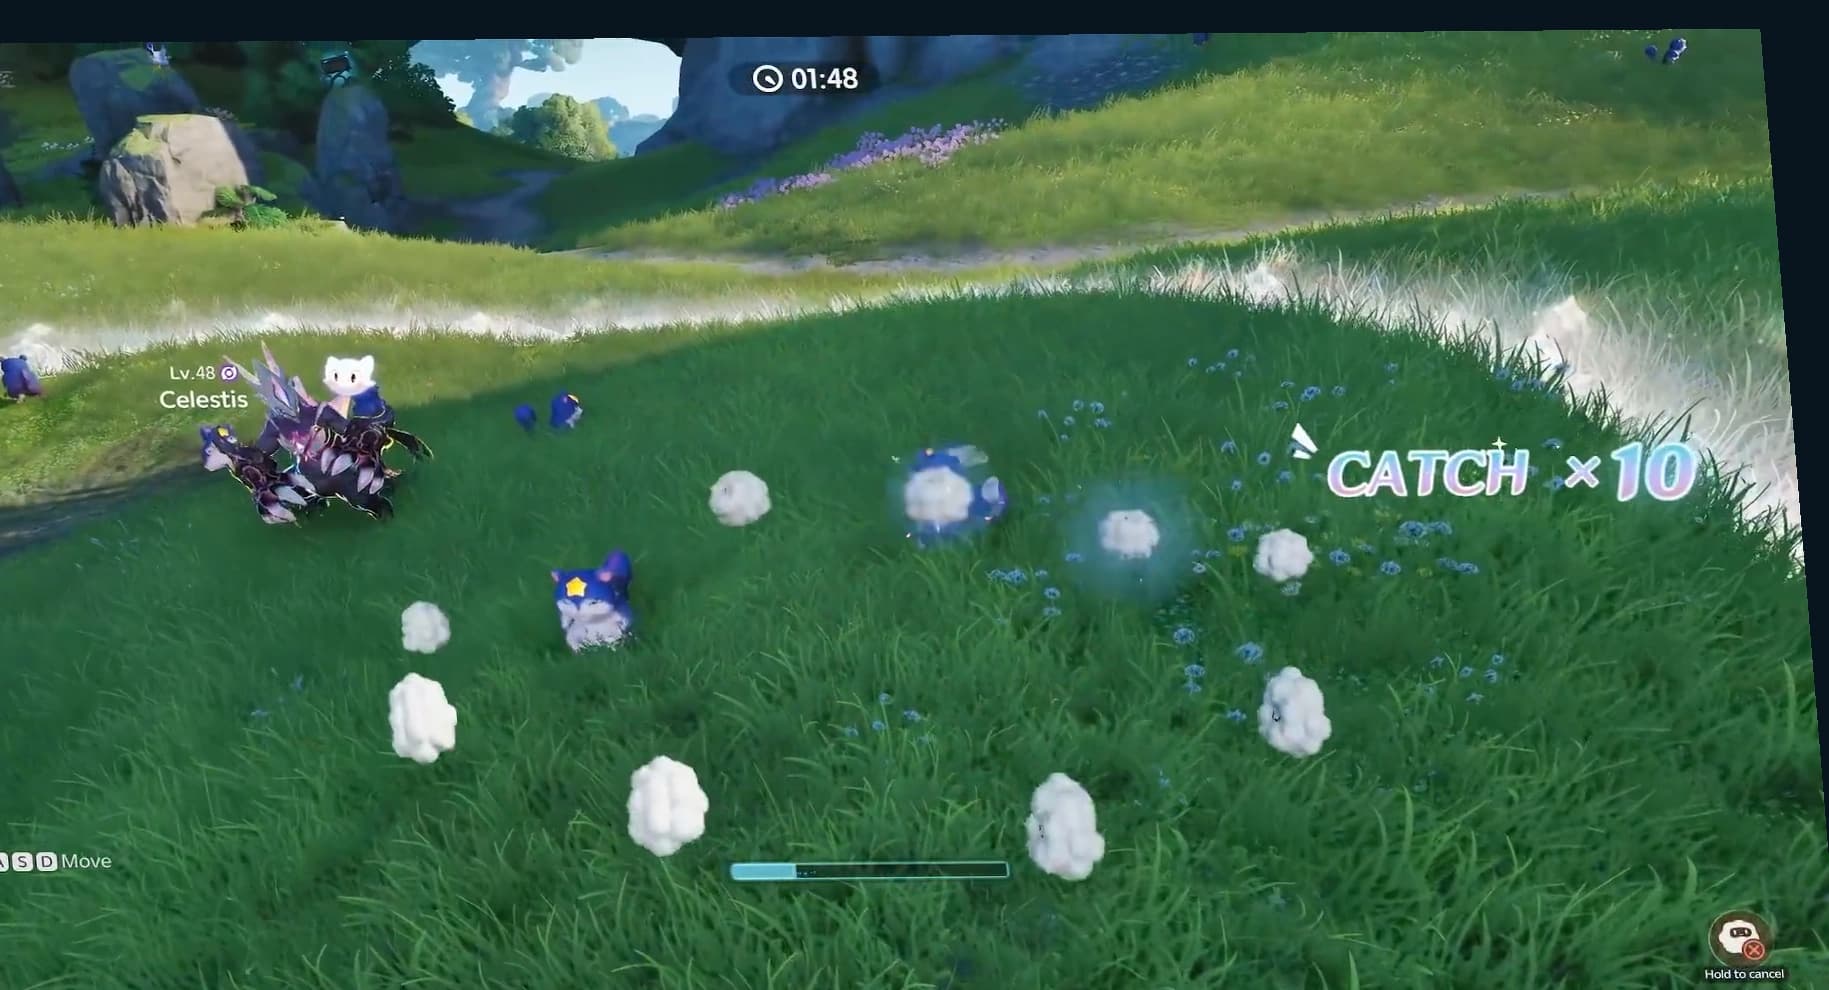
Tumbler is only ordinary at 2× until it meets Aniimo gathered in a Wild Surge, where its rate jumps to 6× and the device rolls through the group. That is the largest conditional multiplier in the pod catalogue, so using one on a lone field target throws away the feature that makes it special.
A successful catch can produce a lucky strike. It grants item rewards, raises the area’s Prismatic Energy and can trigger Prismana Flow directly.
Catching is also how a photo objective gets solved: the Who’s That Aniimo board asks for an exact form, and a caught Aniimo photographs on demand. What a catch is worth long term comes down to its Potential roll, which the Potential development ladder prices out before you commit a premium pod.
The pods worth hoarding
Aniipod Ultra and Sparkling Cube are the two universal catch guarantees. Ultra keeps its at least Elite Acquired Potential floor. The Cube guarantees Perfect Potential and a Sparkling result, so spend it only when you want both.
- Use Aniipod Ultra when the individual target is rare enough that losing it matters more than the pod.
- Use Sparkling Cube only when this exact species or form is worth turning Sparkling.
- Collect legendary tokens through world exploration and story progress, then craft a Legendary Aniipod to seal the bond in the one-time Irisalis encounter covered in the Irisalis unlock guide.
- Use the eggs and hatching guide for egg guarantees, and the style table in the Sparkling guide for what a Cube does on a hatch.
Restocking without waste
The common trio is the renewable side of the catalogue: Aniipod, Aniipod Pro and Aniipod Mega all appear in Homeland production. The Homeland guide covers the Aniipod Maker; the table below is the quicker answer when you only need to know what a replacement costs. Several higher tiers also route through the Companion Handbook, Aniimo's battle pass, alongside the Adventure Token shops and the regular shop listed below.
Two routes outside the shops top up the same stock. Watching two hours of Aniimo on Twitch pays 20 Aniipod Pro among its tiers, listed in the Twitch Drops reward table, and the Core Courses on the Elite Training board hand over Aniipod Pro and Aniipod Mega by the chapter.
Renewable
- AniipodCredit ShopquestsAdventure Token shopsHomeland productionAdventure Rank chests200 Credits.
- Aniipod ProElite TrainingquestsAdventure Token shopsHomeland productionchests800 Credits, or 2 Aniipods at Lumen.
- Aniipod MegaElite TrainingquestsAdventure Token shopsHomeland productionlimited eventschests60 Training Points, or 2 Aniipod Pros at Lumen.
Premium
- Aniipod HyperCompanion HandbookAdventure Token shopsthe regular shop2,500 Credits.
- Aniipod TrackCompanion HandbookAdventure Token shopsthe regular shop5,000 Credits.
- TumblerElite TrainingGlimmer PurchaseNurture BranchAdventure Token shopsHolo-Battle Interlinkquestschests5,000 Credits.
- Aniipod UltraElite TrainingGlimmer Purchaseshopsitem exchangeschests20 Aniipod Ultra Vouchers at Lumen.
- Sparkling CubeElite TrainingFun Stamp Collection ShopCompanion Handbookshopsitem exchanges100 Sparkling Crystals at Lumen.
- Legendary AniipodCrevice Exploration ShopNo currency amount is listed in the catalogue.
Frequently asked
Which catching item should I use for routine Aniimo?
Start with Aniipod. Move to Aniipod Pro for 1.5× or Aniipod Mega for 2× only when the displayed chance needs the help. The common trio is restocked through quests, shops, chests and Homeland production.
Do the three Epic 2x models have different catch rates?
No. Aniipod Mega, Aniipod Hyper and Aniipod Track all give 2×. The Hyper adds toss speed and range, while the Track adds auto-tracking. If the target is easy to hit, use the Mega and keep the assists for a throw that needs them.
When does the 6x group-catch bonus apply?
Tumbler reaches 6× only for Aniimo gathered in a Wild Surge. It is 2× in an ordinary field catch, the same listed multiplier as Aniipod Mega, so save it for ecosystem nurturing.
Which catching items should I save?
Save Aniipod Ultra for a must-catch target, Sparkling Cube for a target you want as Sparkling with Perfect Potential, Legendary Aniipod for the one-time Irisalis encounter in the Irisalis unlock guide and Tumbler for Wild Surges. The other models are ordinary upgrades or throw assists.