




Your first hours, in order
The introduction teaches one system at a time. Stay with the main objective until you have caught a wild Aniimo, made the starter choice, completed the first Command and Twining encounters and joined the Polaris Institute. The Institute return introduces the function menu and first badge before the transporter sends you onward. Once Nimbus Fields opens, the route loosens and nearby creatures, markers and side paths become yours to prioritize. Everything in this stretch is chapter 1, and the Journey to Idyll walkthrough follows it quest by quest if you want the objective list rather than the systems.
- 101Create your Pathfinder
Start from a preset, then shape the avatar you will use around Idyll. Your team choice comes later, so this screen is about the Pathfinder rather than combat stats.
- 202Make the first capture
Aim an Aniipod at the tutorial target and read the percentage beside it before throwing. That readout is the habit to keep: set up the attempt first, then spend the pod.
- 303Choose a starter style
The opening presents Helion and Lunara together. Pick close-range pressure or ranged area control; the rest of the team will come from captures.
- 404Learn Command, then Twine
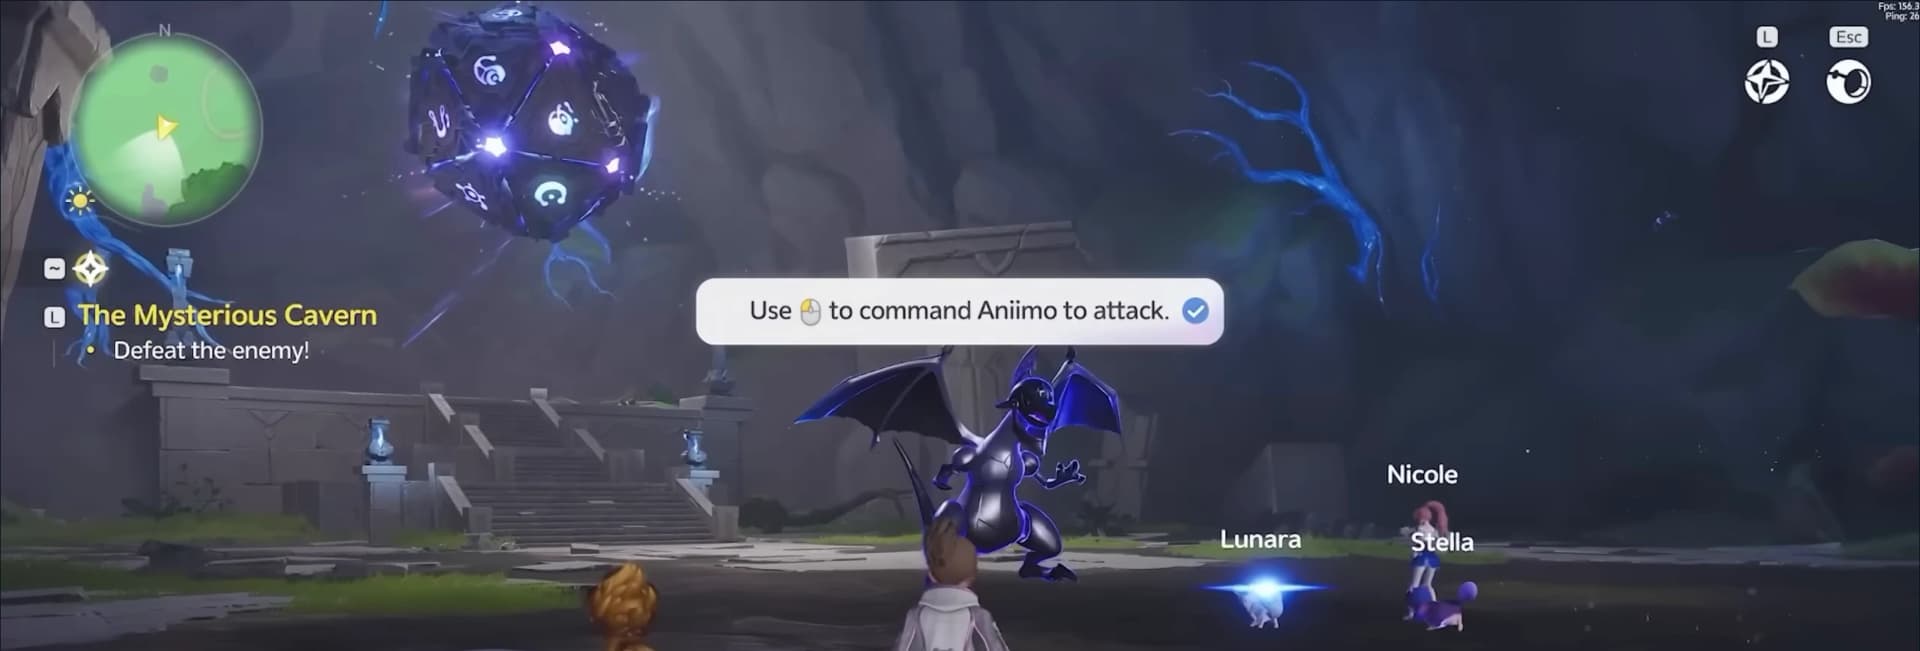
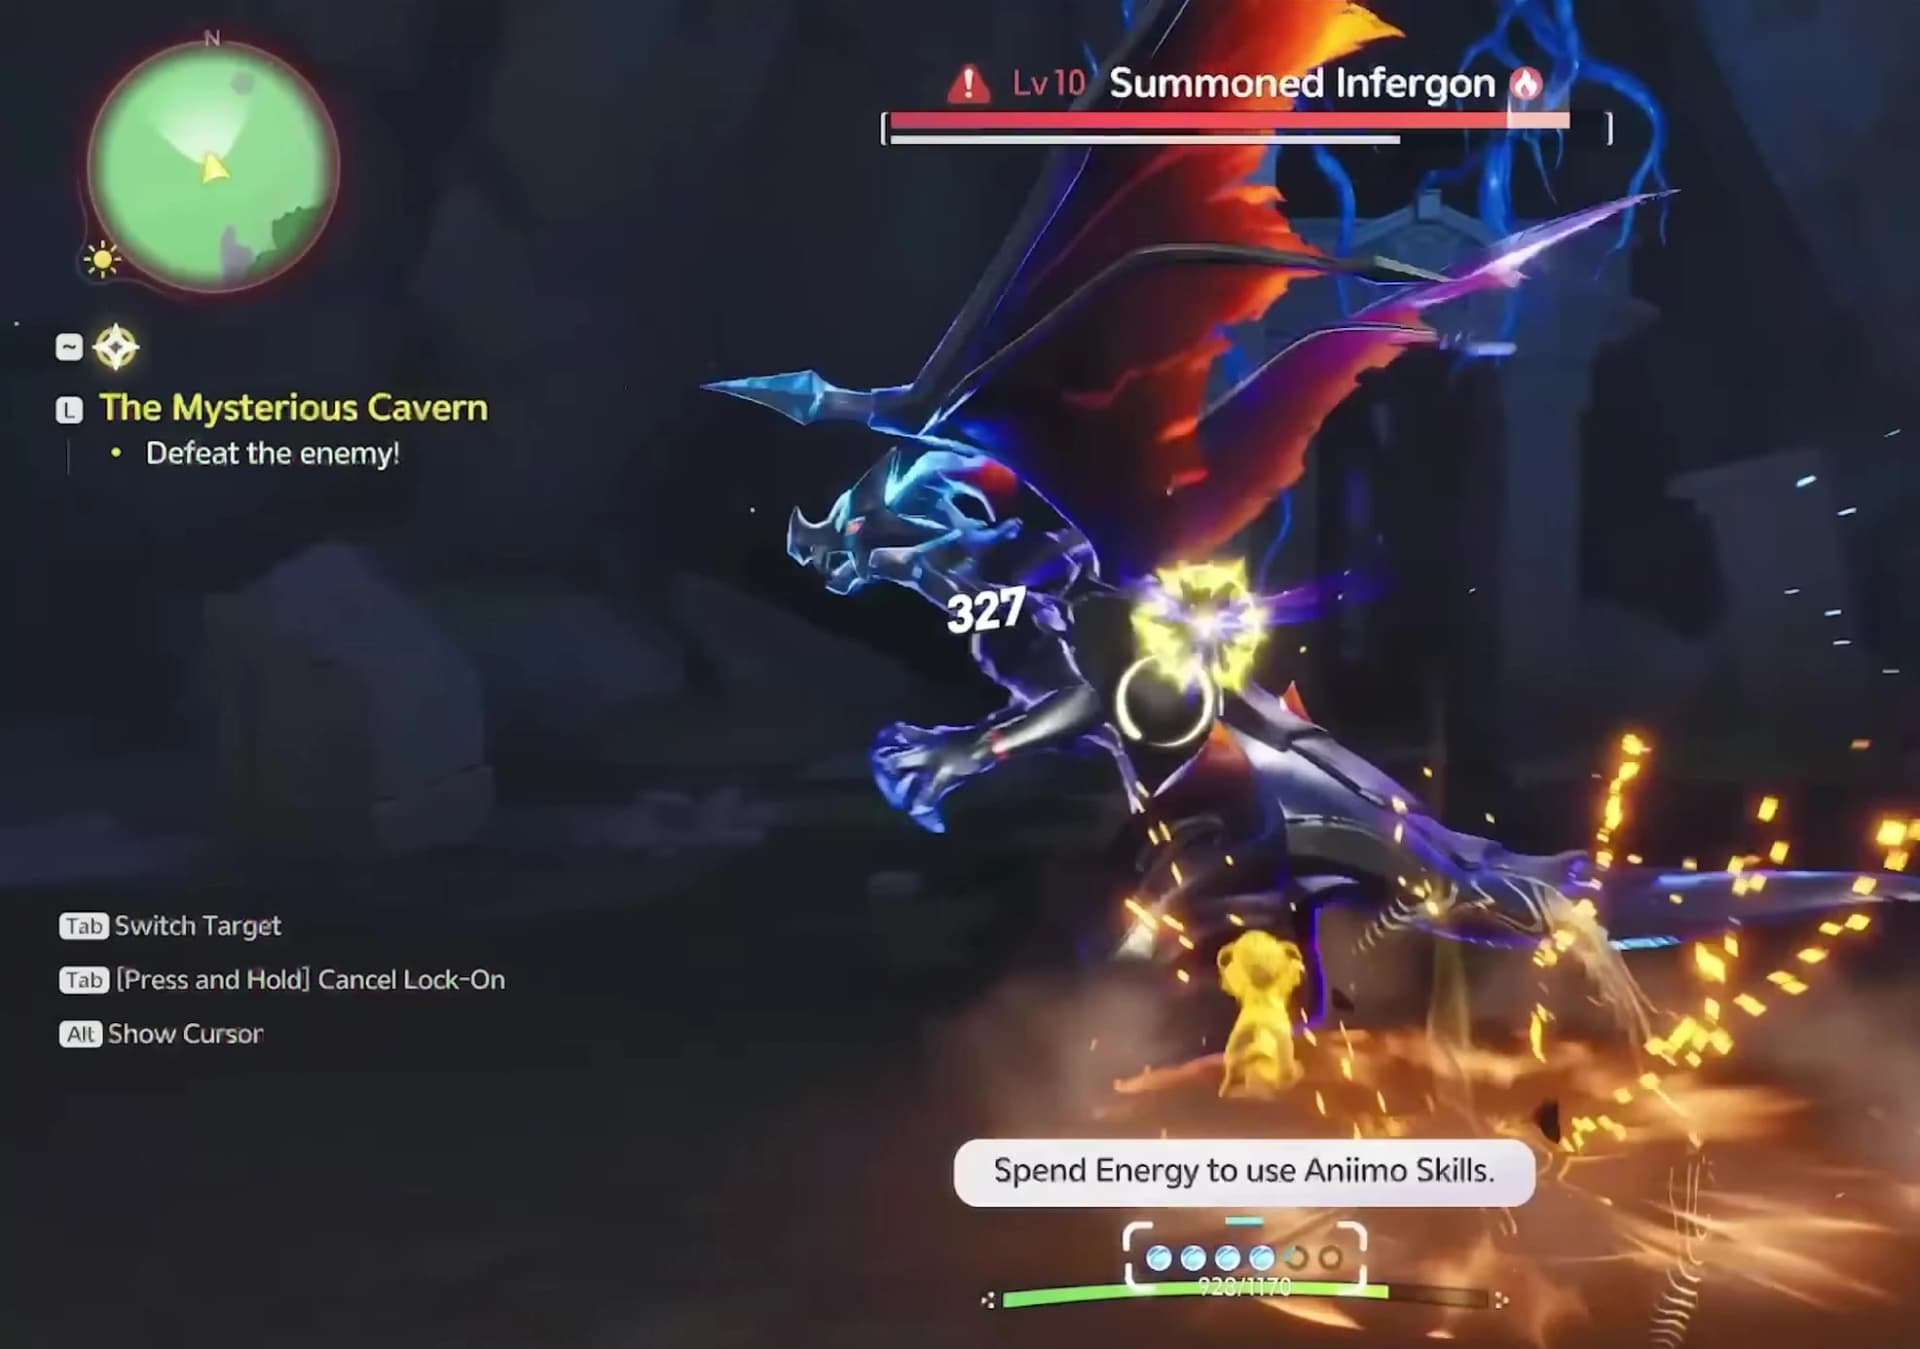
Command keeps the Pathfinder on the field while directing an Aniimo. Twining puts you in direct control of one creature and its kit; the tutorial makes you use both before the wider journey begins.
- 505Finish Institute initiation
After the cavern fight, follow the return to the Polaris Institute. Accept membership, collect the Institute outfit pieces, report to Dr. Lewis and continue through the first Polaris badge scene. The function menu prompt appears before you leave for Idyll.
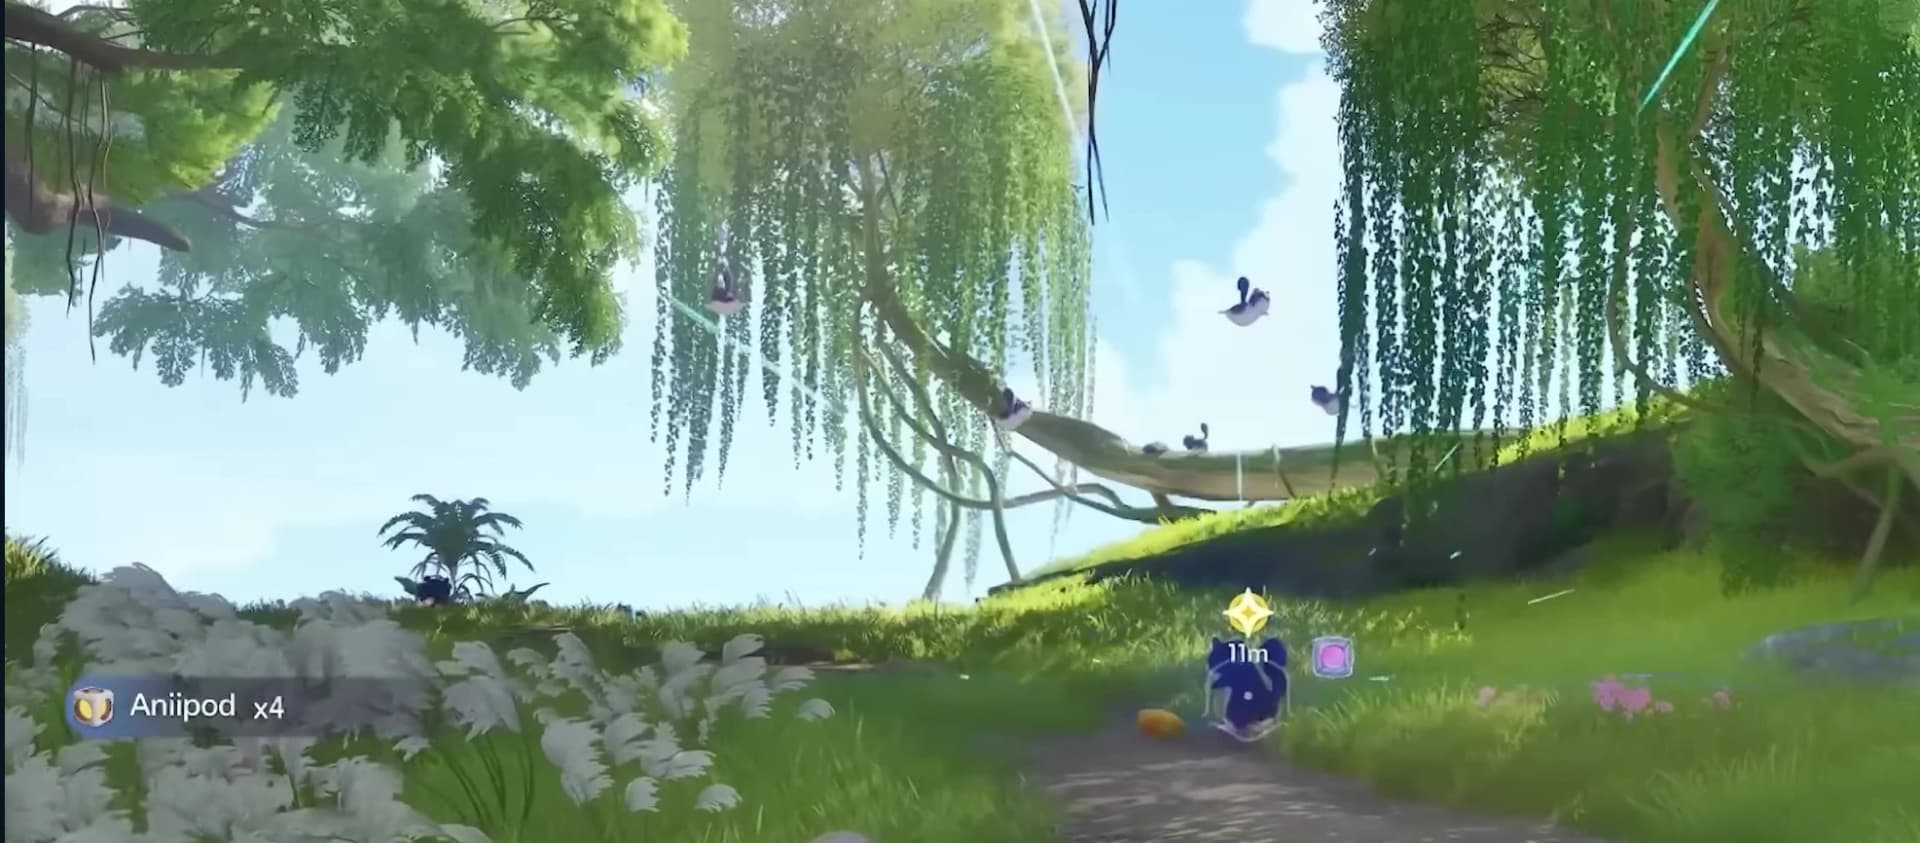
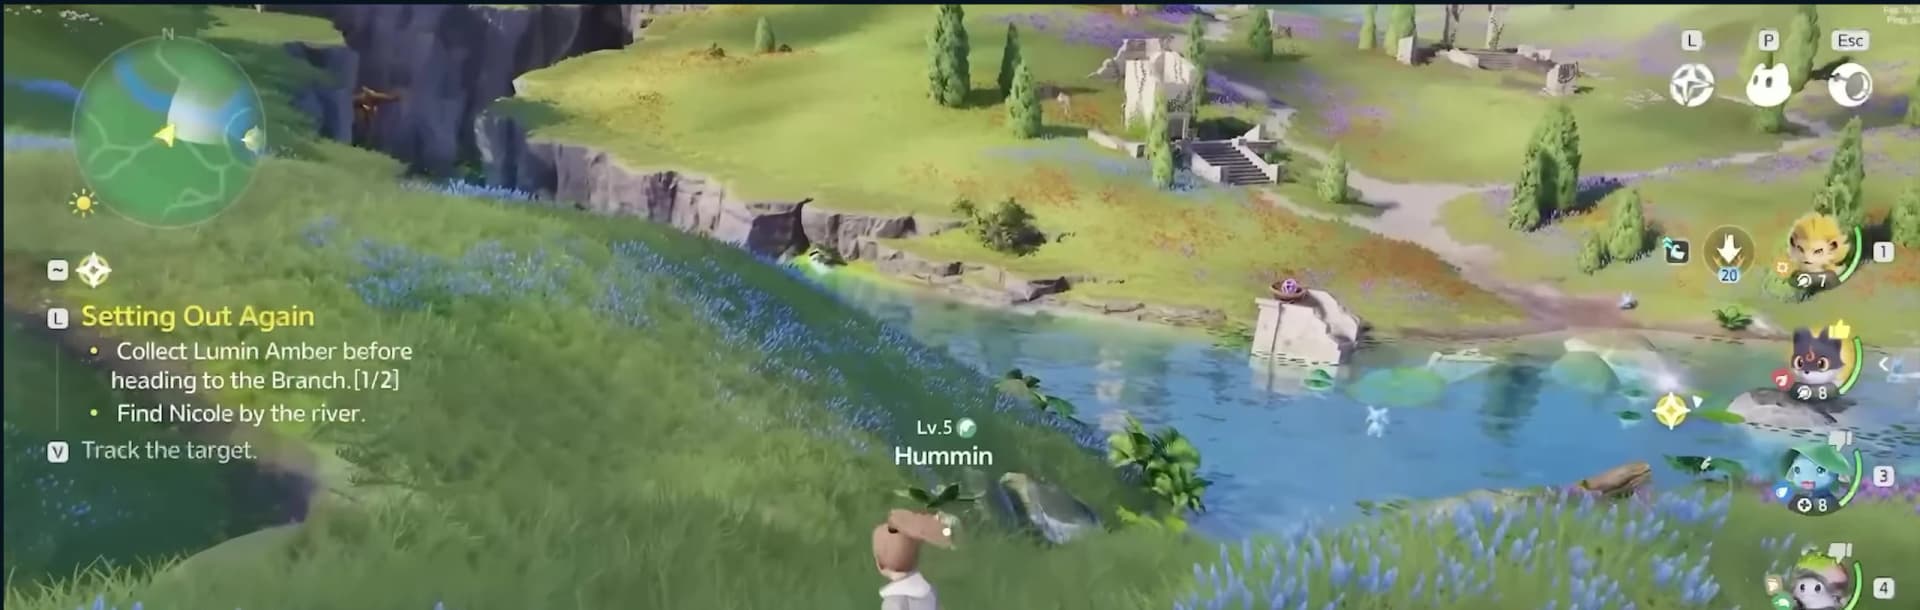
- 606Enter Nimbus Fields
Use the story objective as a spine and branch off for a catch, chest or puzzle that is already within reach. Return to the objective whenever a detour asks for a tool the tutorial has not introduced.

Choose Lunara or Helion by control style


Use the first captures to add jobs and elements your starter does not cover. A varied early roster gives you more answers in combat and more creature abilities to try in the field; several Aniimo that all solve the same problem do not.
Catch for coverage, not perfection
The percentage beside a target answers the immediate question: whether the current throw is worth an Aniipod. The catching and Aniipods guide covers how to improve that number and which pod to spend. Your first-roster decision is simpler: catch for a new answer, not a perfect roll.
- Catch a new species when it adds a move, role or field option your current team lacks.
- Spread across the nine elements instead of filling every slot with Light. The 9×9 type chart is the quickest lookup when a matchup is unclear.
- Mix combat jobs. Damage moves a fight forward, while Break, healing, regeneration and support create the openings that keep a difficult encounter under control.
- Keep field utility in mind. A creature that crosses an obstacle or interacts with terrain can be as useful during exploration as a stronger attacker.
- Keep one of each species, evolution stage and form when sorting storage. Check its quest, evolution and field uses before releasing your only copy; a lower-potential Aniimo can still fill a useful job, because every grade shares the same ceiling of 20 Potential per attribute. The Potential development ladder shows what that costs.
- Every catch also rolls a personality, a flavour trait that describes how the Aniimo behaves rather than a stat bonus. The personality guide lists all eight and what each one actually changes.
Learn both combat modes
Aniimo separates giving orders from becoming the creature. Command and Twining use the same roster, but they change what you control and which inputs are in your hands. The first combat lesson introduces the distinction directly.
 Command
 Twine
TwineTwining also leaves combat and becomes a traversal and puzzle tool. When a route asks for a creature-specific interaction, it is still the same control system you learned here. The complete Twining guide maps the field abilities and their users.
Explore Nimbus Fields with a purpose
Open-world progress comes from short, deliberate detours rather than clearing every icon at once. Keep the current story objective visible, then leave its path when the nearby reward answers a real need.
- A wild Aniimo can fill a missing element, role or exploration ability.
- A chest, checkpoint or resource marker can improve the next stretch of the route.
- A blocked passage or terrain puzzle can teach what Budclaw or another field specialist does outside combat.

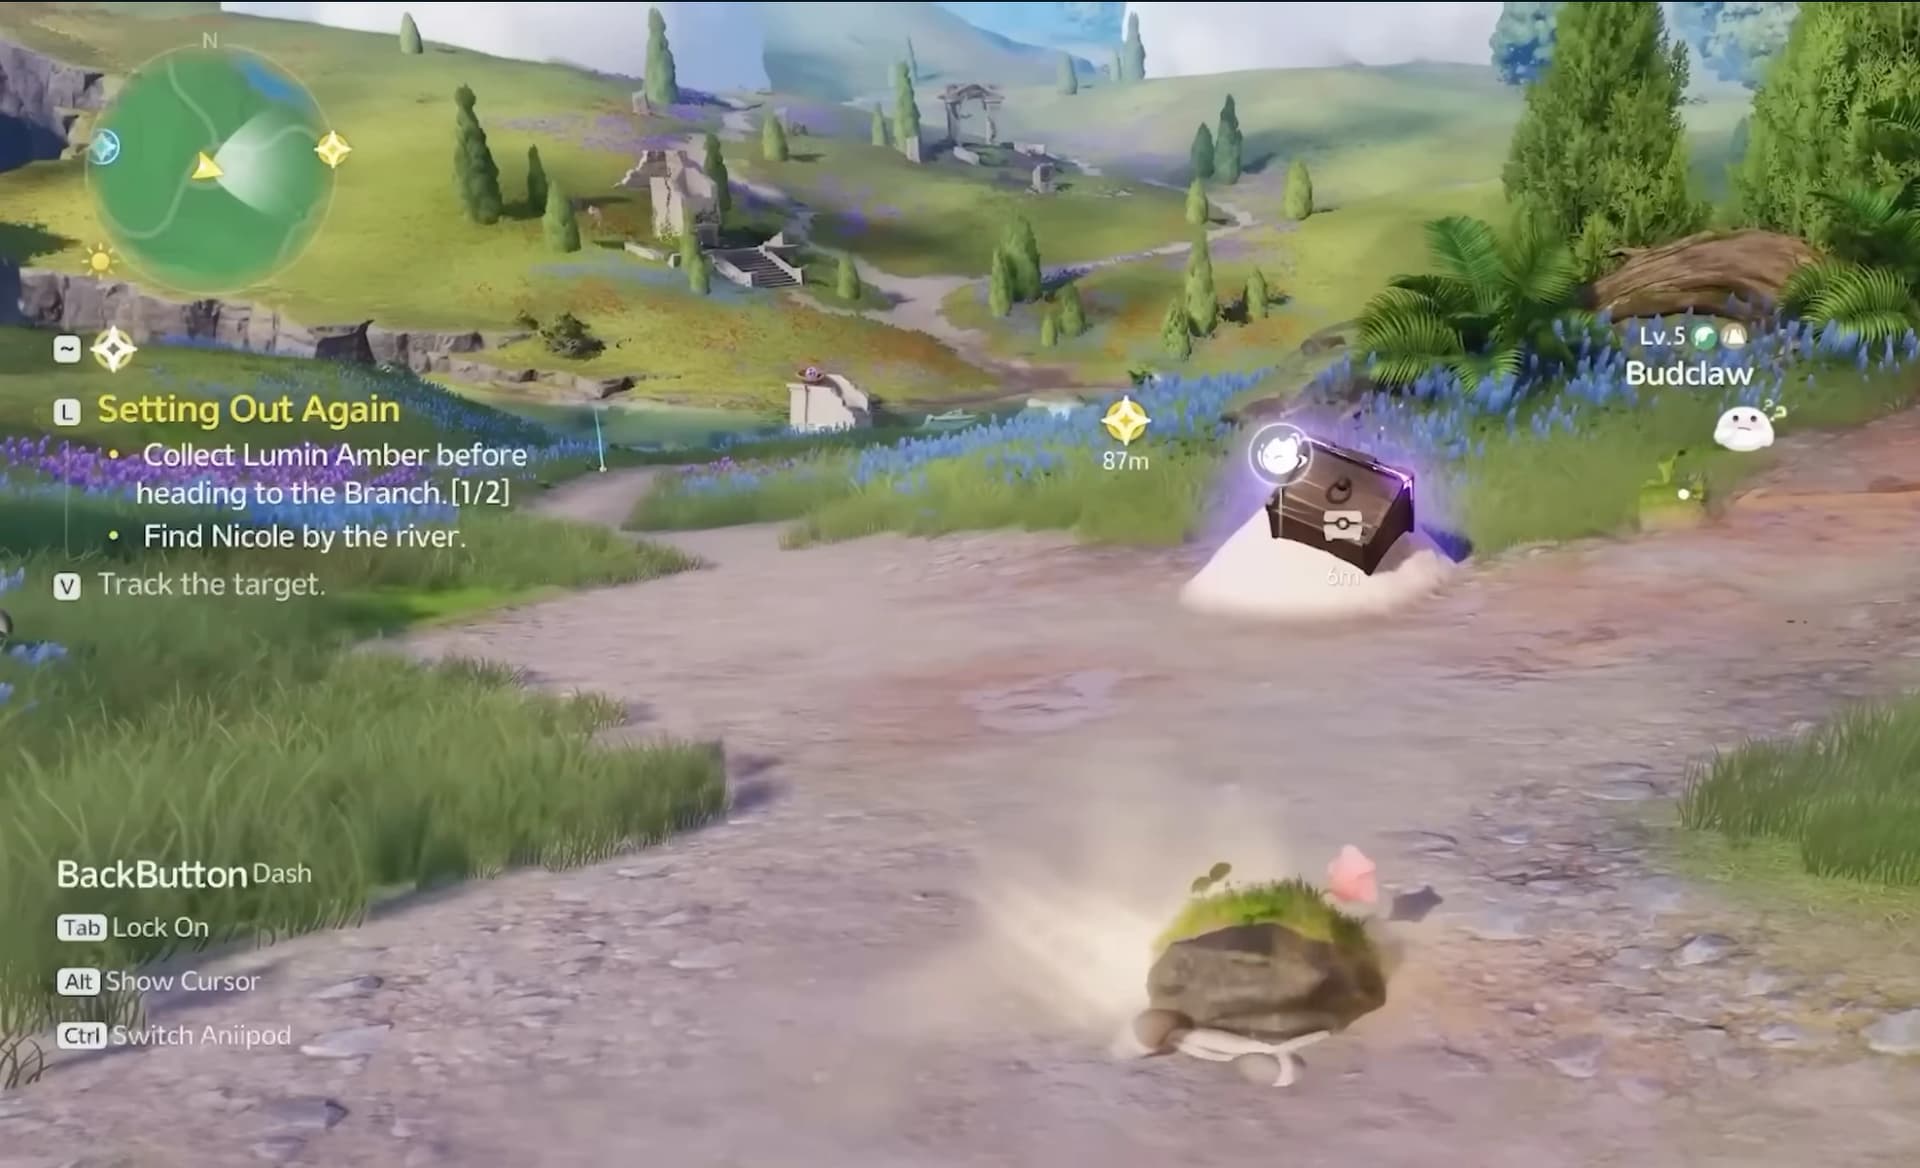
Use the interactive Idyll map when you need an exact spawn, chest, checkpoint, boss or region boundary; it is a lookup tool, not a checklist you must empty. The guided route eventually points toward Astra, the city hub. When your Homeland opens, treat it as the home-side layer for facilities and long-running systems, then return to the field.
Your first level cap, and how to lift it
New players usually meet the same wall in their first evening: an Aniimo simply stops gaining levels at 15. That is the starting cap, not a bug. An Aniimo can be trained and Twined up to your own Pathfinder Level, with 15 as the floor and a ceiling set by your character title. The first promotion, Student I, lifts that ceiling to 25 and carries no level requirement at all, so take it as soon as the prompt appears.
| Title | Aniimo level cap | What it asks for |
|---|---|---|
 No title yet No title yet | 15 | Where every account starts. Growth items cannot push past it. |
| Student I | 25 | No level requirement. Finish the required Elite Training courses and take the assessment. |
| Student II | 35 | Pathfinder Level 25 plus the next chapter of required courses. |
The promotions sit inside the main story rather than off to one side, so following the story walkthrough advances both tracks at once. Your first catches are also collection progress, and the milestones on that track pay materials worth having, which the achievement and trophy roadmap lays out in order.
Early mistakes to avoid
- Save Glimmer until you have a reason to spend it. Compare the currency and shop options before converting it into ordinary supplies or Primegy refills. Primegy recovers over time, so waiting can save a purchase.
- Lock premium Aniipods you are saving. Use the inventory lock for your Ultra and Sparkling pods; locking an equipped Aniipod also unequips it. Keep ordinary pods equipped for routine catches, and unlock a premium pod when you have chosen its target. The catching guide explains which pod to use.
- Take title promotion assessments the moment they open. Each one asks you to reach a stated Pathfinder Level and finish the required Elite Training courses, then pass an assessment at the outpost. Passing is the only thing that raises your level cap, so if levelling has stopped, an assessment is the answer and more fighting is not. See the levelling guide for the full ladder.
- Check the Mysterious Vendor when you reach Astra. Look near Horizon Square and review the daily stock for supplies you need. It restocks at 04:00, so the reset timers tell you how long the current offers have left. Compare the currency and price before buying, and use the vendor directory to compare offers.

Open the next guide when its system appears
Each system is easiest to learn when its matching menu, item or obstacle first appears. Use the opening sequence as your route, then switch to the focused explanation for the new mechanic in front of you.
 When a promotion appears or leveling stops
Open Progression and rank exams to understand title assessments and level caps, then check Pathfinder skills for your newly available abilities.
 When a field catch needs planning
Open Catching and Aniipods for capture preparation, the pod ladder and the items worth saving.
 When an egg appears
Open Eggs and hatching for the Hatchinator loop and the promises carried by each label.
 When your Homeland opens
Open Homeland facilities for what each station does and which upgrades matter first.
 When a route needs a creature ability
Open Twining and field skills to find the Aniimo that can traverse, gather or interact with the obstacle.
- When a matchup cue is unclear
Open the Aniimo type chart to see which of the nine elements is strong, neutral or resisted.
- When you need a spawn or marker
Open the interactive Idyll map for current creature, chest, boss and checkpoint locations.
A strong first session ends with the core loop understood: catch with a plan, choose between Command and Twining deliberately, and follow the story far enough to expose the next system before disappearing into side content. From there, every detour has a reason and every focused guide has a clear entry point.
Frequently asked
What should I do first in Aniimo?
Follow the opening objective through character creation, the first capture, the Lunara-or-Helion choice, the first Command and Twining lessons, and Institute initiation. Start roaming widely after the function menu and transporter lead you into Nimbus Fields.
Should I choose Lunara or Helion?
Choose Helion for close-range burst combat or Lunara for ranged, wide-area attacks and recovery. Both are Light, so use early captures to add other elements and roles.
What should I prioritize after the tutorial?
Build a varied roster, keep the story objective as your main route and use the interactive map for targeted detours. Open the catching, egg, Homeland and Twining guides as those systems appear.
When does the function menu unlock in Aniimo?
Continue through the opening cavern and join the Polaris Institute. After the membership, Dr. Lewis and first-badge sequence, the HUD prompts you to open the function menu before you take the transporter to Idyll.
Why is my Aniimo stuck at level 15 in Aniimo?
That is the starting cap. An Aniimo can only be trained and Twined up to your own Pathfinder Level, and never past the ceiling your character title allows, which begins at 15. Take the Student I assessment to lift it to 25; it has no level requirement, only the required Elite Training courses.