

The F2P ceiling, in one answer
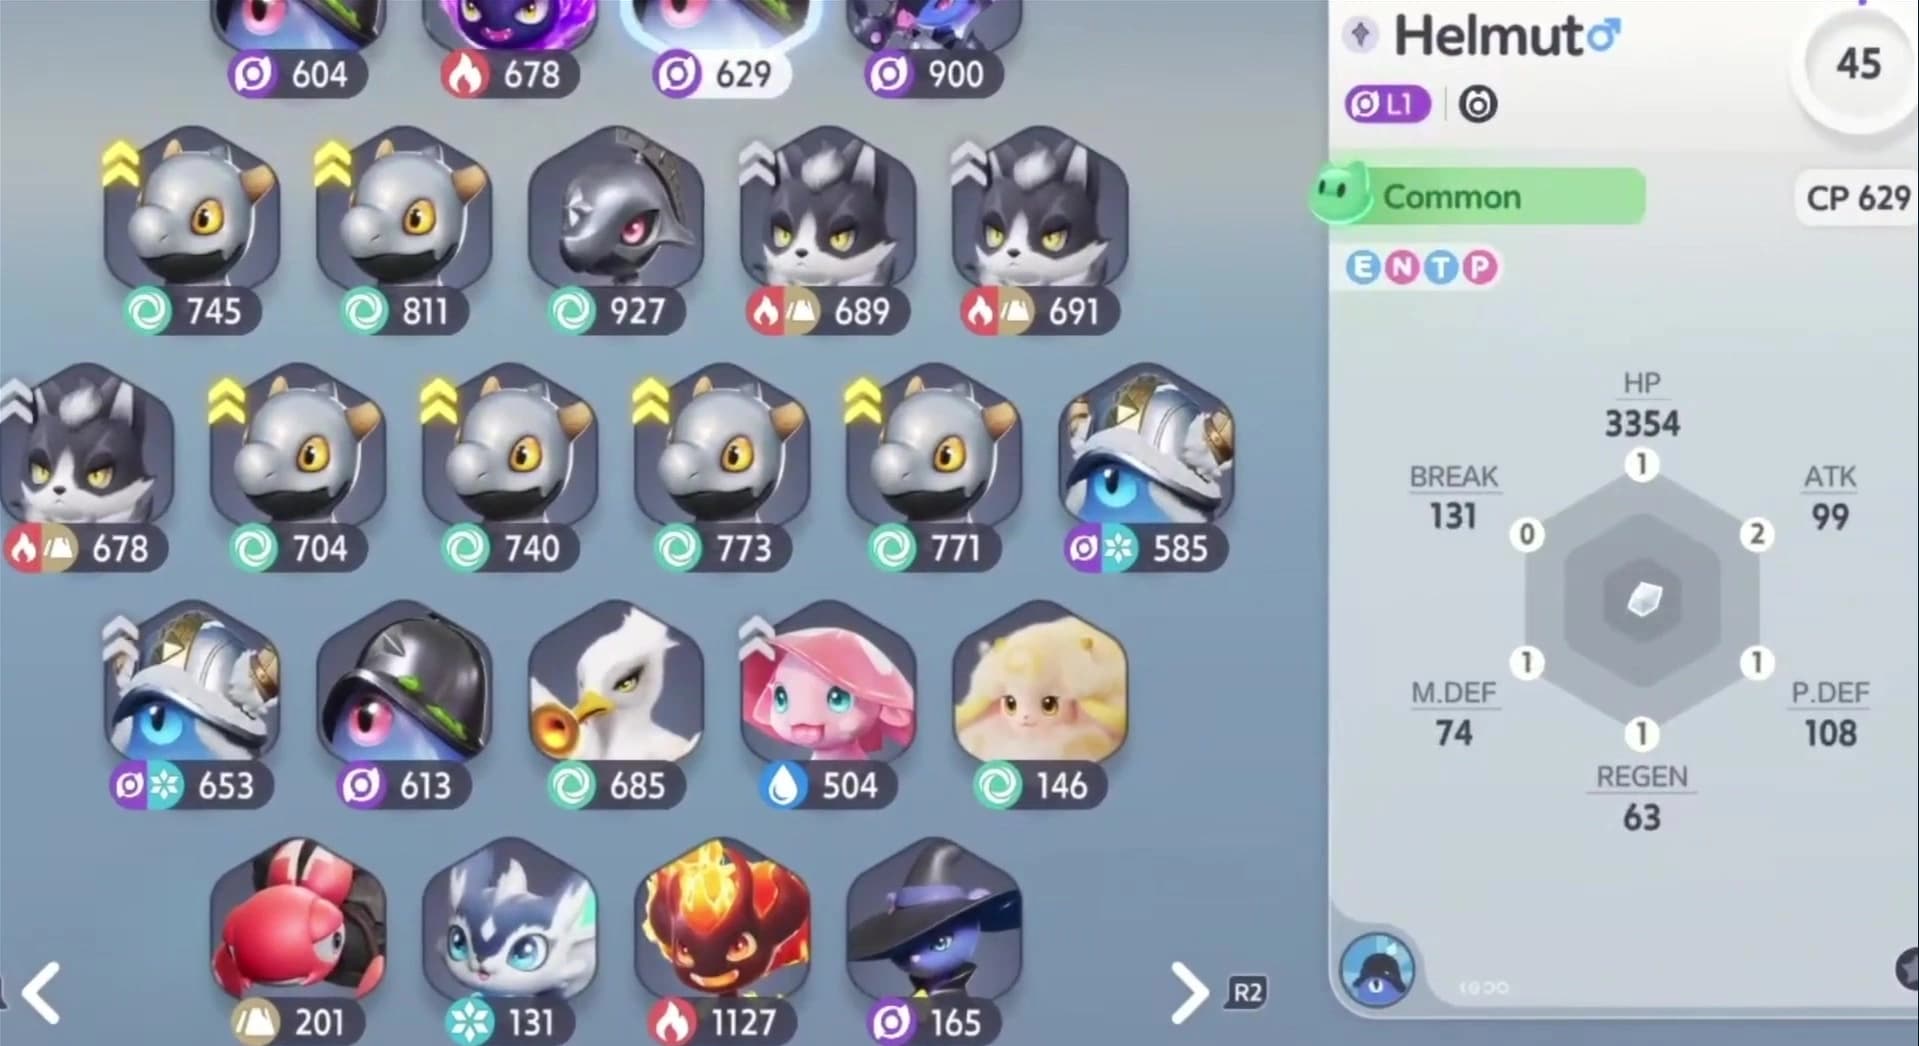
Capture grade is a starting-point label, not a separate endgame stat bracket. A Common Helmut can begin with a thin Potential spread, but Capability Awakening can still take every direct attribute to the same ceiling of 20 as an Elite or Perfect catch. The lower starting total simply leaves more acquired points to fund.

| Question | Answer | Practical effect |
|---|---|---|
| Does grade change the direct cap? | No | Every grade can finish at the same per-attribute direct ceiling |
| Does grade change the starting total? | Yes | A stronger catch needs fewer Capability Awakening materials to finish |
| Does spending unlock a higher cap? | No | Paid packs shorten collection time; they do not create a separate stat tier |
| What limits F2P progress? | Time and drops | Late materials and Held Item enhancement costs become the real grind |
One more thing keeps the ceiling honest: almost every material sink here also has a badge attached to it. The achievement and trophy roadmap sorts the whole badge book by the content that pays it, so the training you were going to do anyway lands on a tracked line instead of nowhere.
What each power system actually does
The Training menu groups four systems, but they do not all raise the same layer of a build. Levels and evolution establish the base creature and unlock its kit; Capability Awakening fills direct Potential, Resonance adds staged training bonuses, and equipment supplies a separate package of base, core and enhancement effects.
- Level, evolution and skillsFirst; the rest of the build depends on itBase attributes, available moves and access to later training
- Capability AwakeningBuy cheap points in recommended stats earlyThe acquired portion of one direct attribute at a time
- ResonanceAdvance whenever the next gate is openStar-Up attributes and stage-ascent bonuses
- Held itemAfter the Aniimo has a clear combat roleA base effect, a core effect and an enhancement track
- Personality and skill choicesTune once the core build direction is settledHow the finished stats convert into actual play
Use the Potential guide for grade appraisal and the Resonance guide for its full material route. This page is the spending map between them: finish the cheapest guaranteed gains before chasing late, random or build-specific upgrades.

XP needed for each Aniimo level
Choose the level you want your Aniimo to reach, up to the level 60 cap. The first value is the XP needed from the previous level; the total adds every level from a fresh level-1 Aniimo. This is creature XP, separate from the Safaris that raise your Pathfinder Level.

Level 9 to 10
1,753 XP
Total from level 1
8,629 XP
Growth items, and what each one is worth
Three items feed an Aniimo directly, and their values are fixed rather than scaled to the recipient. Read them against the XP selector above: a single Growth Fruit carries a level-30 Aniimo more than two whole levels, and the same fruit is a rounding error at level 58.

| Item | Aniimo EXP granted | Worth using when |
|---|---|---|
 Growth Bud Growth Bud | 1,000 | Below level 20, where a bud is most of a level. Above that it is filler. |
 Growth Flower Growth Flower | 5,000 | The workhorse through the twenties and thirties, and the item your level-up claims keep handing you. |
Hold for the carry Growth Fruit Growth Fruit | 25,000 | Save these for the carry you intend to take past level 50, where field XP alone stops keeping up. |
Your Homeland can make these rather than buy them. The Dance Pad Polisher turns raw materials into semi-finished buds, flowers and fruit, and a Primegy payment finishes each one. Plan that line with the Homeland guide if growth items are your bottleneck rather than your materials.
Potential: same destination, different bill
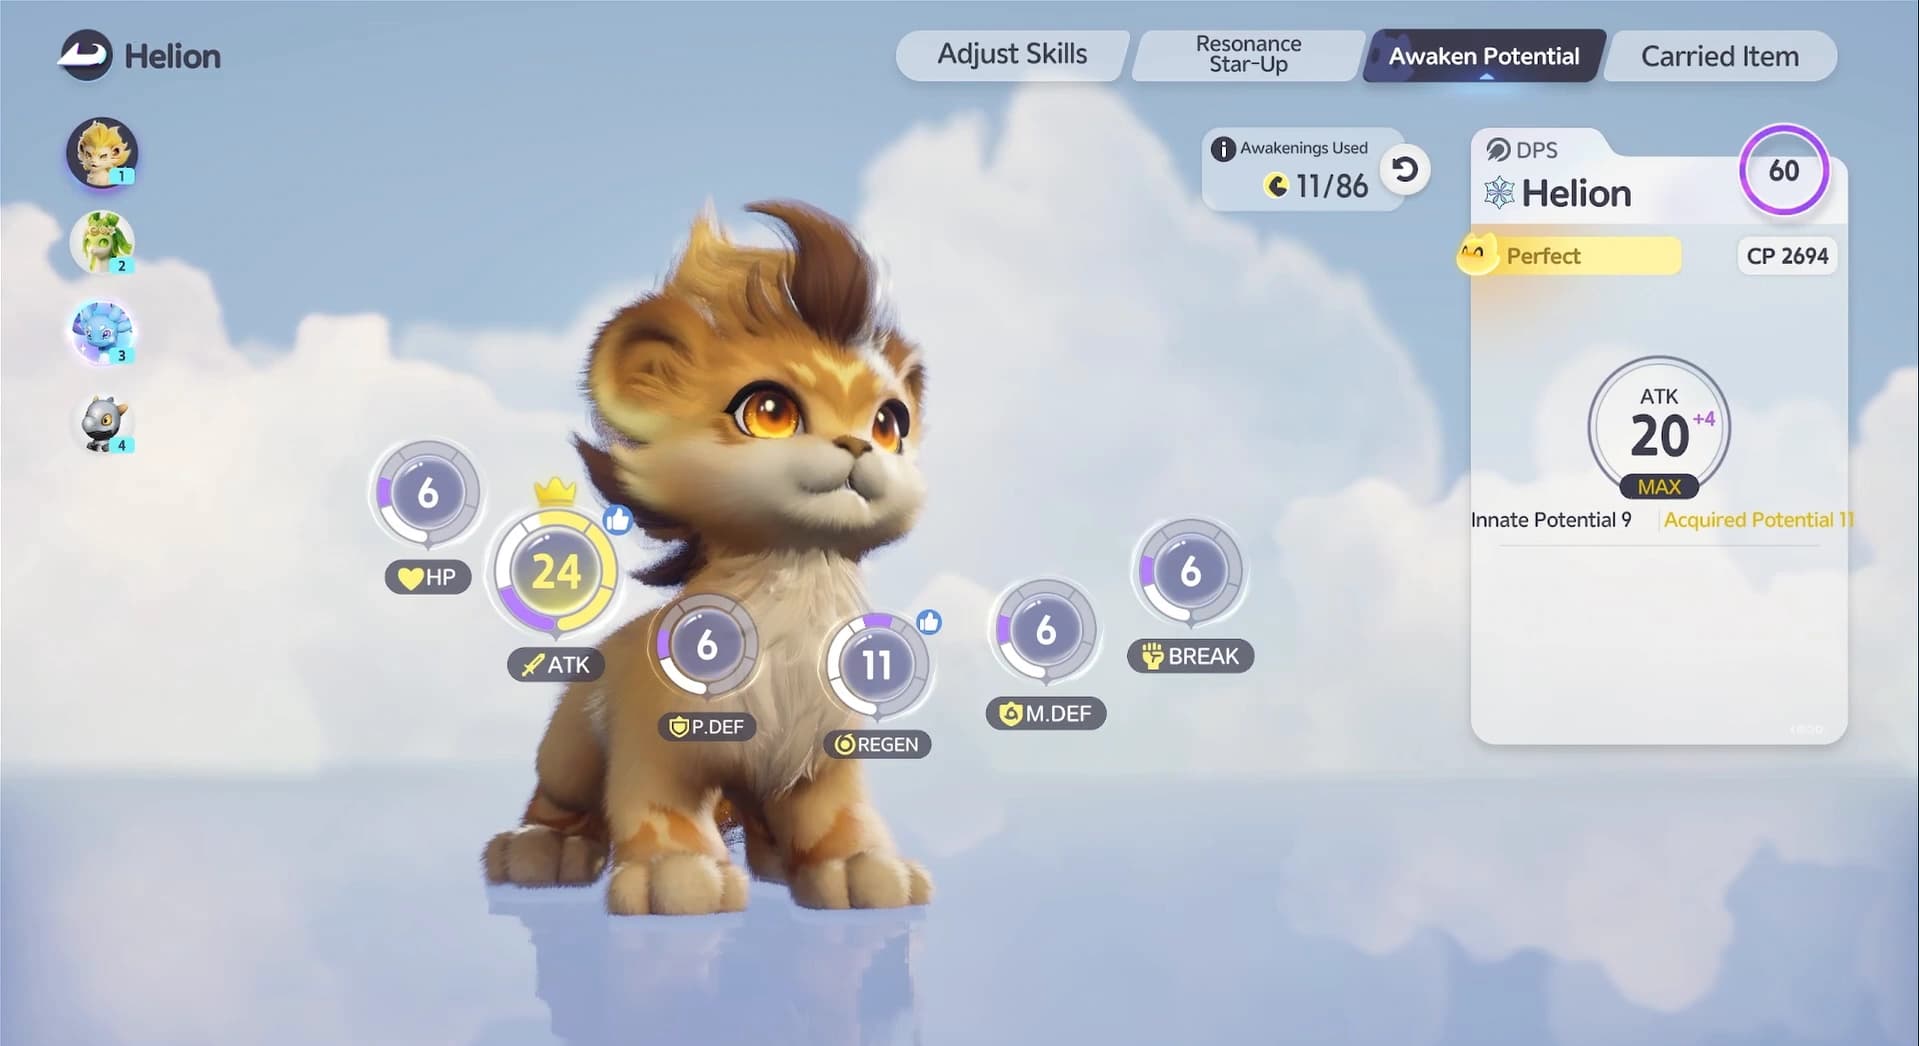
Each of the six attributes has Innate Potential and Acquired Potential, and the two together stop at 20. Innate points belong to the catch; Capability Awakening spends training items to add acquired points within the ceiling currently unlocked by Aniimo level and Resonance star rank. The thumbs-up marker identifies the attributes recommended for that Aniimo’s role, and the per-stat capacity maths are worked through on the Potential development ladder.
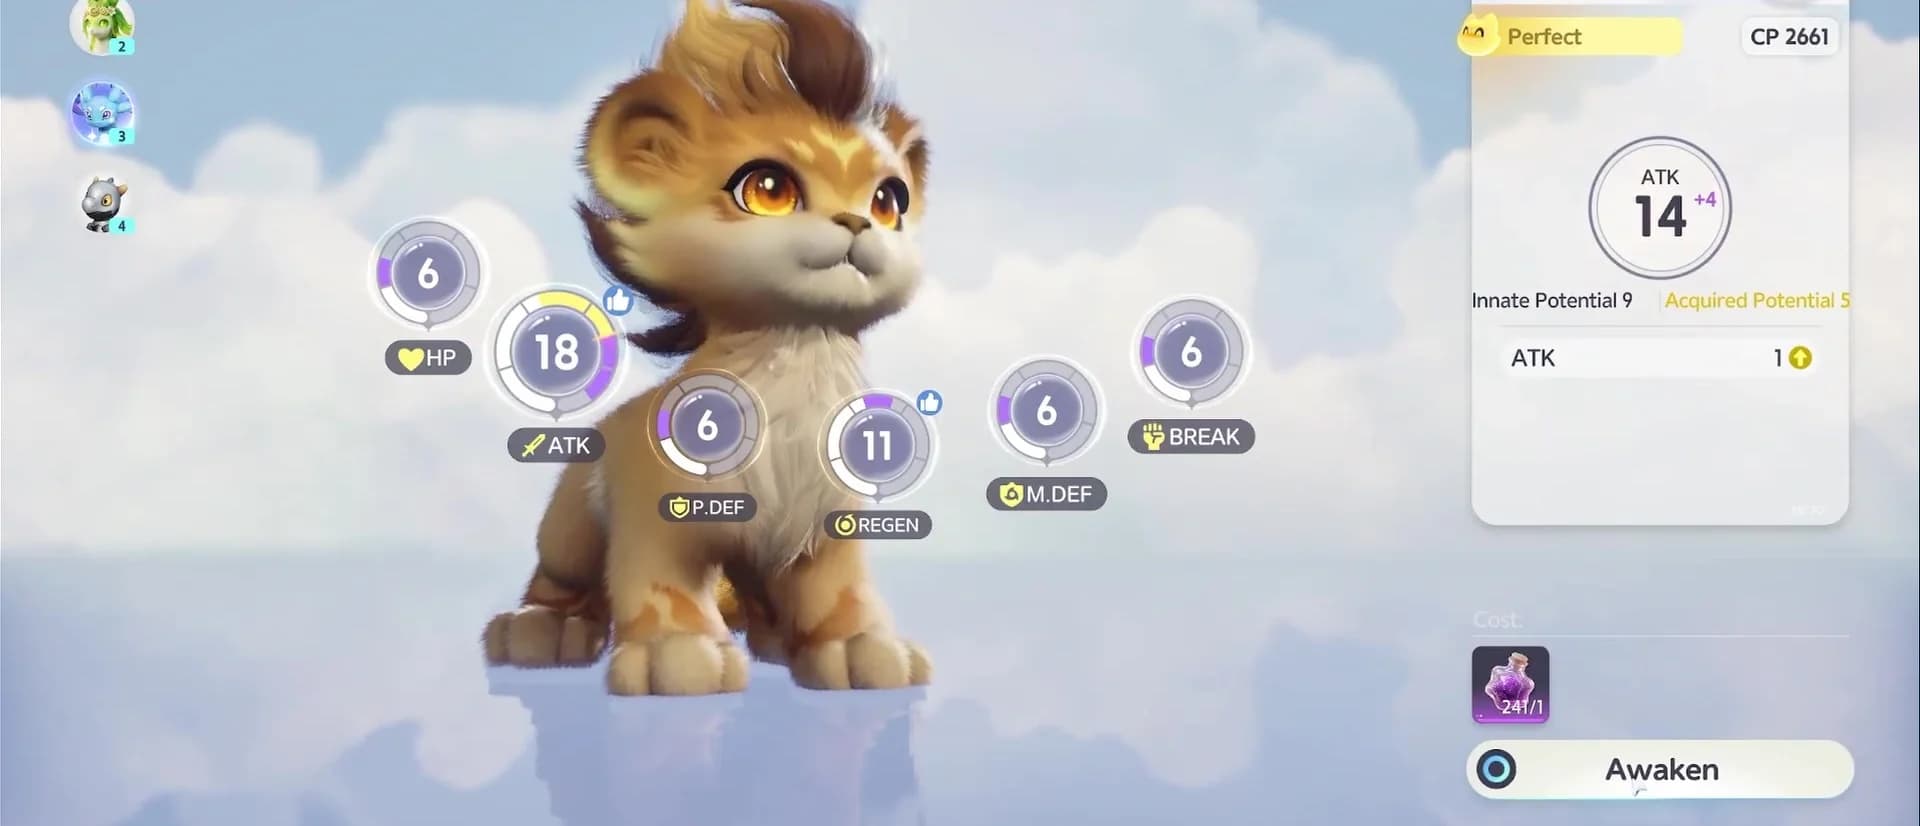
One direct attribute
- Innate Potential
Where it comes fromThe captured Aniimo, plus one Capafruit
Ceiling ruleFixed at birth; the fruit is the only way to raise it, by 1 on all six
- Acquired Potential
Where it comes fromCapability Awakening
Ceiling ruleFills the room left under 20 once innate is counted
- Direct Potential
Where it comes fromInnate plus acquired
Ceiling ruleCaps at 20 per attribute, the same number for every capture grade
- Extra bonus
Where it comes fromResonance and Held Items
Ceiling ruleSits above the direct cap and is shown separately
Capability Awakening moves through Star Dust, Star Sand and Starcryst Essence as the target attribute rises. The efficient route is not to finish one stat blindly. Buy the inexpensive points in the recommended attributes first, compare the next material grade with your available Resonance upgrade, and take whichever guaranteed gain is cheaper.



- 1Read the role first
Confirm whether the Aniimo is DPS, Heal, Support, Break or Regen before choosing an attribute.
- 2Follow the recommended markers
Raise the two marked attributes before spreading rare materials across all six.
- 3Stop at a material jump
When the next point asks for a scarcer grade, check Resonance and your Held Item for a cheaper guaranteed gain.
- 4Return for the direct cap
Finish the remaining acquired points after the rest of the carry has its basic progression online.


Resonance: climb when the gate opens
Resonance alternates between star-ups inside a stage and an ascent into the next stage. Breezy Plains Dewdrop Crystal is one of the regional materials used for star-ups; Ascension also spends regional training crystals and elemental stones, with Phenomena Crystal added at stages 6 and 7. Seven stages exist, and six of them are reachable today.


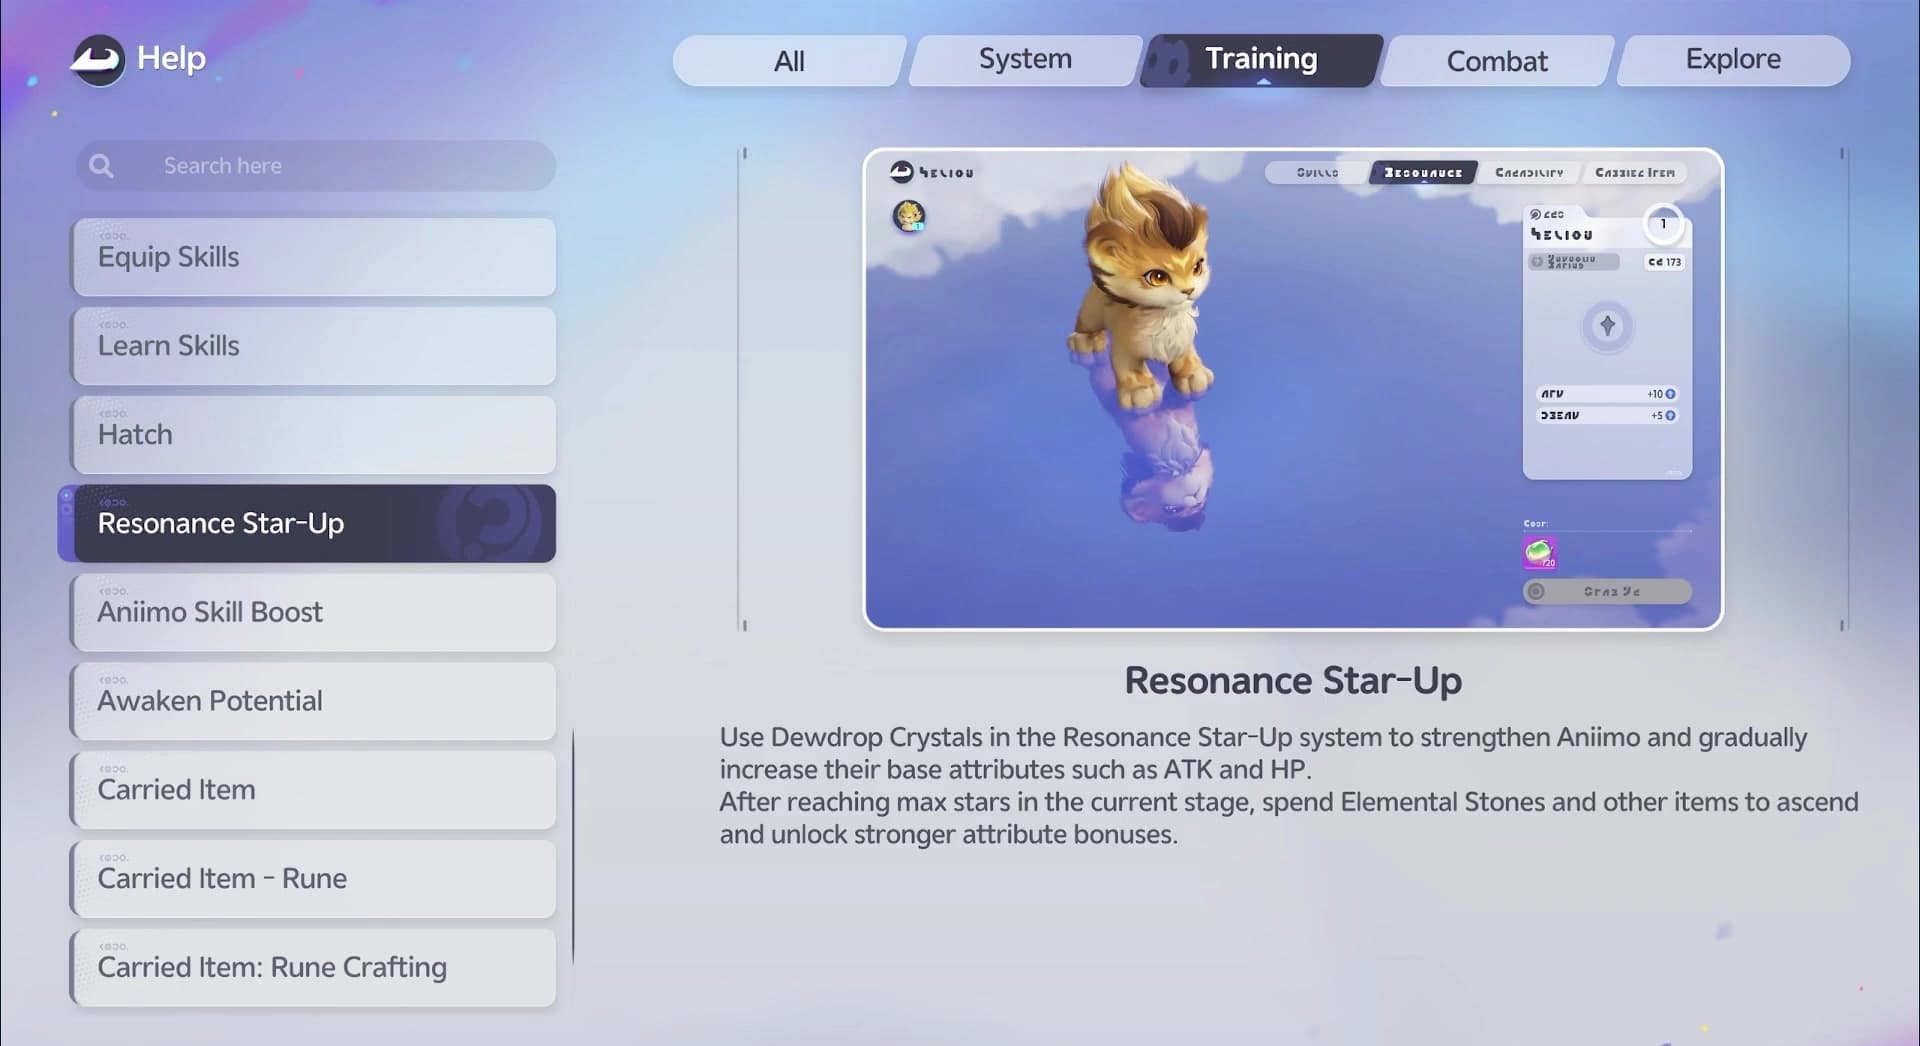
- Screen state
A star-up is available
- Best move
- Buy it for the active carry
- Why
- It is a fixed gain with no roll or reroll
- Screen state
A level gate blocks progress
- Best move
- Return to leveling and evolution
- Why
- Stockpiling does not bypass the gate
- Screen state
An ascent material is missing
- Best move
- Farm the named source; do not drain a second carry
- Why
- Later materials are the bottleneck
- Screen state
The carry reaches its current stop
- Best move
- Fund the next core system
- Why
- Capability Awakening or equipment can advance while Resonance is gated
Every Resonance stage and the level it needs
Ascension is gated on the Aniimo’s own level, not on yours, and the gates cluster. Stages 2 and 3 both open at level 35, so a creature that reaches 35 can climb twice in one sitting if the materials are there. After that the gaps widen sharply.
- Stage 1From the startStar-ups only, funded by one regional training crystalLv 1
- Stage 2Aniimo level 35ATK, BREAK and HP each gain 2%Lv 35
- Stage 3Aniimo level 35REGEN, P.DEF and M.DEF each gain 2%Lv 35
- Stage 4Aniimo level 40Counter Boost rises 20%Lv 40
- Stage 5Aniimo level 50Capability Awakening Count rises by 5, which is the first time Resonance buys Potential roomLv 50
- Stage 6Aniimo level 60Capability Awakening Count rises by 8, and the ascent starts asking for Phenomena CrystalLv 60
- Stage 7Aniimo level 65Capability Awakening Count rises by 10. The level it asks for sits above the current training cap of 60Lv 65
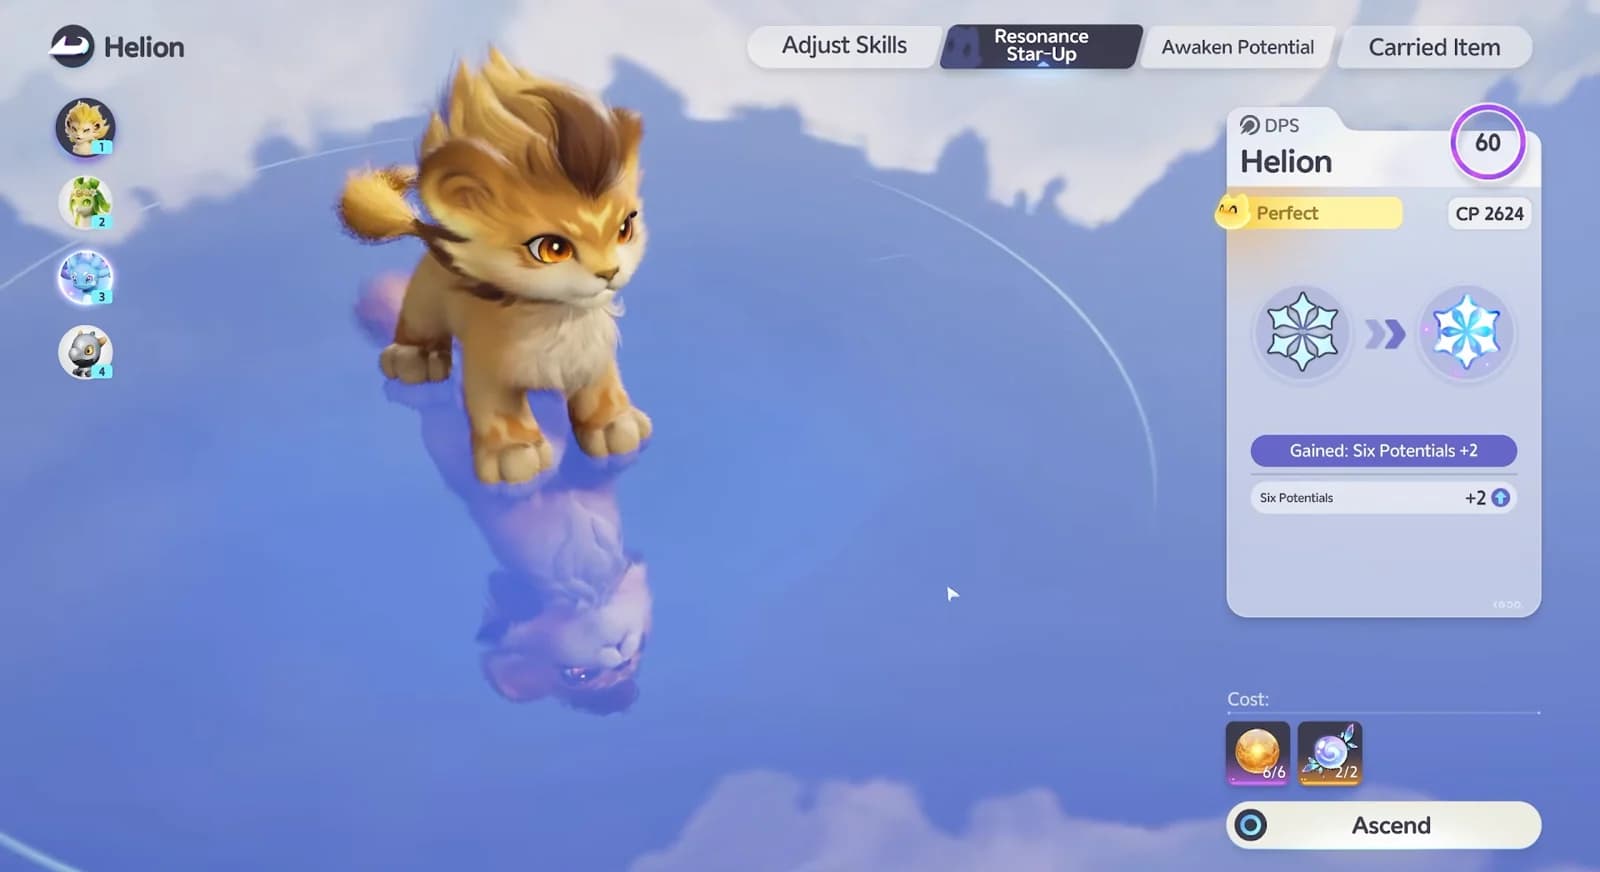
The Awakening allowance is the part most spending plans miss. Levels alone hand an Aniimo 150 Capability Awakenings by level 60, arriving at 1 per level from 11, 2 per level from 21, 3 from 31, 4 from 41 and 5 from 51. Stages 5 and 6 add another 13 between them. A catch with 18 innate points across its six attributes needs 102 awakenings to fill every stat to 20, so the allowance stops being the constraint somewhere in the forties and the materials take over.
Inheritance keeps early spending useful
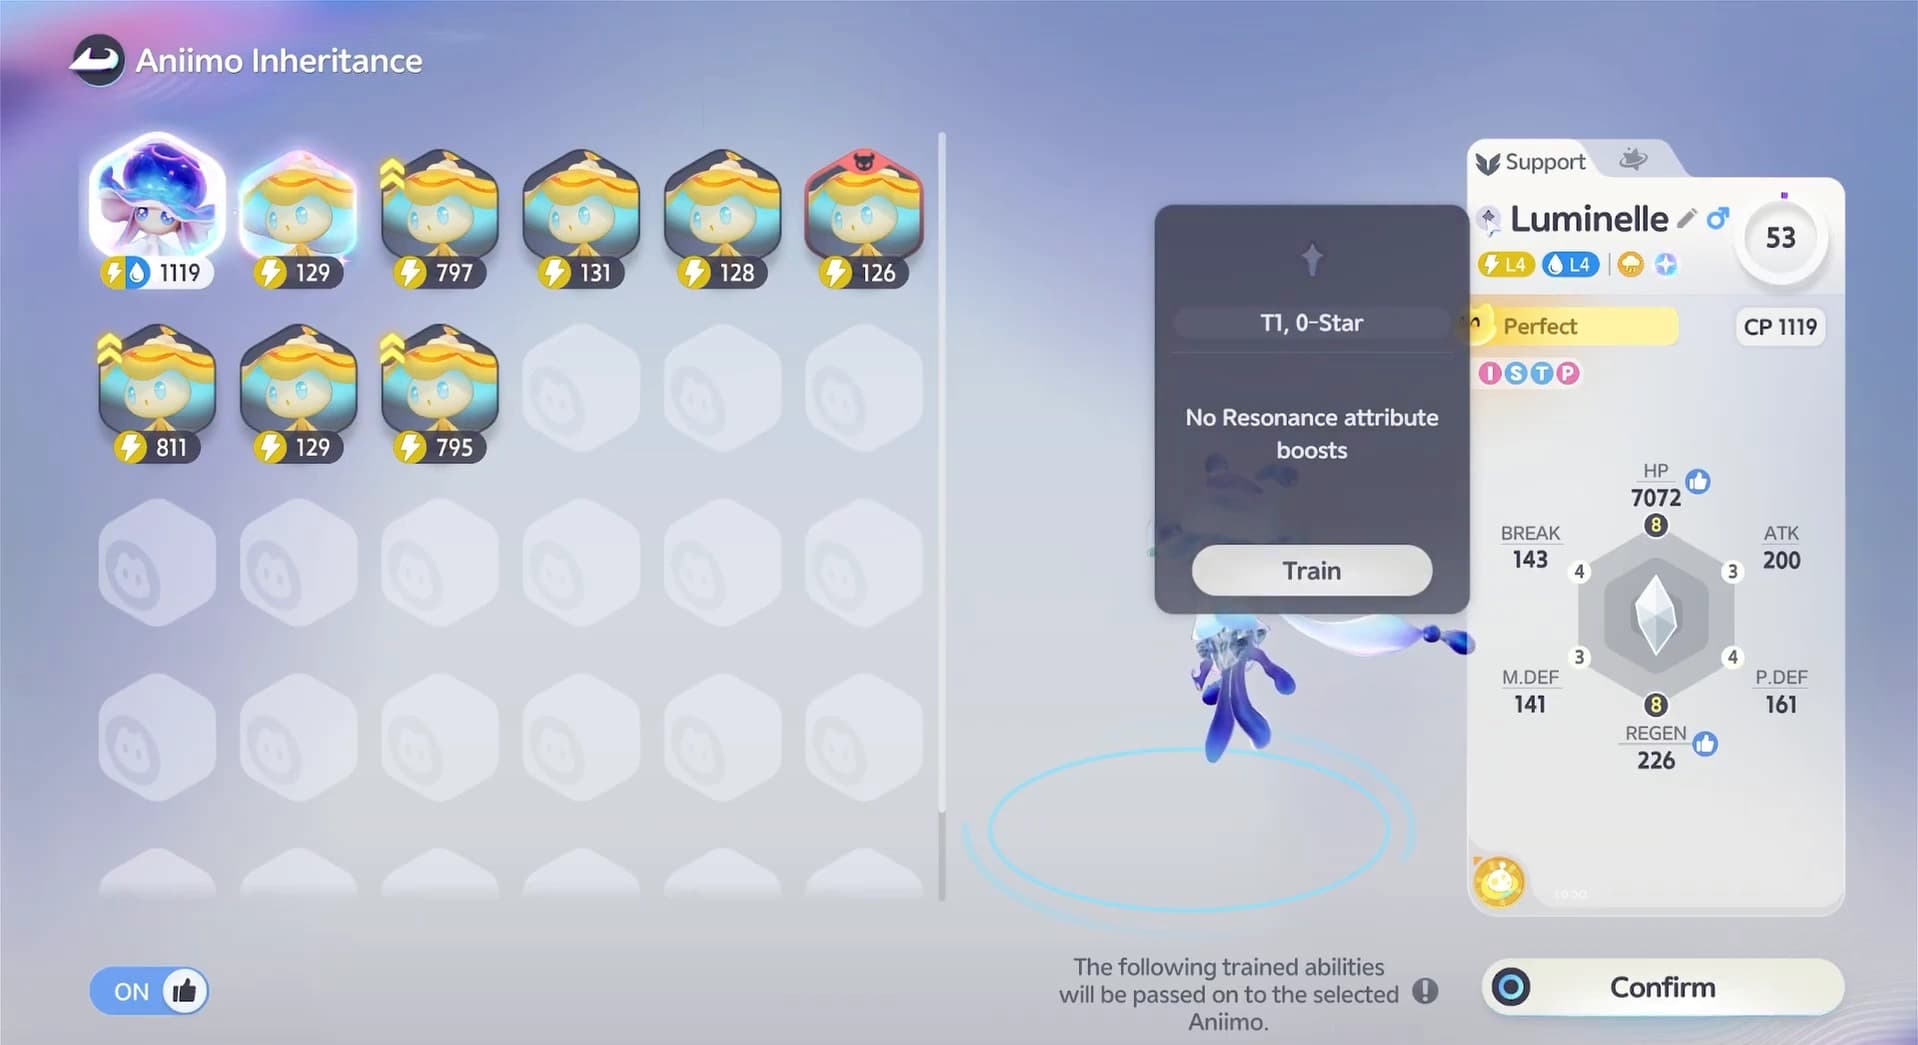
Inheritance is why a free player can invest before finding the ideal catch. It moves the trained profile between eligible members of the same family, so the useful levels, Resonance and Capability Awakening you bought early can follow the stronger recipient instead of being rebuilt from zero.
Held Items come after the core
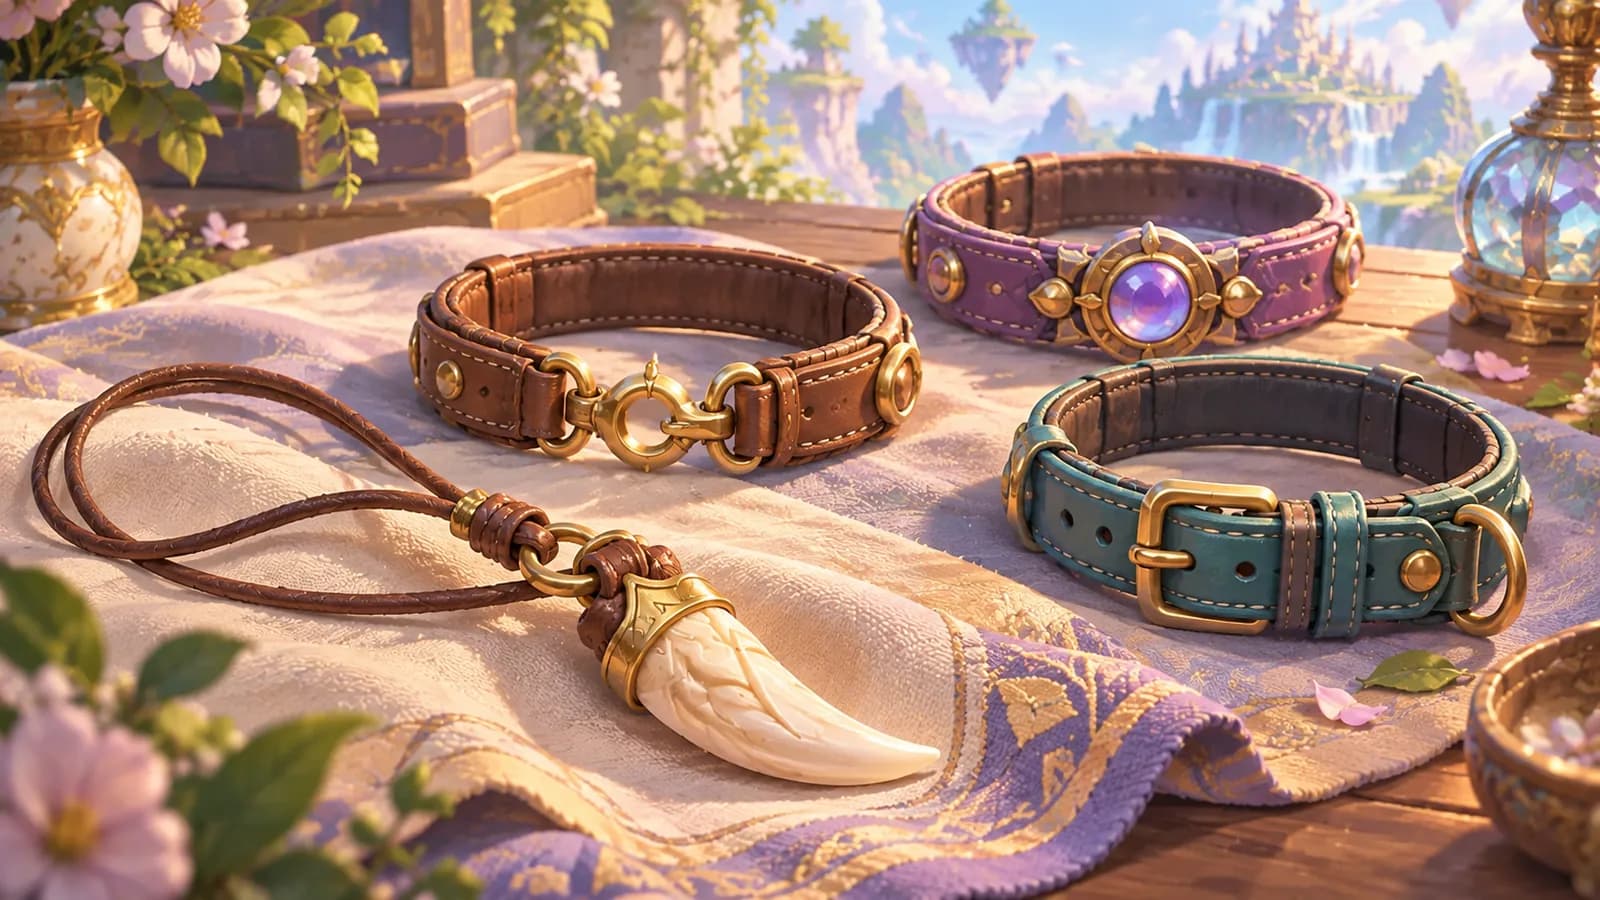
A Held Item contributes three things: a base effect, a core effect and an enhancement track. Fulmintis only benefits from an attack item when its effects support the chosen skill plan, so read each effect before spending enhancement cores on rarity alone.

- Check
Role fit
- Keep it when
- Its base effect supports the carry’s actual damage, healing, Break or support job
- Delay it when
- Its broad bonus does not match the equipped Aniimo’s kit
- Check
Core effect
- Keep it when
- The trigger occurs naturally in the intended rotation
- Delay it when
- Activating it requires weaker timing, positioning or resource use
- Check
Enhancement cost
- Keep it when
- The next listed effect materially improves the chosen plan
- Delay it when
- You expect to replace the item before reaching that effect tier
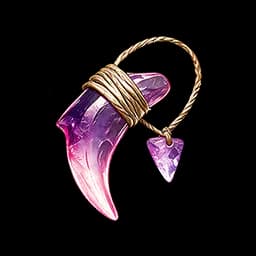
A legendary Ferocious Fang begins with Damage Amp, then adds ATK based on the equipped Aniimo’s level. Its two advanced effects add another ATK bonus and then a stronger Damage Amp, so the value comes from role fit at every stage.
The best F2P spending order
The best return comes from guaranteed upgrades on one carry, not from perfecting every menu at once. Use the tier list and an Aniimo’s actual skills to choose a role, then follow this order until the carry can clear the content that funds the rest of the roster.
- 1Choose one carry
Pick a damage dealer with a useful element and a kit you can support. Keep one healer or support near enough to survive the same content.
- 2Level, evolve and set the skills
Build the base creature first so later training gates and the intended combat loop are available.
- 3Buy cheap recommended Potential
Spend early Capability Awakening materials on the marked attributes and stop when the next point jumps to a scarce grade. A reset returns the training items for 200,000 Credits and is only blocked from level 61, which nothing reaches under the level 60 cap, so this early investment stays reversible.
- 4Take every open Resonance gain
Fill available stars and ascend the carry, then leave the menu when a level or material gate appears.
- 5Commit one matching Held Item
Choose the base and core effects before rarity, then avoid splitting enhancement cores between substitutes.
- 6Unlock the first enhancement effect
Reach the first listed effect on the item you plan to keep, then fund the final tier after the rest of the core team is functional.
- 7Finish the expensive points
Return to high-grade Capability Awakening and late Resonance after every cheaper guaranteed layer is online.
- 8Inherit, then widen the roster
Move the profile to a better same-family catch when needed, then repeat the route for a second damage element.
| Priority | Upgrade | Reason |
|---|---|---|
| First | Cheap Capability Awakening in recommended attributes | Guaranteed role stats from common materials |
| First | Open Resonance stars and stage ascents | Guaranteed whole-build progress with no roll |
| Next | A matched Held Item core effect | Large combat value once the role is settled |
| Next | The first Held Item enhancement effect | Adds a guaranteed item bonus after the role is settled |
| Late | Final high-grade Capability Awakening points | Guaranteed, but expensive compared with early layers |
| Last | Final item tiers and substitute item rolls | Expensive optimization with the weakest return per attempt |

Frequently asked
Can a free-to-play Aniimo reach max stats?
Yes. Free players use the same direct Potential cap and the same extra-stat layers as paying players. Capture grade changes how many Capability Awakening materials are needed, while Resonance and Held Items determine the remaining build ceiling.
Should I wait for a Perfect catch before training?
No. Build a usable catch so it can earn progression materials, then use Inherit to move the trained profile to a better member of the same family.
What should I upgrade first in Aniimo?
Level and evolve one carry, buy its cheap recommended-stat Capability Awakenings, take every open Resonance gain, then commit a matching Held Item and unlock its first useful enhancement effect.
Is Capability Awakening or Resonance more important?
Neither replaces the other. Capability Awakening fills one direct attribute at a time, while Resonance adds staged training bonuses. Buy the cheapest guaranteed improvement that is currently open, then switch systems when a material or level gate makes the next step inefficient.