EP burst with a dedicated breaker
Load in Team Planner Stored FlameRecommended
Scorchhowl and Somniwing anchor the EP plan. Replace the breaker and healer to match the encounter, keeping those jobs covered.


Save EP for a fully charged Burn Breaker, prepare one clean damage window, then rebuild before committing again.
By bubblegumxemo ·
 Fire
FireStart playing
Prepare your team and resources.
EP is your skill resource. BREAK is the vulnerable phase after the enemy’s break bar is depleted. An ultimate is the charged special skill. Read the full rotation and entry requirements.
Start with the first priority and work down. These are practical build goals, not simulated stat weights.
Burn Breaker costs 30 EP and at full charge consumes the rest. Each extra 10 EP adds 25% damage; budget the whole rotation before adding setup casts.
Burn Breaker and Fire Kick deal physical damage. Build a reliable ATK baseline before conditional damage options.
Add compatible damage bonuses and crit after the rotation works. Do not sacrifice a charged hit to chase a stat target.
These are practical roster templates built from verified skills. They are not ranked damage simulations. Core slots define this blueprint. Replace a flex member only if its replacement still covers the job described on the card.
Scorchhowl and Somniwing anchor the EP plan. Replace the breaker and healer to match the encounter, keeping those jobs covered.
Trade Glacy’s damage buff for Gracewing when hostile debuffs interrupt the charge.
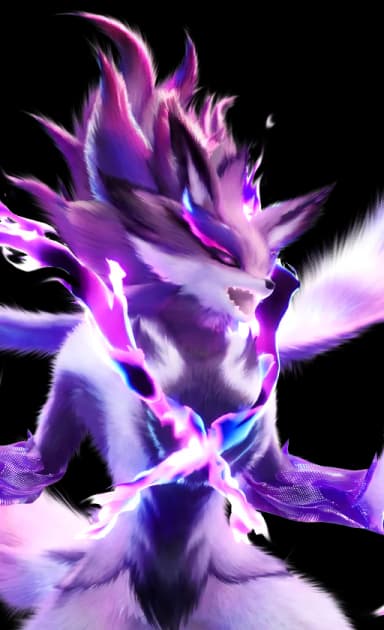
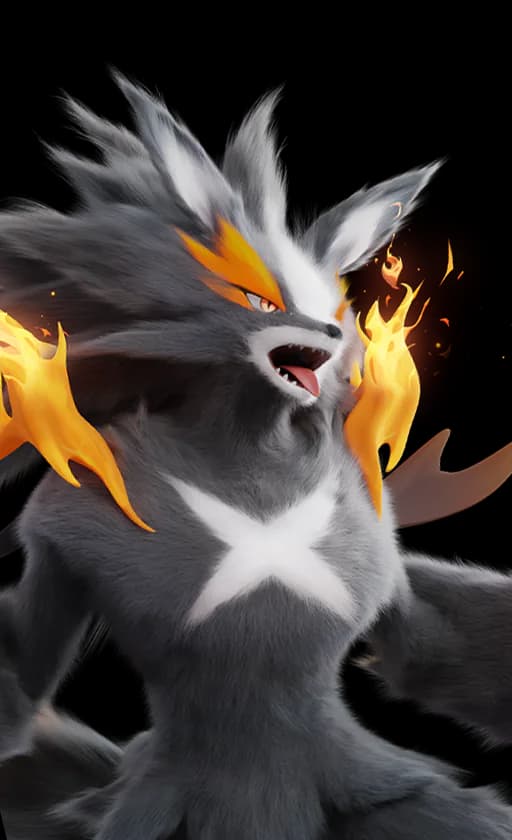 ScorchhowlBasic
Core · Carry
Magmarex supplies Fire BREAK and a conditional stun. This doubles down on Fire, so check the target’s resistance first.
Form typing changes matchups. A coverage kick does not turn Burn Breaker into another element.
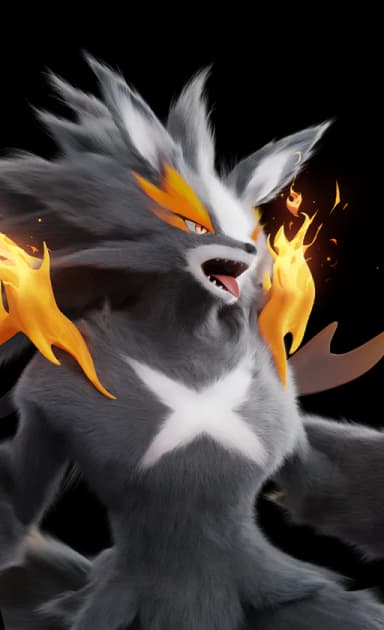
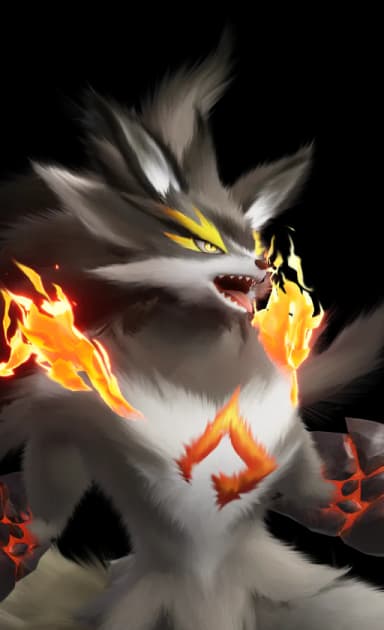




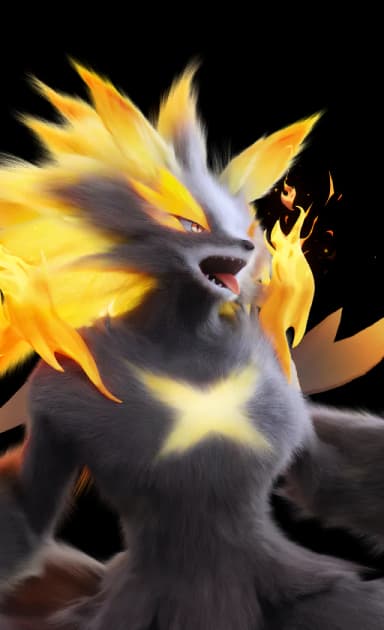
Keep one main spender and choose a second active skill that solves the encounter. Each loadout labels its equipped skills. An optional swap, where shown, replaces slot 2.
Falling Star is the ultimate, ATK is the basic attack, and Burn Breaker is the main EP spender. Fire Kick is the active defensive partner.
 Falling StarUltimate
 ATKBasic attack
 Burn BreakerSkill slot 1
 Fire KickSkill slot 2
 Fire BoltSlot 2 swap
Slot 2 choice: Swap Fire Kick for Fire Bolt when ranged Fire application matters; the 10 EP cost competes with Burn Breaker.
Use only after unlocking Pebble Kick. It changes the defensive attack element; Burn Breaker remains Fire.
Item effects appear below. Compare at equal investment and keep enough survivability to finish the charge.
 Ferocious FangATK baselineDamage Amp +10%. Equipped Aniimo gain 0.7 additional ATK per levelStart with the direct ATK option; compare upgrades at equal item level.
 Explosive GlovesConditional EP optionDamage Amp +10%. Increases Damage Amp by 5% for every 10 EP currently availableScales with current EP. Spending EP can reduce its bonus; do not assume a full-charge attack retains the pre-spend bonus.
 Destiny’s DiceBurst alternativeDamage Amp +10%. Randomizes damage dealt between 70% and 150%A conditional alternative, not a guaranteed damage upgrade.
Basic Form · all 7 Resonance stages, including the first 20-crystal training step. Evolution costs are separate.
View stage-by-stage costsThe reliable goal is a charged hit that lands with EP and buffs ready.
Use Ethereal Light Wave to support EP recovery, then save EP for the charge. Its 15% recovery buff lasts 20s for teammates along its path; avoid spending that budget on filler.
Apply Glimmer Shot and BREAK first. If using Hypnotic Spores, save its damage-taken effect for the intended hit; any incidental damage removes Hypnosis, and Grass targets are immune.
Fire Kick costs no EP. A successful dodge adds damage and gives 20% increased damage for 20s. Pressing it without dodging does not earn that bonus.
Fully charge Burn Breaker against the prepared target. It spends remaining EP, so keep the target in reach and avoid starting as BREAK ends.
Return to the support and BREAK cycle. The community double-charge sequence uses Somniwing’s ultimate between bursts, but this guide does not assume a full refill or promise two hits in every BREAK window.
Use these encounter rules to preserve the rotation instead of forcing the same sequence into every target.
A mobile or resistant target can erase the benefit of banking EP. Shorten the commitment or wait for control instead of forcing a maximum charge.
The upgraded Burn Breaker adds a dash toward the locked target, up to 6m. It helps the hit connect; it does not remove the EP cost.
Hypnosis affects the enemy; Light Wave supports allies in its path. Neither is an unconditional permanent team damage multiplier.


Light Wave supports EP recovery; Hypnosis sets up one hit and breaks as soon as damage lands.


Bouncy Sling increases BREAK damage taken; Guardbreak Slam stuns on its third hit.
Healing Water heals allies from caster max HP; Glimmer Shot adds 15% team damage for 15s.
 SomniwingBasic
Core · EP support
Light Wave supports EP recovery; Hypnosis sets up one hit and breaks as soon as damage lands.
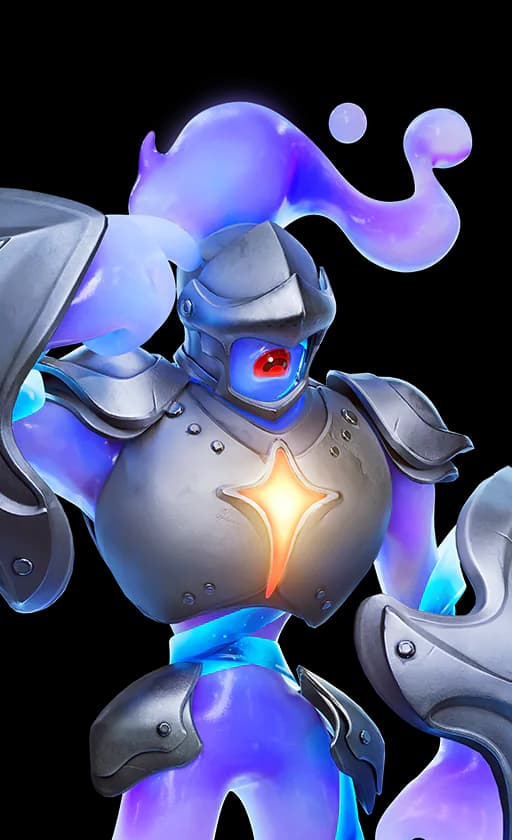 RookeyBasic
Flex · BREAK
Bouncy Sling increases BREAK damage taken; Guardbreak Slam stuns on its third hit.
 GracewingBasic
Flex · Cleanse and heal
Phantom Dance supplies cleanse; Healing Dance provides healing over time.
Core · Carry
SomniwingBasicCore · EP support
Light Wave supports EP recovery; Hypnosis sets up one hit and breaks as soon as damage lands.
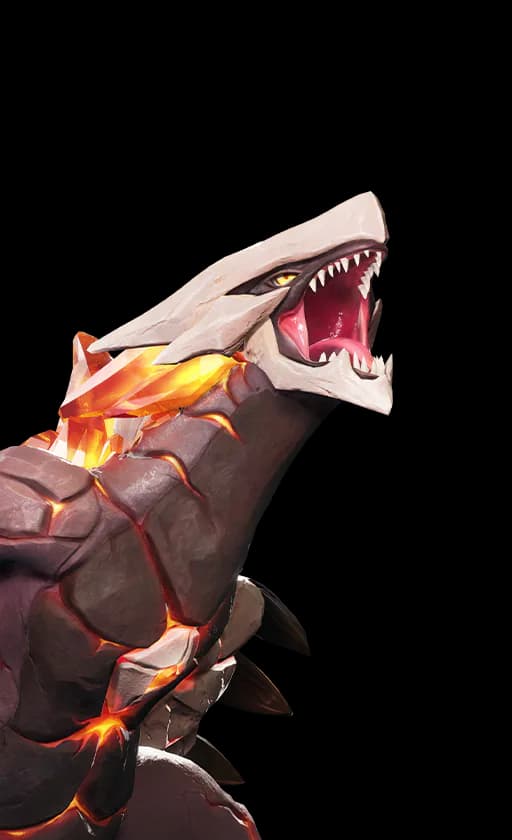 MagmarexBasic
Flex · Fire BREAK
Lava Breath builds Fire stacks; Magma Surge stuns for 1s when the target has more than five stacks.
 GlacyBasic
Flex · Heal and damage buff
Healing Water heals allies from caster max HP; Glimmer Shot adds 15% team damage for 15s.
Slot 2 choice: Use Pebble Kick for Earth coverage; Fire Kick remains the default against targets weak to Fire.