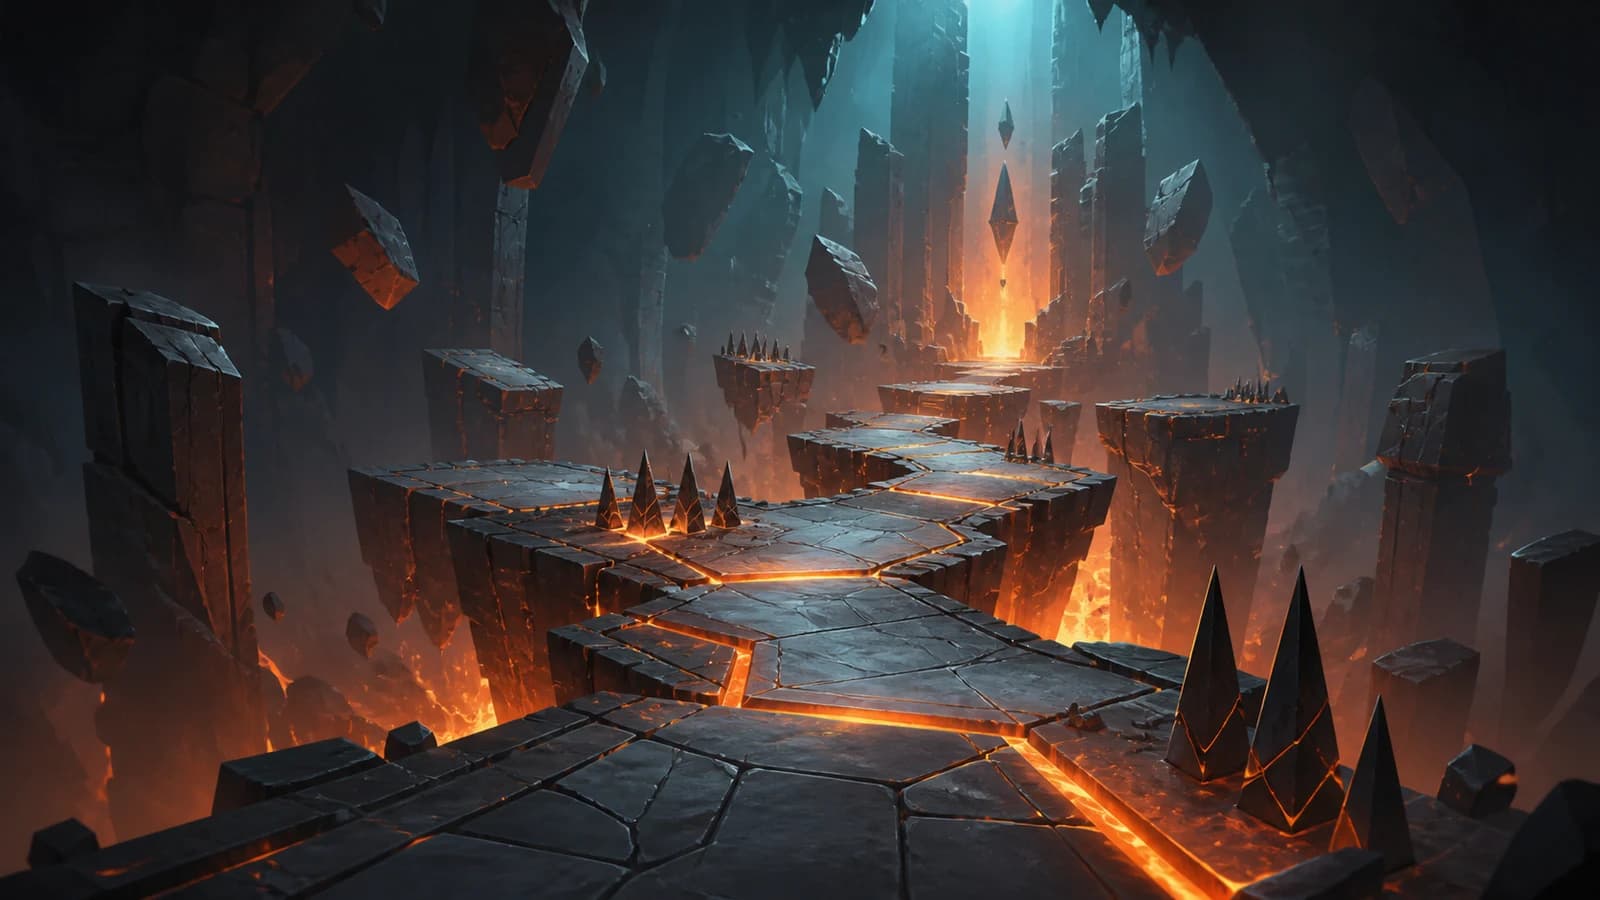
Location and requirements
| Check | Value |
|---|---|
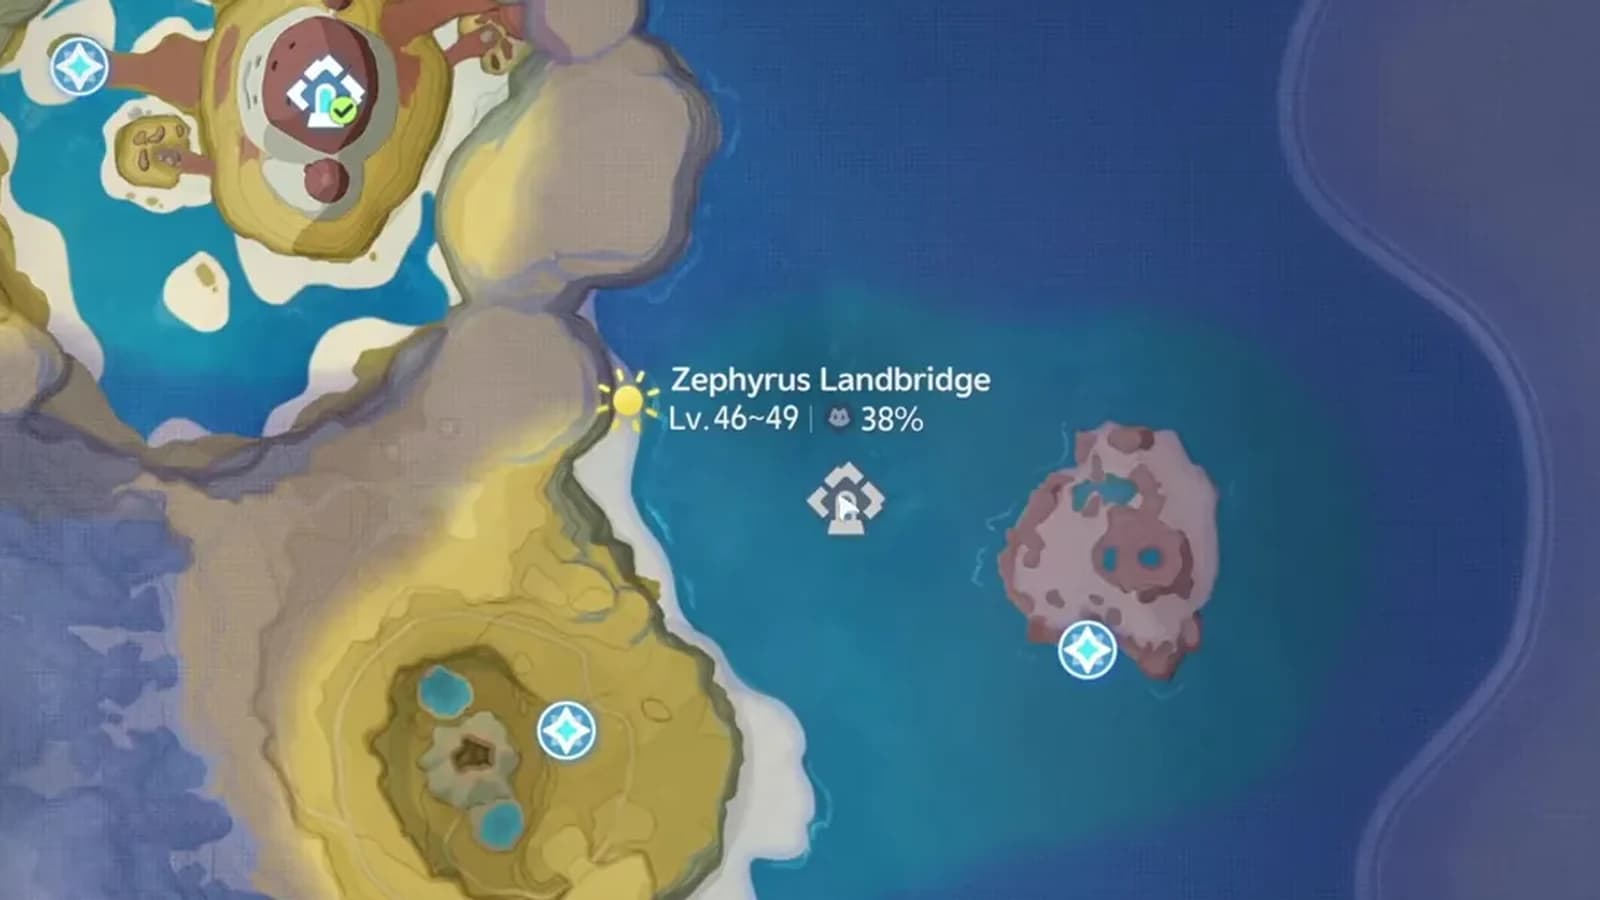
| Area | Zephyrus Landbridge |
| Atlas coordinate | 3595, 744 |
| Players | Solo |
| Optional chests | 3 |
| Trial Aniimo | 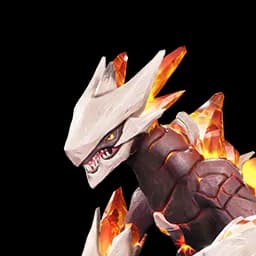 Magmarex Magmarex |
| First clear | Material ×1 · EXP 200 |
To find the room, open the exact Shatterstone atlas pin. The marker sits at 3595, 744 on the AniimoVerse atlas. The entrance is underground in the red-lit cavern beneath Zephyrus Landbridge, not on the open surface. Follow the cave until the path widens around a huge stone mass traced with purple glyphs; the Sanctum stairs sit directly in front of it.
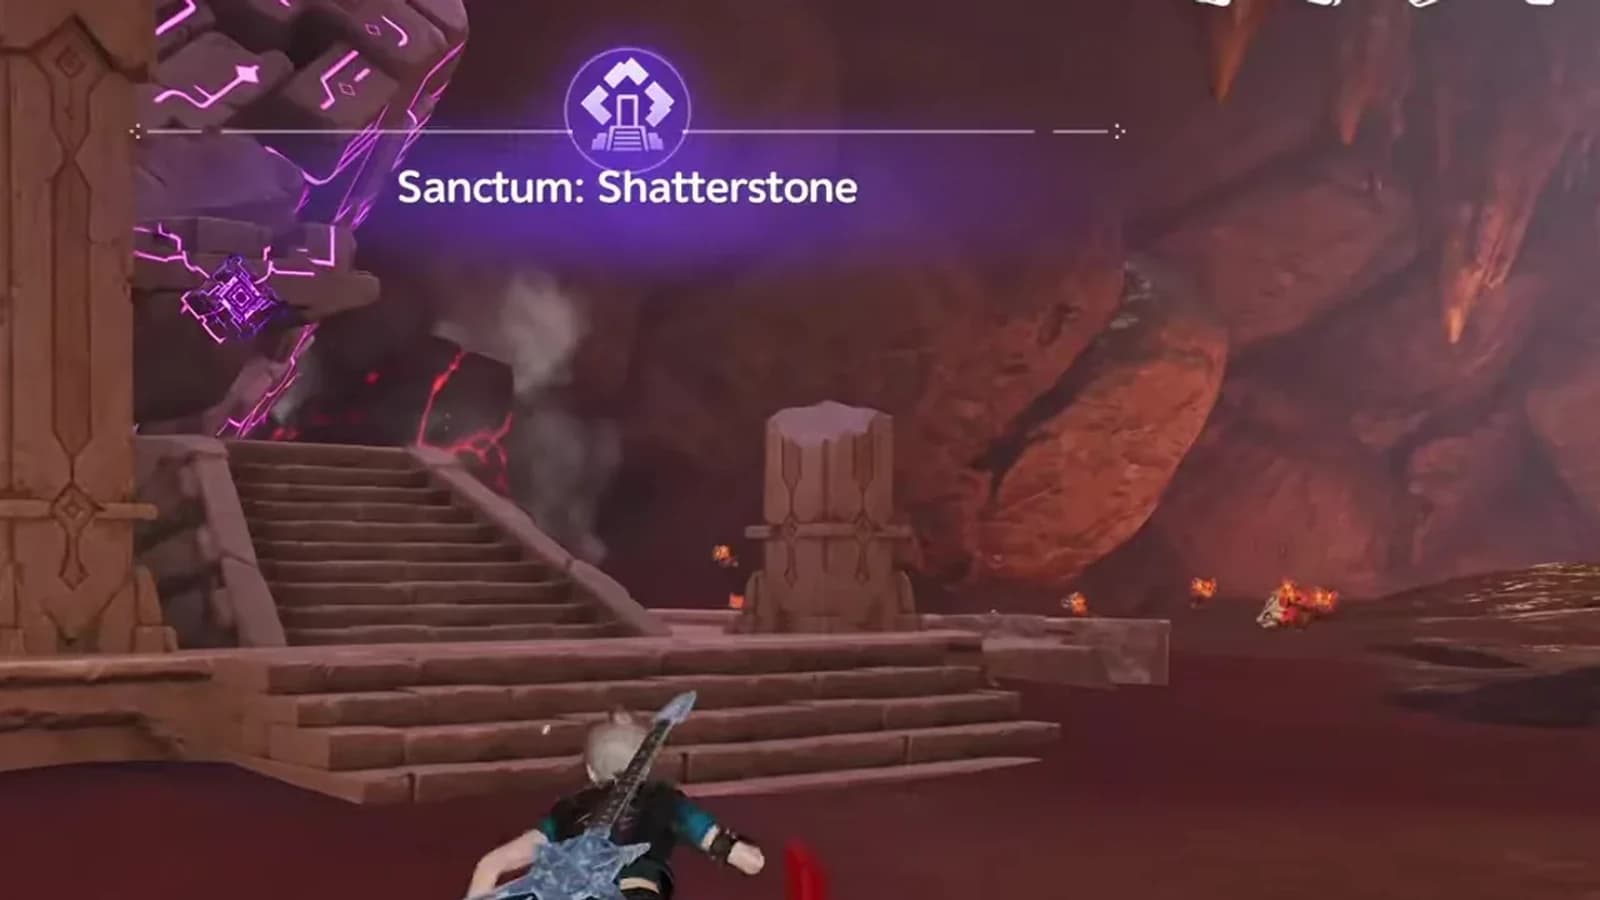
Quick answer
- 1Claim the trial Magmarex
Enter alone, reach the purple-lit trial station, and twine with
Magmarex. Fast and Furious starts Hustle, the way to smash the lava obstacles. - 2Take the first chest before the timer
Break the first ordinary barriers, follow the short open passage, and collect the blue early chest. Confirm the counter changes from 0/3 to 1/3.
- 3Run center, right, then center
On GO, activate Hustle, break the center-ramp wall, use the right-hand opening around the dense raised-spike cluster, then return to the middle gaps for the final obstacles.
- 4Collect both finish-room chests
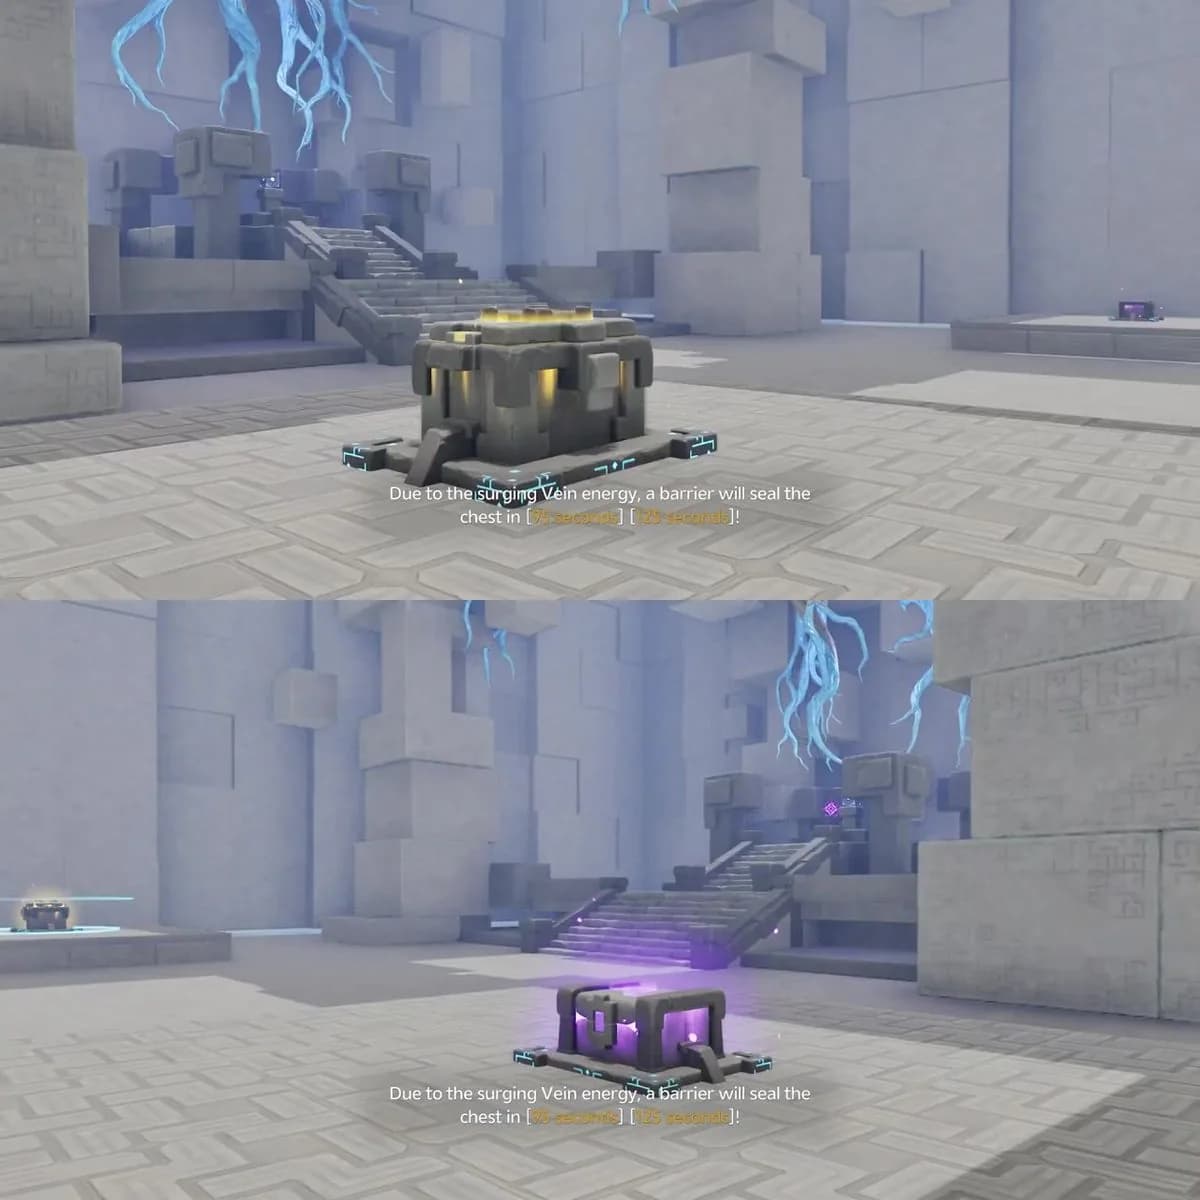
The two remaining chests have 95-second and 125-second seal warnings. Take both detours, check for 3/3, then touch the purple Sanctum Terminus/Tesseract to restore the Vein.
Breakable-rock tutorial
The trial station supplies Magmarex. Tap the displayed Fast and Furious input to enter Hustle. The in-game tutorial says Hustle smashes Lava Crystals and Lava Spheres, and breaking either restores some stamina. Hustle is the barrier method the room is built around, so keep it available for every wall.
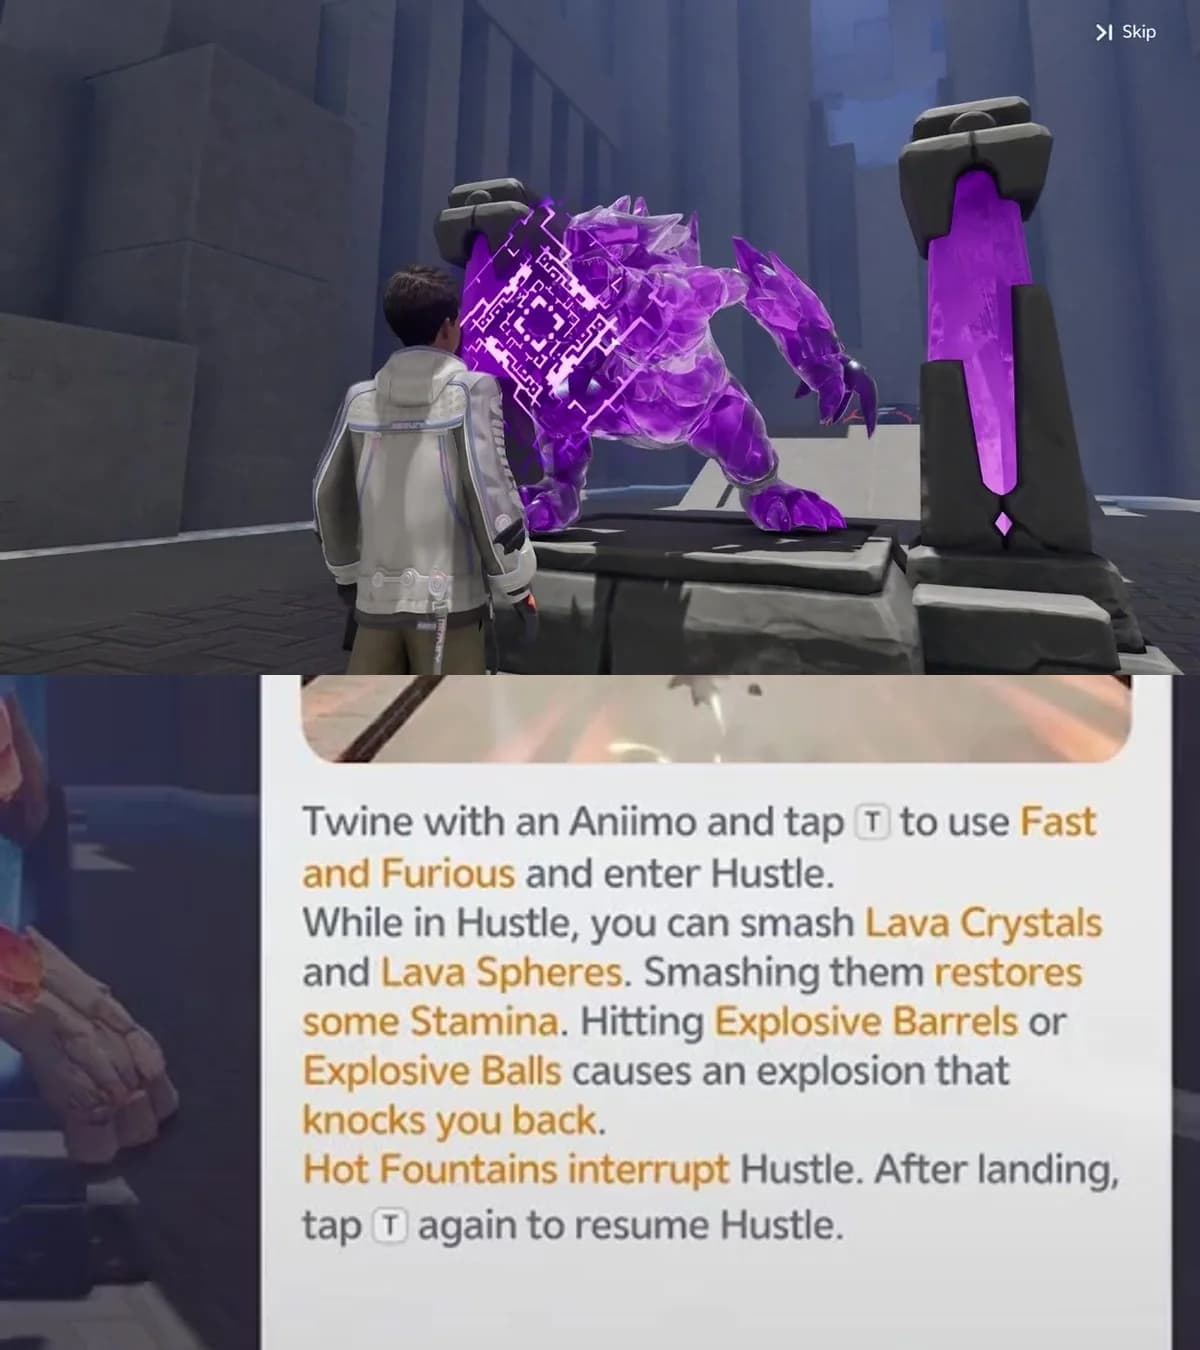
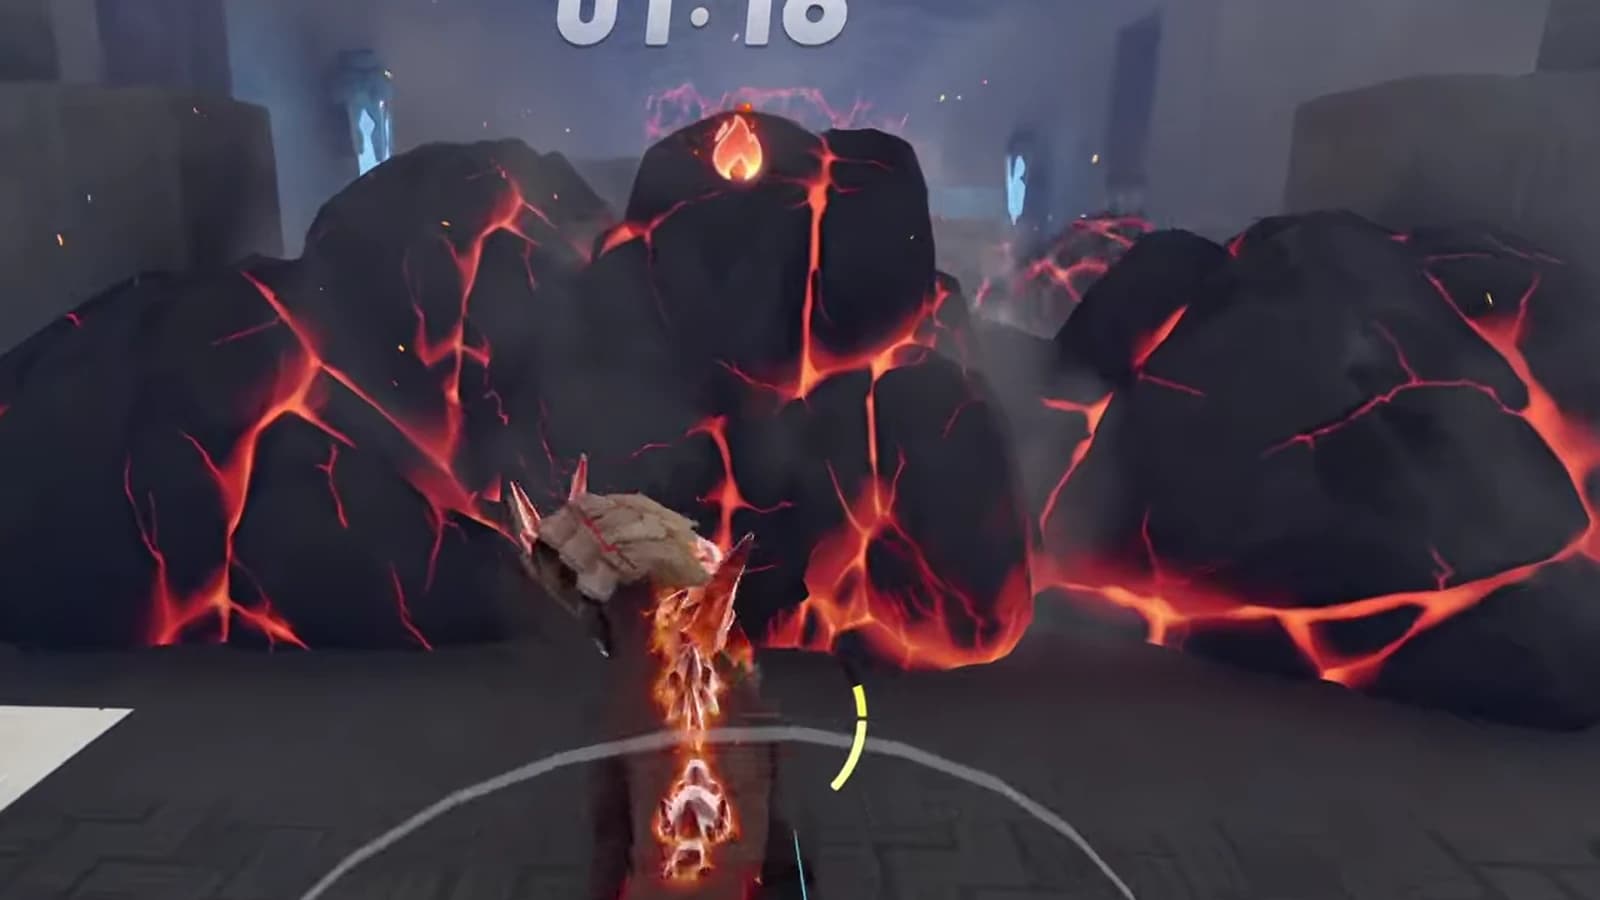
Use the first room as practice. Line Magmarex up squarely with the dark rock face that carries glowing red seams, start Hustle before contact, and keep moving through it. The hit clears the middle of the barrier and opens the lane beyond.
Timed-course route and hazard legend
Collect the early chest before touching the course start. It sits in the first open passage after the tutorial barriers, between red-seamed rocks. The left HUD is the check: it moves from 0/3 to 1/3 when you open the blue chest, and it stays there through the ranked section.
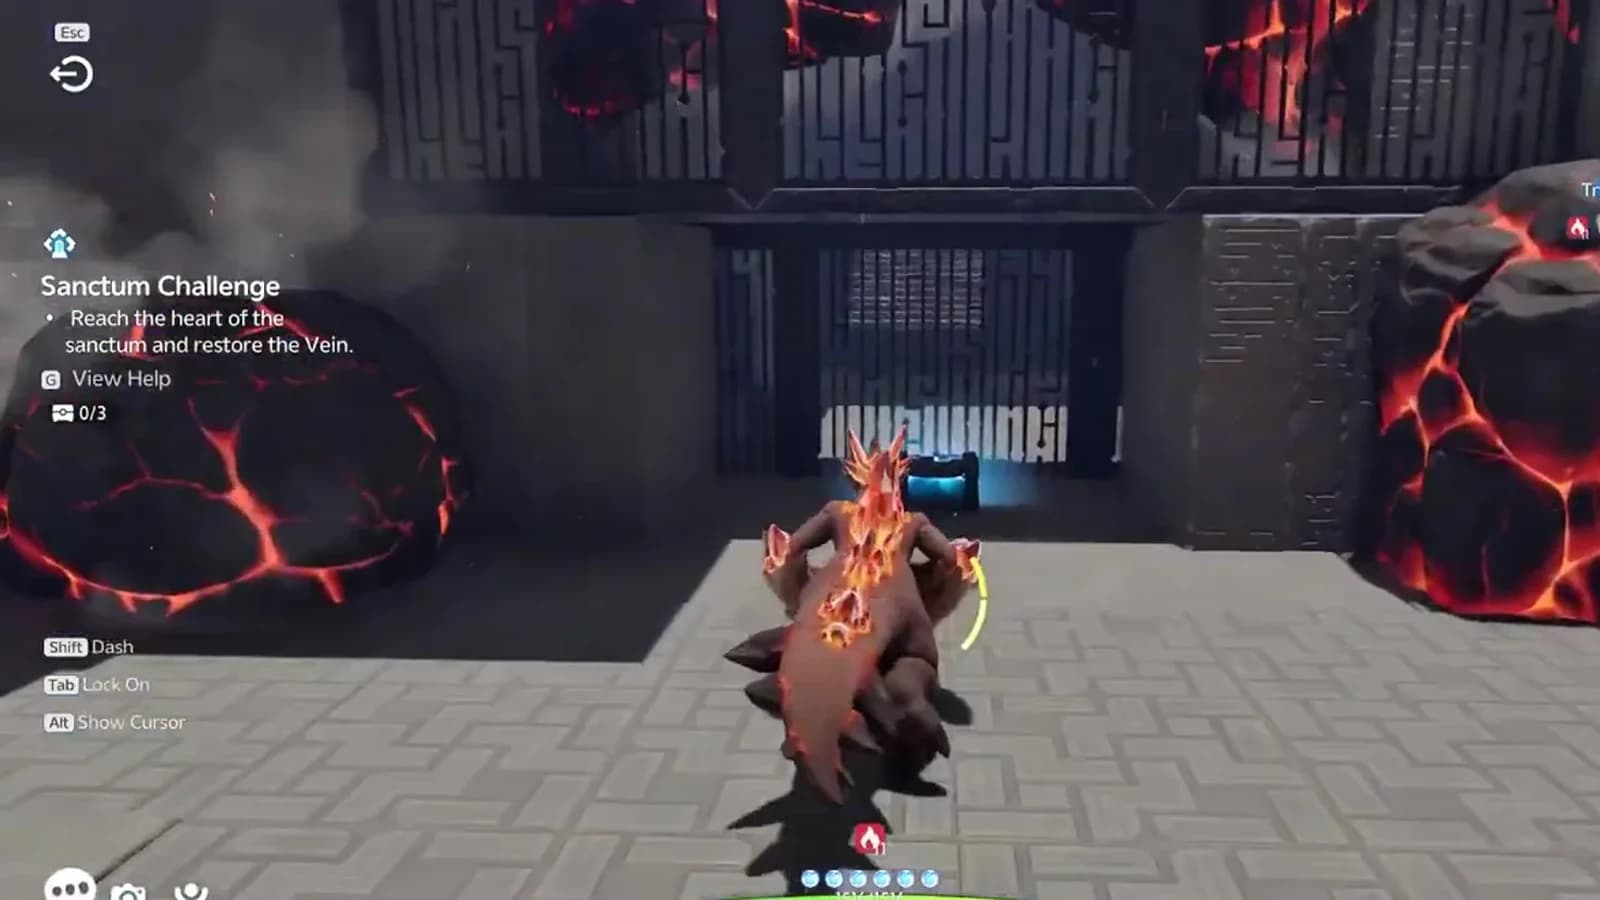
| Object | What it does | Route response |
|---|---|---|
| Lava Crystal or Lava Sphere | Breaks during Hustle and restores some stamina. | Aim through the glowing center and keep moving. |
| Raised spike rows | A course obstacle that breaks your line if you clip it. | Thread the open gaps around the raised cones. Do not use floor color as a safety rule: the cones cross both light and dark flooring. |
| Explosive Barrel or Explosive Ball | Explodes on contact and knocks Magmarex back. | Use the open gap instead of treating it as a stamina target. |
| Hot Fountain | Launches Magmarex and interrupts Hustle. | Accept the launch, land facing forward, then activate Fast and Furious again. |
The start cinematic pans over both finish-room chests and states their deadlines: barriers seal them at 95 seconds and 125 seconds. That is the clock you are racing, not the grade.
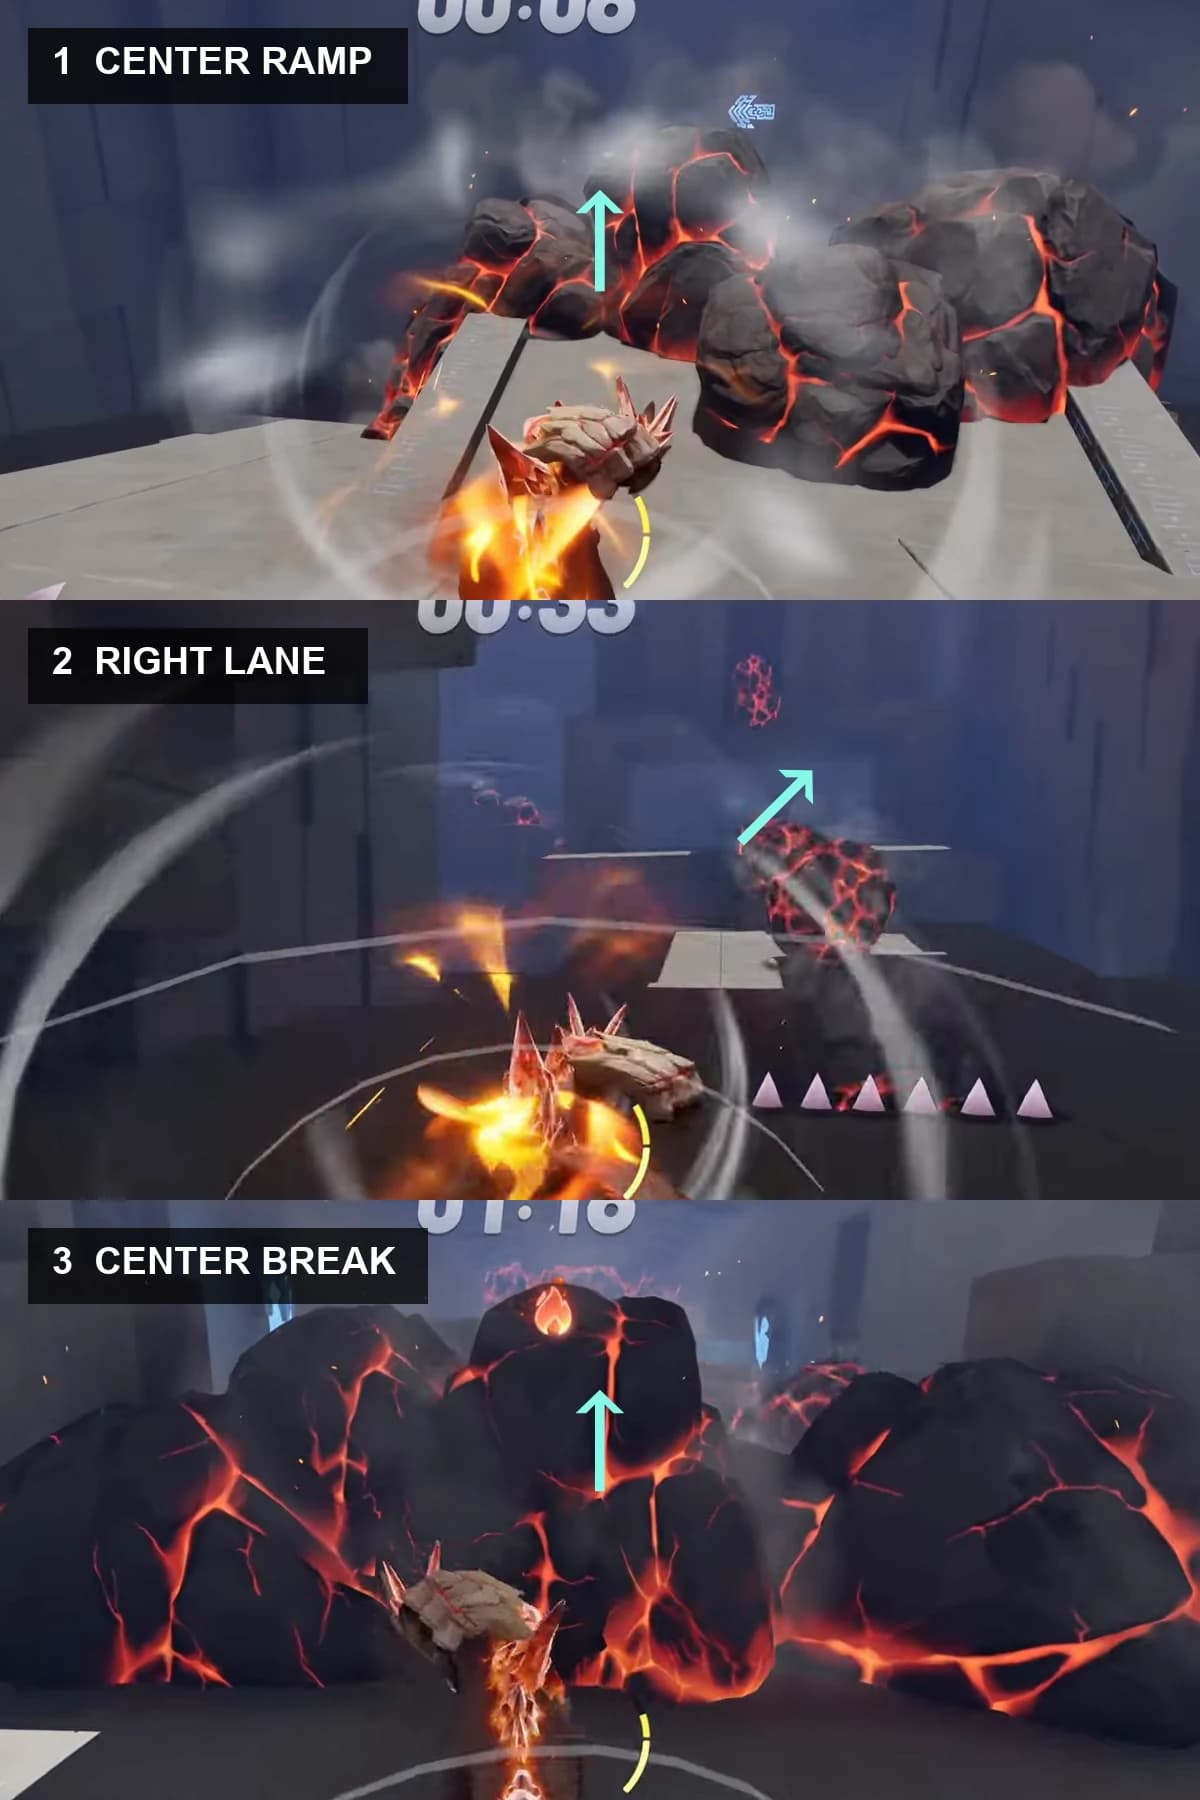
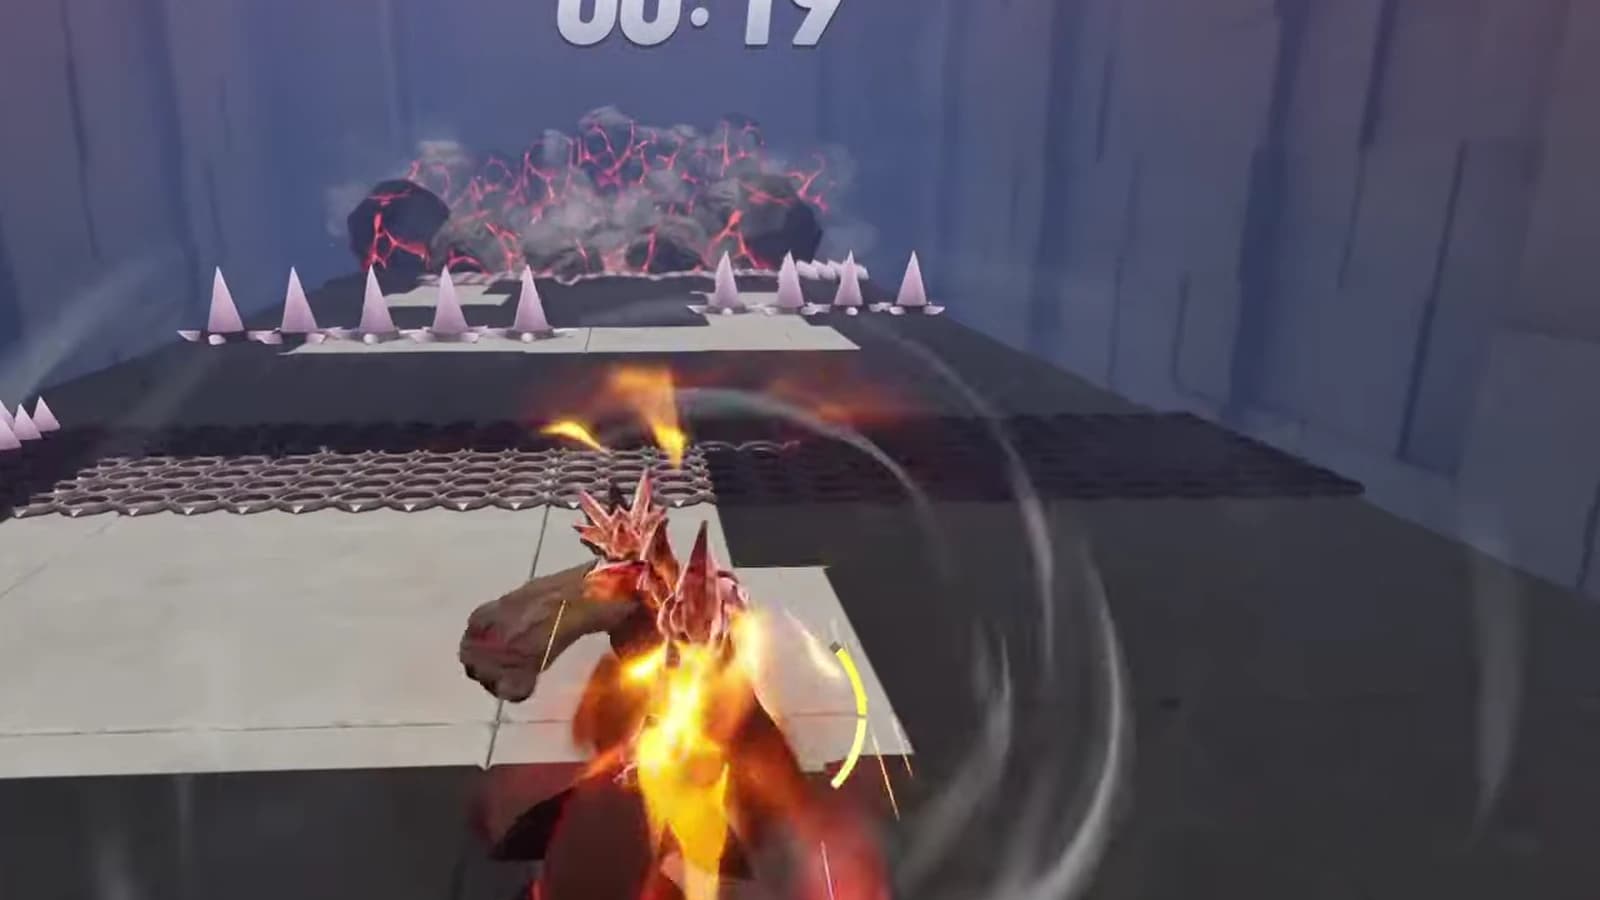
- 10:00 to about 0:20: center ramp
When GO appears and the timer starts, activate Hustle and drive straight up the center ramp. Break the first wall head-on, then keep just right of the first raised-spike cluster so the opening stays wide.
- 2About 0:20 to 0:50: right lane
Use the right-hand opening around the dense hazard cluster. Do not chase a red-seamed object across the raised spikes; hit the barrier already aligned with your route.
- 3About 0:50 to 1:10: fountain landing
Stay on the open approach to the Hot Fountain. It interrupts Hustle during the launch, so face the next platform before landing and tap Fast and Furious again as soon as control returns.
- 4About 1:10 to finish: center breaks
Return to the middle gaps between the rolling explosive hazards. Smash the last molten barriers in a straight line and cross the checkered finish marker without cutting across the raised spikes.
Grade and reward
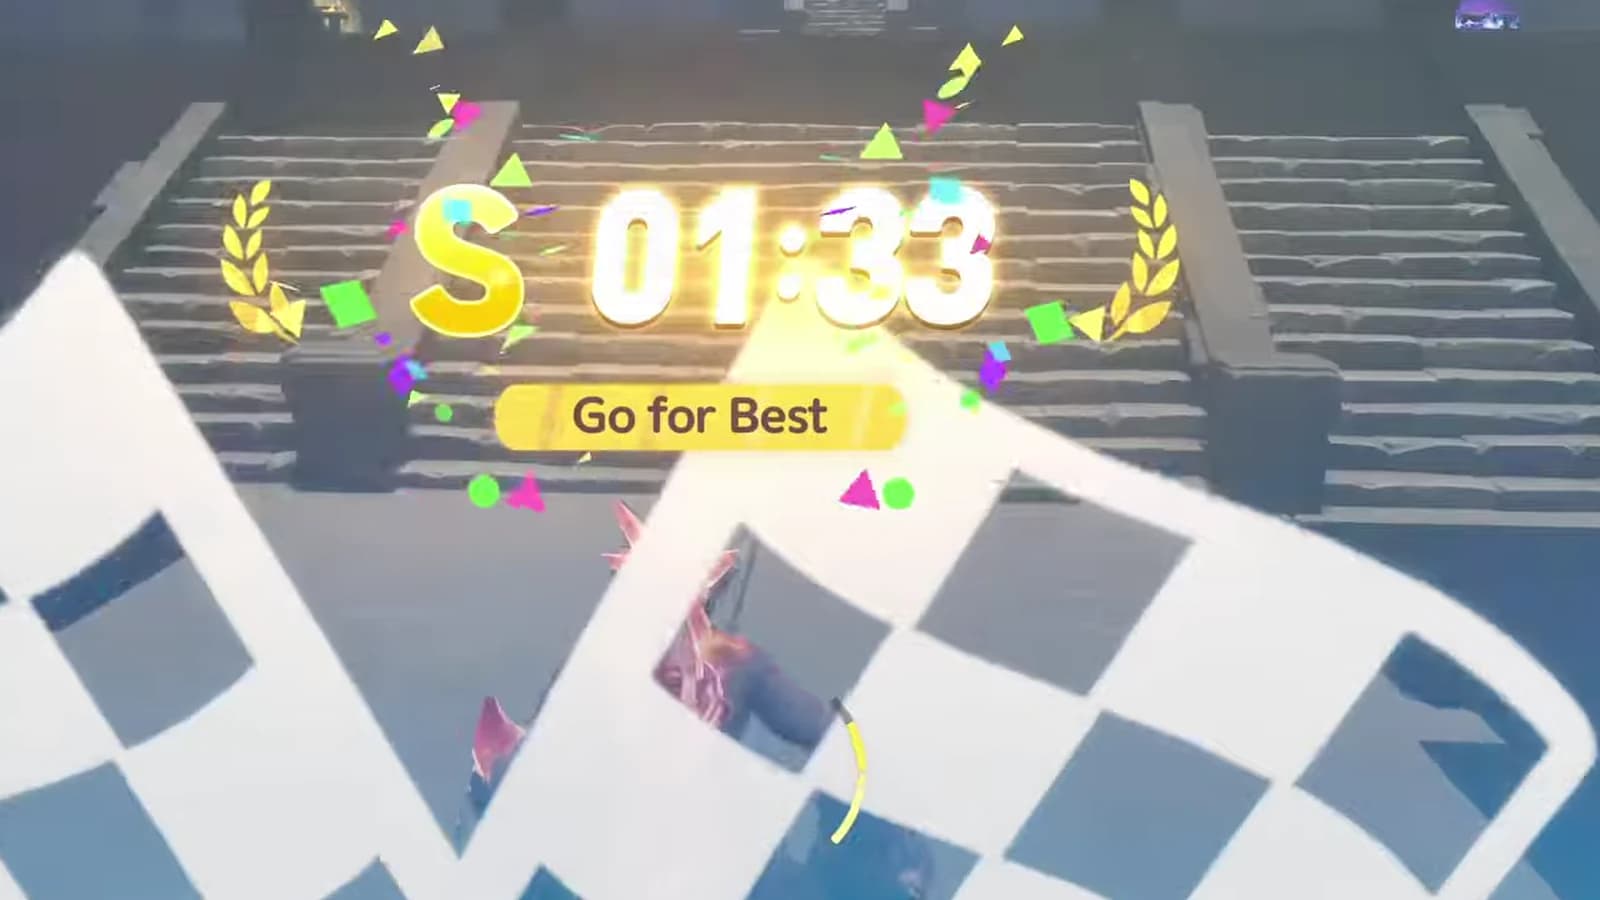
The course HUD displays a live grade that changes between A and S. A clean run finishes at S in about 1:32 to 1:33 with the chest counter still at 1/3, because the two finish-room chests come after the line. The grade does not gate the clear and it does not change the chest count.
Three-chest checklist
- 1Early blue chest
Find it in the short passage after the first tutorial barriers and before the timed-course trigger. Leave the passage at 1/3.
- 2Lower finish-room chest
Cross the finish line and take the gold chest on the lower platform first. The counter advances from 1/3 to 2/3.
- 3Opposite finish-room chest
Go to the purple chest on the opposite side. The counter advances to 3/3; do not use the final Terminus before checking it.
The counter stays at 1/3 throughout the course and only moves again in the finish room. You can take the gold and purple chests in either order, as long as both barriers are still open. Use the live counter, take both, return to the central stairs, and only then touch the Terminus.
Retry and recovery tips
- The challenge HUD offers a Reset Gameplay control. Treat it as a restart of the attempt and check the chest counter afterwards before you commit to the course again.
- If a Hot Fountain interrupts Hustle, wait for the landing and tap Fast and Furious again. Holding the stick forward without reactivating the ability will not break the next wall.
- If an explosive ball knocks you sideways, recover into the nearest visible opening before accelerating. A short correction costs less time than clipping a second hazard.
- If stamina is low, aim at the next Lava Crystal or Lava Sphere instead of weaving toward an explosive object. The tutorial explicitly assigns stamina recovery only to the smashable lava objects.
- If the course grade falls from S to A, keep running. The grade can climb back, and neither letter replaces the separate chest counter.
Complete the Sanctum and continue
With the HUD at 3/3, untwine if needed, climb the central steps, and touch the purple Sanctum Terminus/Tesseract. That device restores the Vein and completes the Sanctum; it is the final device, not the Vein itself. Collecting the chests alone does not clear the room.
For the next room, return to the complete Sanctum directory, compare mechanics in the Puzzle Tutorials hub, or refresh the trial controls in the Twining guide.
To revisit the entrance directly, open the exact Shatterstone atlas pin.
Frequently asked
Is S rank required to clear Shatterstone?
No. S is possible at about 1:32 to 1:33, but no grade gates the clear. The 95-second and 125-second warnings are the deadlines that matter, and they apply to the two finish-room chest barriers.
Which trial Aniimo and ability does Shatterstone use?
Shatterstone supplies Magmarex. Fast and Furious enters Hustle, letting it smash Lava Crystals and Lava Spheres while those successful smashes restore some stamina.
Where are the three Shatterstone chests?
The first blue chest is before the timed course. The other two are in the finish room, one gold chest on the lower platform and one purple chest on the opposite side. Confirm 3/3 before touching the Sanctum Terminus/Tesseract.
What is the Shatterstone first-clear reward?
The entrance card lists a First Clear Reward of one material and EXP 200. The Sanctum first-clear material is Lumin Amber. Read the completion panel for the exact amount you receive.