


The five-step damage loop
A good rotation has two phases. Setup builds the resource, terrain, buffs and BREAK pressure that make a short opening valuable. Burst cashes all of it in before those effects expire. Staying on the DPS and pressing every available skill usually mixes the phases together, so the expensive casts arrive too early or with no EP left.
setup phaseburst
- 1
Counter the target
Read both elements on the target’s current form and choose an attacker that lands at 1.6× instead of 1× or 0.625×.
- 2
Build without overspending
Use basic attacks, efficient skills and the BREAK member while saving the carry’s most expensive skill and Ultimate.
- 3
Prime the team effects
Place terrain, EP recovery and Support buffs as the BREAK meter approaches its opening, not at the start of a long fight.
- 4
Open BREAK
Trigger the state only when the carry can immediately swap in with EP, cooldowns and the correct position.
- 5
Spend, then reset
Use the high-value skill and Ultimate during BREAK. When the window closes, return to setup instead of forcing an empty rotation.
Start with the 1.6× matchup
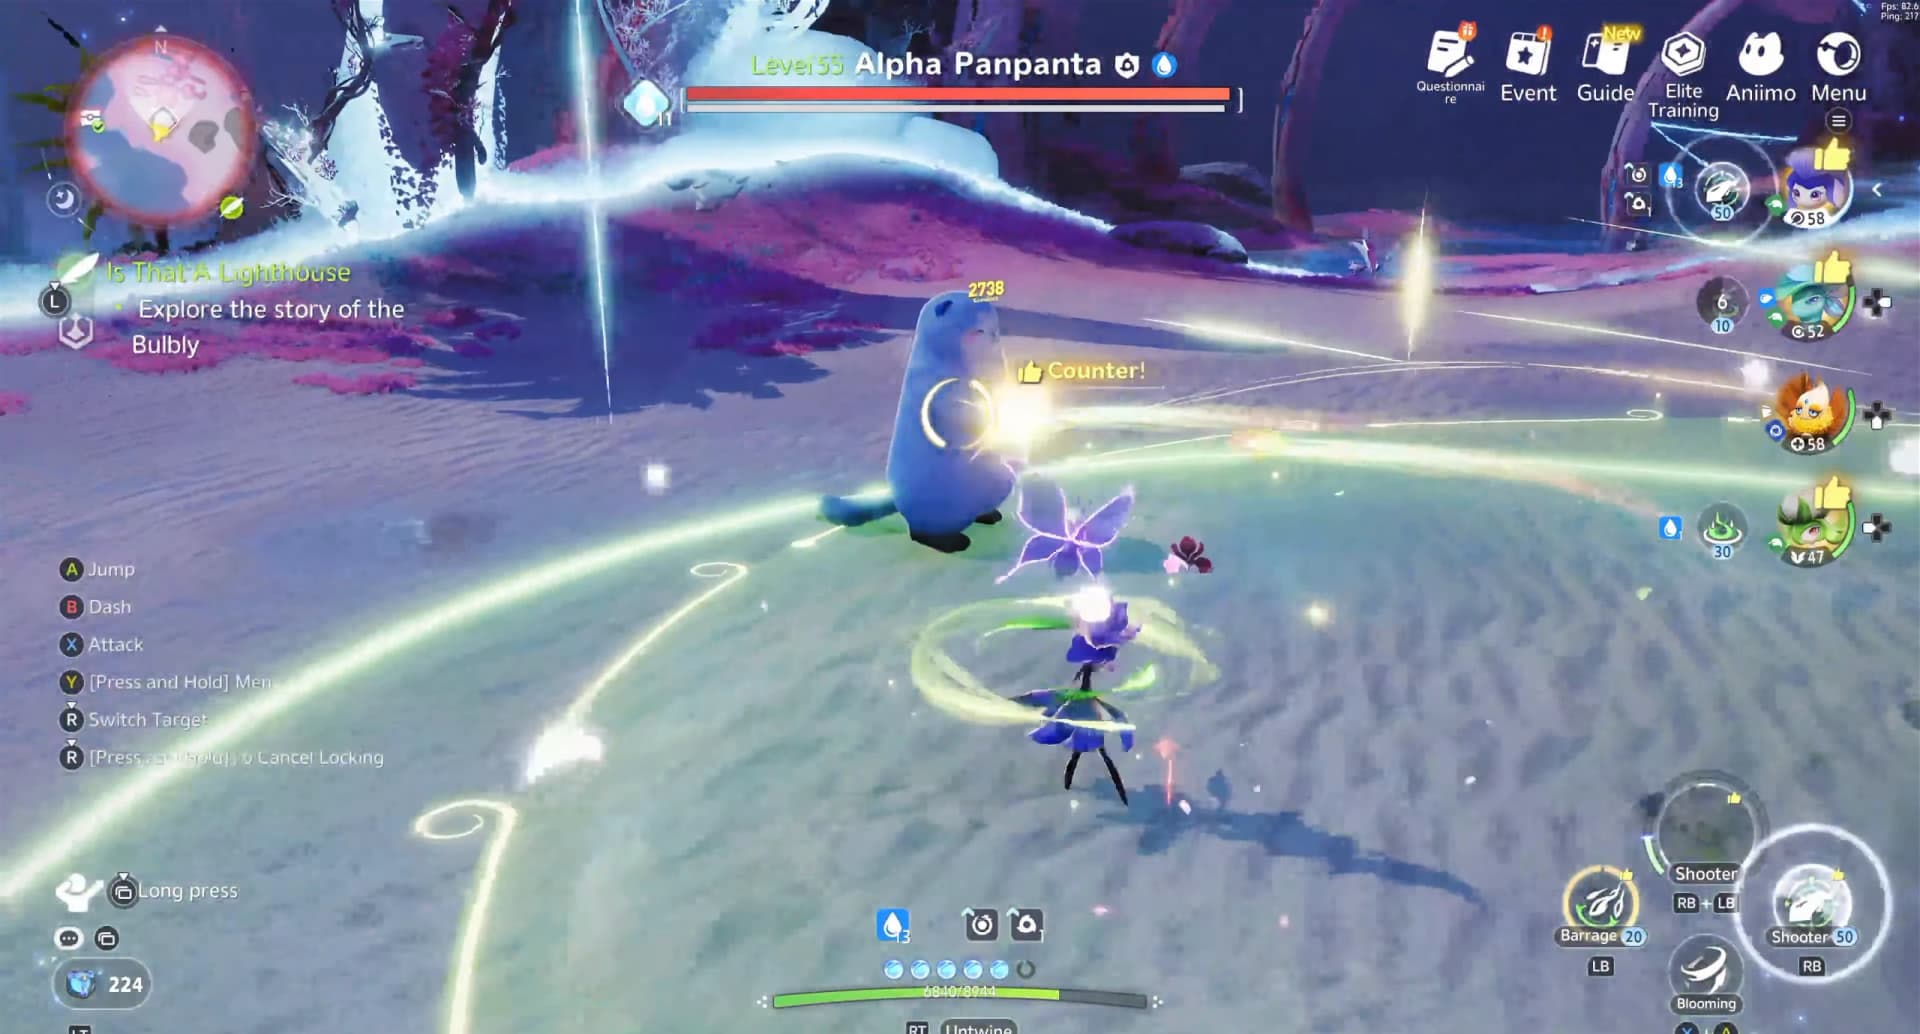
Element matching is the first multiplier to fix because it applies before any build-specific trick. A super-effective attack deals 1.6×, a neutral attack deals 1× and a resisted attack deals 0.625×. Moving the same hit from resisted to super-effective makes it 2.56 times as large. Use the full Aniimo type chart whenever a regional form changes either side of the matchup.
Resisted
0.625×Neutral
1×Super effective
1.6×Two advantages
2.56×1.6 × 1.6
- 1.6× super effective
- 1× neutral
- 0.625× resisted
| IntoAttack with | Fire | Water | Grass | Lightning | Ice | Earth | Wind | Light | Dark |
|---|---|---|---|---|---|---|---|---|---|
| Fire | 0.625× | 0.625× | 1.6× | 1× | 1.6× | 0.625× | 1× | 0.625× | 1× |
| Water | 1.6× | 0.625× | 0.625× | 1× | 0.625× | 1.6× | 1× | 0.625× | 1× |
| Grass | 0.625× | 1.6× | 0.625× | 1× | 1× | 1.6× | 1× | 0.625× | 1× |
| Lightning | 1× | 1.6× | 1× | 0.625× | 0.625× | 0.625× | 1.6× | 1× | 1× |
| Ice | 0.625× | 1.6× | 1× | 1.6× | 0.625× | 0.625× | 1× | 1× | 1× |
| Earth | 1.6× | 0.625× | 0.625× | 1× | 1.6× | 0.625× | 1× | 1× | 0.625× |
| Wind | 1× | 1× | 1.6× | 0.625× | 1× | 1× | 0.625× | 1× | 1.6× |
| Light | 1× | 1× | 1× | 0.625× | 1× | 1× | 1.6× | 0.625× | 1.6× |
| Dark | 1× | 0.625× | 1.6× | 1.6× | 1× | 1× | 0.625× | 1.6× | 1× |
Build a role engine around one carry
The current team planner uses four roster slots, but four good Aniimo do not automatically make one good team. Start with a carry, a BREAK opener and sustain. Use the fourth slot to feed that exact damage plan or cover the encounter’s biggest threat. You do not need exactly one of every role; you do need every slot to answer a combat problem.

DPS
Converts EP, buffs and BREAK time into the largest hits
- Check
- Has the right element and a skill pattern the encounter allows
BREAK
Pressures the BREAK meter and controls when the opening begins
- Check
- Can open the target without draining the carry’s burst resources
Support
Raises the carry’s element, critical damage, basic attacks or other kit-specific output
- Check
- Its exact effect applies to the carry’s damage type
REGEN
Restores EP so the rotation can repeat on schedule
- Check
- Its field or trigger reaches the carry during setup
Heal
Prevents dodging, retreating and knockouts from deleting damage uptime
- Check
- Keeps the team active without taking the whole burst window
For a Grass engine, Irisal can be the DPS, Hummin can cover BREAK, Melloblum adds Support and Leafy supplies REGEN with some healing. Those four slots form a complete setup-focused lineup; swap the least essential enabler for a dedicated Heal or matchup answer when the encounter demands it. That is a template, not a universal best team.




EP turns skills into sustained damage
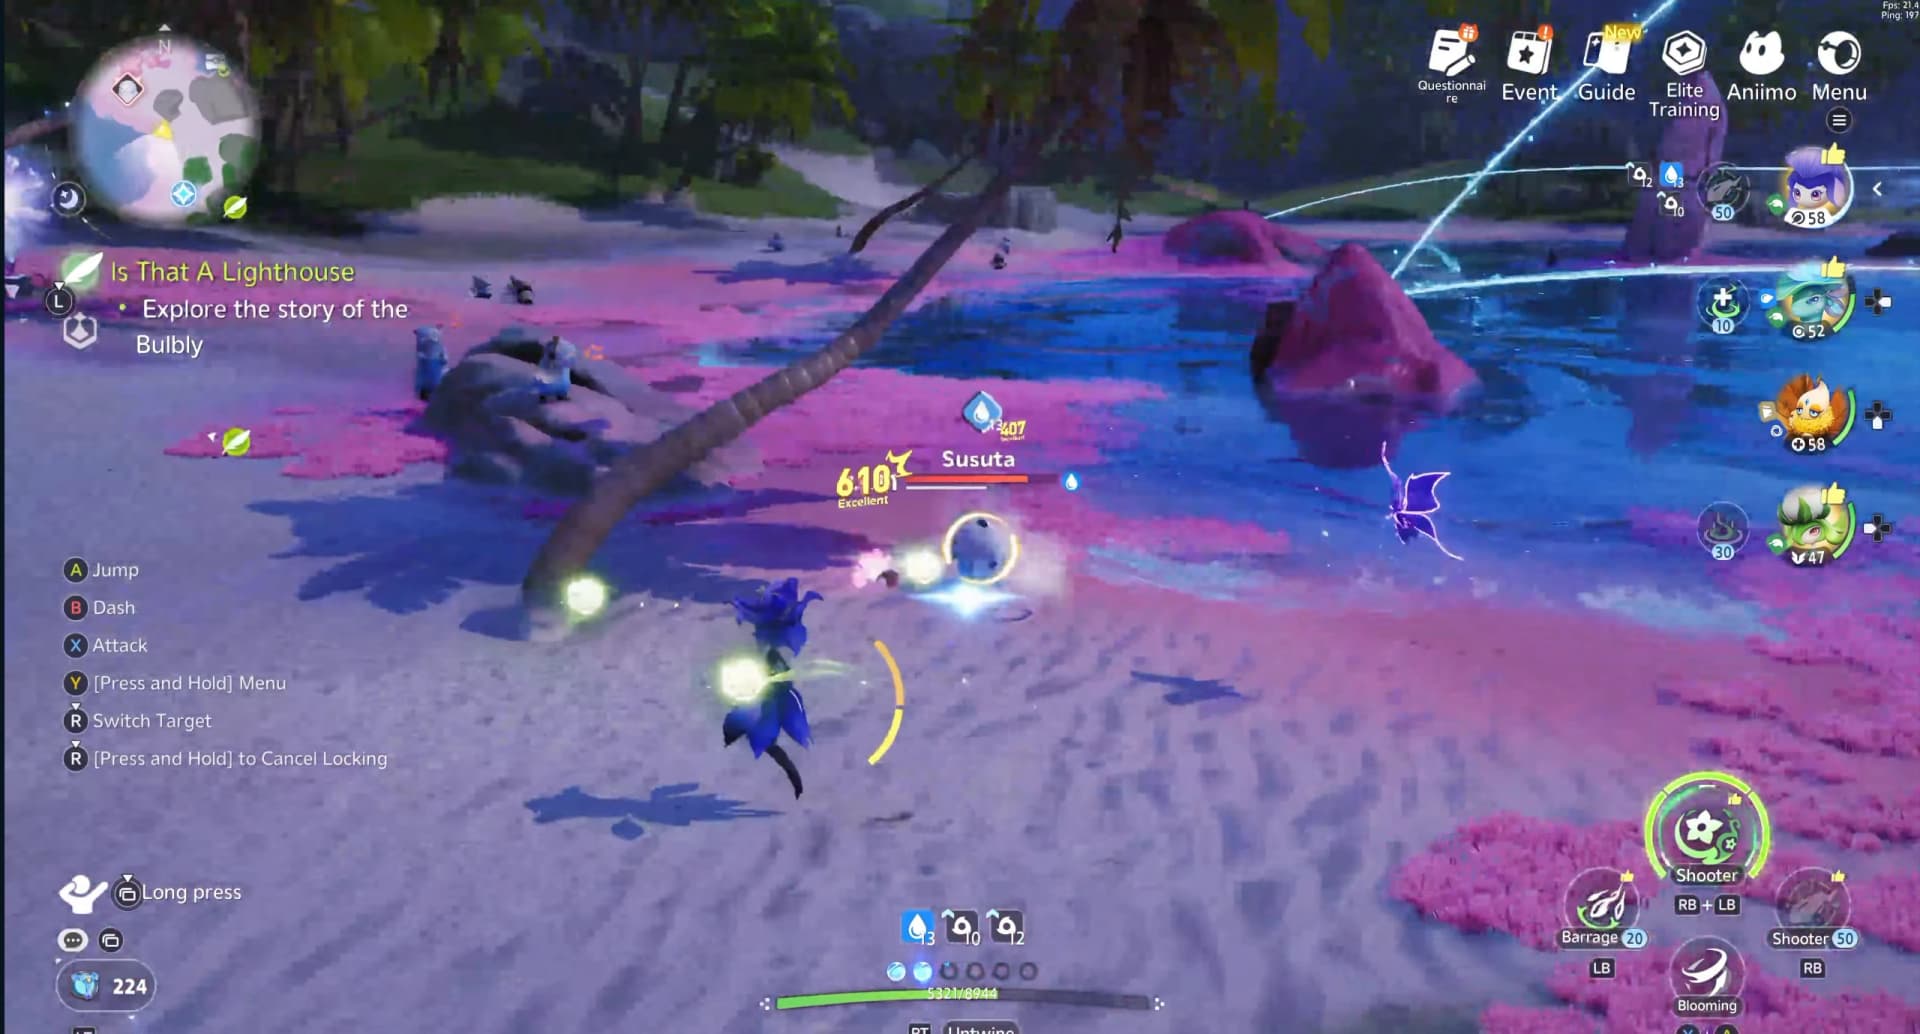
EP is a timing resource, not something to empty on cooldown. Entering BREAK with no EP replaces the carry’s strongest sequence with basic attacks. The fix can be a REGEN teammate, a free-cast mechanic, or simply using a cheaper setup skill while the target is still closed.
Floral Storm costs 13 EP and each skill hit builds Dance Power; at 24, the next skill costs no EP
- Use it
- Build the proc while moving, then spend the free cast on a high-cost skill rather than another cheap setup cast
Vitality Blooms restores 1 EP each second to Grass teammates in its field for 12 seconds
- Use it
- Drop it close enough to BREAK that the carry receives the full 12 EP while attacking
Bubbles stores up to six bubbles at 2.5 EP each, plus 10 EP after absorbing a puddle
- Use it
- Generate six with Water skills, then detonate for 15 EP before the puddle bonus



Make BREAK the burst window
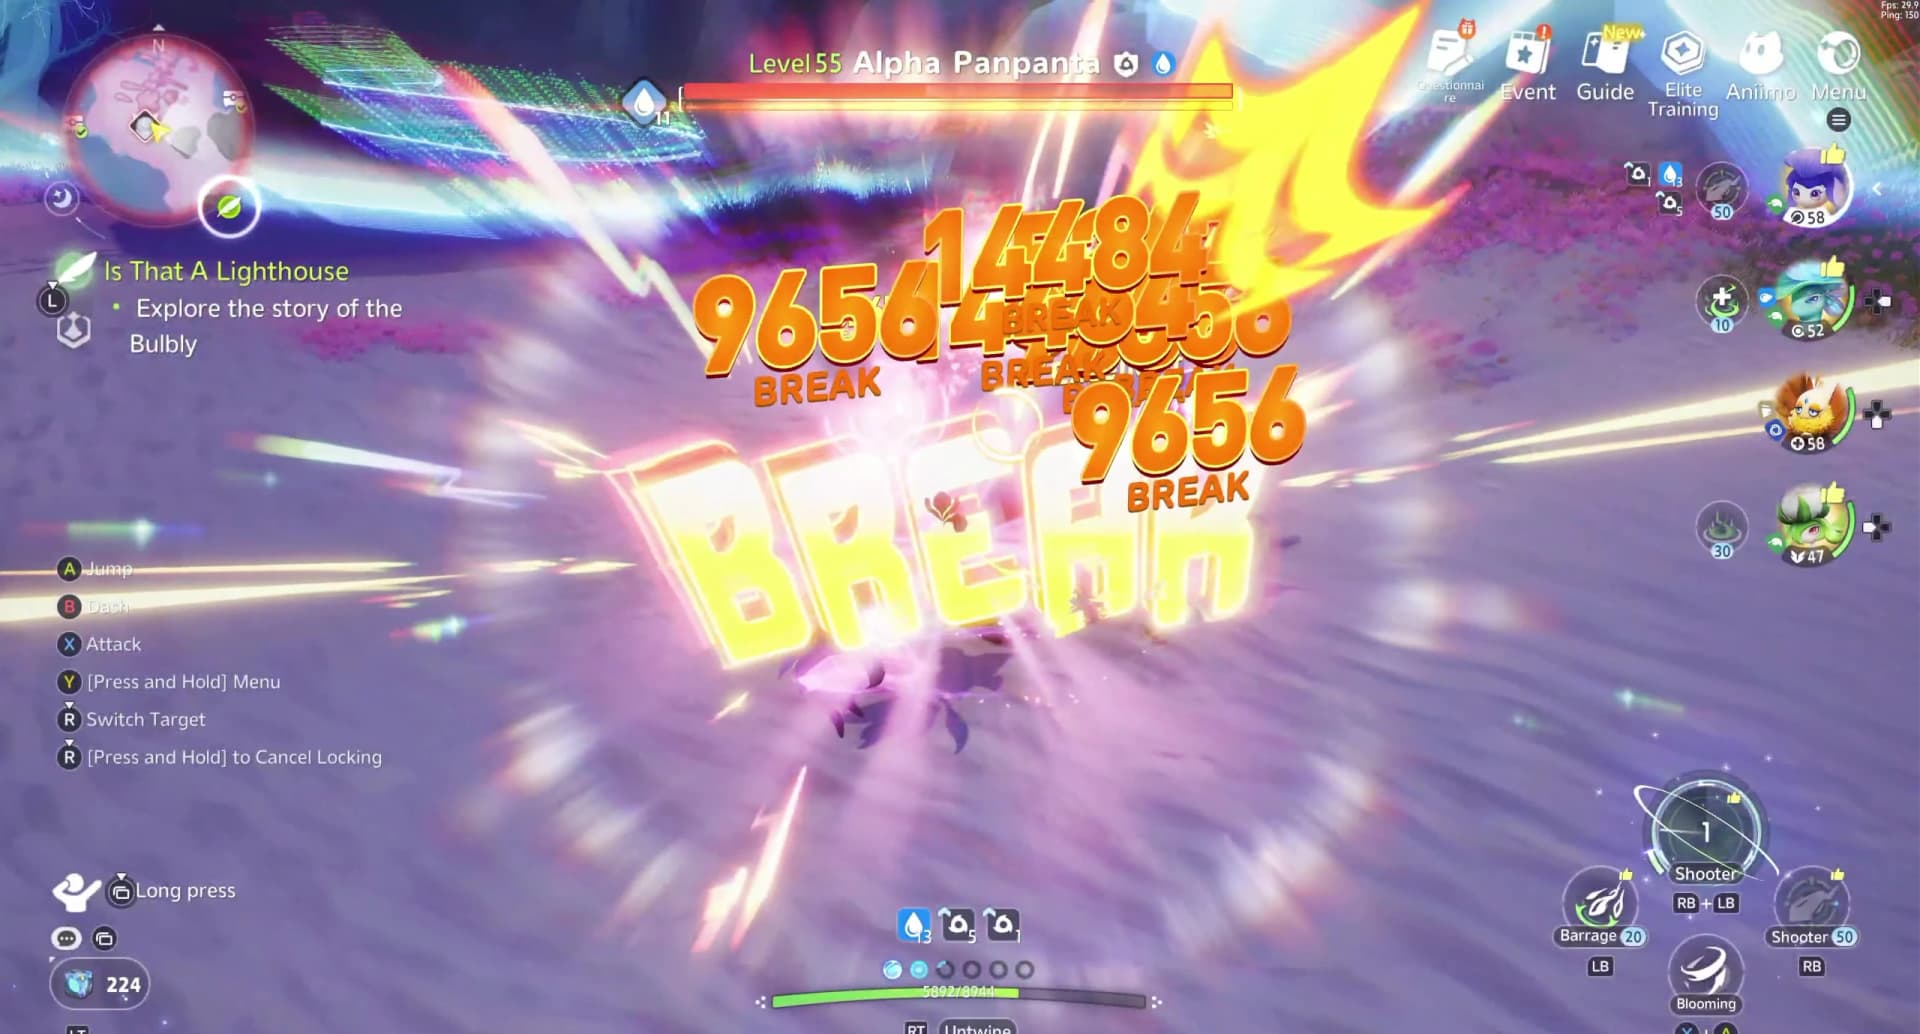
Treat BREAK as a window, not a fixed universal multiplier. Current skill text gives different Aniimo different rewards against BREAK targets, so the gain depends on the carry you bring. The universal lesson is timing: pressure the meter with the BREAK member, hold the carry’s expensive actions, deploy short buffs near the opening, then swap and spend immediately.
- 1
Pause before the meter empties
Leave enough of the target’s BREAK meter for one controlled trigger instead of opening it during a support swap.
- 2
Apply the shortest buff last
Long effects can start first. Terrain, EP fields and brief personal buffs should begin closest to the handoff.
- 3
Swap once and commit
Bring in the DPS, use the planned sequence and avoid extra swaps that consume the opening.
Sandstorm Spin deals 20% extra damage to BREAK targets
- So
- Start the sustained spin when BREAK begins, not while the meter is still closing
Ironclad Armament grants 10% EP recovery and 30% extra damage to BREAK targets for 15 seconds
- So
- Activate when the target is ready so the 15-second effect overlaps the state
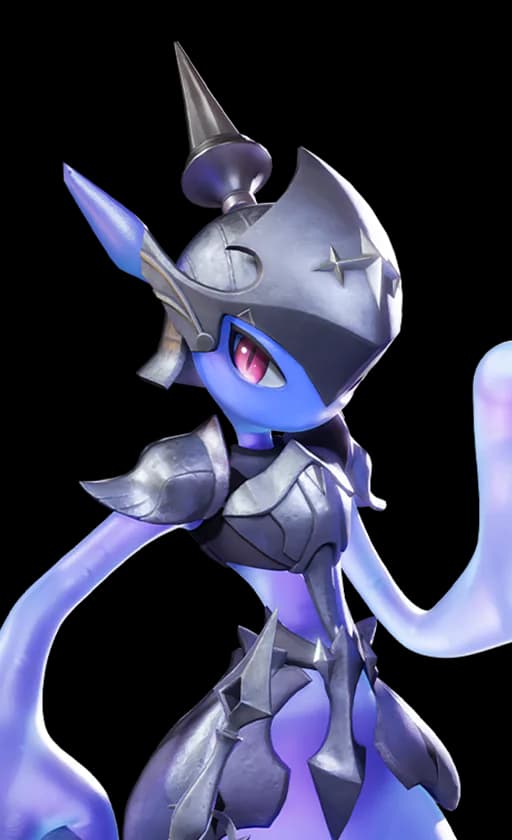
Two rotations that show the rule
These are teaching rotations, not tier-list prescriptions. The Grass example layers terrain, recovery and critical damage around a mobile carry. The Water example turns skills into bubbles and puddles before a slam. Copy the shape when you build another element: resource engine, relevant buff, controlled BREAK, then payoff.
SetupBurst
- 1
Pressure
Use Hummin until BREAK is close; build Irisal’s Dance Power without spending the payoff
- Why
- The target and the carry become ready at the same time
- 2
Recover
Place Leafy’s Vitality Blooms
- Why
- Grass teammates gain up to 12 EP across its 12-second field
- 3
Buff
Use Leafy’s Lotus Bloom and Melloblum’s Rose Garden
- Why
- The team gains 15% Grass Enhancement and allies in Rose Garden gain 70% Grass critical damage, both for 30 seconds
- 4
Break and spend
Open BREAK, return to Irisal and use the free high-cost cast plus Dancing Petals
- Why
- The largest actions land while recovery and both Grass buffs still overlap
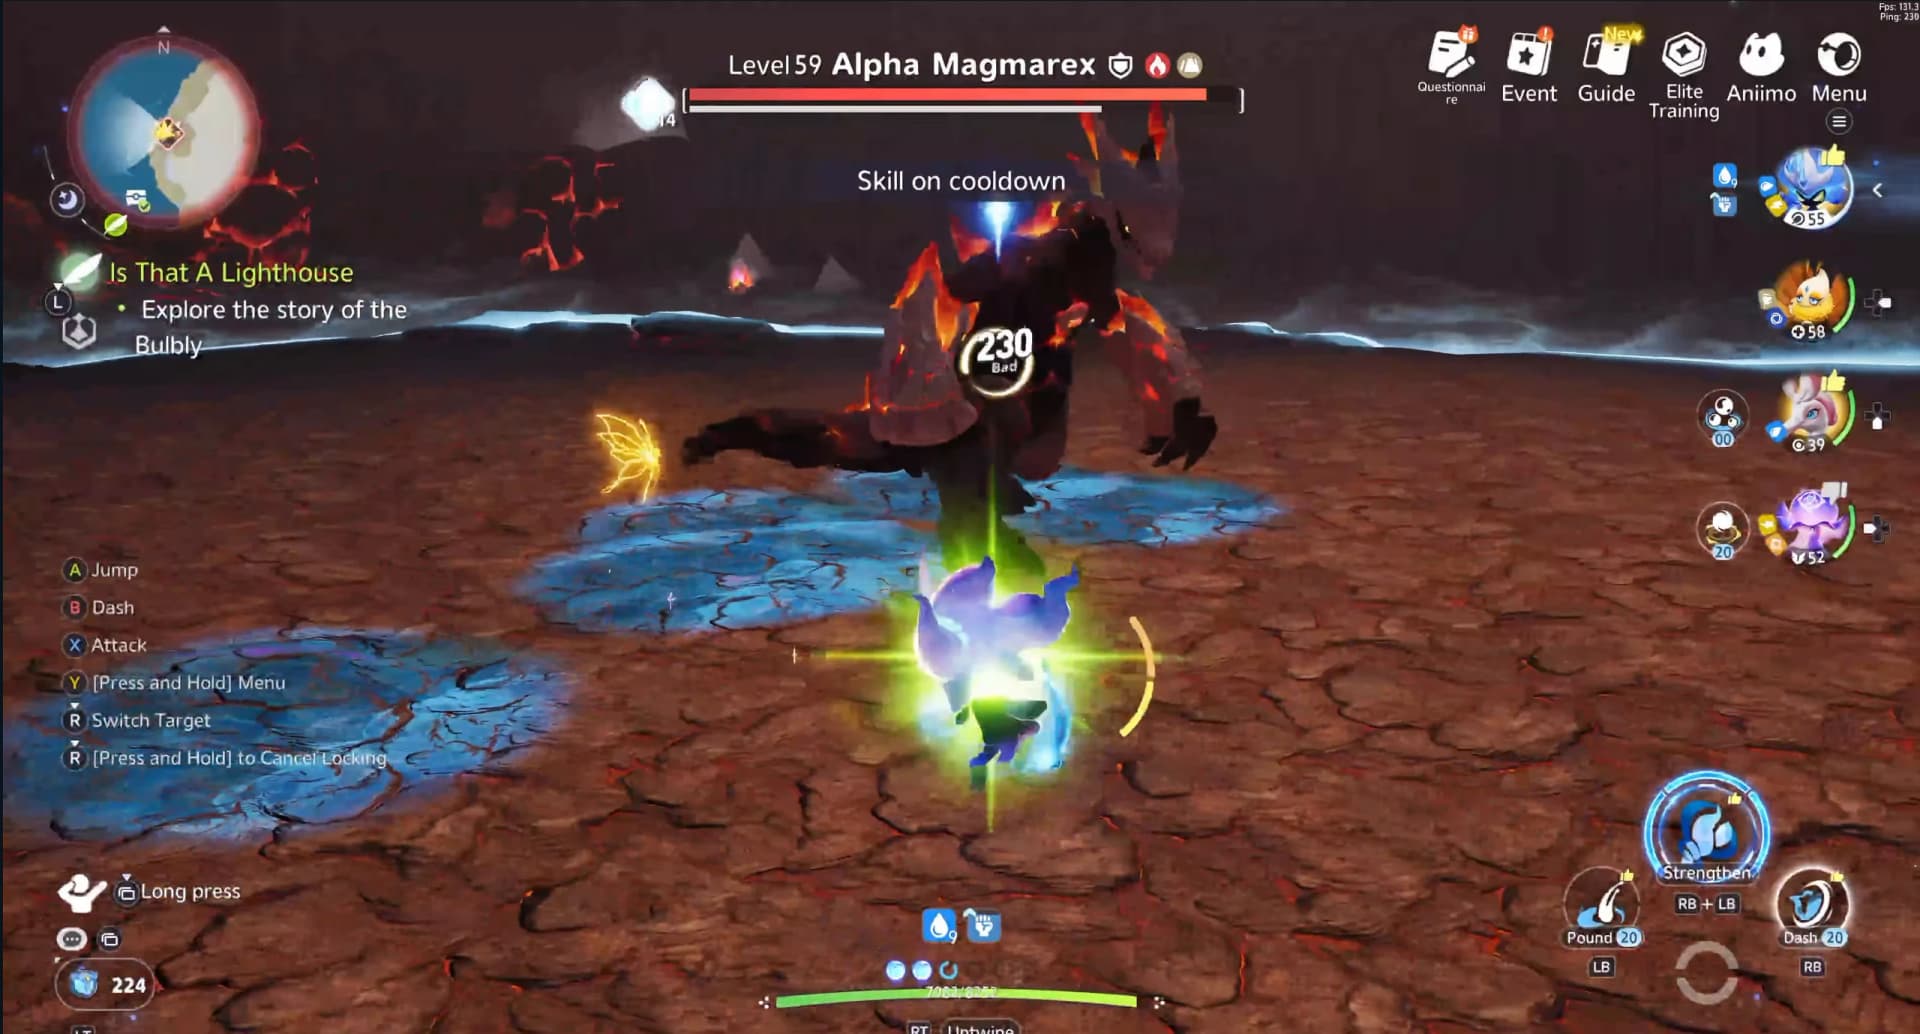
SetupBurst
- 1
Open the engine
Cast Erlath’s Bubbles, then use Water skills inside its 15-second field
- Why
- Each cast creates one bubble, up to six
- 2
Place water
Use Sherro’s Hydro Roll and end the roll where the target will remain
- Why
- The roll creates a puddle when it ends
- 3
Refill and buff
Detonate six bubbles after a puddle is available; use Crazy Bubbles when ready
- Why
- Six bubbles return 15 EP, the puddle interaction adds 10 EP and Crazy Bubbles grants 10% Water damage for 30 seconds
- 4
Break and slam
Open BREAK, keep the target near the puddles and use Torrent Slam
- Why
- Nearby puddles add damage equal to 30% of the original Might and Torrent Slam raises Water damage by 15% for 20 seconds


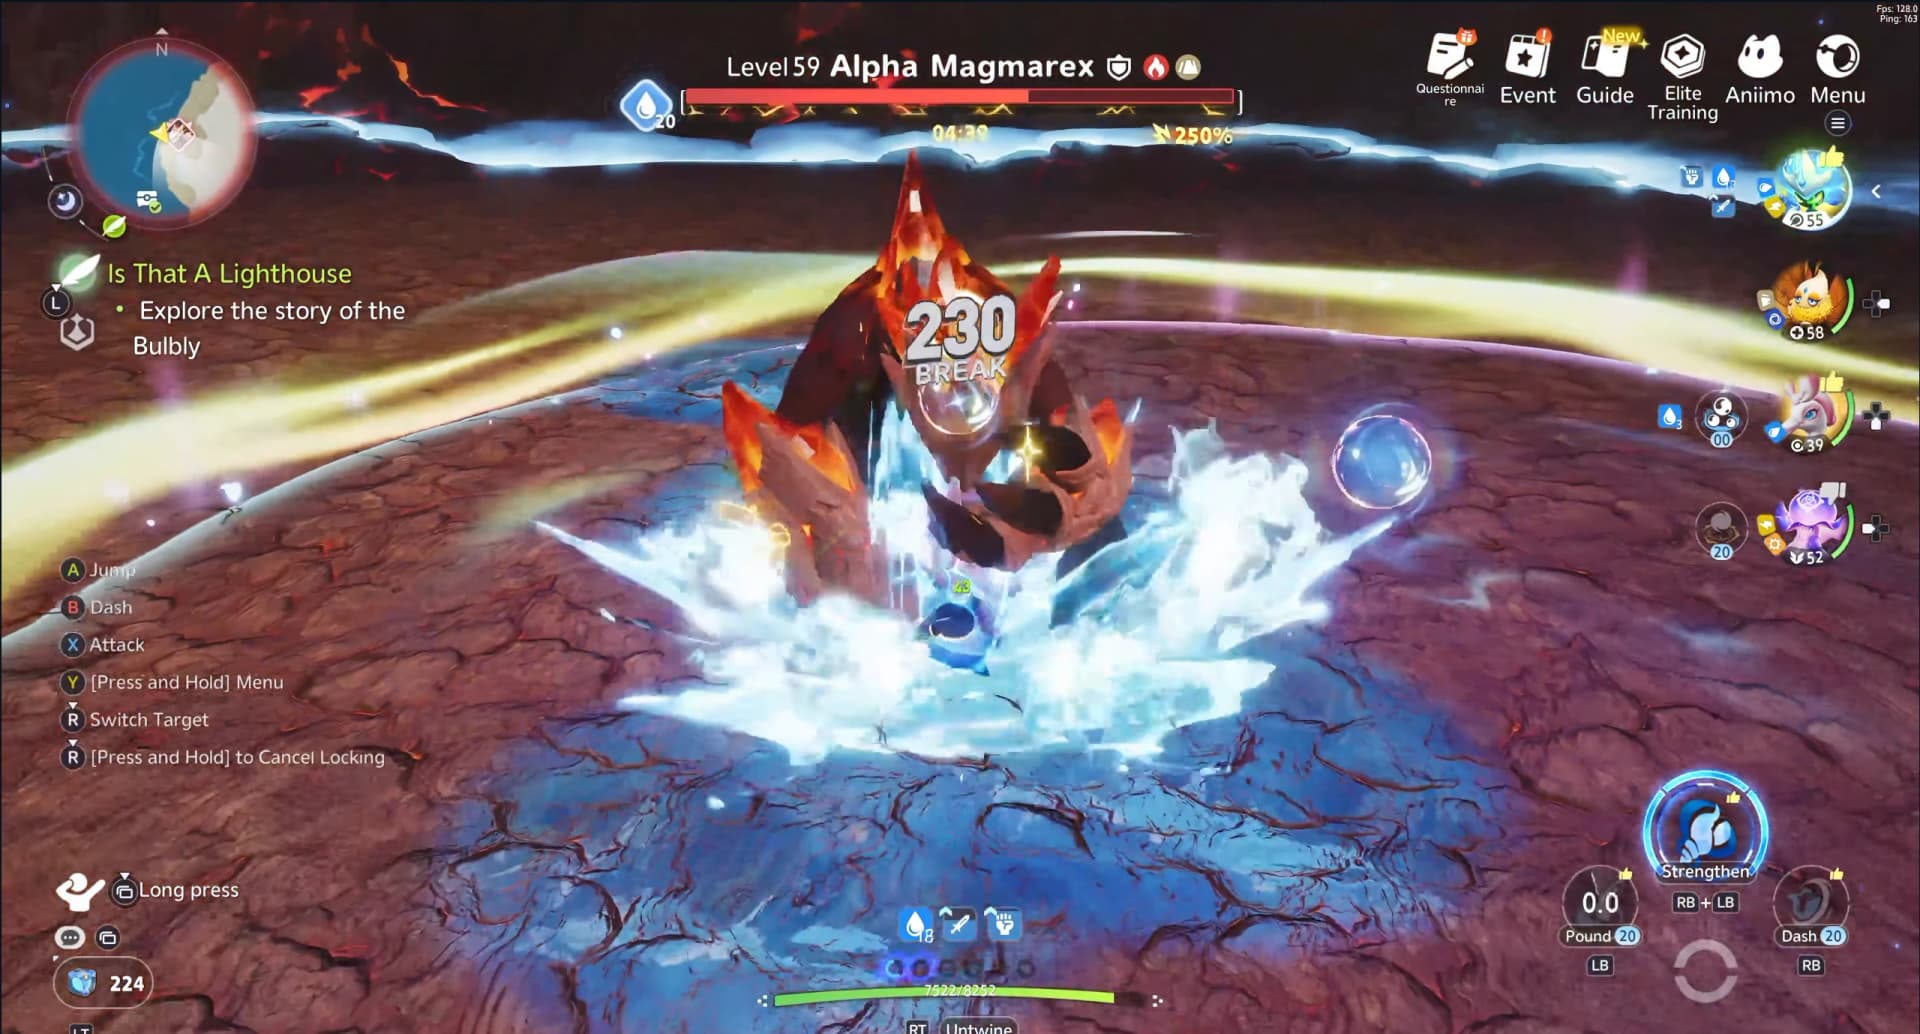
Diagnose low damage before adding stats
A weak run often has a rotation problem that another level or equipment upgrade will not fix. Watch one full cycle and identify the first place the plan breaks. Correct that bottleneck before returning to the progression guide for permanent upgrades.

| Symptom | Likely cause | First fix |
|---|---|---|
| Hits show a resisted result | The attacker is at 0.625× into the target’s current element or form | Switch to a 1.6× attacker using the type chart |
| BREAK opens with an empty EP bar | Setup skills consumed the carry’s reserve | Add REGEN or stop casting at the planned burst cost |
| The buff icon expires before BREAK | The Support effect started too early | Pressure the meter first and apply the shortest duration last |
| The BREAK meter barely moves | No slot is dedicated to opening it | Add a compatible BREAK member and let the carry save resources |
| The carry spends the window dodging | Positioning or sustain is failing | Move fields to the target’s likely stop point or add Heal |
| Stats look strong but the buff changes little | The effect targets another element, attack type or state | Read the exact skill text and replace the mismatched slot |
Frequently asked
How do I deal more damage in Aniimo?
Use a 1.6× elemental matchup, build the target toward BREAK with a BREAK member, restore EP during setup, apply matching Support buffs just before the opening, then spend the DPS carry’s strongest skill and Ultimate inside BREAK.
What does BREAK do in Aniimo combat?
BREAK creates a short burst opportunity and activates kit-specific bonuses. It is not one universal damage percentage in the current Index: Waleetle gains 20% on Sandstorm Spin against BREAK targets, while Pawney has separate 30% BREAK bonuses in its kit.


What is the best Aniimo team composition for damage?
Build the four slots around one plan: at minimum, a DPS carry, a BREAK opener and sustain from Heal or REGEN. Use the fourth slot for matching Support or encounter-specific coverage, replacing sustain only when the route is already stable.
How much does elemental advantage matter in Aniimo?
A super-effective hit is 1.6×, neutral is 1× and resisted is 0.625×. Moving the same attack from resisted to super-effective makes it 2.56 times as large, so matchup is usually the first damage problem to solve.