

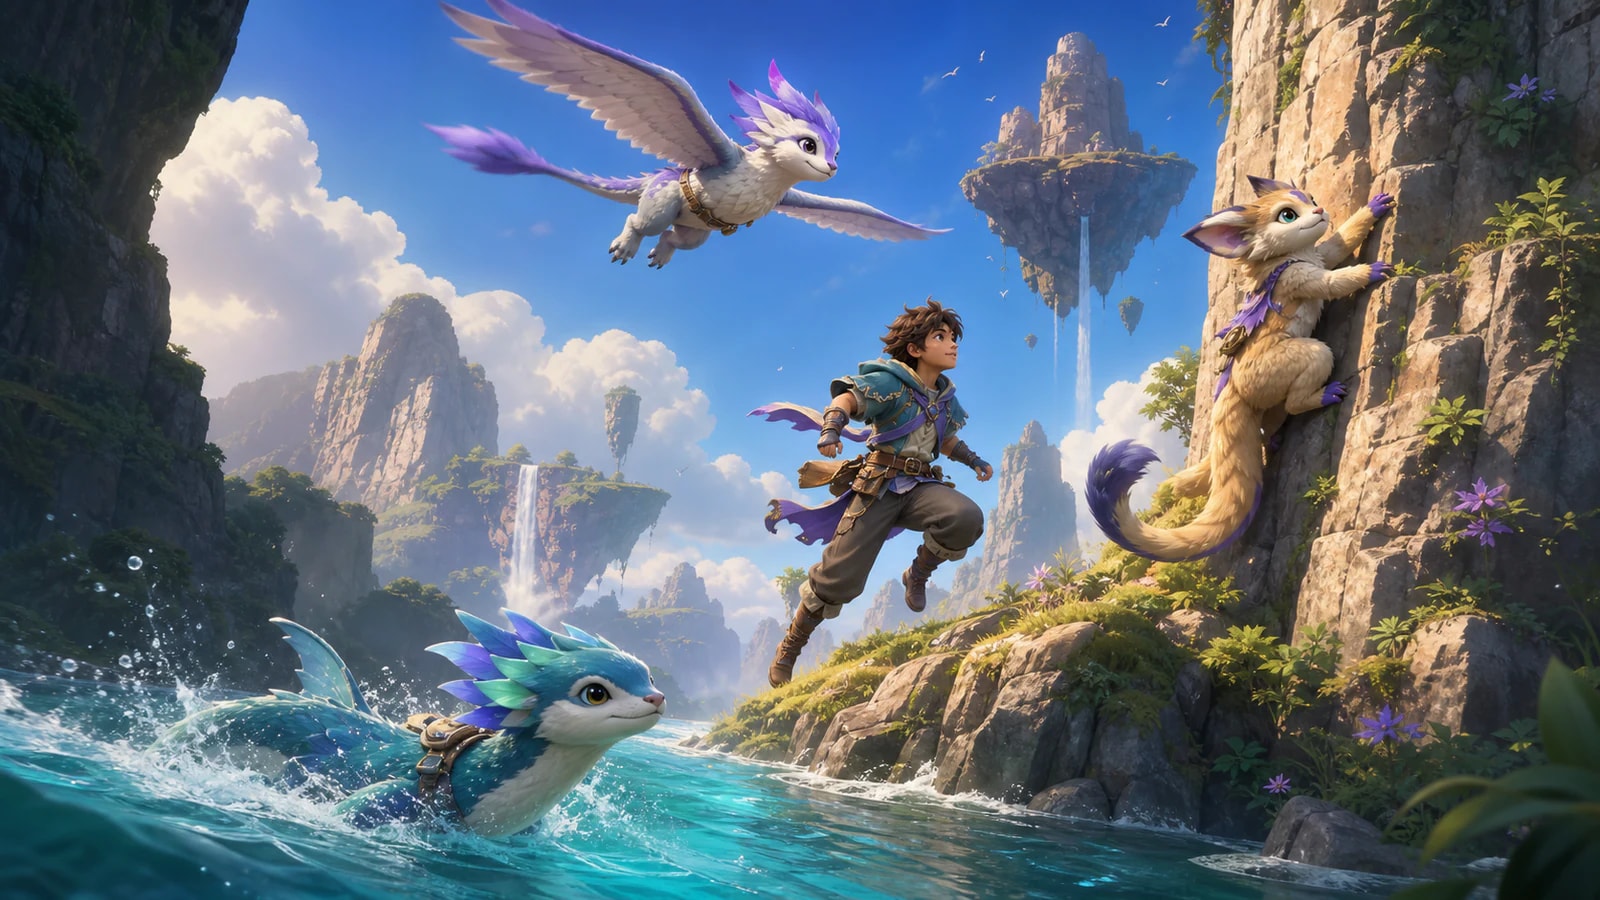

Pack for the route you are taking

Choose the obstacle first, then fill four team slots. A travel team still needs a way to win encounters and recover. These loadouts provide known capabilities; they are not speed rankings or a promise that one team clears every puzzle.
Plains and general collection
- Loadout notes
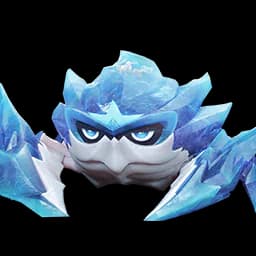
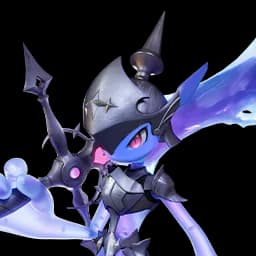
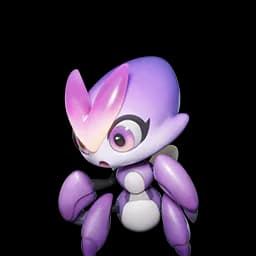
- Hustle covers open ground, Glacy combines Swim Lv.2 with recovery, Celestis carries Climb Lv.1 and Fly Lv.1, and Rookey adds Detection. Save stamina before a crossing instead of spending it all sprinting to the water.
Coast and island gaps
- Loadout notes
- Use Chirpi’s Fly Lv.2 for short airborne links and Glacy’s Swim Lv.2 for water. Keep the trained attacker for encounters. If the route ends at a climbable wall, replace Rookey with Celestis before leaving.
Cave approach
- Loadout notes
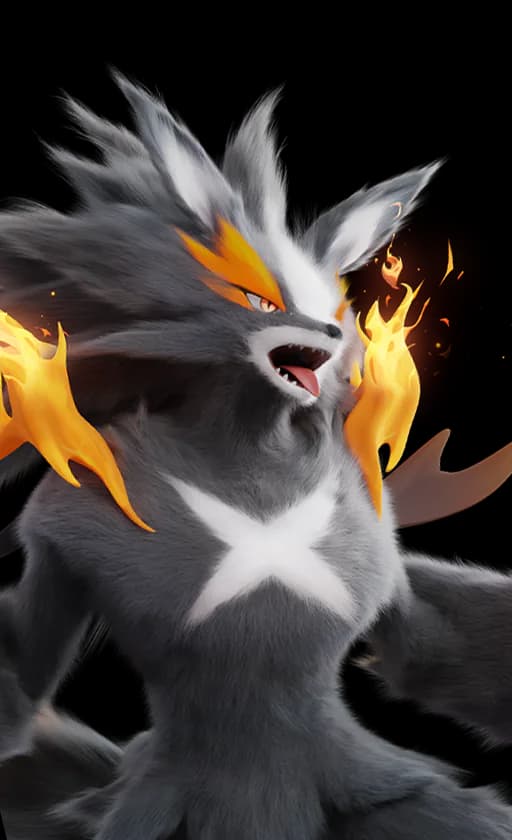
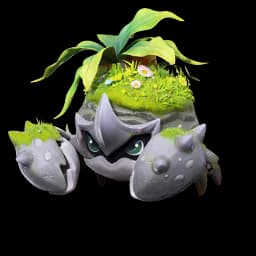
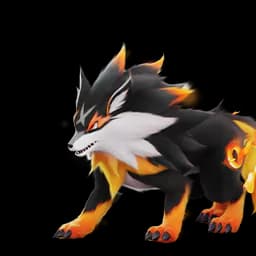
- Budclaw supplies Tunnel, also called Tunneling in the beta; Rookey supplies Detection, Glacy recovery and Scorchhowl damage. Detection reveals its named targets, not every hidden chest. Bring a climber instead of the detection slot if the selected cave needs one.
Cliffs and ruins
- Loadout notes
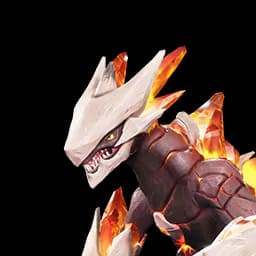
- Climb to a shelf with Celestis, recover, then use the flier for the next safe gap. This exchanges dedicated BREAK coverage for movement tools; replace an overlapping travel slot before a difficult boss.









- 1Choose a reachable start
Activate the nearest available Bloom or Transporter. For a cave, select the surface entrance rather than the underground encounter pin.
- 2Check the actual creature
Open the exact creature and form in the Aniilog and confirm its movement label. Twine with that creature to use its ability; simply carrying it does not grant the ability to the whole team.
- 3Divide the route into safe legs
Pick landing shelves, narrow water crossings and recovery points before committing. Switch movement tools at a stable position rather than assuming unlimited flight or continuous sprinting.
- 4Restore combat coverage at the destination
Heal and prepare the boss team before entering. An exploration loadout that reaches an arena is not automatically the right build to clear it.
Traversal is a party decision
Movement in Aniimo is not a Pathfinder skill you buy and keep. It is a consequence of which creatures are in the party, because a mobility ability belongs to the Aniimo and reaches you only while you are synced with it. Swap the roster and the map changes shape: the same cliff is a wall to one team and a route to another. The Twining guide covers the sync itself; this page is the movement list it produces.
That makes route planning a loadout problem. A party built purely for damage can leave you walking around water you could have swum, so the practical habit is to keep one climber, one swimmer and one flier reachable before a long trip rather than after you hit the obstacle.
Two different meters answer to the word stamina here. Traversal stamina is the one Hustle, Tunnel and Fast and Furious spend while you move. The Homeland has its own Stamina stat on a working Aniimo, raised by furniture such as the Rest Module, and it has nothing to do with how far you can sprint in the field. This page means the first one throughout.
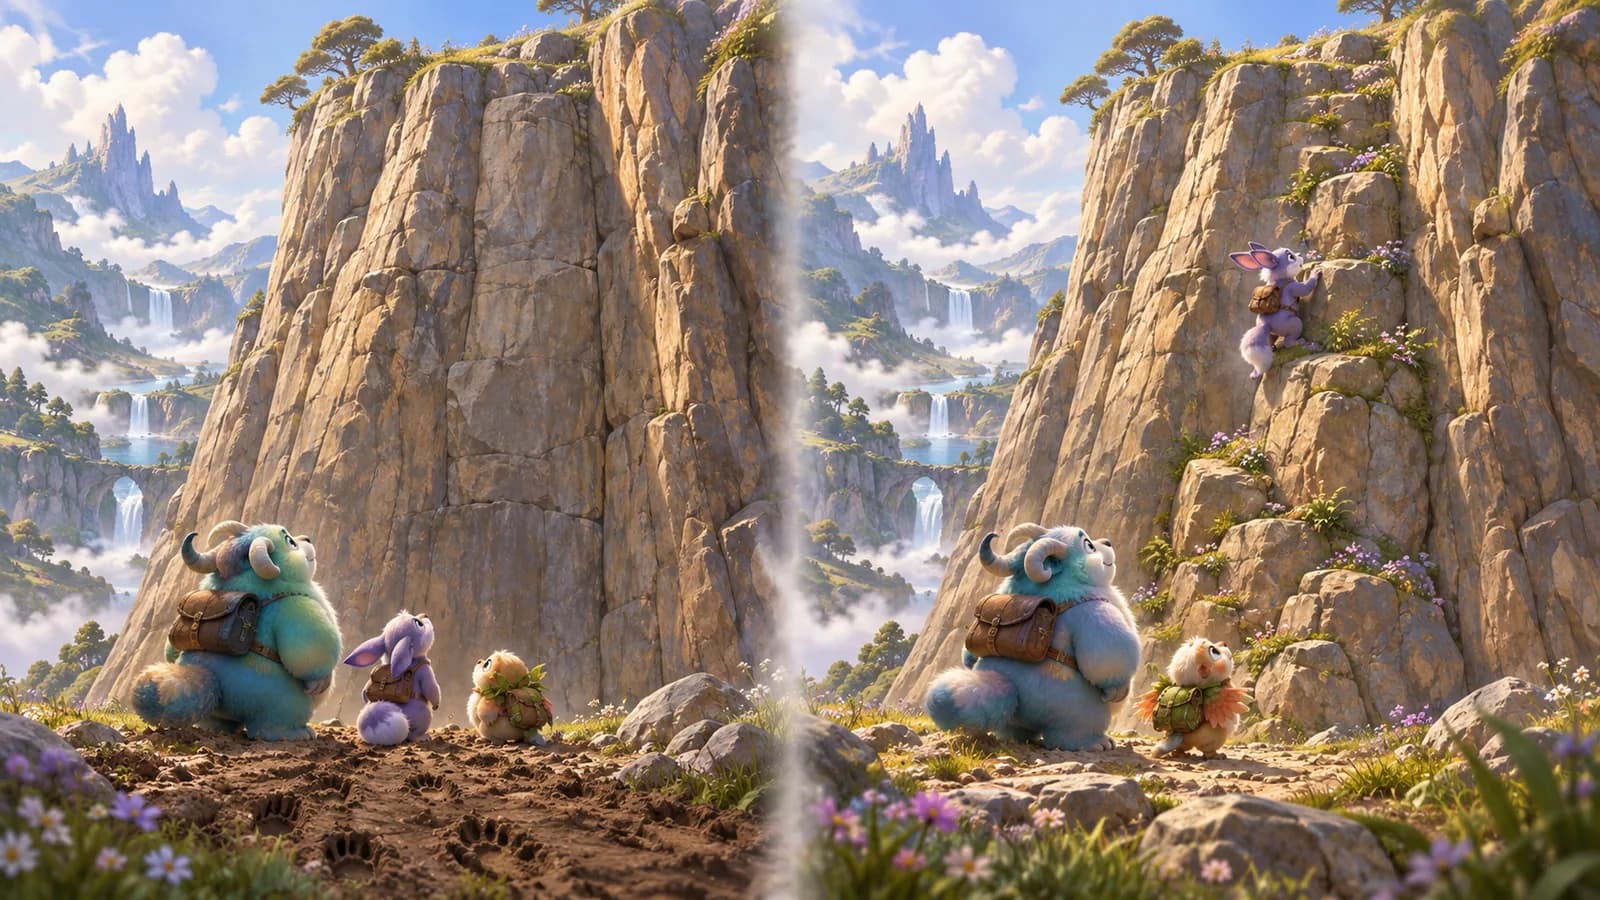
Every mobility ability and who carries it
The roster carries 28 distinct mobility abilities across 78 Aniimo. Each entry links to that ability’s own page, where the full user list lives; the names here are the first few carriers of each.
Underground
Ground

Fast and Furious
Speed, plus obstacles you knock asideEnters Fast and Furious state, increasing movement speed while allowing you to knock away certain obstacles, consuming stamina. Carried by Magmarex.

Hustle
Ground speedEnters Hustle state, increasing movement speed by consuming stamina. Carried by Emberpup, Flameruff, Scorchhowl +8 more.

Scurry
A short burst of distanceRushes forward a short distance. Carried by Fentuft, Fenmane.
Water
- Open water
Swim Lv.1
The entry Swim tier: enters open water instead of stopping at the shoreline. Swimming draws on stamina. Carried by Skippy, Susuta, Popota +7 more.
- Open water
Swim Lv.2
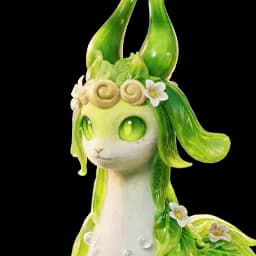
The middle Swim tier, carried further up an evolution line than Lv.1. Carried by Pranky, Glacy, Leafy +3 more.
- Open water
Swim Lv.3
The highest Swim tier the dataset records. Carried by Piopiota, Gachapus.
- Open water
Walls
- Cliff walls
Climb Lv.1
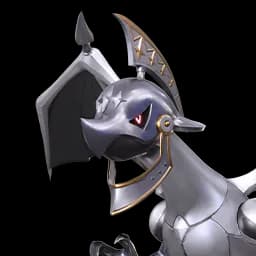
The entry Climb tier: holds a climbable wall and moves up it, the tier the Soaring Glide trial teaches on Celestis. Carried by Celestis, Squarrel.
- Cliff walls
Climb Lv.2
The middle Climb tier, carried further up an evolution line than Lv.1. Carried by Bolty, Squashel.
- Cliff walls
Climb Lv.3
The highest Climb tier the dataset records. Carried by Blazen.

High Jump
Ledges above a normal jumpAllows you to perform a higher jump. Carried by Bolty, Blazen.

Hookshot
Walls and enemies at rangeStretch your arm toward the center of view. Pull yourself to walls or enemies on hit. Hold skill button to aim. Carried by Pawney.
- Cliff walls
Air
- Air routes
Fly Lv.1
The entry Fly tier: leaves the ground under Twining as a glide out of a jump with brief powered lift. Carried by Celestis, Stellarys, Nimbi +7 more.
- Air routes
Fly Lv.2
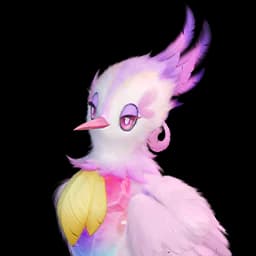
The middle Fly tier, carried by the roster’s dedicated fliers. Carried by Chirpi, Tromber, Turbo +9 more.
- Air routes
Fly Lv.3
The highest Fly tier the dataset records, sitting on evolved forms. Carried by Cornet, Fenmane, Erlath +1 more.

Bubble Drift
Floating over a gap
Cloudwalk
Open airFloats freely among the clouds. Carried by Turbo.

Floaty Bubble
Floating over a gapScrubs itself to create a large bubble around itself. Carried by Fahloo, Erlath.

Puff Up
Height, plus one air dashPuffs up, allowing you to jump higher and perform one dash while airborne. Carried by Nimbi.

Take Off
Air above a ground fightEnters the Flying state to evade attacks from ground enemies. Takes more DMG while airborne. Carried by Tromber, Cornet, Fragrancier.
- Air routes
Utility

Bilateral
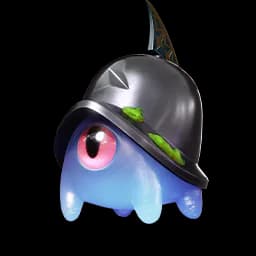
Perspective puzzlesEnters Bilateral mode to see a different perspective. Carried by Jawling, Helmwhelp, Helgon +1 more.

Blooming
Cosmetic trail
Cloak
Unseen approaches
Detection
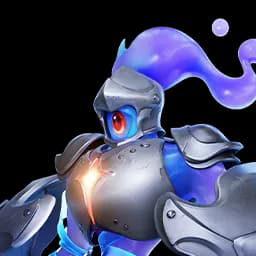
Hidden metal and cloaked AniimoGives you a special detective vision that allows you to see metal objects and cloaked Aniimo nearby. Carried by Helmut, Rookey.

Dig In
Cover on the spotDigs into the ground on the spot, a short-range burrow rather than a travelling tunnel. Carried by Hummin.

Glow
Dark areasEmits light from above to illuminate surroundings. Carried by Bulbly, Veilfloat, Luminelle.

Head Hammer
Shock wave utilityUse Head Hammer to launch a Shock Wave. Carried by Cubbo, Grizbo.

Luminous Seed
Dark areasThrows luminous seeds that light up the surrounding area when they land. Carried by Hexxin.



































What stamina does
Three abilities say outright that they run on stamina. Hustle increases movement speed by consuming stamina, Tunnel holds its underground state by continuously consuming stamina, and Fast and Furious spends it to raise speed while knocking obstacles aside. Swimming draws on it as well.
A curved yellow gauge appears during Climbing and Flight. Treat it as your movement margin: land between long flights instead of assuming unlimited rise. The Soaring Glide walkthrough teaches that lesson alongside the failed-flight recovery that goes with it.
The stamina perks in the Egg Heist talent tree belong to that minigame’s own progression and do not describe field traversal.

Fast travel and the walk it does not save
Two anchors carry fast travel: Transporter and Bloom. Activating the closest one before a route is the standard opener. A first interaction with a discovered Sanctum entrance also activates that entrance and unlocks its Transport destination, and completion of the Sanctum is not required for that. Astra adds its own teleporter at Horizon Square.
The interactive Idyll map groups every one of these under its Places and travel layer, which is the fastest way to see whether an anchor sits near the thing you are actually going to. Plan around the anchors themselves rather than around a travel budget.
Waypoint activation is host-owned in co-op, so a guest who unlocks an anchor in someone else’s world will still need to unlock it again at home. The co-op guide lists the rest of the host-only progression.
Walking still wins over short hops. Anchors sit at the places worth arriving at, and the spawns, chests and gathering nodes cluster in the pockets between them, so a route that teleports past a stretch you were about to farm costs you the stretch. Fast travel is for crossing distance you have already stripped, not for skipping ground you still want.

A worked route across three movement types
A single trip out of the opening region uses ground, water and vertical movement in turn. The legs below are structural: a plain, a strait, a wall, an island chain. Match them to whatever the map in front of you puts in those roles.
- 1
Build the party for the terrain, not the fight
Carry a Hustle sprinter, a Swim-tier creature and a Climb-tier creature. All three come off the mobility list above, and all three are only usable while you are twined with that specific Aniimo.
- 2Ground
Cross Nimbus Fields on the ground
Hustle raises movement speed by consuming stamina, which is the right trade over open ground with nothing to dodge. Drop the state while some stamina is left so the next obstacle does not catch you empty.
- 3Water
Swim the Argent Strait
Untwine, twine with the Swim-tier creature and enter the water directly instead of walking the shoreline. Swimming draws on stamina, so pick the narrow crossing over the scenic one.
- 4Walls
Climb the wall on the far side
A Climb-tier creature holds a climbable wall and moves up it. The yellow gauge is your margin: aim for a shelf before it runs low instead of testing where it ends.
- 5Air
Fly the gaps in the Whisperwake Isles
An island chain is where a Fly tier earns its slot: a flier clears in one line the gaps a swimmer crosses the long way. The Rising Wind walkthrough is the lesson on steering an air route instead of pointing at the destination and hoping.
- 6
Activate the anchor you arrive at
Touch the Transporter or Bloom at the far end before you start working the area, so the trip back is a menu rather than a repeat of all five legs.
Frequently asked
How do you glide in Aniimo?
There is no ability called Glide. Flight comes from the Fly tiers, which reach you through Twining with a creature that carries one. Flying Aniimo such as Dewy and Chirpi glide out of a jump with a brief burst of powered lift.
How do you swim in Aniimo?
Twine with an Aniimo that carries Swim Lv.1, Lv.2 or Lv.3. Water types such as Skippy and Pranky carry the lower tiers, and swimming draws on stamina, so cross at the narrowest point available.
Does Aniimo have fast travel?
Yes. Transporters and Blooms are the anchors, Astra has a teleporter at Horizon Square, and a first interaction with a discovered Sanctum entrance unlocks that entrance as a Transport destination without completing the Sanctum.
What drains stamina while you travel?
Hustle consumes stamina to raise movement speed, Tunnel consumes it continuously while underground, and Fast and Furious consumes it while boosting speed through obstacles. Swimming draws on it as well. The curved yellow gauge that appears during Climbing and Flight is a separate movement margin: land before it runs low.