

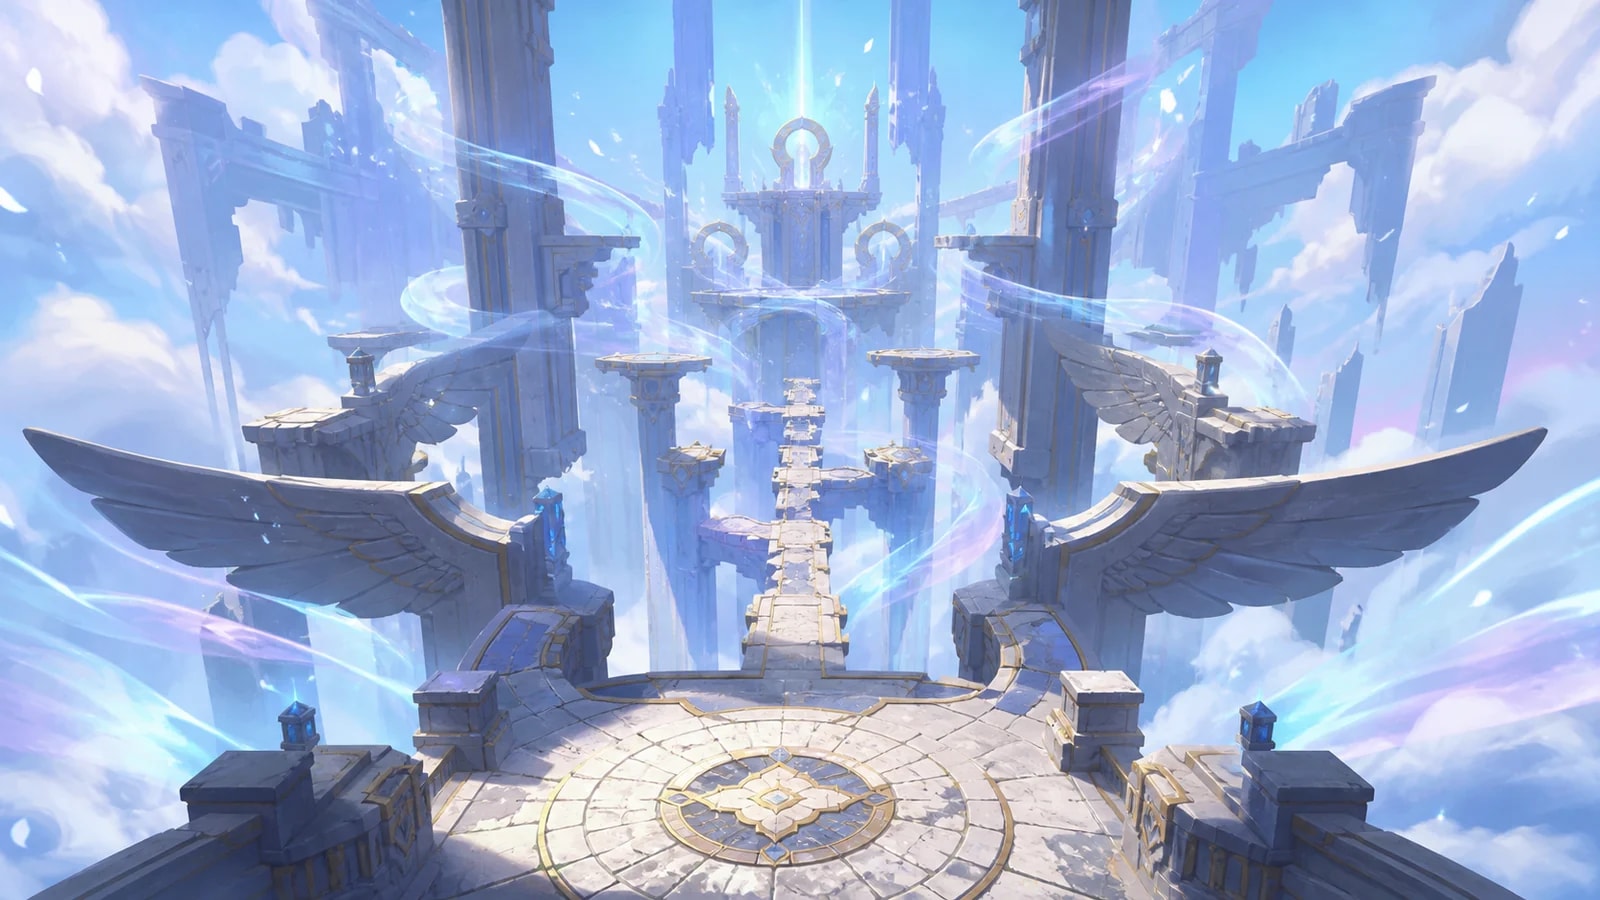

Location and requirements
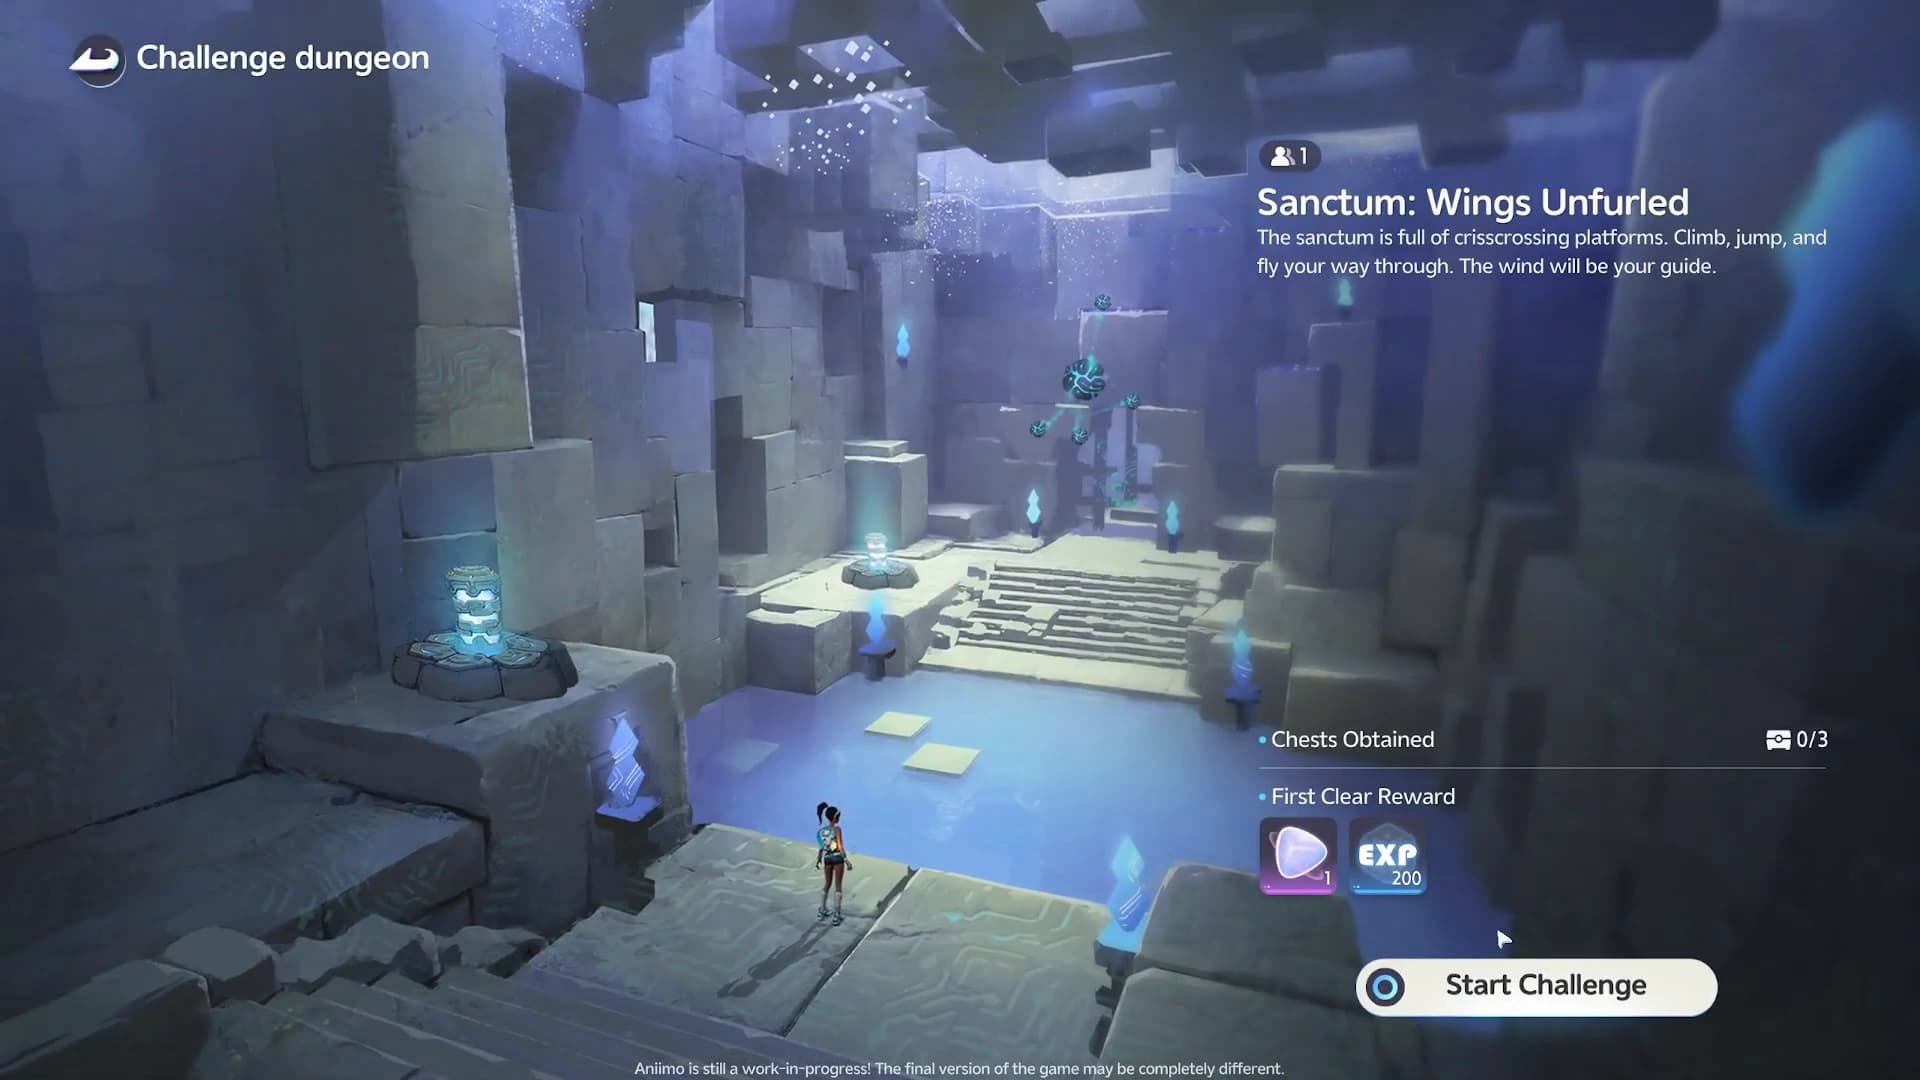
Open the exact Soaring Glide atlas pin in Forest of Falling Stars. The marker sits at 738, 1259 on the AniimoVerse atlas. The entrance takes one player and starts at 0/3 chests.
Forest of Falling Stars
Atlas area label
Atlas position
- Value
- 738, 1259
- Notes
- AniimoVerse atlas pin
Players
- Value
- 1 · Solo
- Notes
- Entrance requirement
Chest slots
- Value
- 3 · 0/3 at entry
- Notes
- Collect all three before the finish
Trial Aniimo
- Value
- Celestis
- Notes
- Supplied inside the room
Pathfinding mobility
- Value
- Climb Lv.1 · Fly Lv.1
- Notes
- Official Celestis index

Celestis climb and flight primer
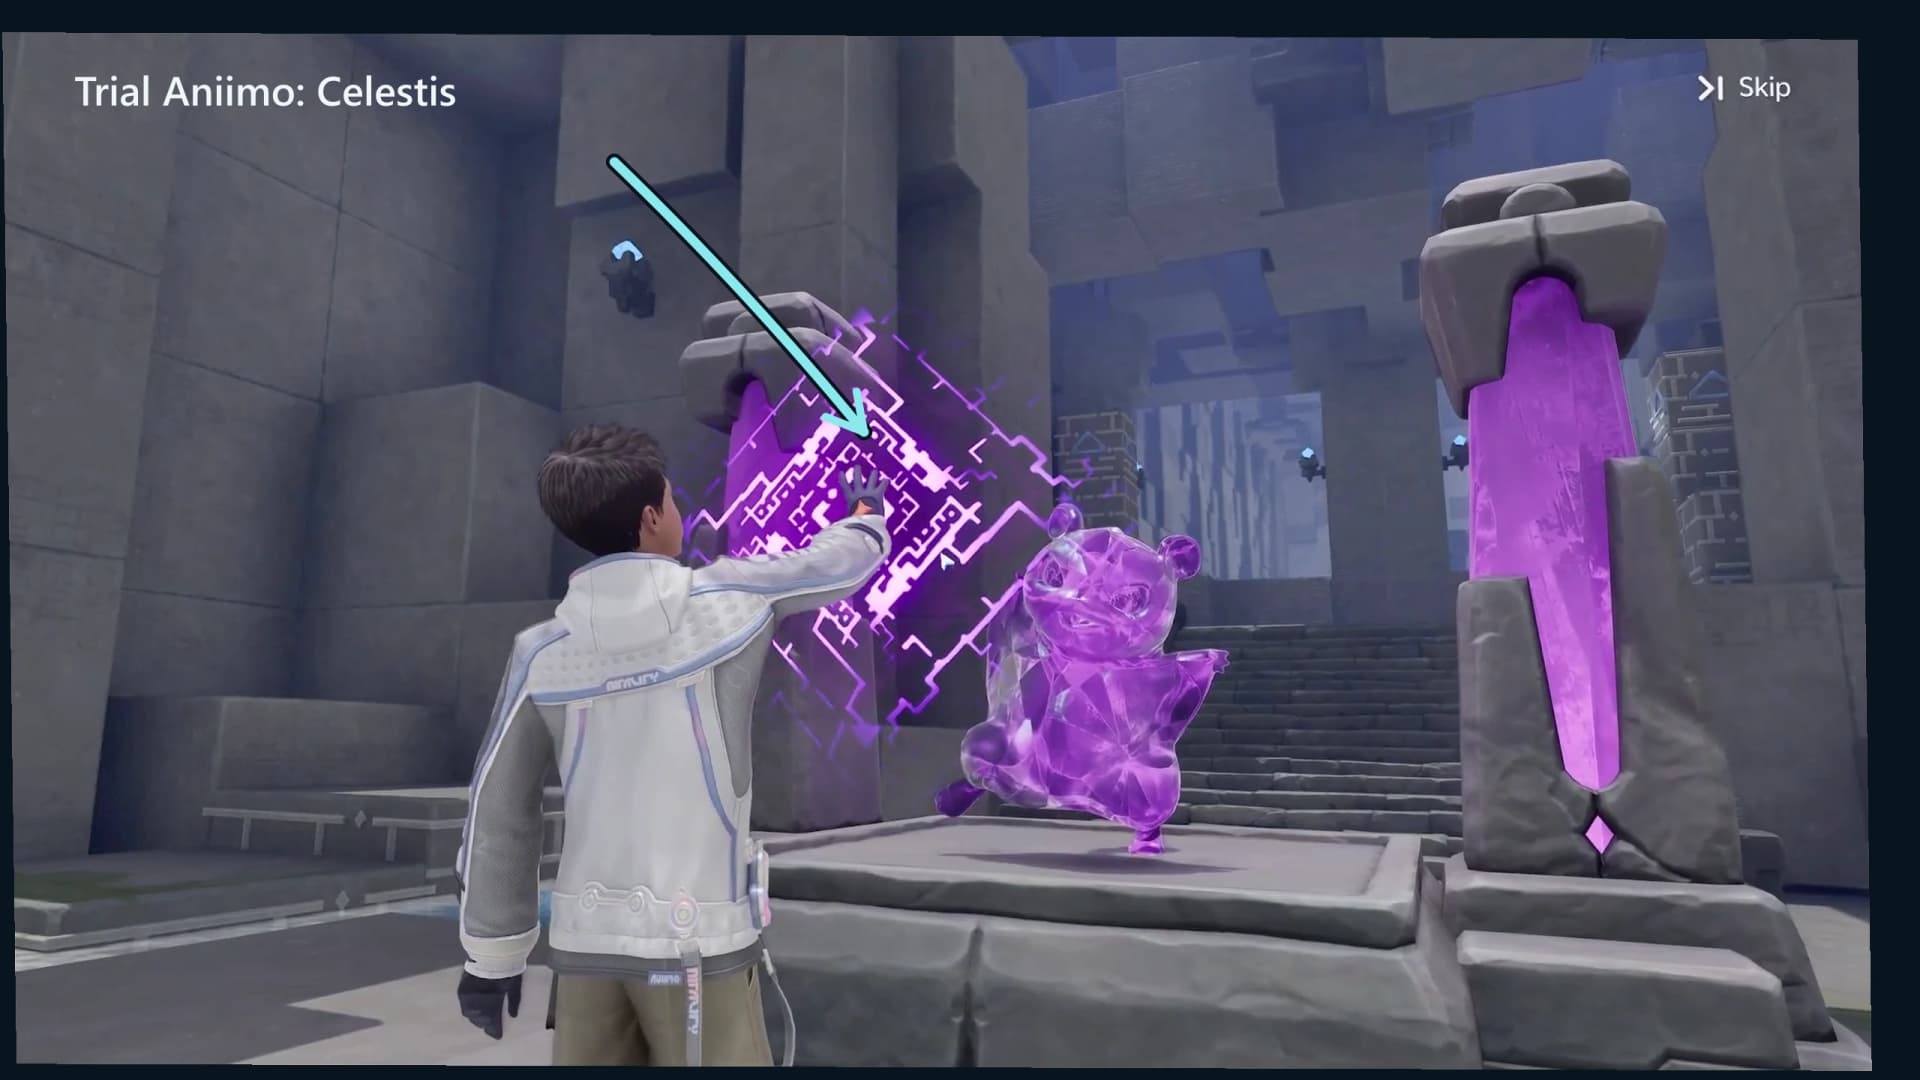
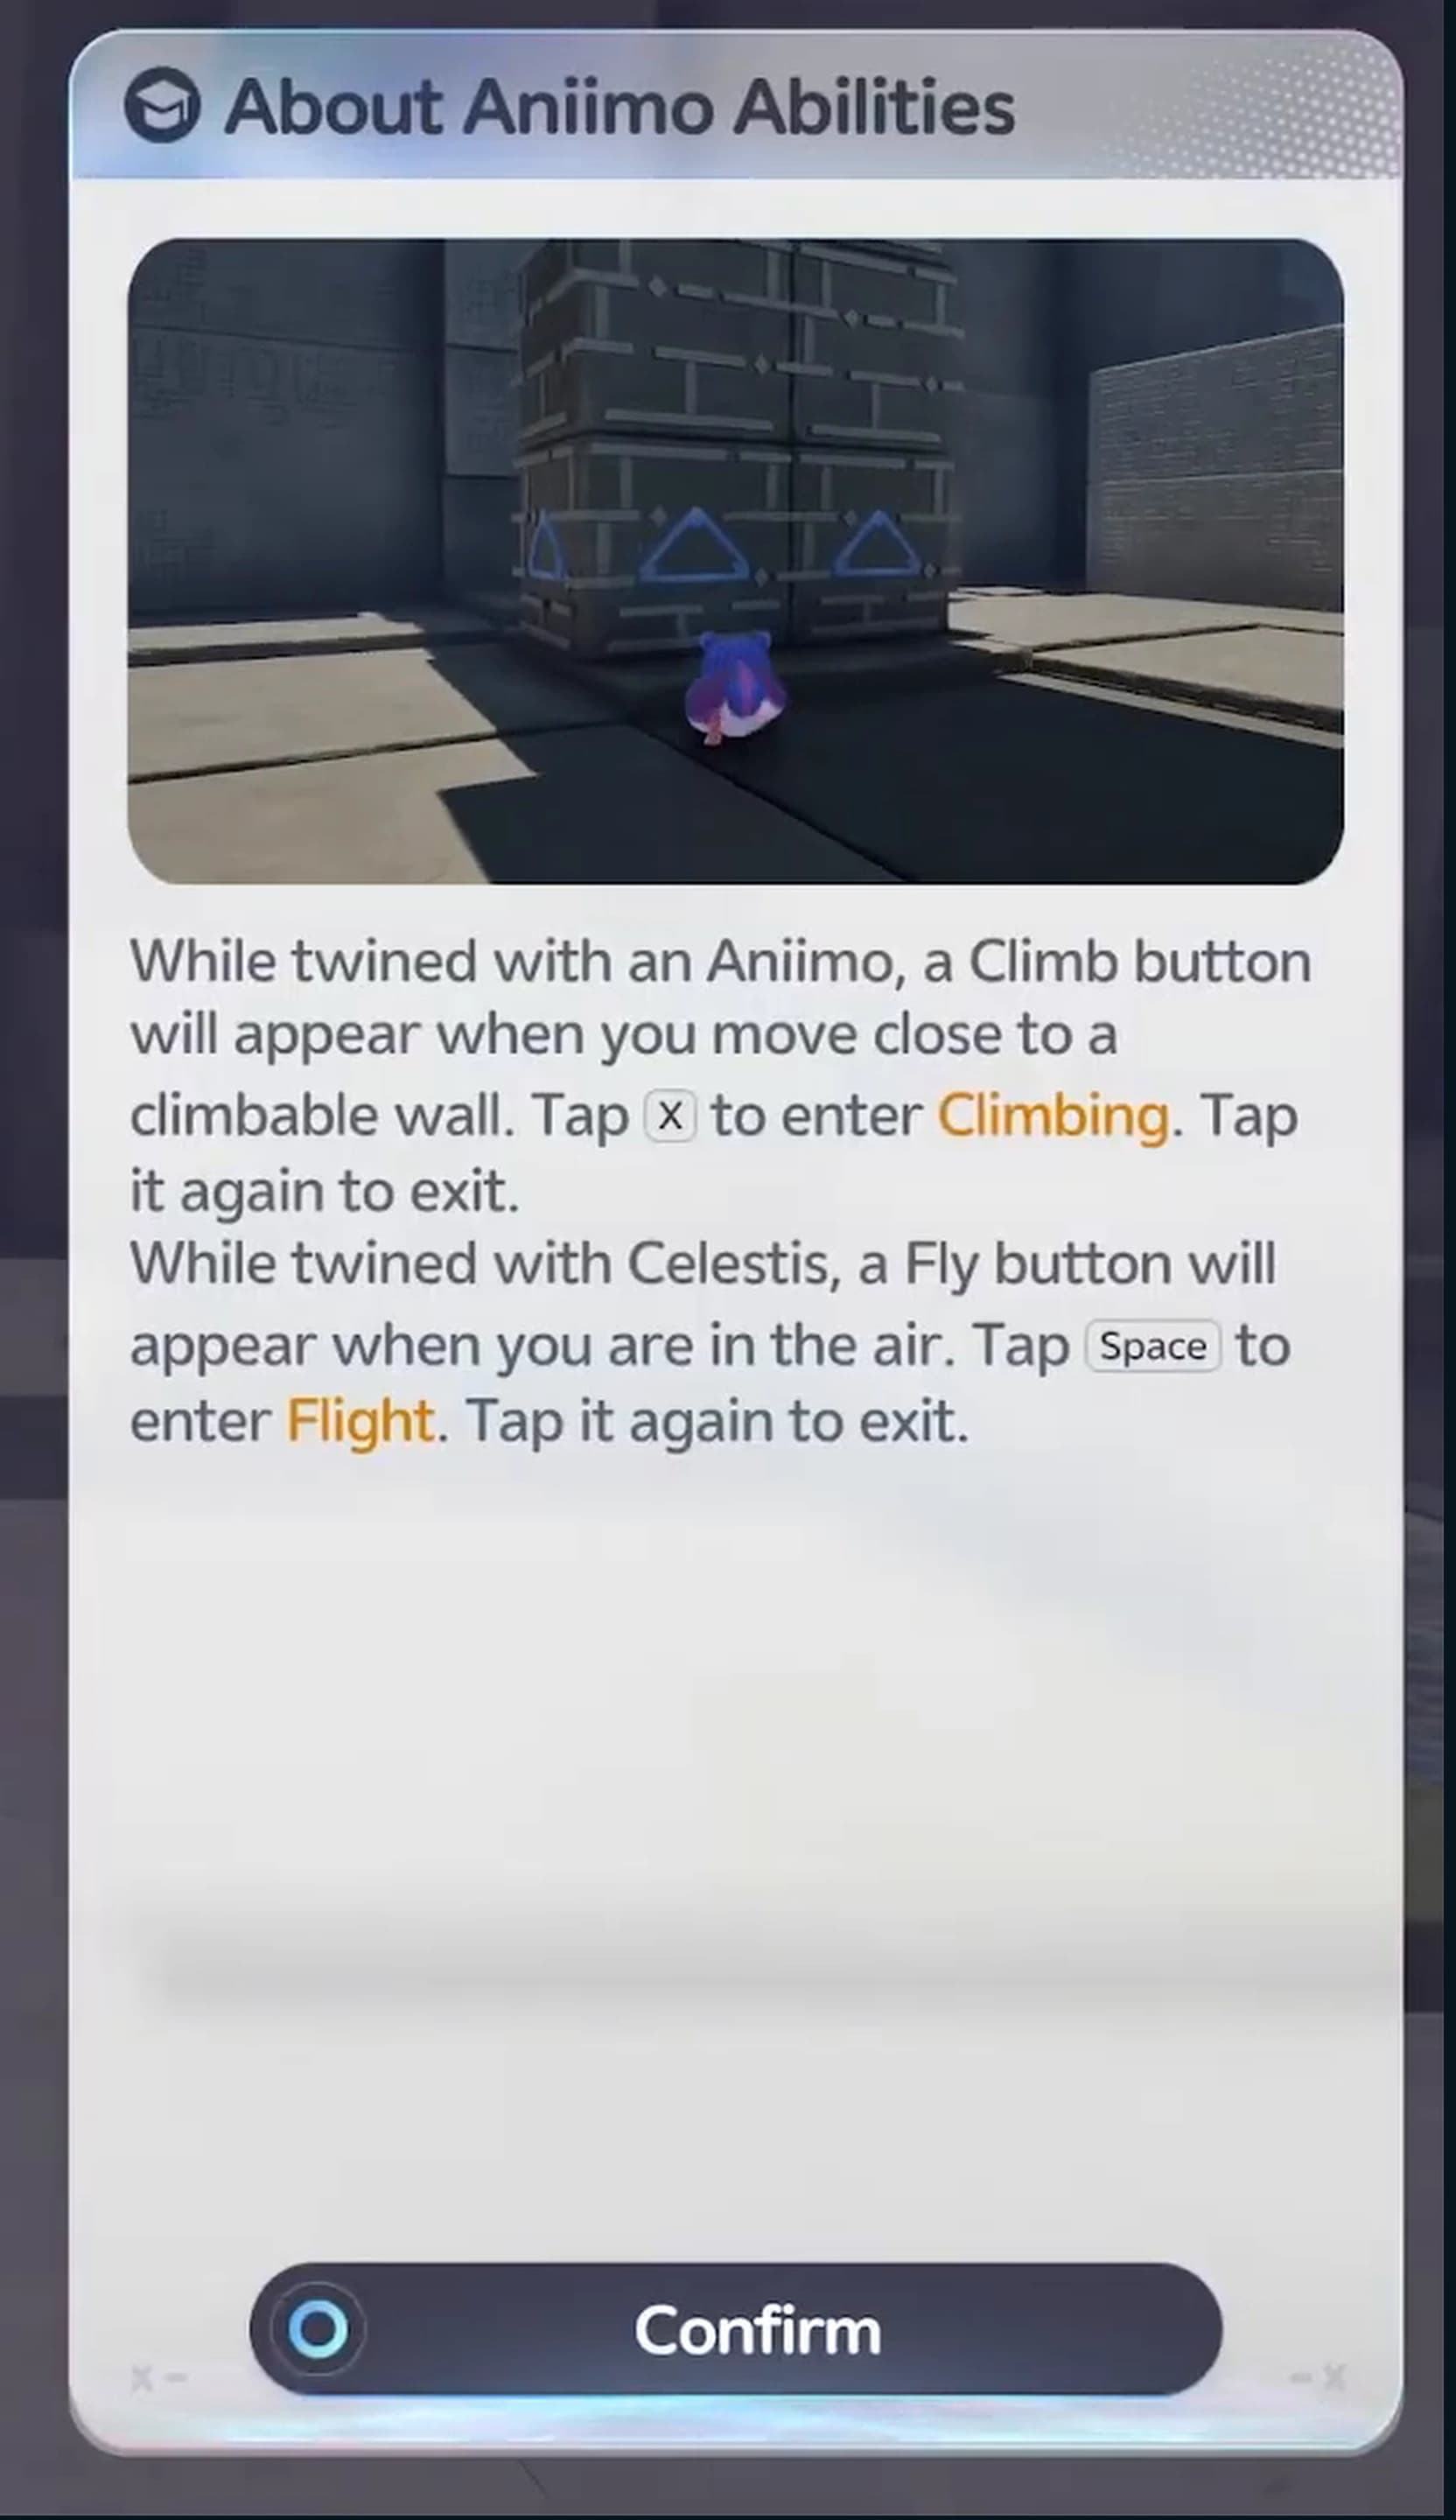
Celestis carries Climb Lv.1 and Fly Lv.1, the two Pathfinding actions this room teaches. The statue supplies Celestis for the run, so you do not need it in your own roster. The Twining and traversal guide explains the broader form handoff.
| State | Displayed control | Result |
|---|---|---|
| Beside a climbable wall | X · Climb | Enter Climbing |
| While Climbing | X · Cancel Climb | Leave the wall; tap X again to exit |
| Airborne before Flight | Space · Fly | Enter Flight while Twined |
| During Flight | Space · Rise | Spend movement margin to gain extra height |
| During Flight | X · Exit | Leave Flight over a safe landing |
Triangle-marker and wind-field legend
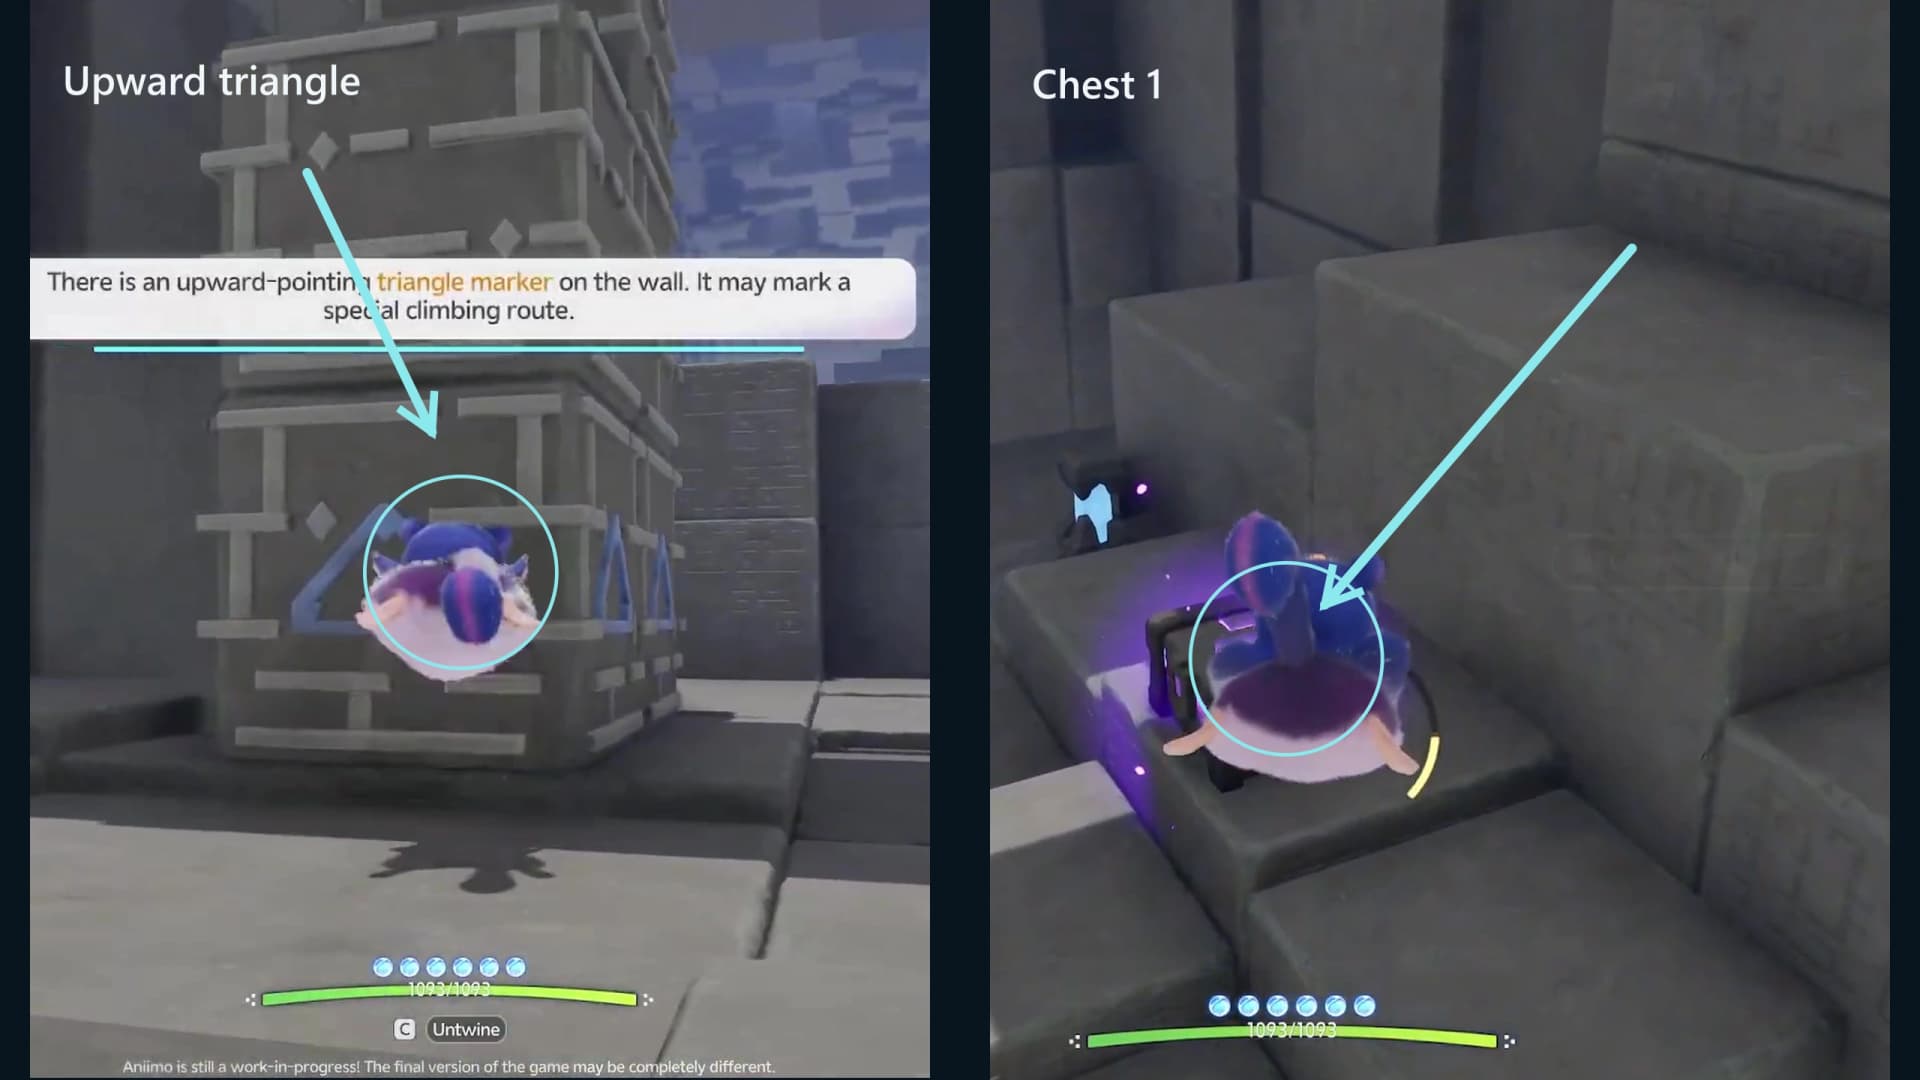
Upward triangle on a wall
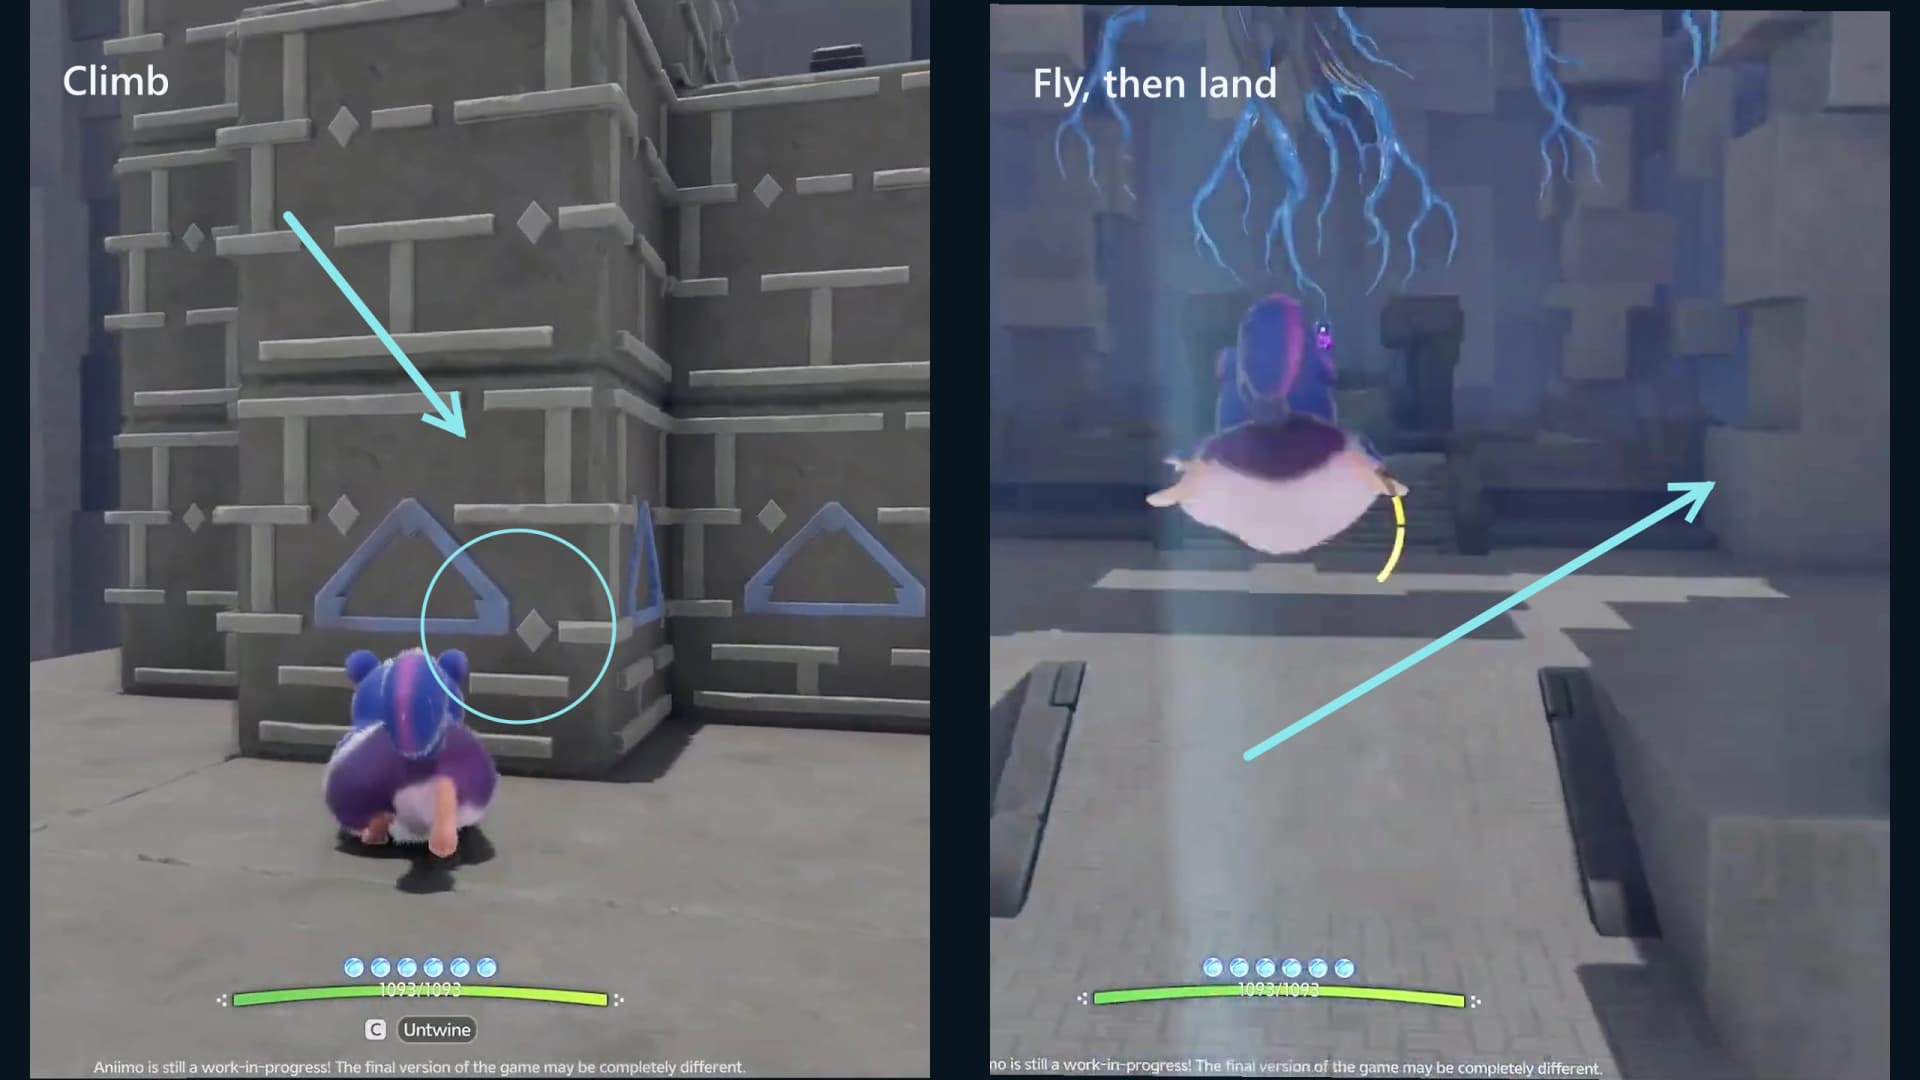
A special climbing route up that face
Approach while Twined and use the displayed Climb input
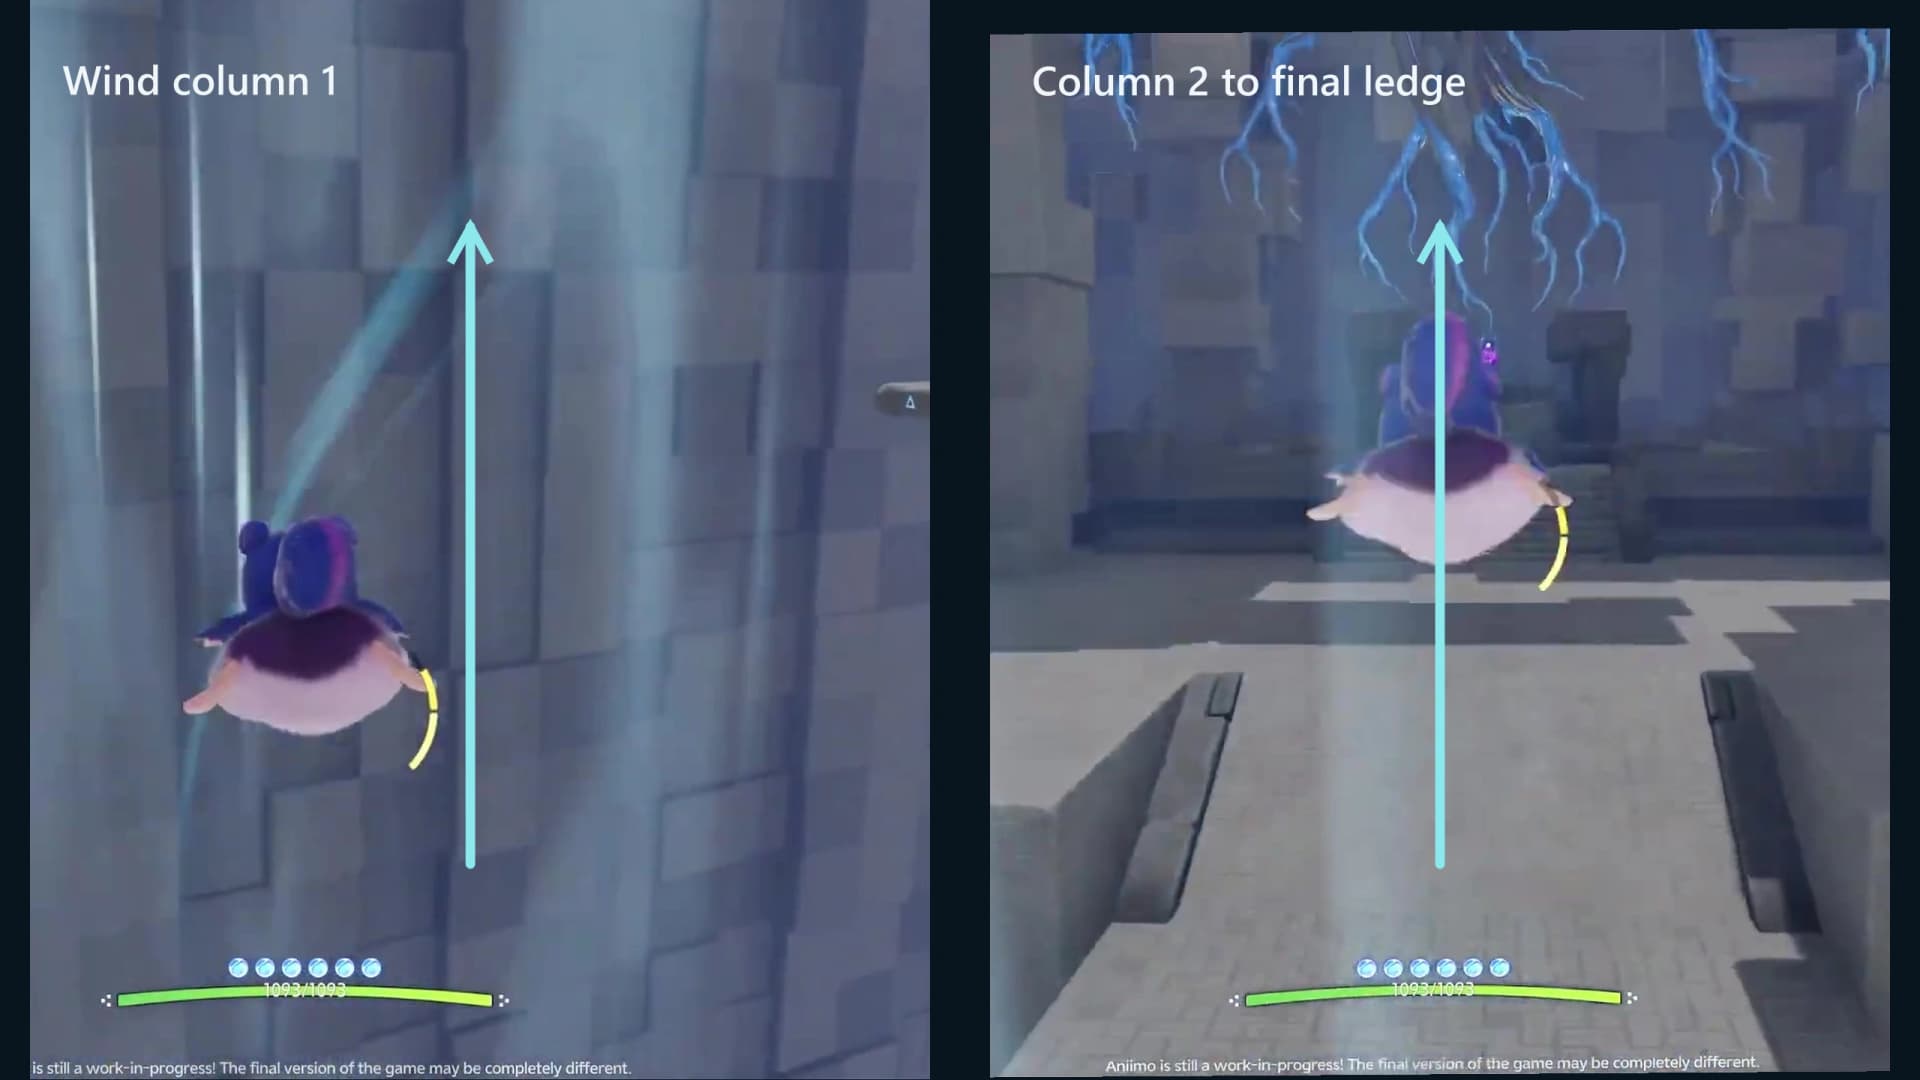
Blue-white vertical wind lane
A flying Aniimo is lifted continuously inside it
Enter Flight, stay inside the lane and steer toward the next broad landing
Round fan-pad cluster
A landing and relaunch surface
Land, re-center the camera and pick out the next visible current
Broad stair or pale stone shelf
A forgiving surface between flights
Touch down before starting the next climb or wind lift
Route, step by step
The room is one long climb with a western branch at the top. Use the chest counter and the broad landings as route checks. The Puzzle Tutorials hub applies the same rule elsewhere: read the room’s visible cue before committing to an interaction.
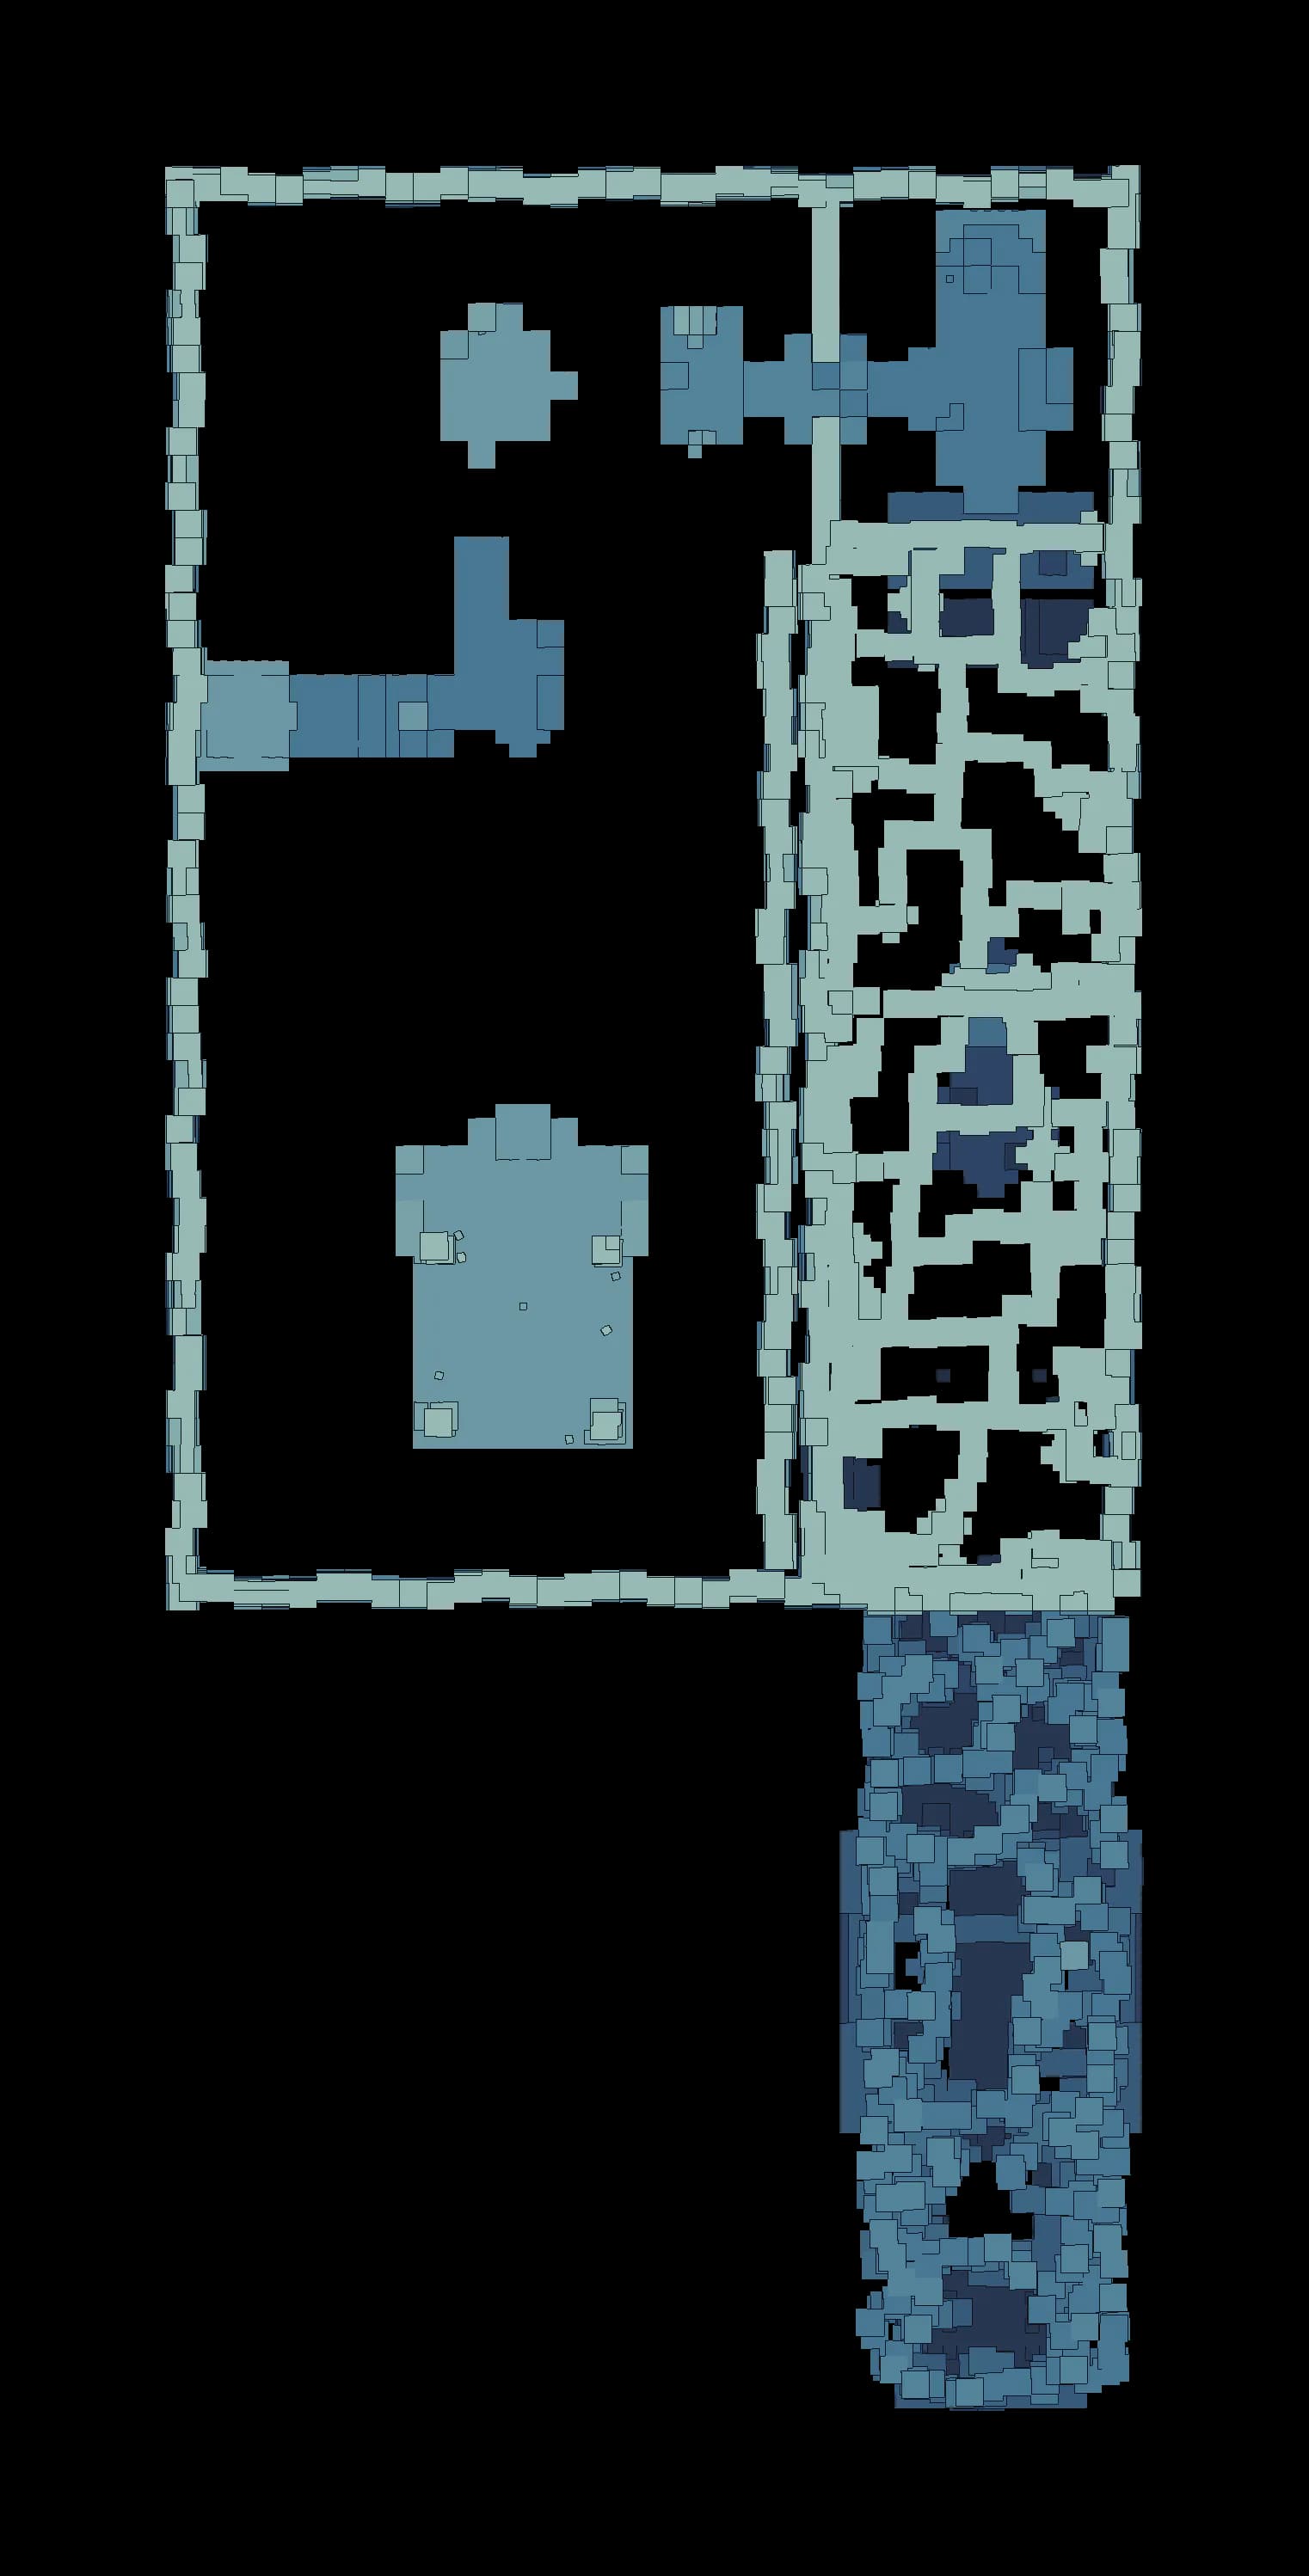 XTCC123ACCCCCC
- Entrance
- Checkpoint
- Trial statue
- Terminus
- Chest
- Mechanism
- Element device
- Hazard
- 1Drop into the Sanctum entranceRoom 0
You land on the entrance pad about 27 m up, at the south end of a long straight hall. This pad is the only respawn point the room starts with, and the first card on the way in warns that the ancient walls here cannot be climbed at all. The room also pins your movement margin at a fixed 200 for the whole run.
- 2Awaken and Twine with trial CelestisRoom 0
Carry on north to the statue standing in the middle of the hall at about 28 m. A card explains that a special energy field blocks your own Aniimo, so Awaken the sealed Celestis and Twine with it. One second later the Climb and Fly card appears, and those two actions are the whole toolkit for the rest of the room.
- 3Take the first marked climb and light checkpoint oneRoom 1
Just past the statue a card names the upward-pointing triangle as a special climbing route. Climb that face and follow the hall north, gaining roughly 7 m to about 35 m. Crossing the line further on lights the first checkpoint, which is a silent unlock with no pillar standing on it.
- 4Chest 1 on the west ledgeOptionalChest 1Room 1
Break west off the main axis onto a ledge about 18 m to the side and 16 m further north, still at roughly 30 m. Open the first standard chest there and confirm the counter reads 1/3.
- 5Drop to the wind tutorial floorRoom 2
From the chest ledge drop north and down into the well, losing about 14 m to a floor at roughly 16 m where the wind field card fires. Two tall fans stand side by side on the centre line there, and they are the strongest updraft in the room.
- 6Ride the twin columns to the save pillarRoom 2
Step into either column, get airborne and enter Flight so the wind lifts you continuously. The lift carries you about 24 m onto the landing at 35 m, where the first save pillar stands and the second checkpoint unlocks.
- 7Descend into the base of the wind stackRoom 3
North of the save pillar the floor steps down into a much taller shaft, and the first row of four fans sits at only 18 m. Treat the descent as a controlled glide, because the killing floor runs just below the whole northern half of the room.
- 8First staged lift, row one to row twoRoom 3
Enter Flight inside any of the four columns in the first row. Each one lifts you exactly 12 m onto the second row at 30 m, about 11 m further north, so land on that shelf instead of trying to ride straight through.
- 9Second staged lift, row two to row threeRoom 3
Repeat the same move from the second row into the third at 42 m. The rows are spaced evenly, so the rhythm is identical each time: enter the lane, rise, steer forward, land.
- 10Top out and light checkpoint threeRoom 3
The last row carries you a further 15 m to the top of the shaft near 57 m. Crossing the lip there unlocks the third checkpoint, the highest point anywhere on the central axis.
- 11Chest 2 on the north spurOptionalChest 2Room 4
Keep going north past the checkpoint to the dead end at the far top of the room, about 27 m beyond it and roughly 59 m up. Open the second standard chest for 2/3, then turn around, because nothing else lies north of it.
- 12Cross west to the second save pillarRoom 5
Head west along the top of the room for about 70 m to the second save pillar at 67 m, which unlocks the fourth checkpoint. This is the last flat ground before the route turns south and starts giving height back.
- 13Work south to the fifth checkpointRoom 5
Follow the shelves south and slightly west; crossing the wide band around 66 m unlocks the fifth checkpoint, whose pad sits lower at 58 m. Land between moves rather than chaining long flights, since the whole western half is open air.
- 14Chest 3 on the far west ledgeOptionalChest 3Room 5
From the same band, break west another 38 m and climb back to about 69 m for the last ledge in the room. Open the third standard chest for 3/3 before you commit to the descent, because touching the ending device closes the run.
- 15Drop onto the first moving pad clusterRoom 6
Continue south and down about 11 m to a square of four round pads at 47 m, each carrying its own fan. The cluster shuttles 12 m south and back on a fixed path, and there is nothing beneath it but the killing floor.
- 16Cross to the upper pad clusterRoom 6
Ride the pads to the southern end of their travel, then enter Flight in one of their columns and steer onto the second square of four pads, 9.5 m higher at roughly 57 m. That second cluster shuttles north and back, so wait for it to come to you rather than reaching for it.
- 17Rise to the final ledgeRoom 7
The fans on the upper cluster lift you the last 14 m onto the ledge at 71 m, which unlocks the sixth and final checkpoint. A second killing slab hangs in the air under this whole approach between about 39 m and 51 m, so a missed landing here is a full reset to the previous pillar.
- 18Touch the Sanctum TerminusRoom 7
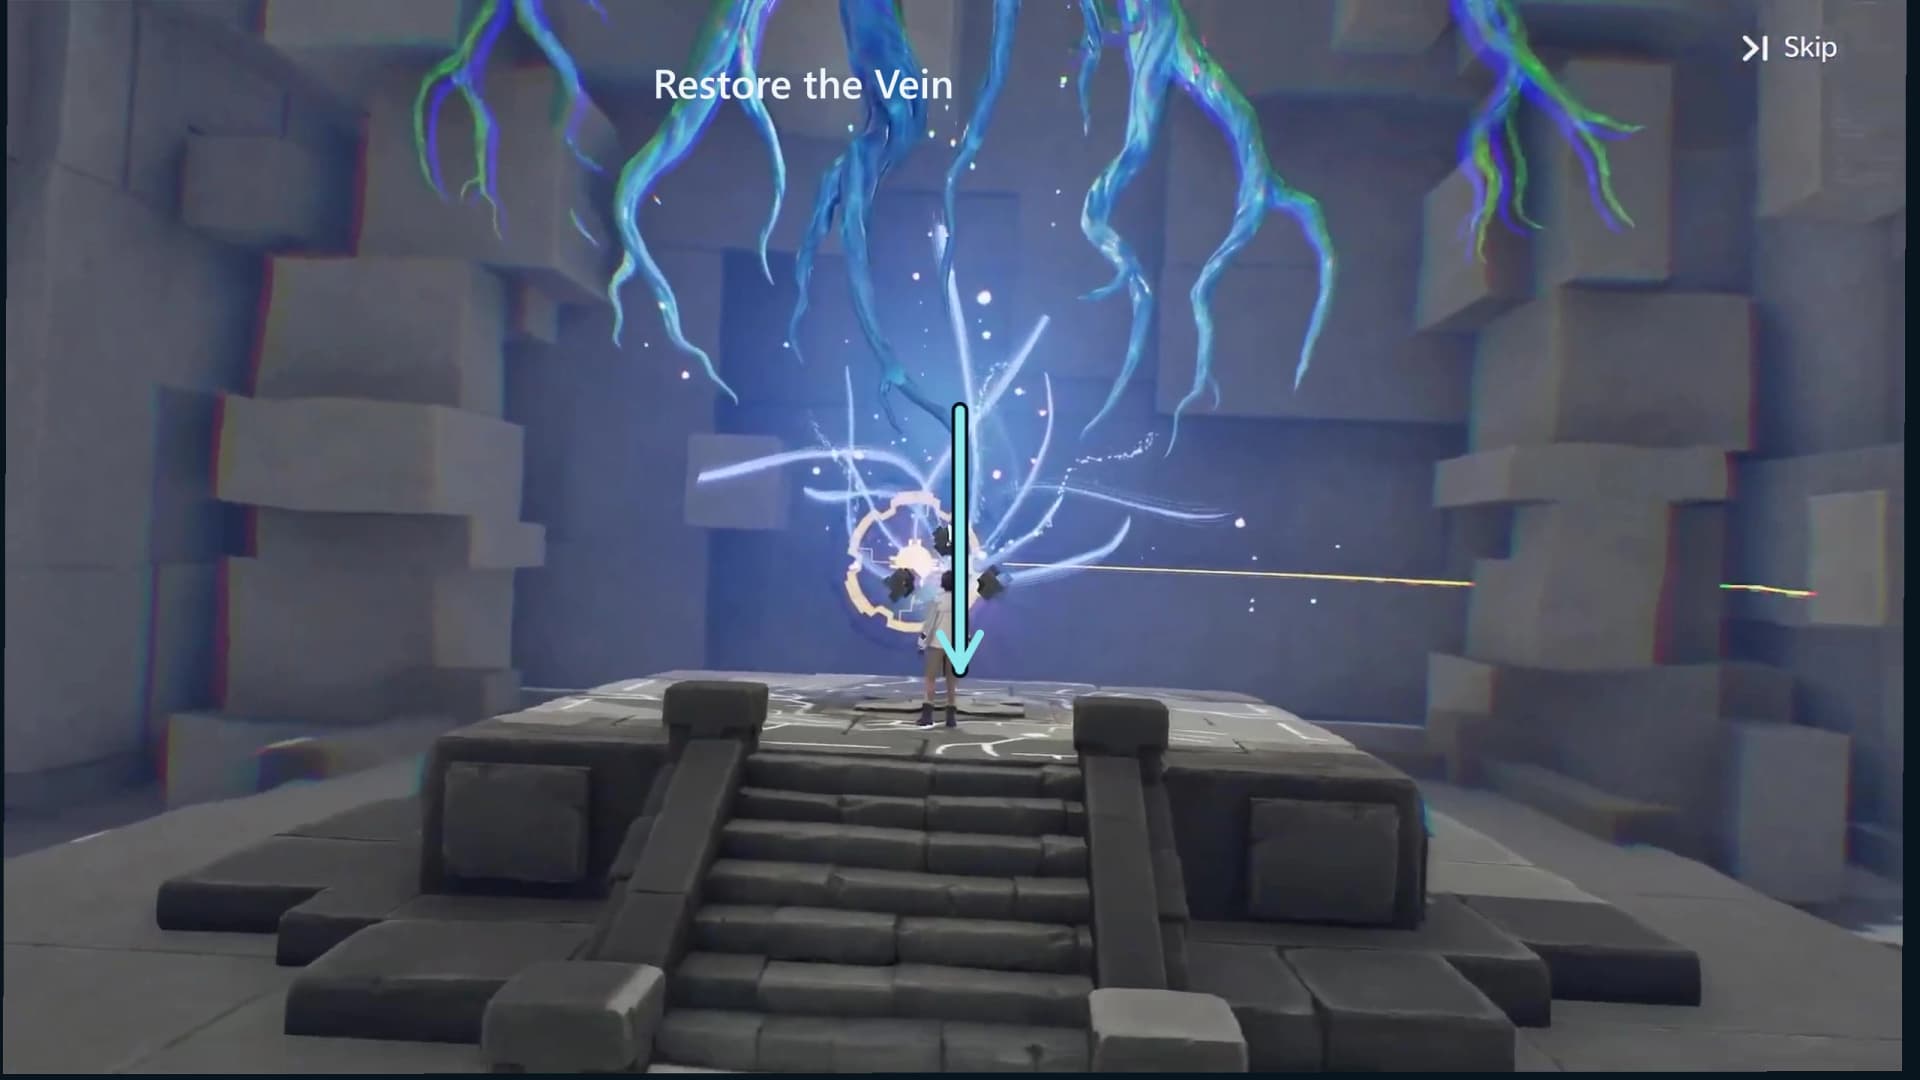
Follow the ledge south about 25 m to the square Sanctum Terminus, still Twined with Celestis. Use Touch to set it to its completion state; that single change restores the Vein and clears the Sanctum, so make sure the counter already reads 3/3.
Three-chest checklist
All three chests are the same Standard tier, so nothing in this room is worth saving for a second visit and there is no gold chest to hunt. They arrive one per leg: the west ledge past the opening climbs, the dead end at the top of the central wind stack, and the far west ledge before the descent onto the moving pads.
| Chest | Tier | Contents |
|---|---|---|
| Chest 1 | Standard | Glimmer x10, Credits x10000, Sparkling Crystal x10, one Rare held item |
| Chest 2 | Standard | Glimmer x10, Credits x10000, Sparkling Crystal x10, one Rare held item |
| Chest 3 | Standard | Glimmer x10, Credits x10000, Sparkling Crystal x10, one Rare held item |
| First clear | Reward | Lumin Amber: Breezy Plains, EXP x500 |
Every held item: Spirited Feather, Fission Needles, Echoing Grimoire, Ferocious Fang, Miraculous Fleece, Lightning Needle, Gargantuan Horn, Marching Flask, Capacitous Battery, Heartseeker Pendant, Avenging Gear, Heritage Amulet, Explosive Gloves, Giant Tortoise Shell, Auspicious Bell.
Checkpoints and hazards
Soaring Glide unlocks six interior checkpoints on top of the entrance pad, and only two of them stand on a visible save pillar. The other four are silent: you cross a line, the unlock happens and there is nothing on the floor to show for it. That is worth knowing before your first fall, because a respawn can otherwise look like the room sent you somewhere arbitrary.
- Just past the first marked climb. Silent, with no pillar standing on it, and the one that covers chest 1.
- The save pillar above the twin wind columns. The first visible one, at the top of the tutorial lift.
- The lip at the top of the central wind stack. Taken after the three staged lifts, and the highest point anywhere on the central axis.
- The second save pillar, west along the top of the room. The other visible one, and the last flat ground before the route turns south.
- The wide band on the way south. Silent, and its pad sits lower than the line that triggers it.
- The final ledge above the upper pad cluster. The sixth and last, a short walk from the Terminus.
Movement margin and flight recovery
A curved yellow gauge appears beside Celestis during Climbing and Flight. It is a room allowance rather than your own stat: Soaring Glide pins the margin at a fixed 200 for every player for the whole run, so nothing you bring in raises it. Treat it as a budget and land between long flights instead of chaining rises.
- Still in Flight inside a wind lane: steer toward the target and spend Space: Rise only when you need the extra height.
- A broad shelf already beneath you: stop rising, steer over it and use X: Exit.
- You miss a landing: aim for a lower block, stair or round pad on the way down, then climb back to the line you left.
- Your buttons differ: trust the active HUD and your remapped labels rather than the introductory panel’s second-tap Flight wording.
Completion and rewards
The square object at the end is the Sanctum Terminus, called a Tesseract in game text and tied to fractured Vein energy. Stay Twined with Celestis, with the C · Untwine prompt still visible, and use F · Touch on it. Touching it restores the Vein; the device itself is not the Vein, and the cinematic that follows shows the Pathfinder beneath the restored branches. Reach 3/3 first, then let the restoration sequence finish.
A first clear pays Lumin Amber: Breezy Plains ×1 plus 500 EXP. It also lights this room’s node on the Leyline Tree and counts toward the Sanctum Delver badges at 3, 5, 10 and 15 clears. Repeat clears pay nothing, and optional chest loot is separate from the first-clear award.
Frequently asked
Where is Soaring Glide?
It is a solo Sanctum in Forest of Falling Stars. Open the exact atlas pin; the marker sits at 738, 1259 on the AniimoVerse atlas.
Which trial Aniimo and controls does Soaring Glide use?
The room supplies Celestis, whose official Pathfinding mobility is Climb Lv.1 and Fly Lv.1. On keyboard, the room shows X to enter Climbing, Space to enter Flight, Space to Rise and X to Exit.
Where are the three Soaring Glide chests?
Chest 1 follows two marked climbs with flights between them; chest 2 follows the staged wind-field ascent; chest 3 follows the central marked-wall and broad-shelf route. Confirm 3/3 before the final wind columns.
What finishes Soaring Glide, and what does it award?
Touch the square Sanctum Terminus/Tesseract to restore the Vein. A first clear pays Lumin Amber: Breezy Plains ×1 plus 500 EXP, lights the room’s Leyline Tree node and counts toward the Sanctum Delver badges at 3, 5, 10 and 15 clears. Repeat clears pay nothing.