

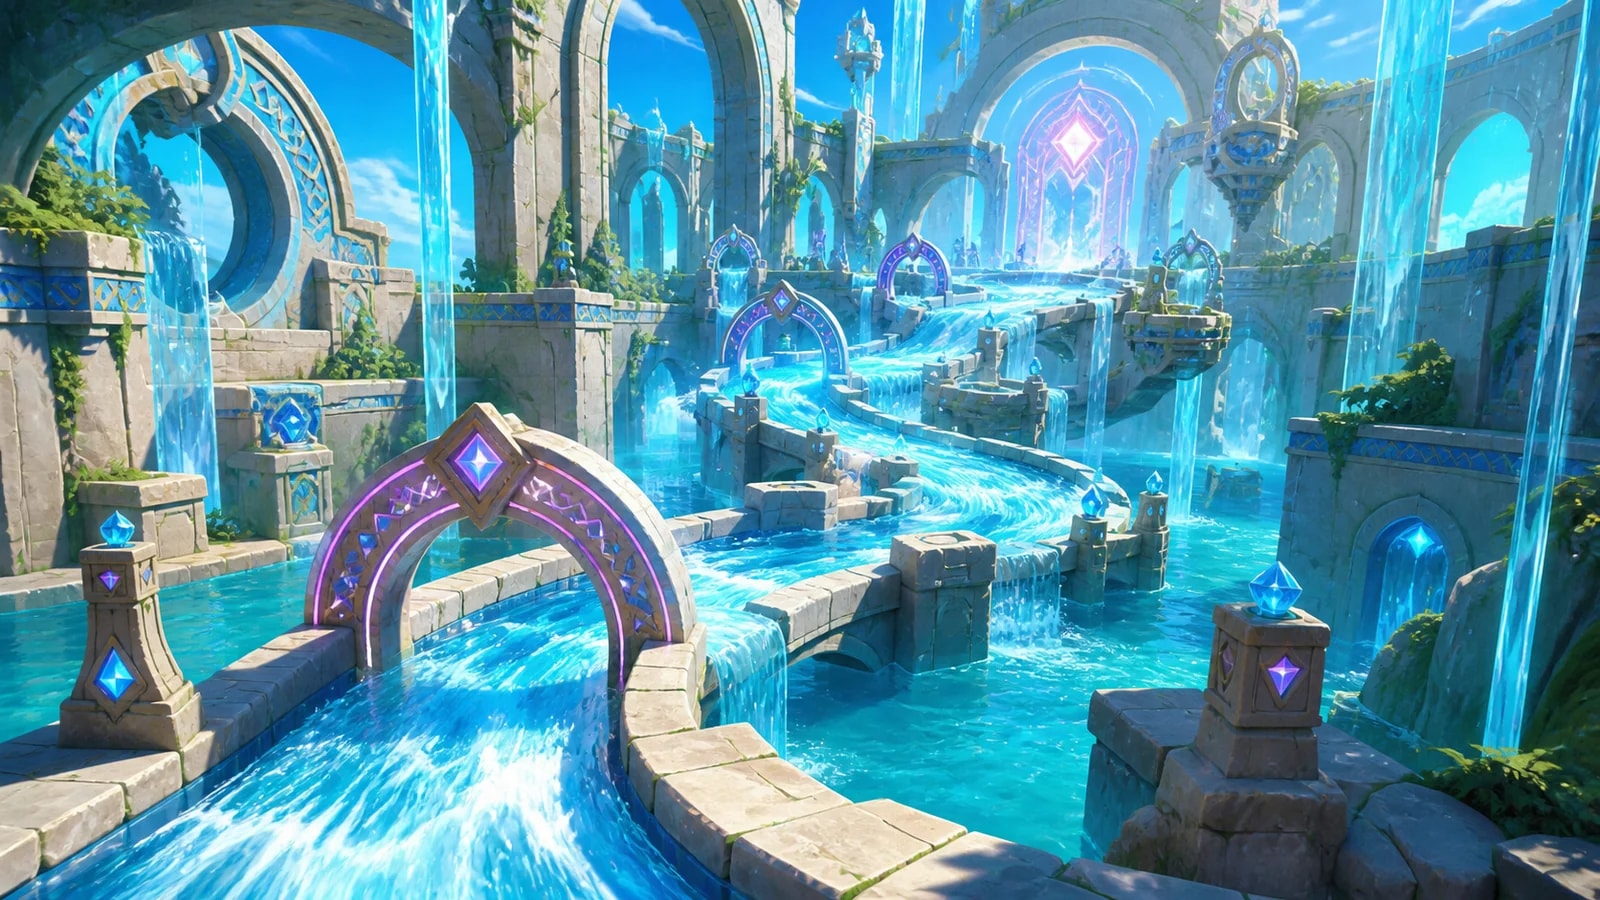

Location and requirements
Open the exact Rushing Rapids atlas pin in Echoback Landing. The marker sits at 604, 323 on the AniimoVerse atlas. The Sanctum takes one challenger and holds three optional chests. The opening room hands you trial Popota, so you need no Water Aniimo of your own.
Echoback Landing
Challengers
- Value
- 1 · Solo
Optional chests
- Value
- 3 · separate 0/3 HUD counter
Trial Aniimo
- Value
- Popota from the opening statue
Chest deadlines
- Value
- 2:00 keeps all three · 2:30 keeps two

Route, step by step
The course is one anticlockwise rectangle: south down the east lane, west along the south wall, north up the long west channel, east along the north wall, then south down the inner east lane to the finish. Everything before the start switch is untimed practice, so use it. The clock starts after the three-count, not when you press the switch.
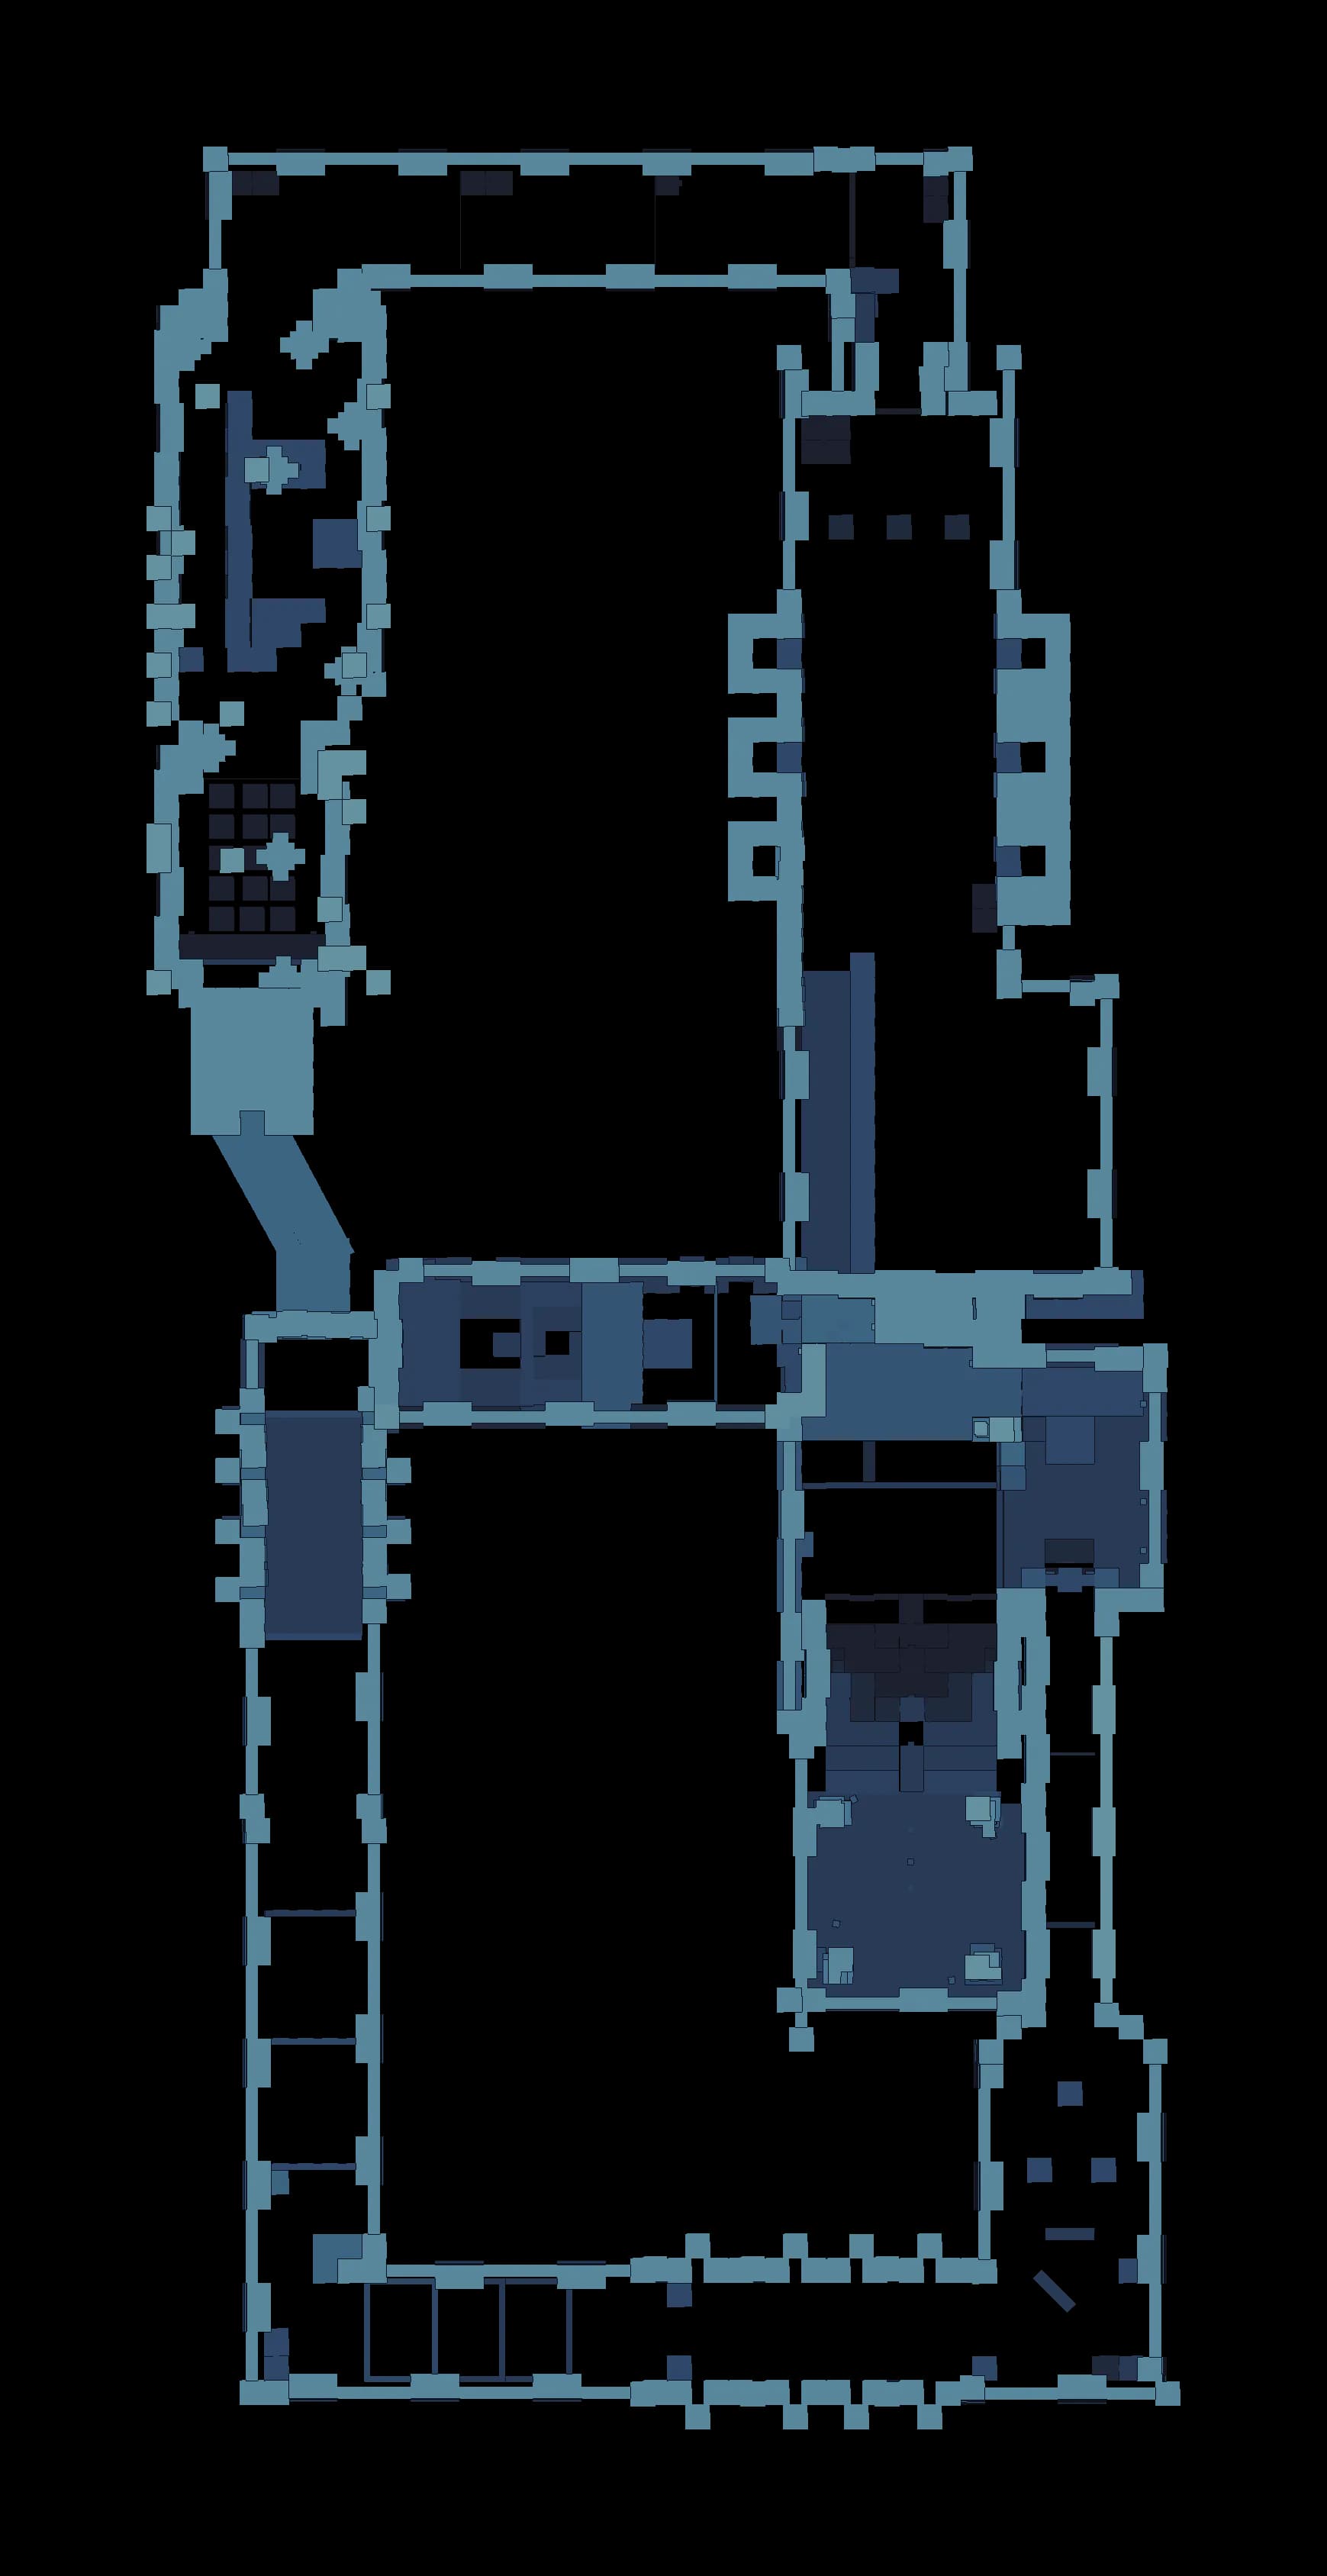 TXXXXCCCCCCC123CCCCCCCCCCCC
- Checkpoint
- Trial statue
- Terminus
- Chest
- Control
- Mechanism
- Element device
- Hazard
- 1Arrive in the entrance hall and head eastRoom 0
You land on the entrance pad at the west end of the hall and the route runs straight east along the water. A single yellow ring sits on the way, so use it to get the feel of a bounce before anything is timed.
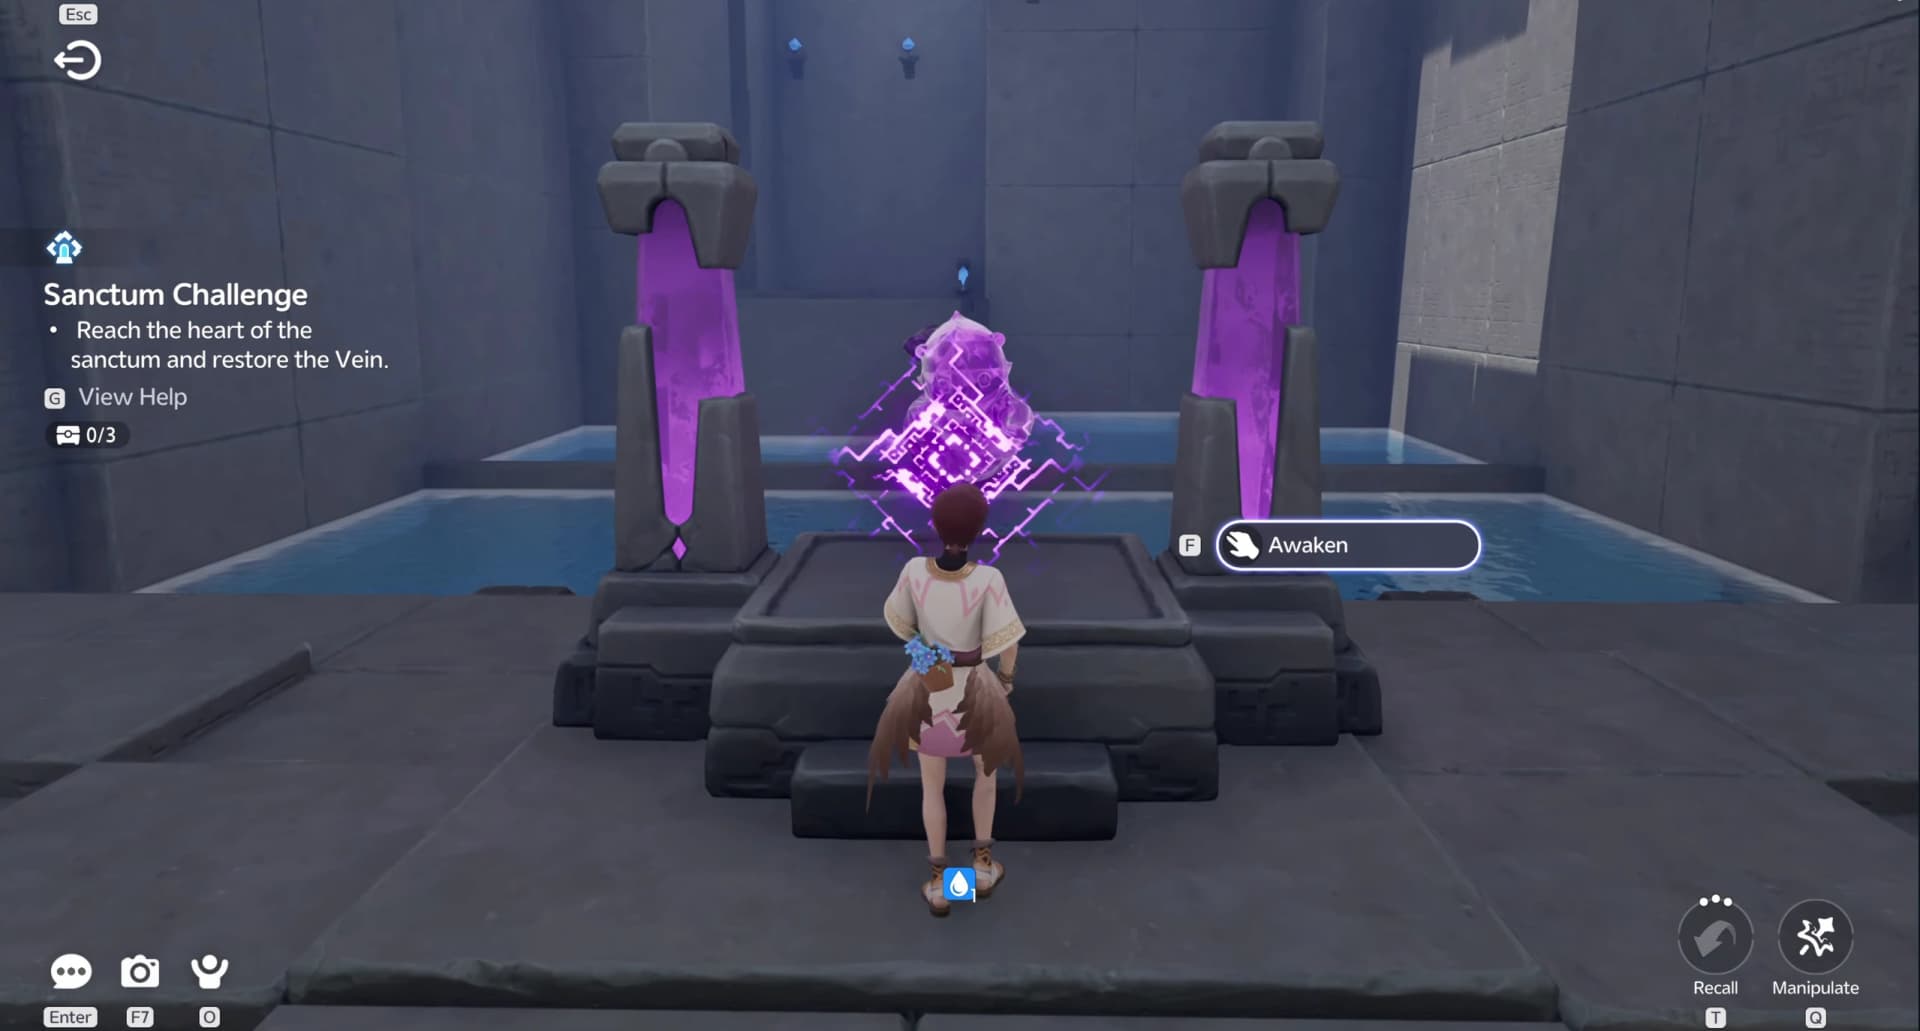
- 2Awaken trial Popota and practise on the approachRoom 0
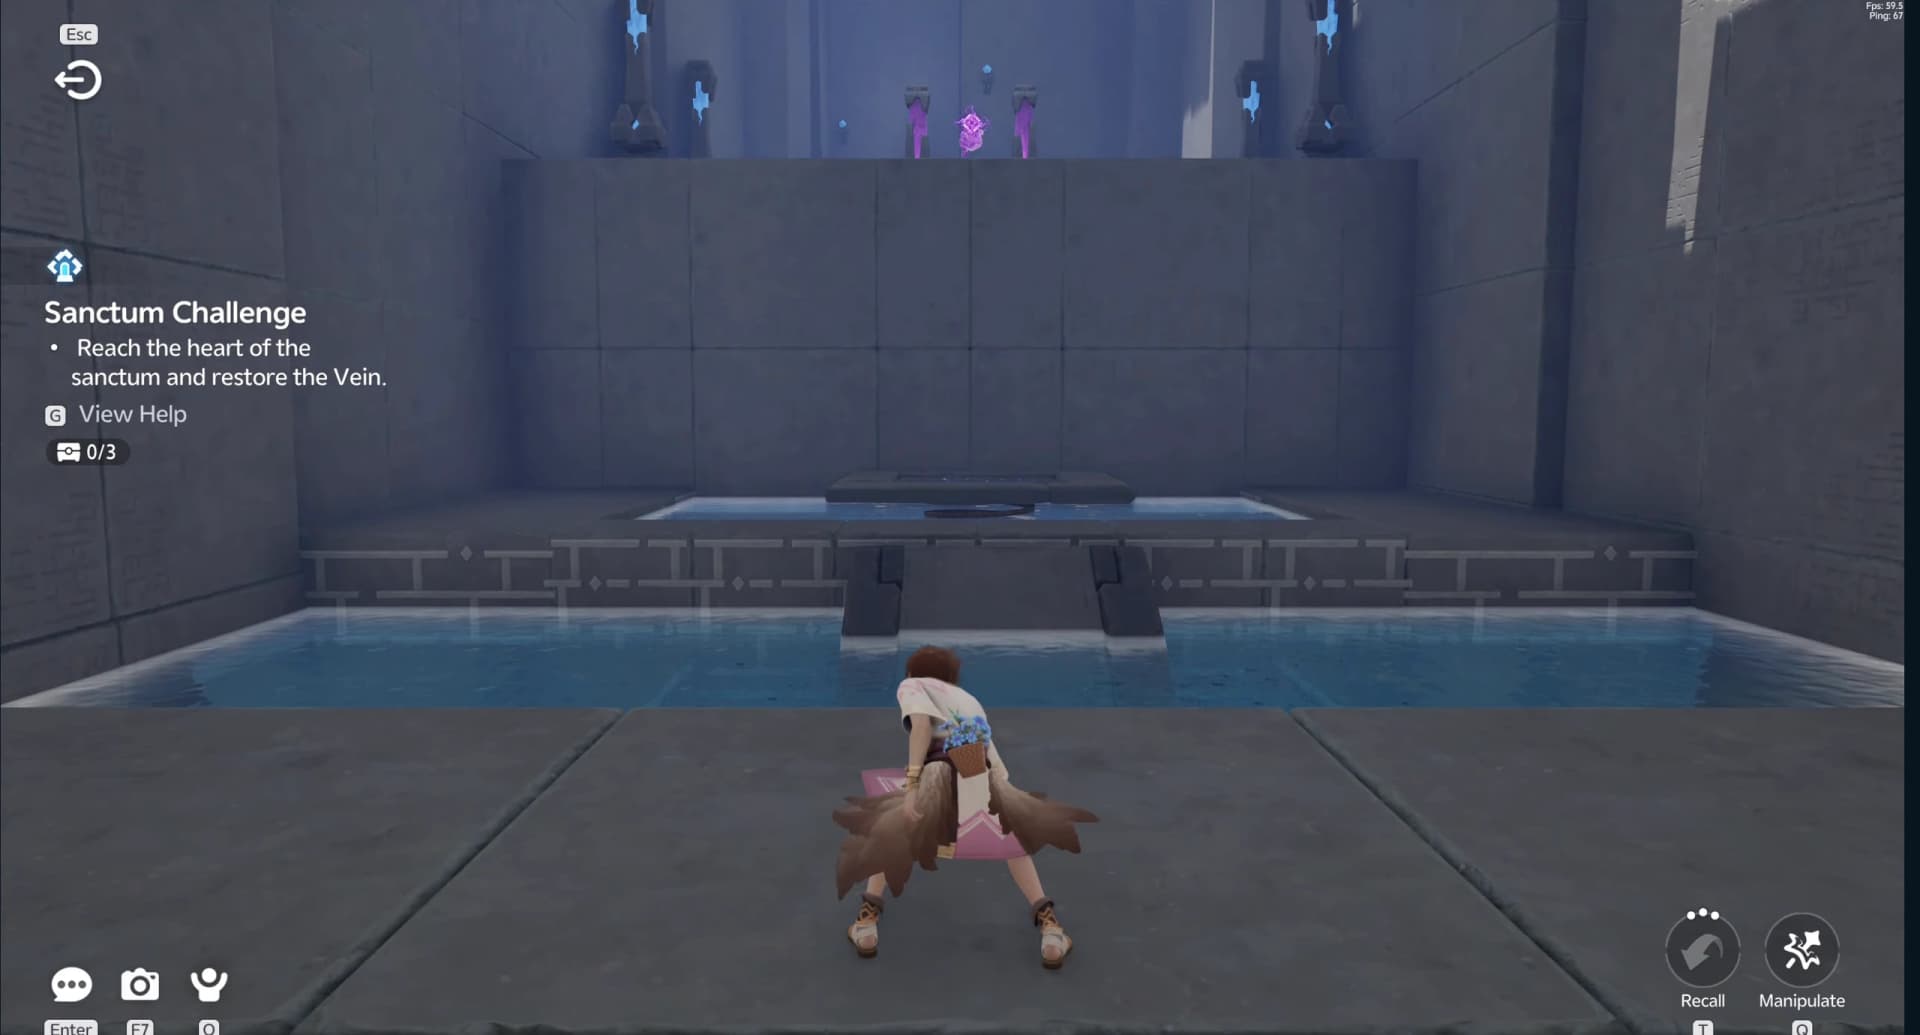
Use Awaken on the statue in the middle of the hall and Twine with the Popota it hands you. Ten seconds later the surf card appears: Jump clears obstacles, and holding Dash makes Popota swim faster and jump farther. The corridor past the statue fires the Jump card and gives you a water jet and two speed pads to practise on, none of it timed.
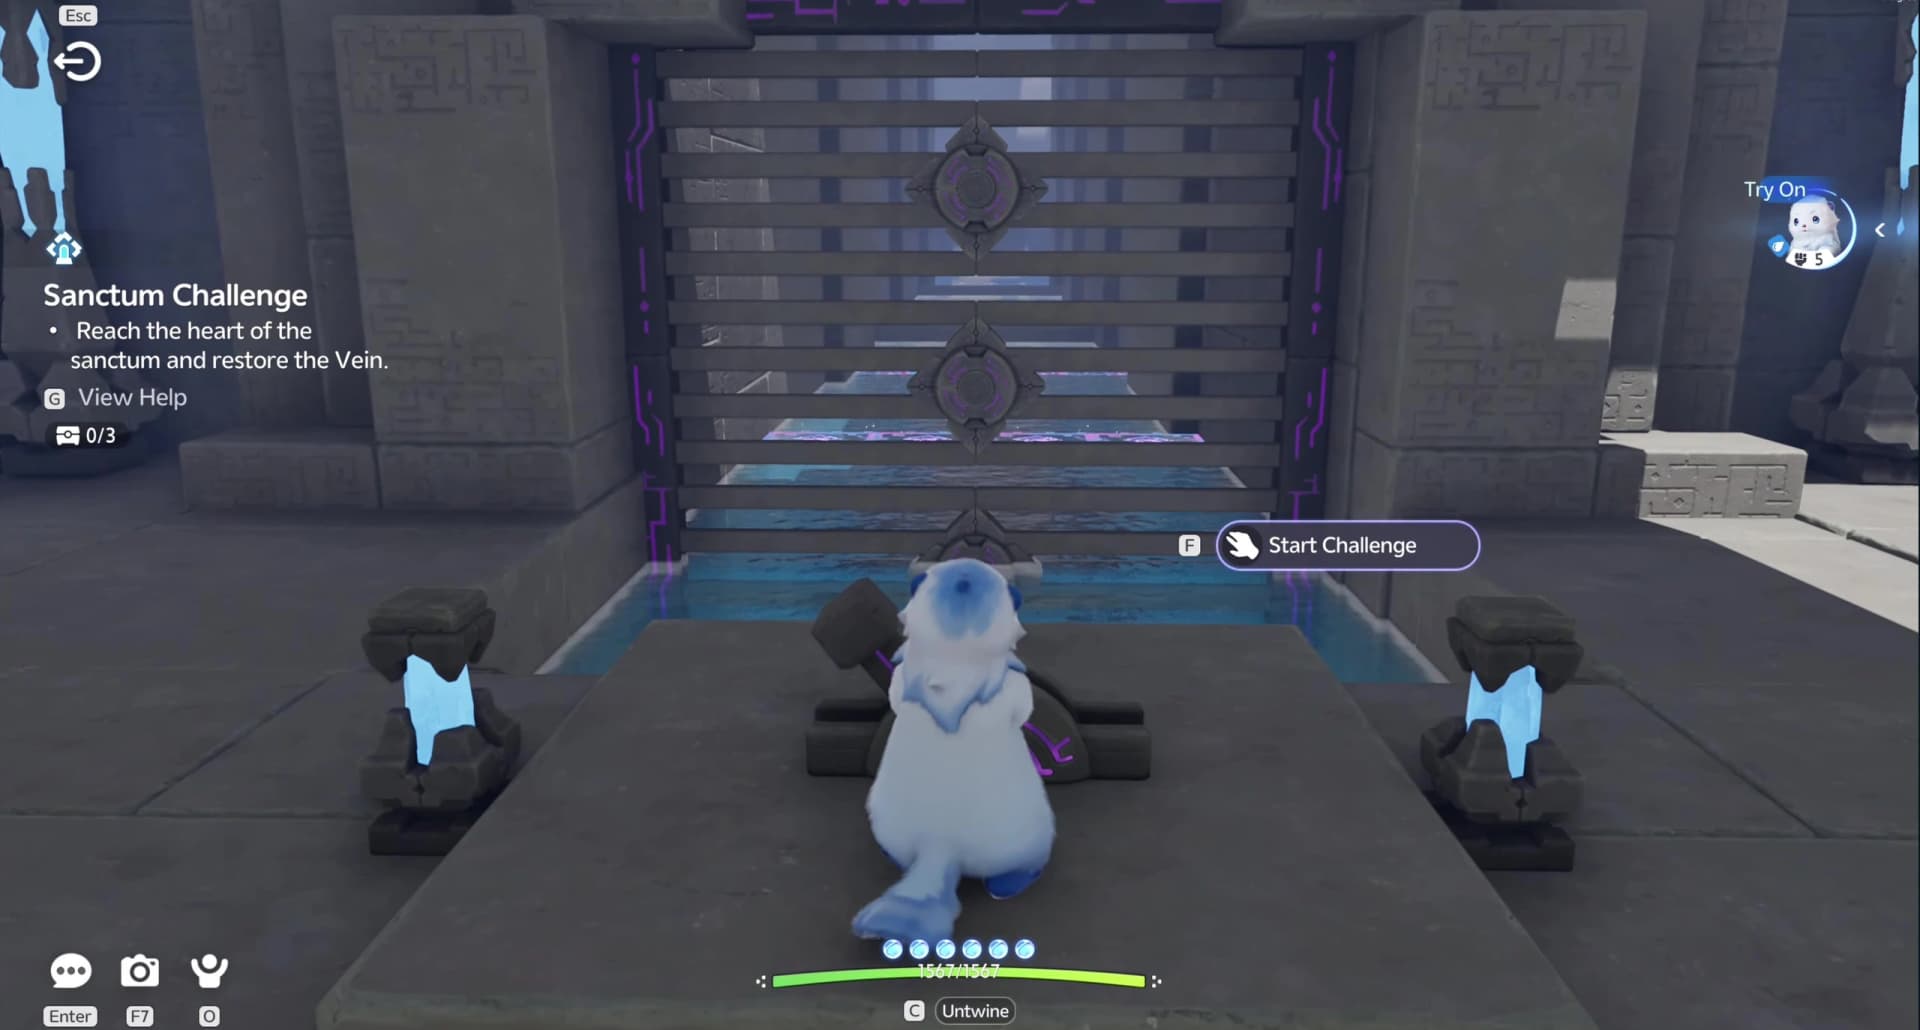
- 3Start the challenge at the switchRoom 0
Use the one-shot switch at the east end of the corridor. It opens the large mechanism gate behind it and arms the race in the same press, and the checkpoint just inside the gate becomes your respawn.
- 4Take the start line and read the clockRoom 1
The Sanctum takes control for a few seconds, places you on the start pad facing south and counts down from three. Two times matter: cross the finish inside two minutes and all three chests stay open, and past two and a half minutes only the basic chest is left.
- 5Opening straight: ride the belts southRoom 1
The first leg is a plain southbound channel down the east wall with five wide speed belts spaced along it. Hold Dash between them and let each belt do the work rather than burning stamina on top of the boost. Three stamina pickups sit abreast near the end, and the tiles after them narrow to short pads that drift off the centre line.
- 6First checkpoint at the south bendRoom 2
The channel swings east into the outer corner and lights the first save point. Cross the marker before you turn, because everything from here to the next corner is a long stretch with no other respawn.
- 7South crossing: thread the four sweeping pillarsRoom 2
Now you run west along the south wall through four pillars that slide across the lane, alternating from the far side and the near side, and the last two move noticeably faster. A speed tile sits between every pair, so time the tile so the burst lands you in the gap rather than into the stone.
- 8South crossing: climb the ring staircaseRoom 2
Eighteen rings stand in six columns of three, and each pair of columns sits a little higher than the last. Take the middle row straight through and let the rings lift you, then two wide belts at the far end carry you into the corner.
- 9Second checkpoint and the turn northRoom 2
The south-west corner holds the second save point with a pair of stamina pickups right beside it. Top up here, because the west channel that follows is the longest leg on the course.
- 10West channel, lower half: gates, lanes and the split levelsRoom 3
Heading north the channel squeezes past two stone gates, then opens into a row of three speed tiles side by side with a matching stamina row just behind them. Past the lone ring the channel runs on two levels through four paired gates: the upper line carries the wide belts and a run of stamina pickups, the lower line spreads its pickups across three lanes, and the upper line is the faster read.
- 11Third checkpoint at the halfway markRoom 3
Four tiles in a rising line bring you to the third save point, level with the entrance hall on the far side of the wall. This is roughly the midpoint of the run, so check the clock here and decide whether the premium chest is still in reach.
- 12West channel ring bankRoom 3
Fifteen rings stand three wide and five deep in one flat bank. Line up on the centre column and hold Dash the whole way through, since the columns are close enough that a straight run takes every ring without steering.
- 13West channel, upper: the zigzag and the moving barRoom 3
The tiles above the bank stagger from side to side, so the fast line weaves rather than runs straight. A long bar sweeps across the lane near the top, and three narrow belts hug the west wall as the channel climbs to the corner.
- 14Fourth checkpoint at the north-west bendRoom 4
A short belt and two stamina pickups mark the top of the west channel, and the fourth save point sits in the corner itself. Turn east here for the crossing.
- 15North crossing: belt pair, ring, repeatRoom 4
The north wall is the cleanest part of the course and it repeats one shape three times: a pair of wide belts, then a single ring. Hit both belts of each pair before the ring and the bounce carries you straight into the next pair. One last belt lifts you into the north-east corner and the fifth save point, and from there the whole run is southbound.
- 16Home channel, upper: the descent to the sixth checkpointRoom 5
Three narrow belts drop you down the top of the home channel to the sixth save point, with stamina on the ledge just before it. A pair of belts on opposite walls follows, so take whichever side you finished the descent on.
- 17Two stone-pillar gauntletsRoom 5
Two banks of stone pillars sweep right across the lane from the east wall, three in the first bank and four in the second. Wide belts sit on the centre line before and between them, so hold the centre and use the stamina row between the banks while you wait for a gap.
- 18The moving ring line and the last checkpointRoom 5
Four of the rings on this line slide west across the channel while a fifth stays put on the east side. Take the static one if the moving four are out of phase, then cross the seventh and final save point just below.
- 19Lower home channel: the tile row and the sweeping barsRoom 5
Five speed tiles lie abreast across the full width of the channel, and after them the line tightens to single tiles that alternate wall to wall. Three long bars sweep the lane further down, and a wide stamina row sits just past them for the last push.
- 20Climb the ring staircase and cross the finishRoom 5
The course ends in thirty rings, six columns wide and five rows deep, climbing in three steps toward the finish. Stay in the centre columns, take one ring per row and cross the line at the top; the result panel appears as soon as you do.
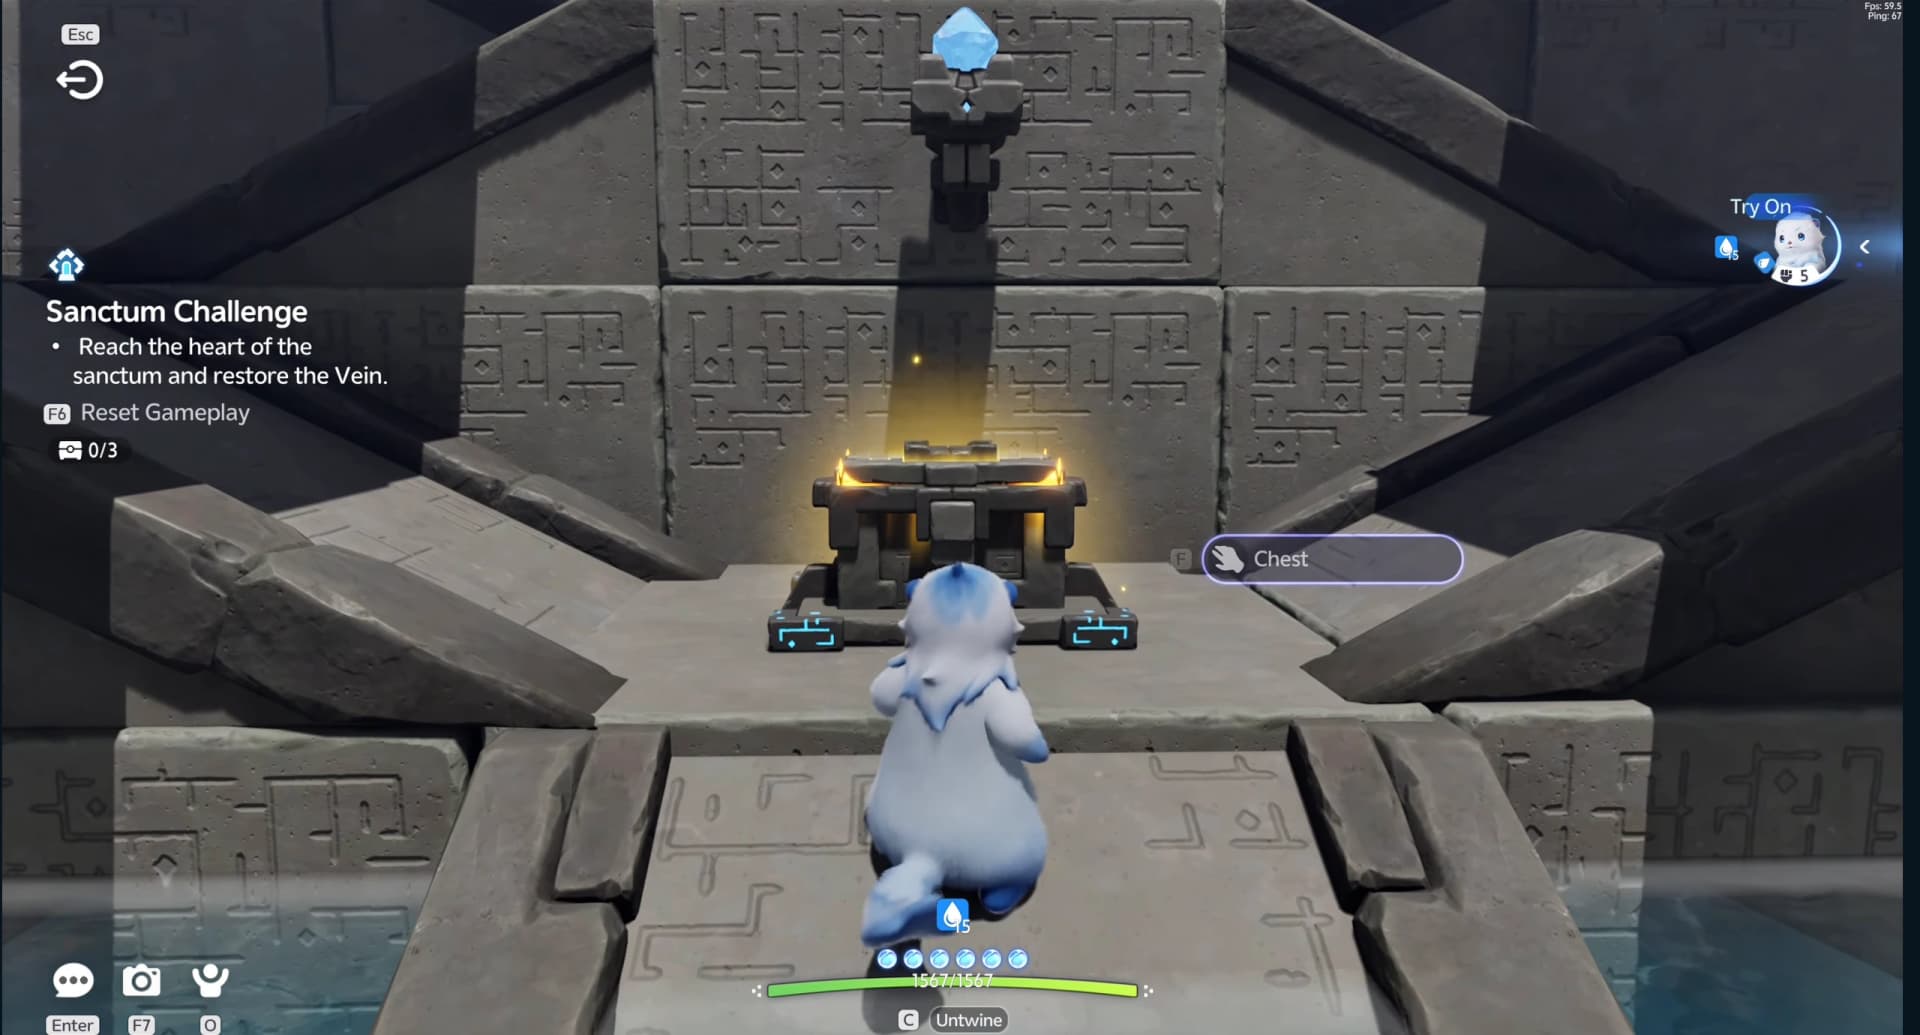
- 21Chest 1: the premium chest at the foot of the vaultOptionalChest 1Room 6
Carry on south past the finish and drop into the vault, where a row of rings at the bottom bounces you back up the chest stair. The premium chest is the lowest and nearest of the three, and its barrier is the one that closes on the two minute mark.
- 22Chest 2: the standard chest one step upOptionalChest 2Room 6
The standard chest sits on the next shelf up and a few paces further south. Its barrier holds until two and a half minutes, so this one survives a run that already lost the premium chest.
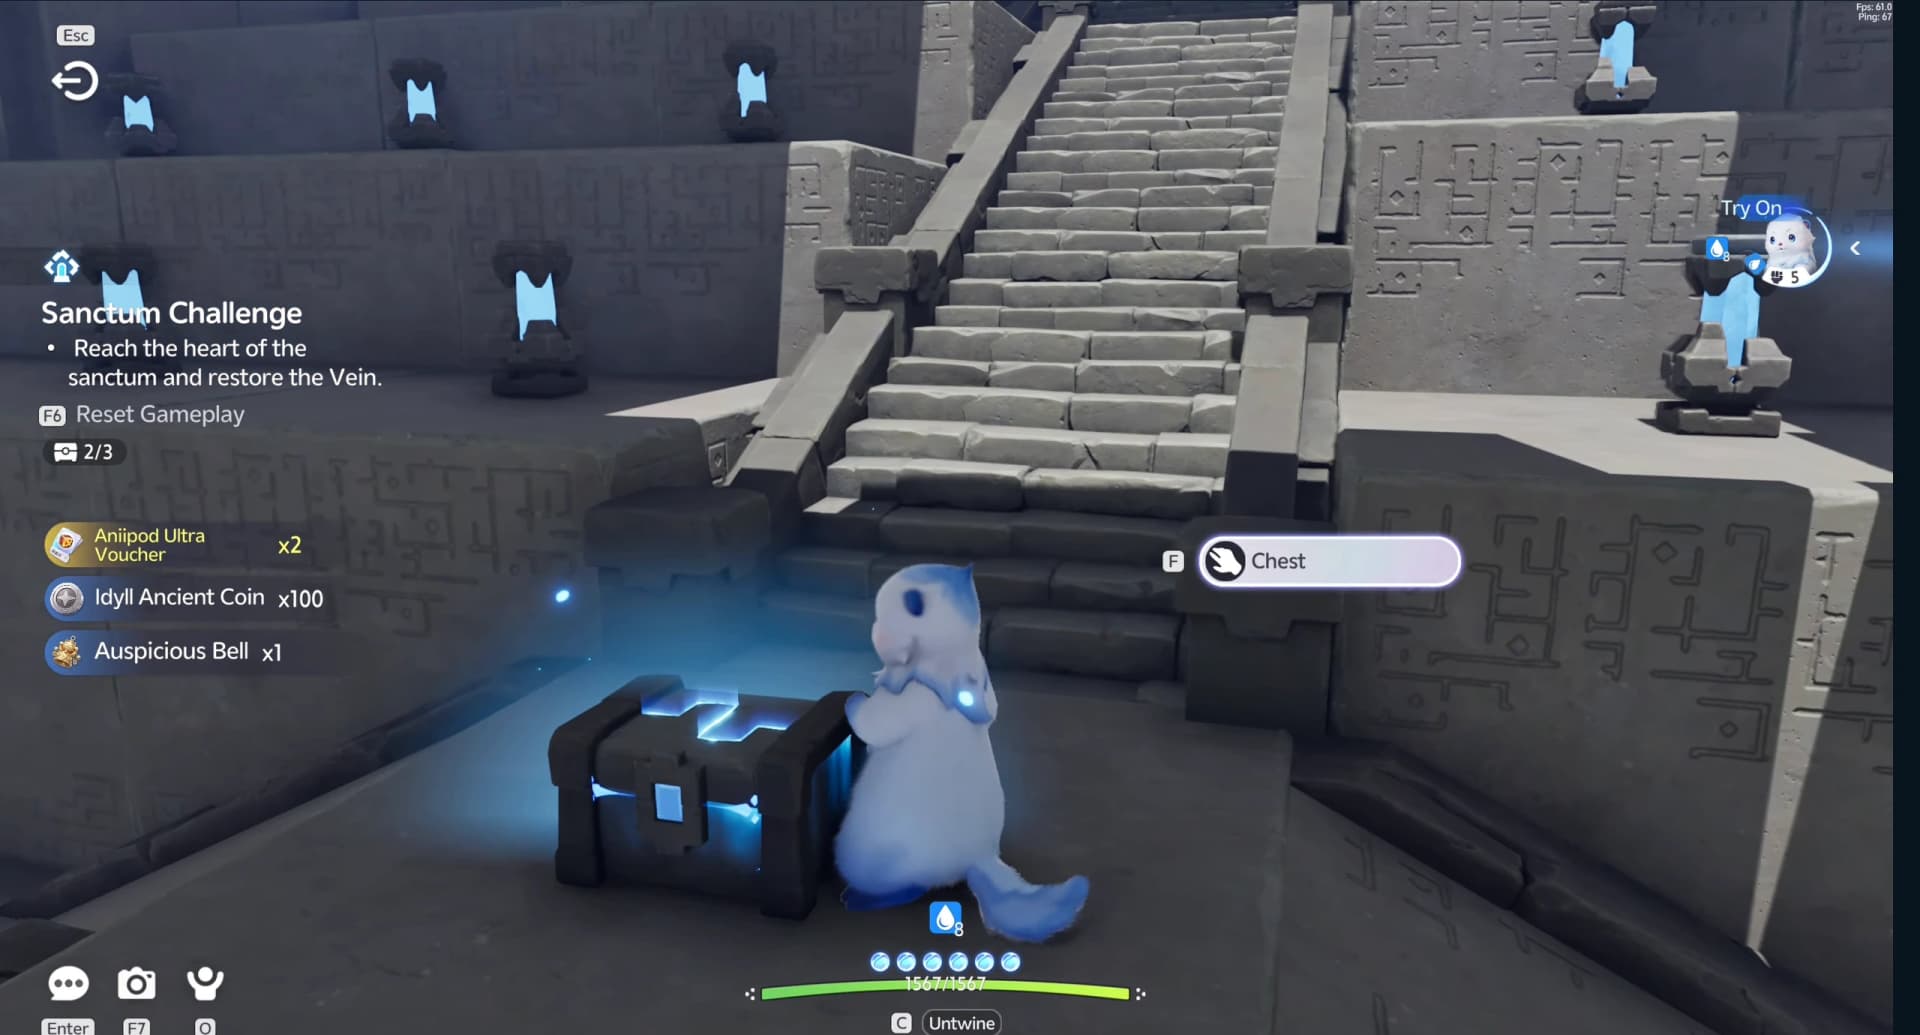
- 23Chest 3: the basic chest at the top of the stairOptionalChest 3Room 6
The basic chest stands at the top of the vault beside the last checkpoint and carries no barrier at all, so it is yours whatever the clock said. Confirm the counter reads three of three before you go any further.
- 24Touch the TerminusRoom 6
Untwine if you need to, then follow the vault south to the square Sanctum Terminus on the ledge at the end. Using Touch sets it to its completion state, restores the Vein and clears the Sanctum, so take every chest first.
Checkpoints and hazards
The course carries seven save points, one at every corner and one before each of the two hardest stretches, and the approach corridor before the start line has its own. They cost you nothing but the seconds it takes to swim back, which on a timed run is exactly what they cost.
- South bend and south-west corner. The first two banks cover the pillar gauntlet and the ring staircase between them.
- Halfway mark in the west channel. Level with the entrance hall on the far side of the wall, and the right place to check the clock against the 2:00 deadline.
- North-west and north-east corners. They bracket the cleanest stretch of the course, the belt-belt-ring pattern along the north wall.
- Two banks in the home channel. The sixth covers the descent into the channel, the seventh sits below the moving ring line and is the last one before the finish.
Popota controls and course legend
| Input | Use |
|---|---|
| W A S D + mouse | Steer Popota and sight the next ring or landing. |
| Space · Jump | Jump obstacles, dry ledges and gaps while Twined with Popota. |
| Shift · Dash/Haste | Swim faster and jump farther; watch the stamina arc. |
| F · Interact | Awaken Popota, start the course, open chests and use the Terminus prompt. |
| C · Twine/Untwine | Leave Popota when the Untwine label is on screen. |
| G · View Help | Open the context help before racing if your bindings differ. |
| F6 · Reset Gameplay | Restart the attempt while the course is running. |
Yellow rings
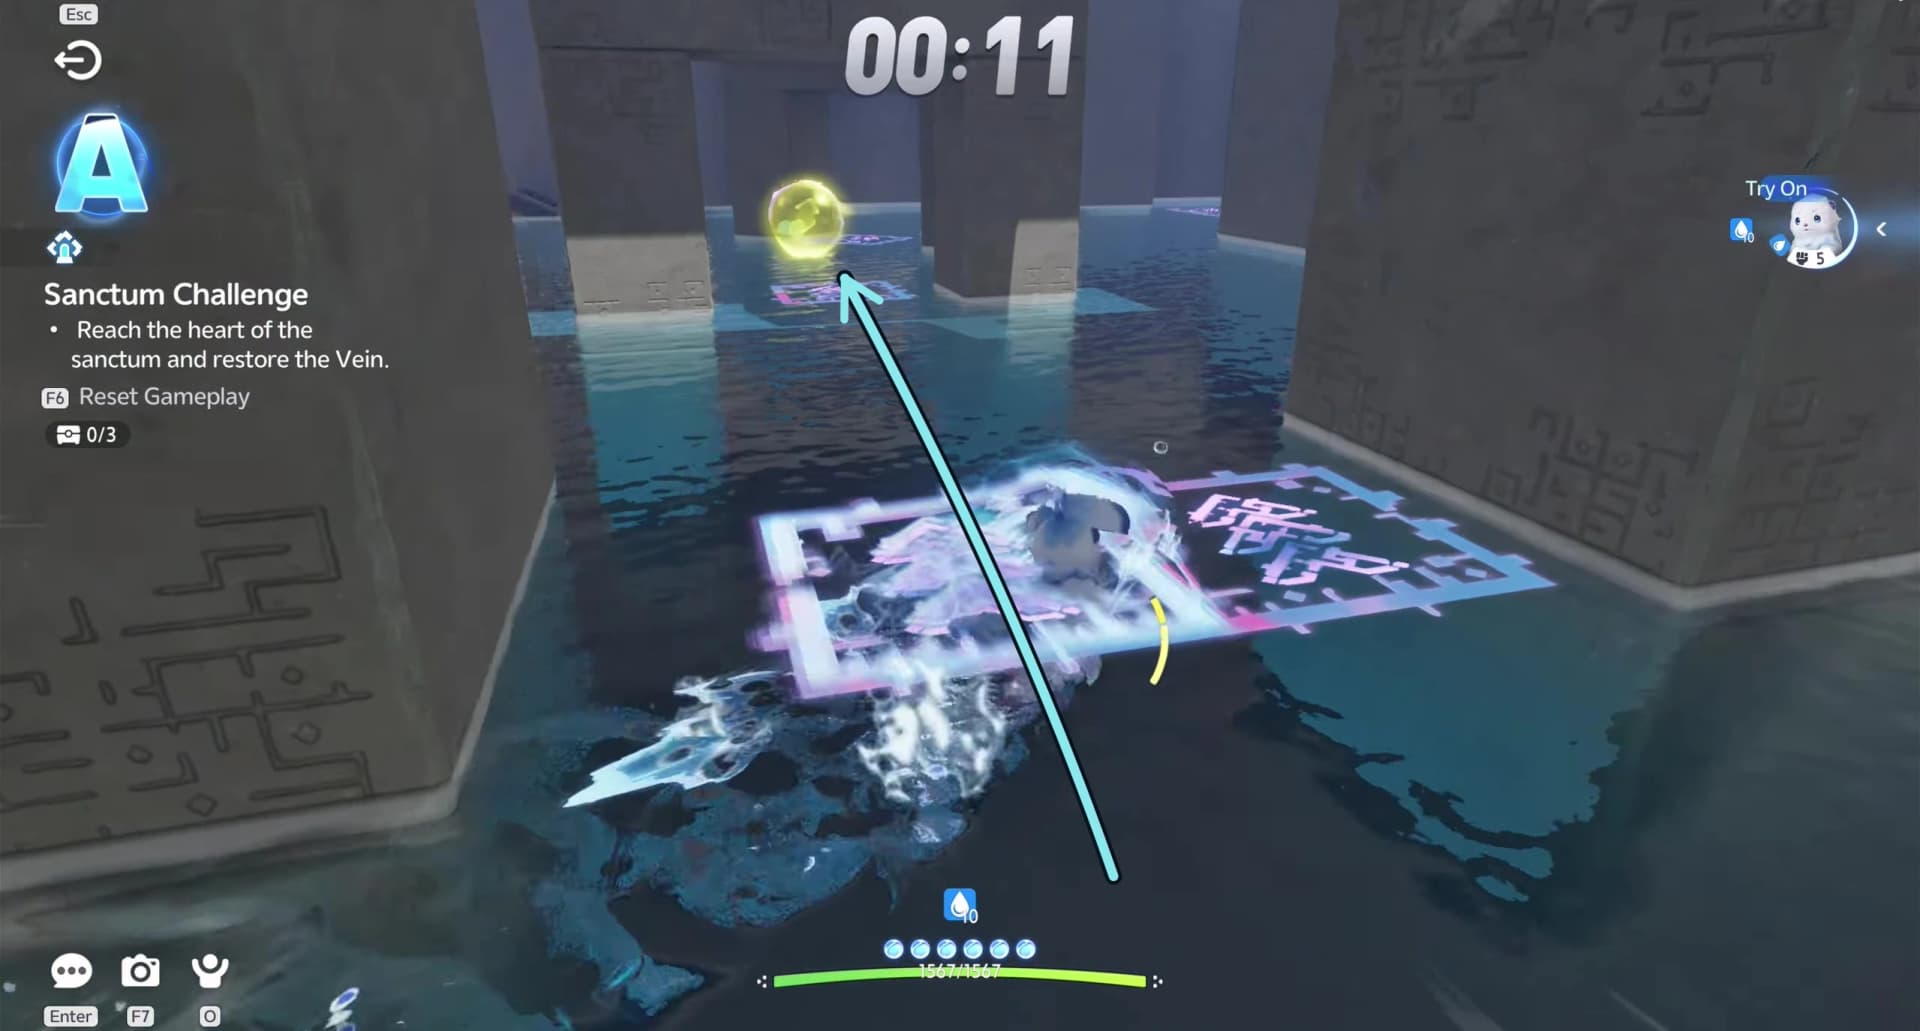
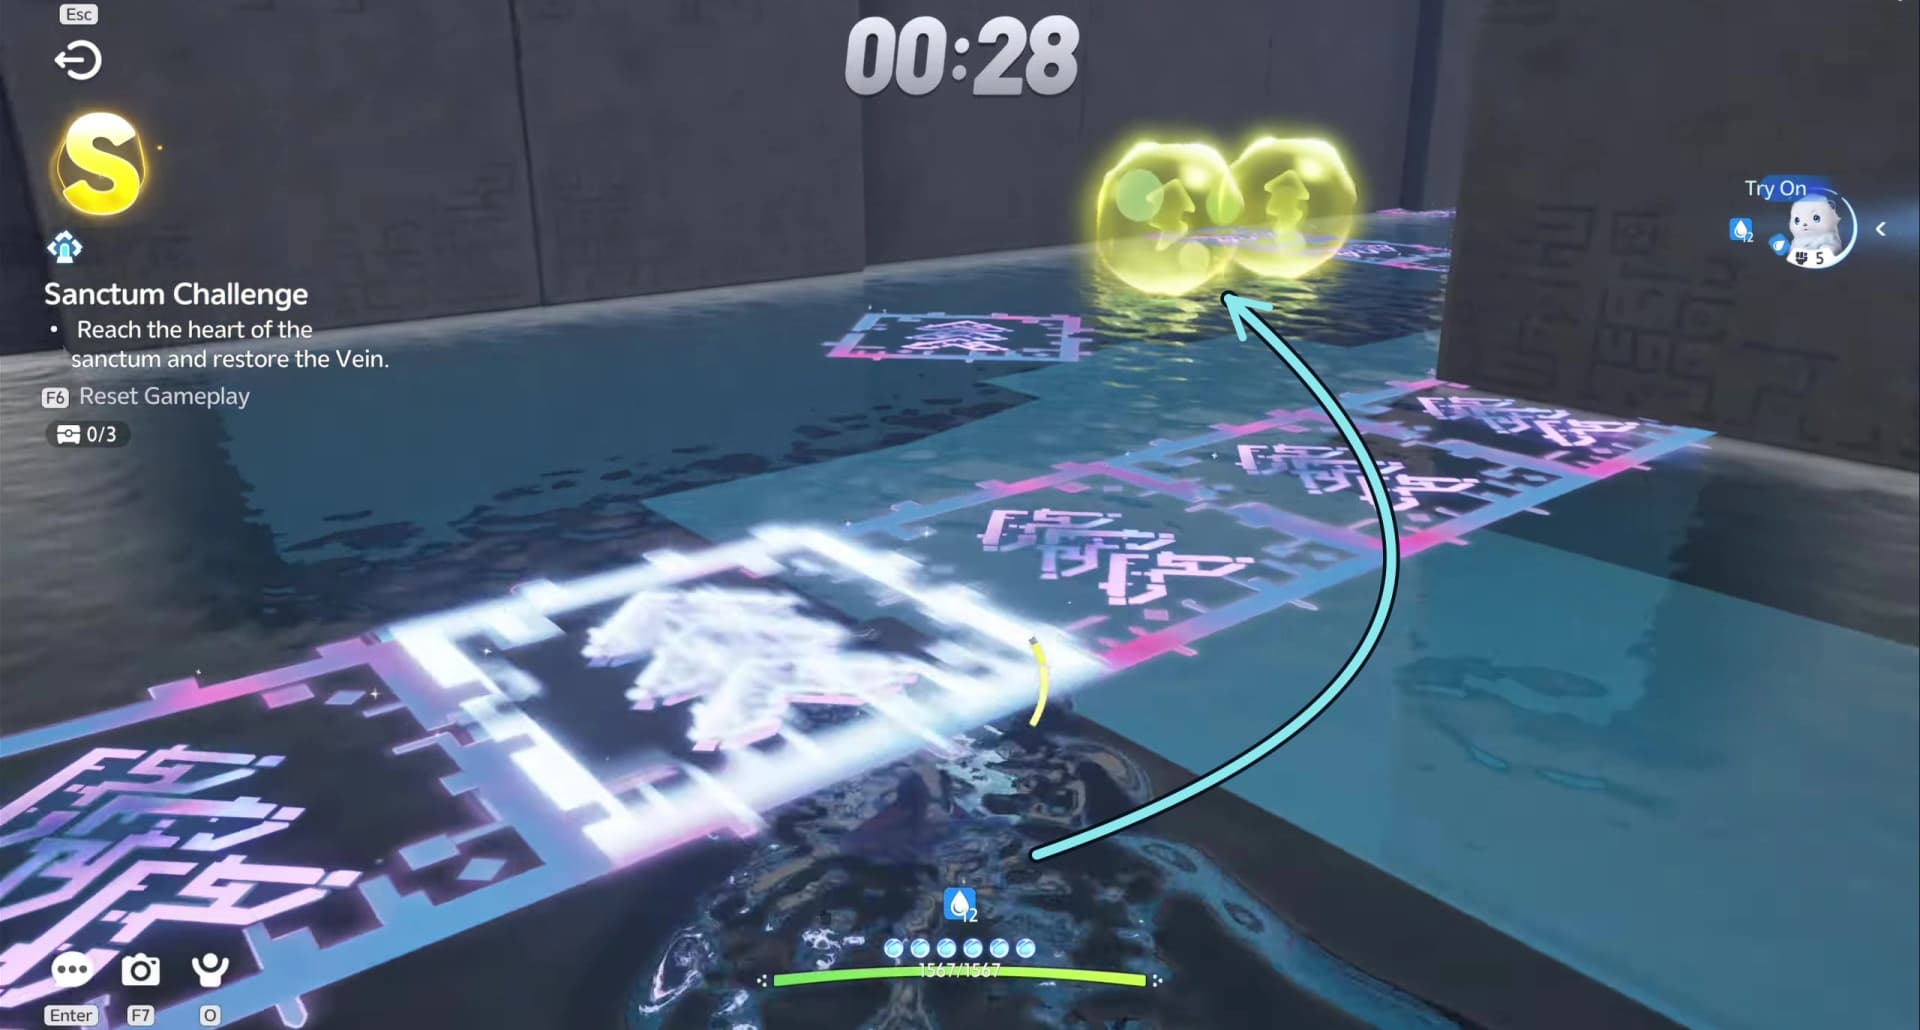
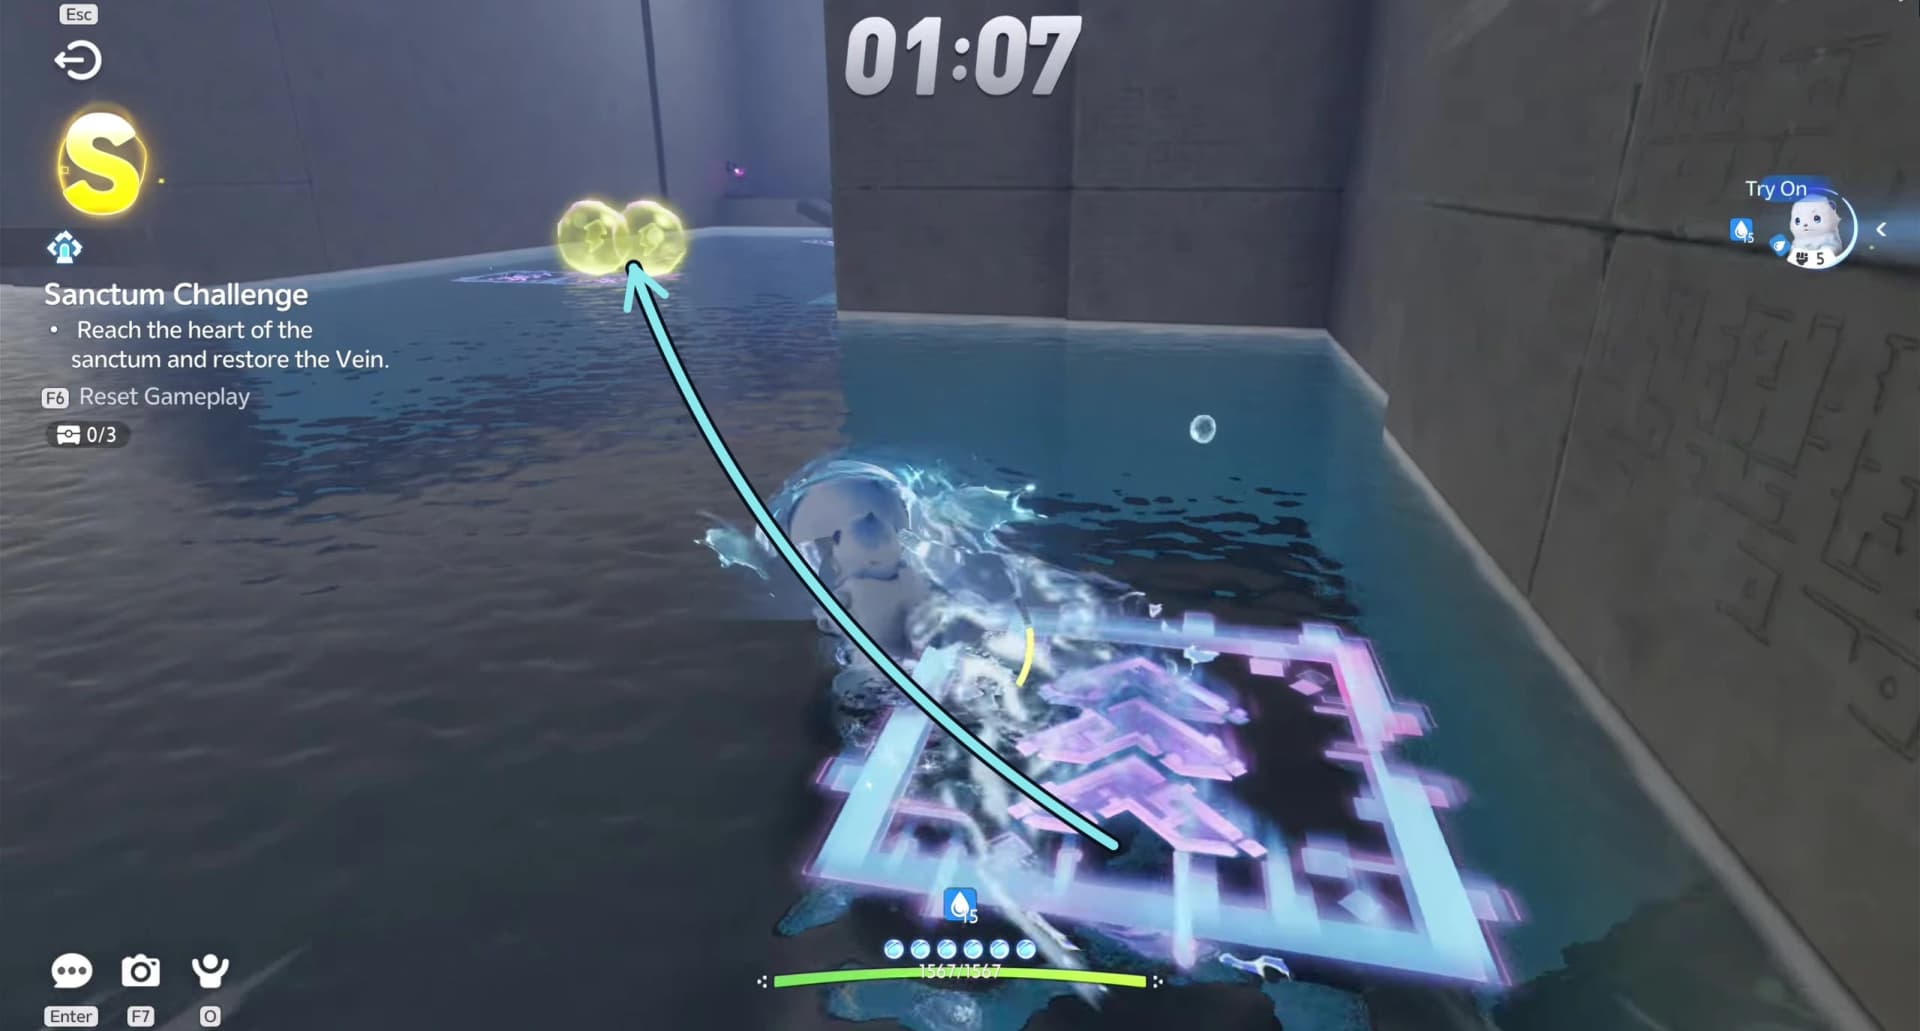
Trampolines: the fast line, not a checklist.
Take the row nearest the centre and let the bounce carry you on.
Magenta arrow-patterned tiles
Speed-boost tiles.
Ride across them and aim before the burst commits the line.
Dry stone lips and gaps
Jump checks between water sections.
Use Space; Dash/Haste makes Popota jump farther.
Solid red side rails
The boundary of the final lane.
Stay in the blue center channel between them.
Checkered flags and blue strip
The finish line.
Cross it and wait for the result before starting chest cleanup.
Reading the course while you ride it
Every leg of the circuit is built from the same four pieces: wide belts that carry you, narrow belts that hug a wall, ring banks that lift you and sweeping stone that does not care where you are. The belts are the line, the rings are the climb, and the stone is the only thing you steer around.
- Hold the centre through the gauntlets. Both pillar banks sweep from one wall, so the middle of the lane is where the gaps are widest.
- Take ring banks straight. The columns sit close enough that a centred run through a bank needs no steering at all.
- Spend stamina between belts, not on them. A belt already gives the burst; Dash on top of it mostly costs you the next jump.
- Top up at every corner. Stamina pickups sit beside five of the seven save points, which is not a coincidence.
Rank and finish time
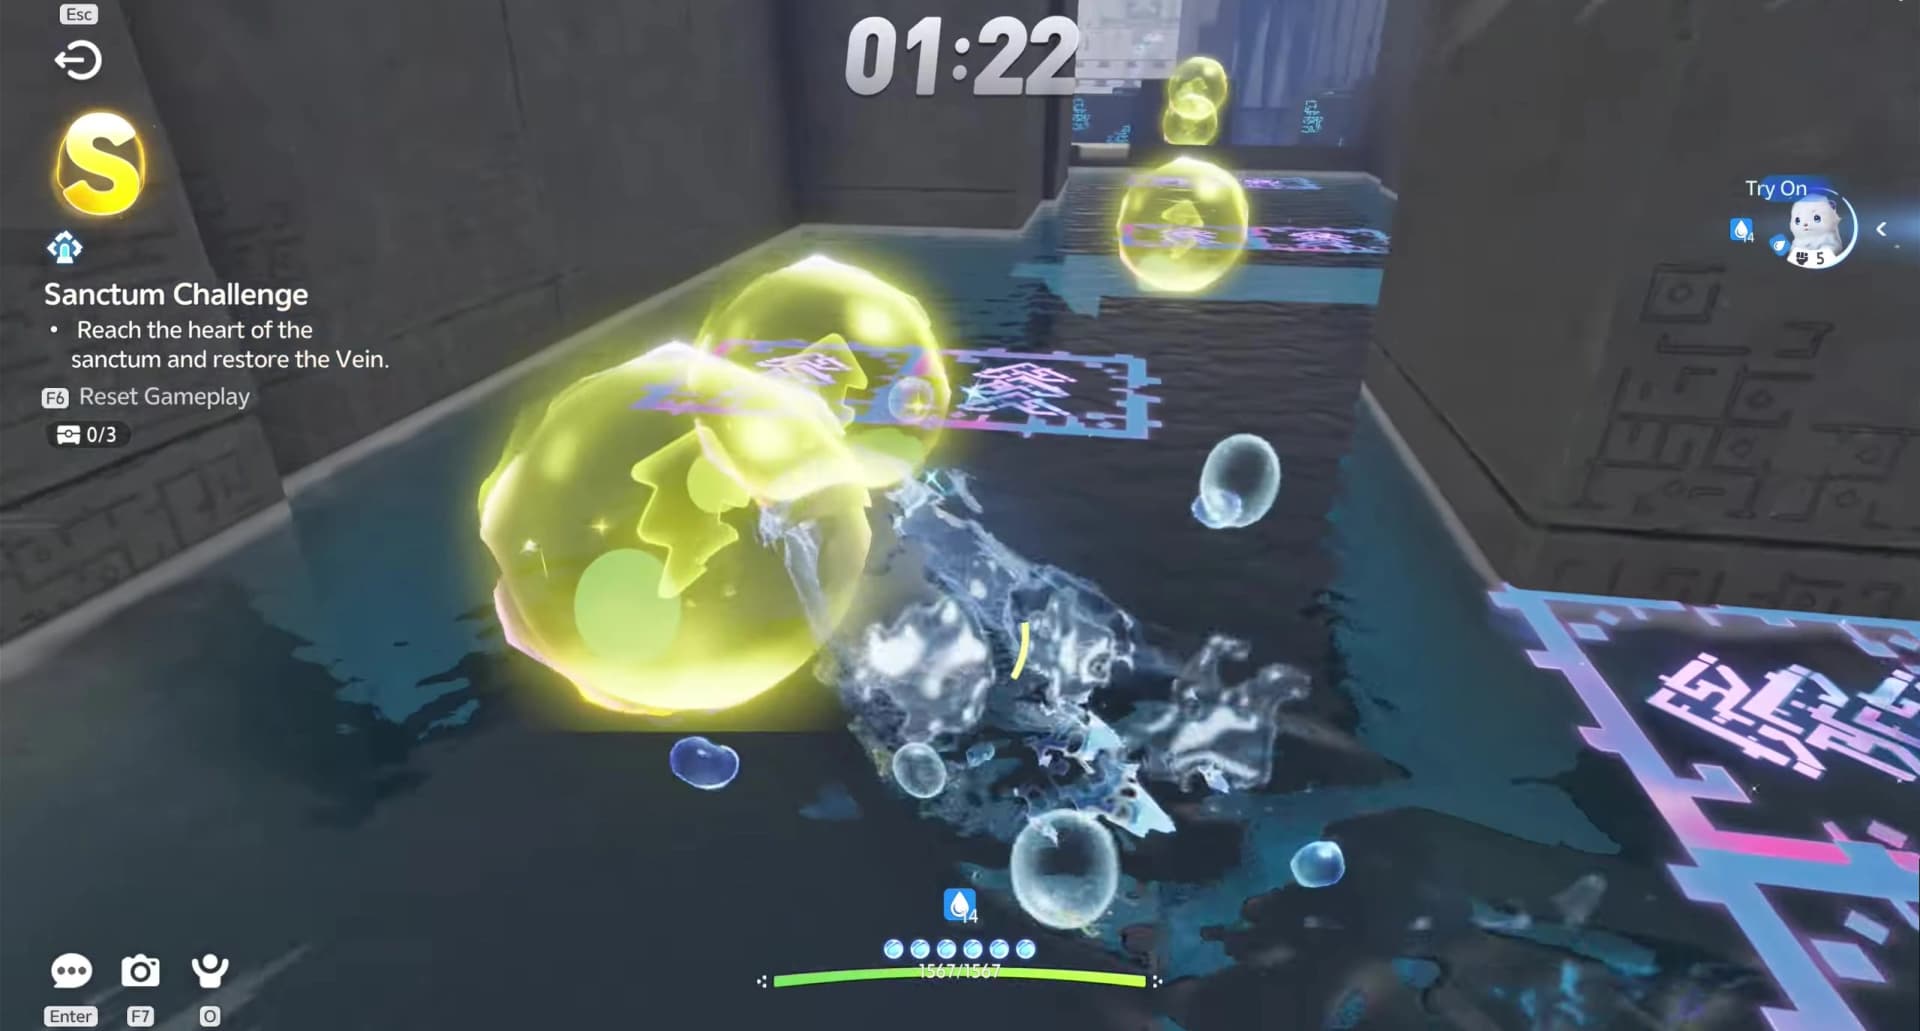
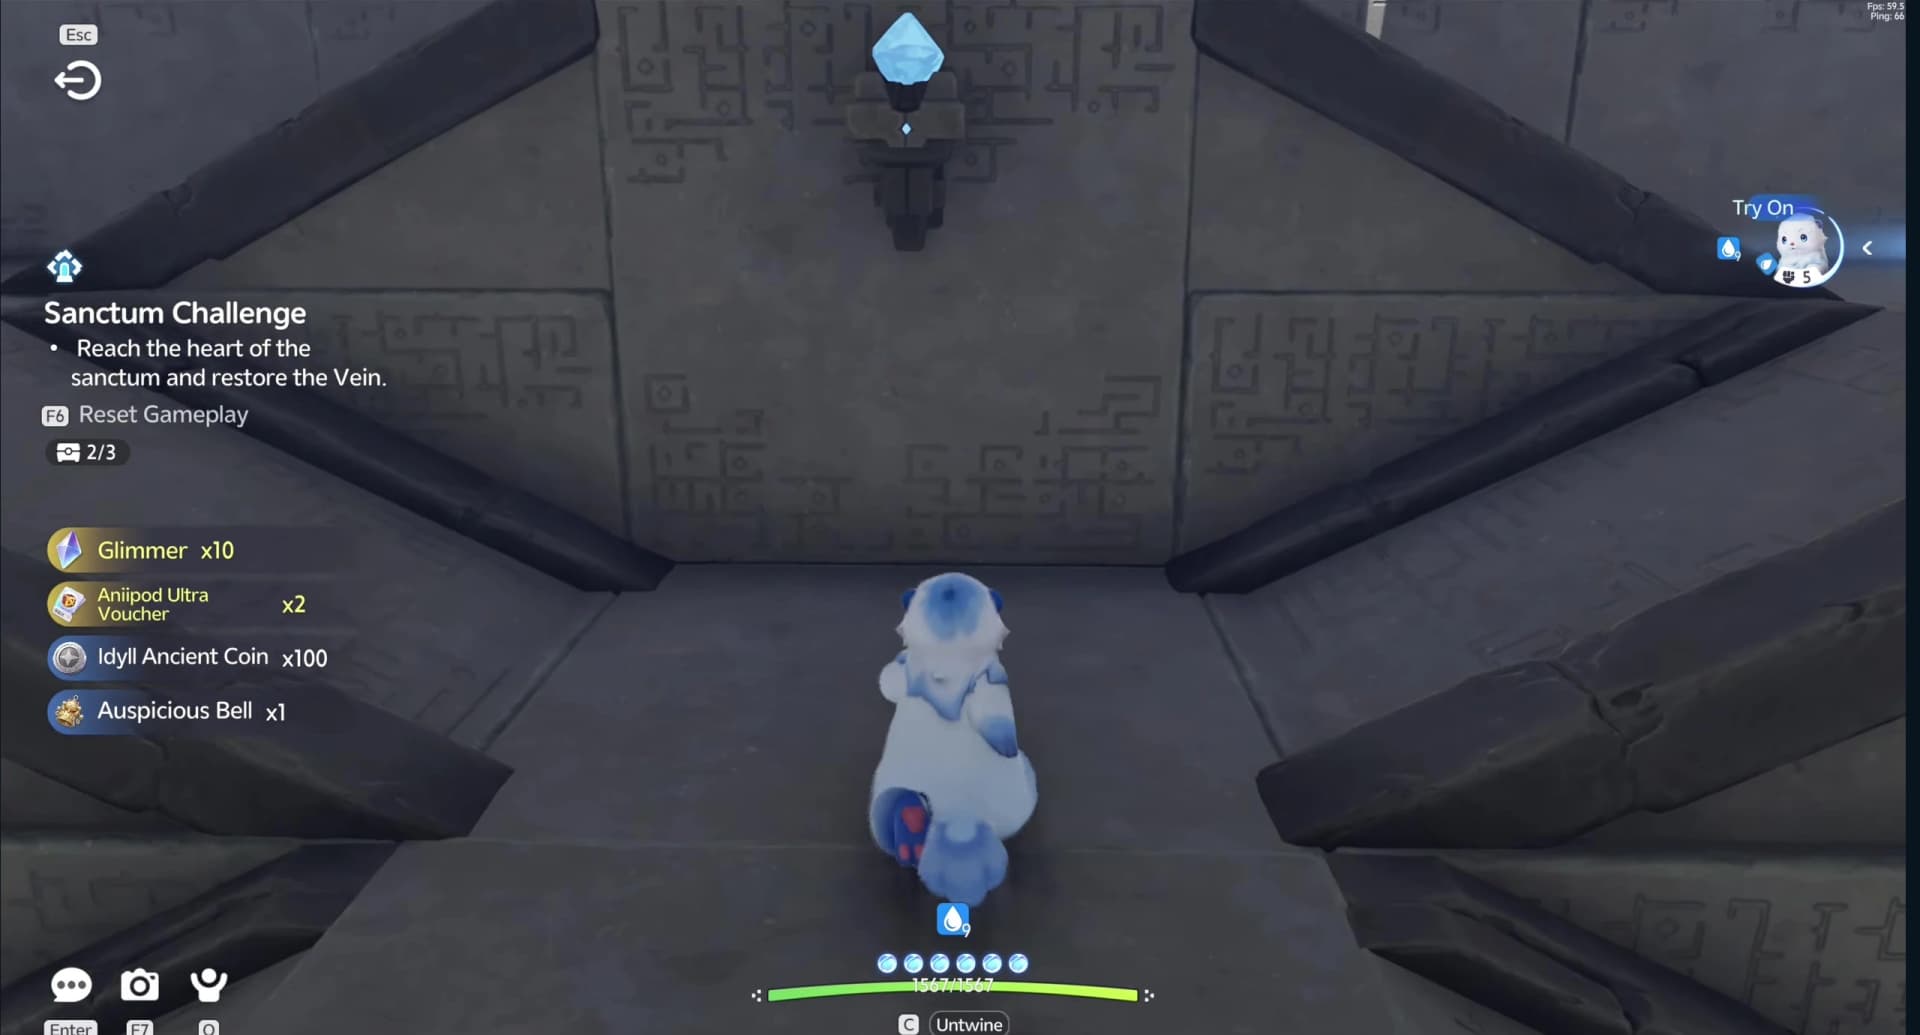
Three-chest cleanup after the course
| Chest | Tier | Contents |
|---|---|---|
| Chest 1 | Premium | Glimmer x20, Credits x20000, Sparkling Crystal x15, one Epic held item |
| Chest 2 | Standard | Glimmer x10, Credits x10000, Sparkling Crystal x10, one Rare held item |
| Chest 3 | Basic | Glimmer x5, Credits x5000, Sparkling Crystal x5 |
| First clear | Reward | Lumin Amber: Breezy Plains, EXP x500 |
Every held item: Spirited Feather, Fission Needles, Echoing Grimoire, Ferocious Fang, Miraculous Fleece, Lightning Needle, Gargantuan Horn, Marching Flask, Capacitous Battery, Heartseeker Pendant, Avenging Gear, Heritage Amulet, Explosive Gloves, Giant Tortoise Shell, Auspicious Bell.
Falls, stamina and resets
- Never turn back for a ring. Nothing counts them, and the seconds you spend going back are the ones that seal a chest.
- After a fall or a bad landing, steady Popota on a flat water section and face the next ring before you Dash again. Dash/Haste burns stamina.
- Treat F6 Reset Gameplay as a restart of the whole attempt. It heals you, refills stamina, clears the finish line and unseals both chest barriers again after a short delay, so a run that has already passed 2:00 is worth restarting.
- If a prompt on your screen differs from the labels here, press G View Help and follow the client.
Touch the Terminus and verify completion
After reaching 3/3, Untwine as needed at the top of the central stairs and press F Touch on the square Sanctum Terminus, also called the Tesseract. Interacting with that device restores the Vein and completes the Sanctum. Open all three chests before you touch it.
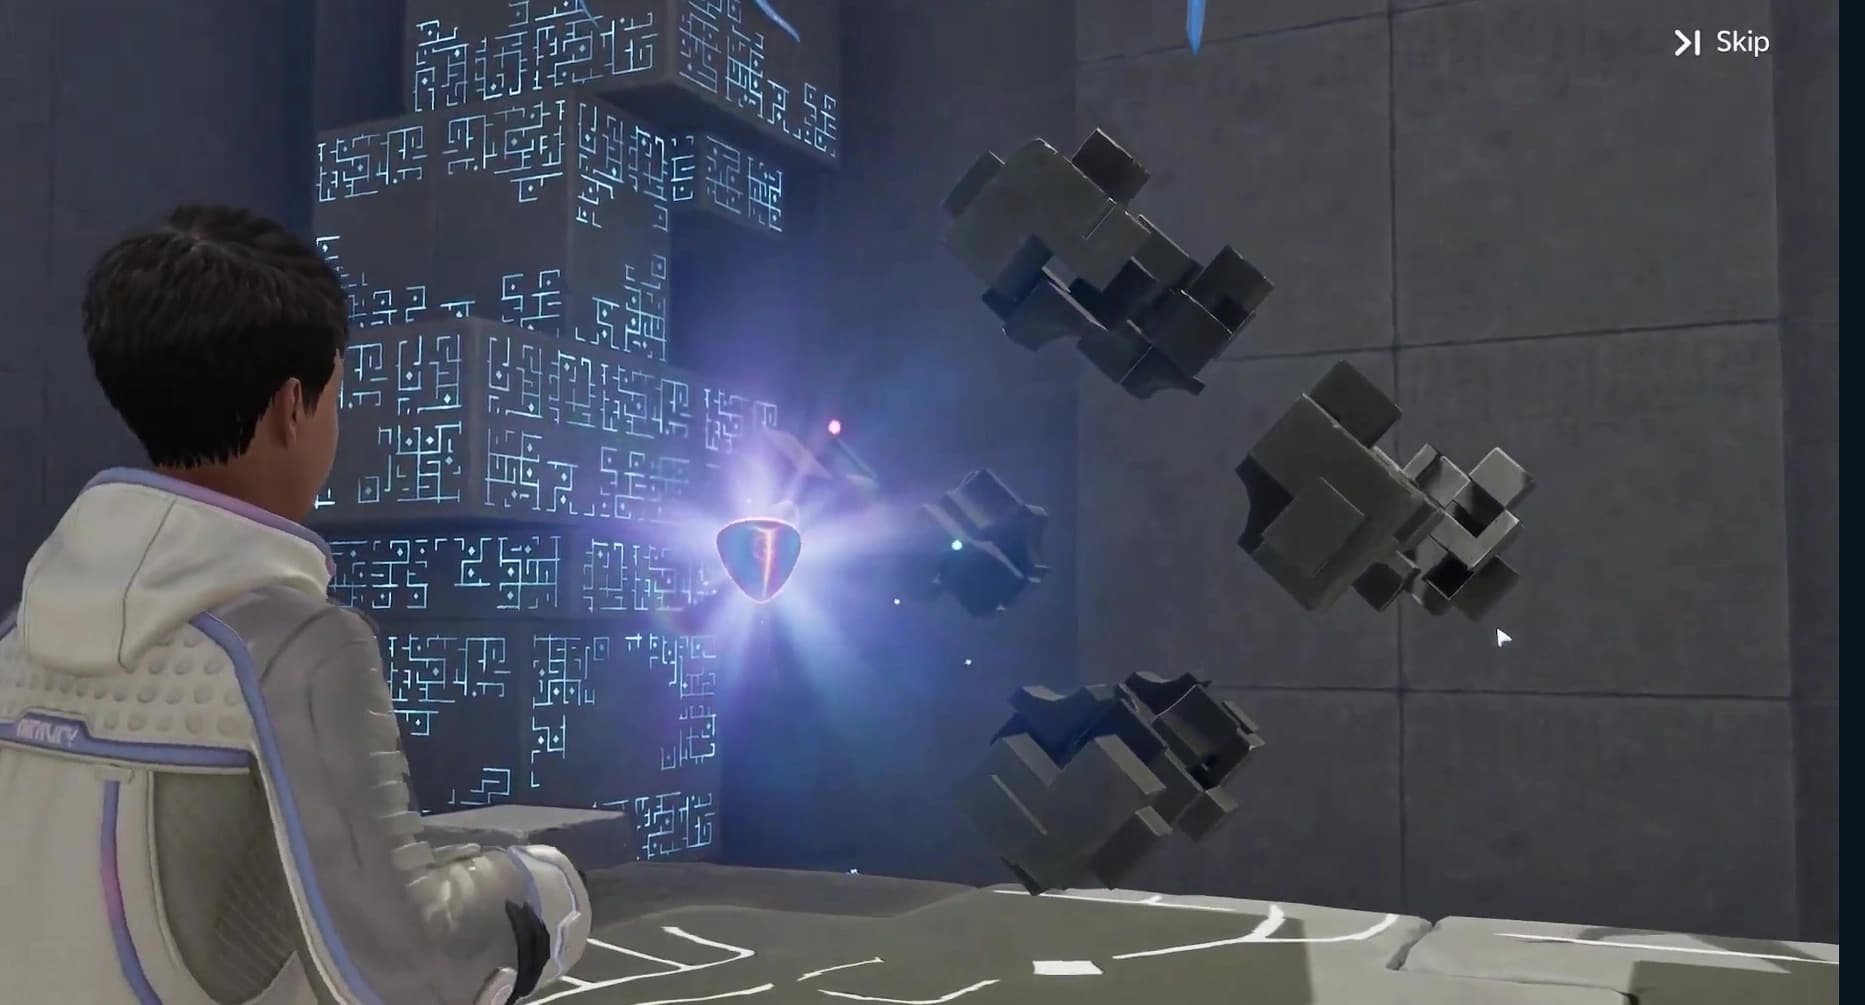
A first clear pays Lumin Amber: Breezy Plains ×1 plus 500 EXP, and it pays once: there is no repeat-clear reward. Clearing also lights the room’s Vein node and counts towards the Sanctum Delver badges at 3, 5, 10 and 15 clears.
Frequently asked
Where is Rushing Rapids, and how many players and chests does it have?
Rushing Rapids is a one-challenger Sanctum in Echoback Landing with three optional chests. Use the exact Rushing Rapids atlas pin; the marker sits at 604, 323 on the AniimoVerse atlas.
Which controls does trial Popota use in Rushing Rapids?
The PC route uses Space for Popota Jump and Shift for Dash/Haste. Dash makes Popota swim faster and jump farther, but uses stamina. Use the live View Help prompt if your bindings differ.
Are the magenta arrow-patterned tiles hazards?
No. Crossing them costs no health and gives Popota a speed boost, which is why this guide calls them speed-boost tiles. Use them to carry speed into the next ring line and Jump the dry lips or gaps.
Do I need S rank or a fast time to clear Rushing Rapids?
No. Nothing but the Sanctum Terminus gates the clear, and the rank badge changes nothing. The clock only decides chests: finish inside 2:00 and all three stay open, inside 2:30 and you keep two, and slower than that leaves only the basic chest.