Location and quick route
Open the exact Electric Surge atlas pin in Blitzwood. The marker sits at 1873, 2101 on the AniimoVerse atlas.
Sanctum: Electric Surge
Match this before starting
Area
- Value
- Blitzwood
- How to use it
- Travel in from the atlas pin above
Challenge size
- Value
- 1 challenger
- How to use it
- Run the whole Sanctum solo
Chest counter
- Value
- 0/3 at entry
- How to use it
- Finish at 3/3 before the Terminus
AniimoVerse atlas marker
- Value
- 1873, 2101
- How to use it
- Matches the exact atlas pin above
First-clear panel
- Value
- Item icon ×1 · EXP 200
- How to use it
- Claim it on your first clear
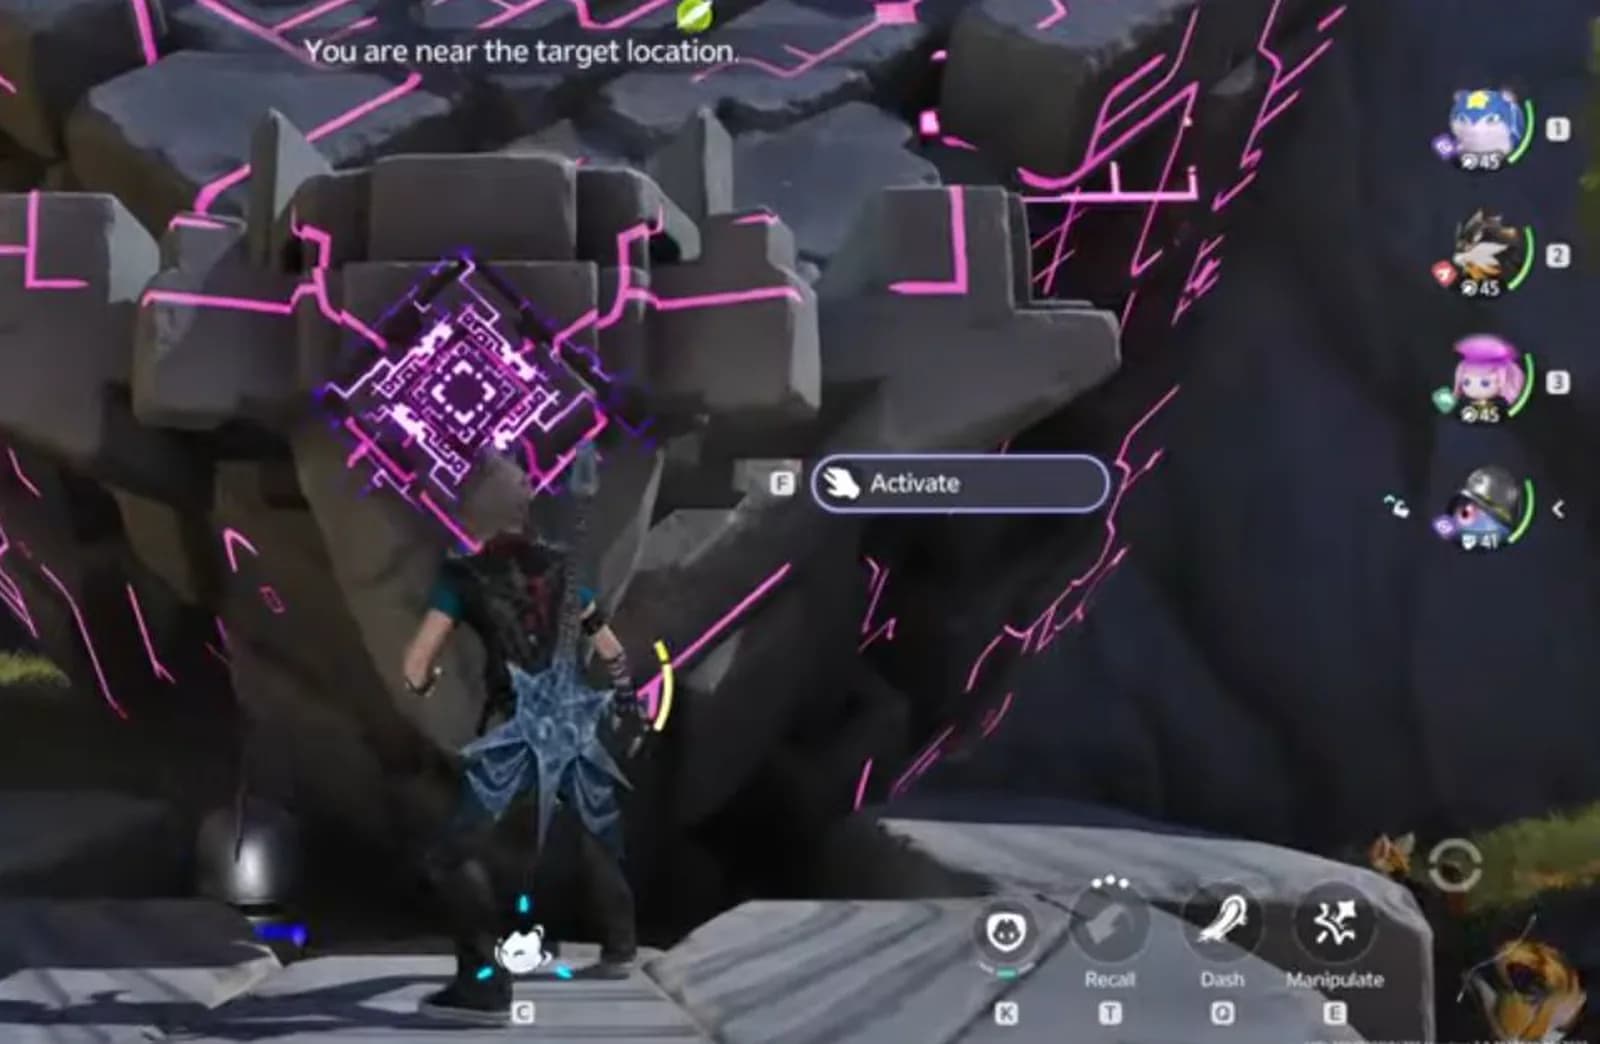
Finish the opening object route and collect the separate chest 1
- Finish this before the pass
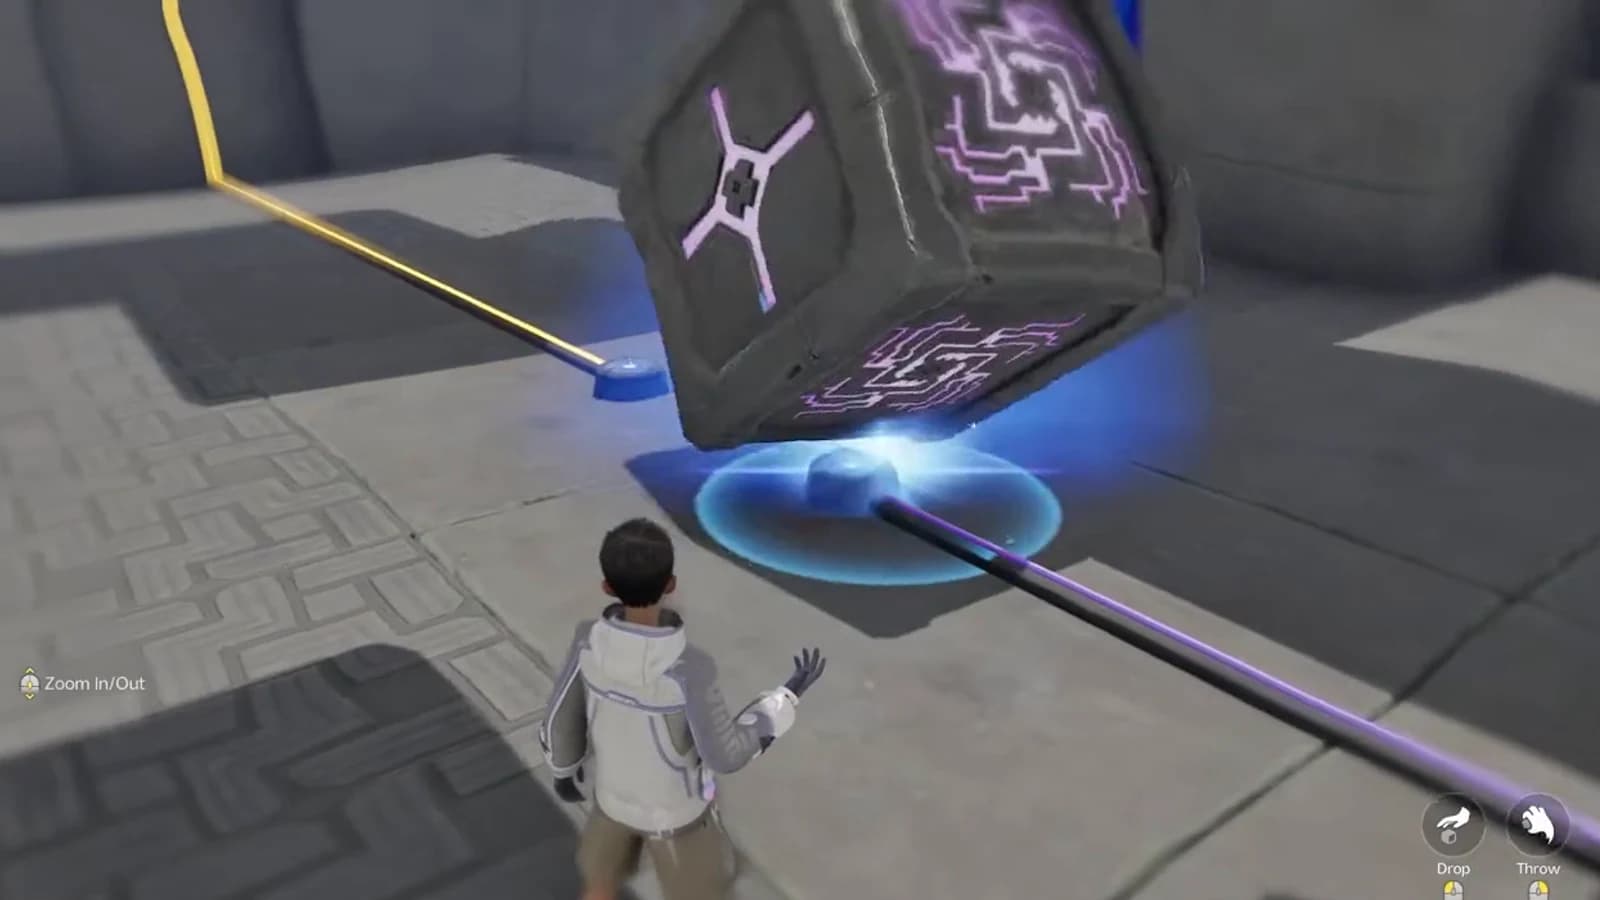
- Put the large wooden puzzle crate from the opening room on one blue node and center/Drop the maze-faced cube on the other. Open the separate chest and confirm 1/3. You can take the chest before or after the placements.
Claim trial Bolty after the opening 1/3
With both opening object interactions complete and 1/3 confirmed, continue to the statue, use Try On and read the room tutorial.
Power the first conductors
Twine with trial Bolty and use the displayed BREAK action beside the marked cylindrical conductors until the fixed feed lines turn gold.
Use the cube as a step and collect chest 2
- Finish this before the pass
- Untwine, move the nearby maze-faced cube under the ledge, climb it, open chest 2 and confirm 2/3.
Move that same cube to its exit node
After chest 2, carry that cube to its blue node and Drop it in the center. Through the cyan exit, move a different maze cube onto the next blue node to open the bars into the water route.
Make the Wet Wooden Chest conduct
With the upstream fixed line already gold, submerge the Wet Wooden Chest until its wet and lightning indicators appear. Use Manipulate to carry it to the downstream blue node and Drop it there to open the bars.
Place the round component and collect chest 3
- Finish this before the pass
- Move the black-and-gold round component onto the first small blue node, enter the opened chest space and confirm 3/3.
Move the component onward, then solve the later cube gate
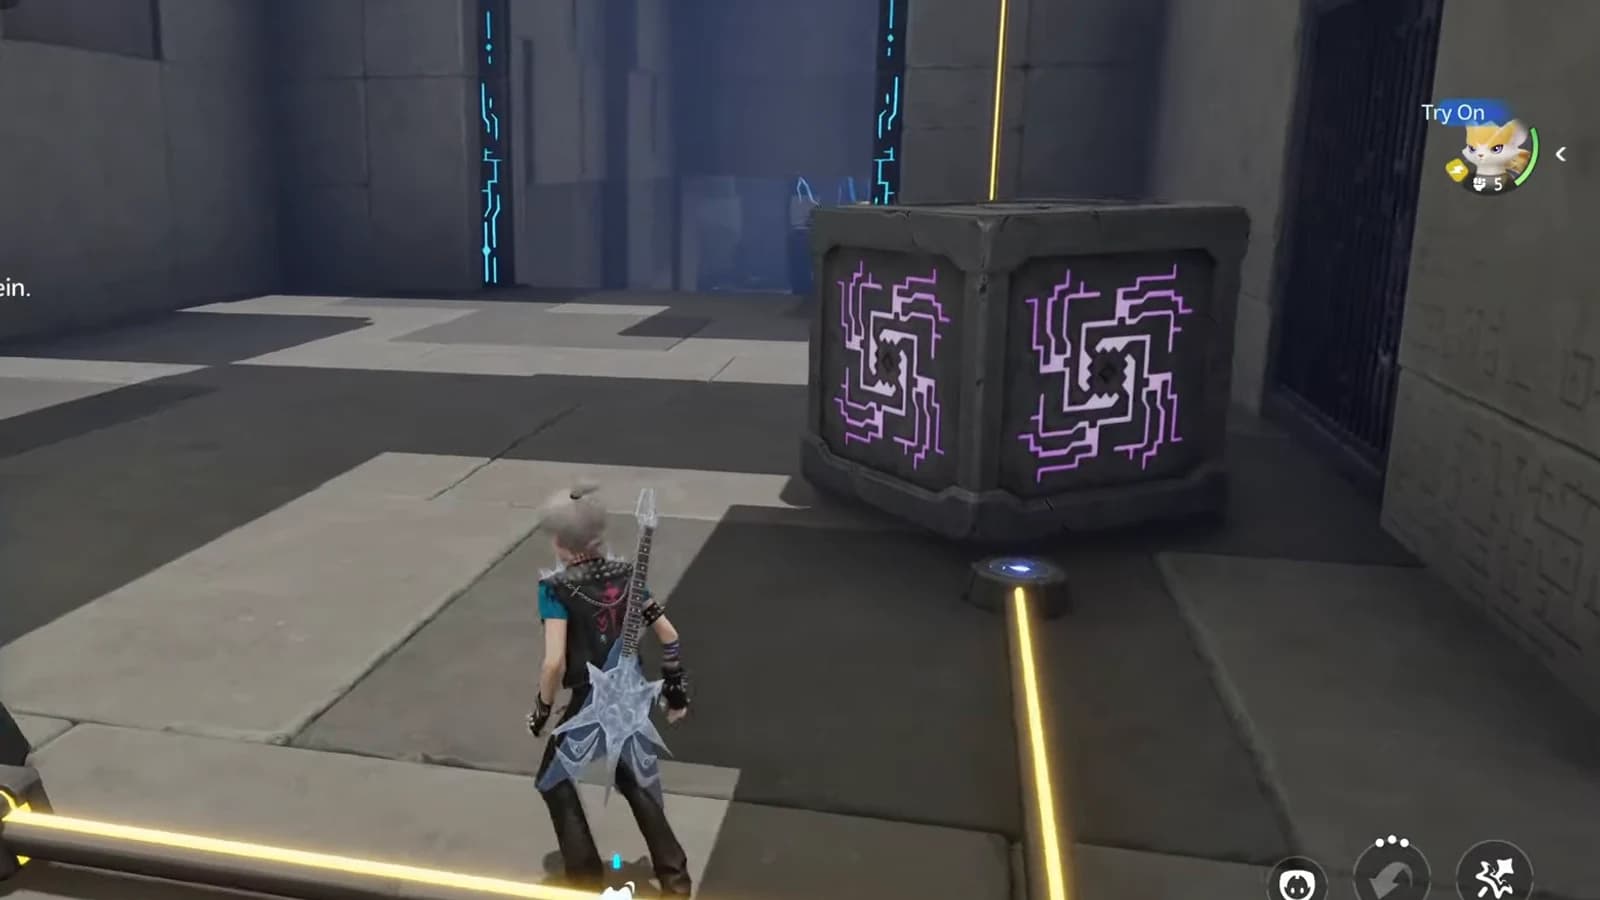
Carry the same round component to its next round pedestal. In the following room, center and Drop the large maze-faced cube on the blue node to open the cyan doorway.
- The run closes behind you here
Power the final conductor and use the Terminus
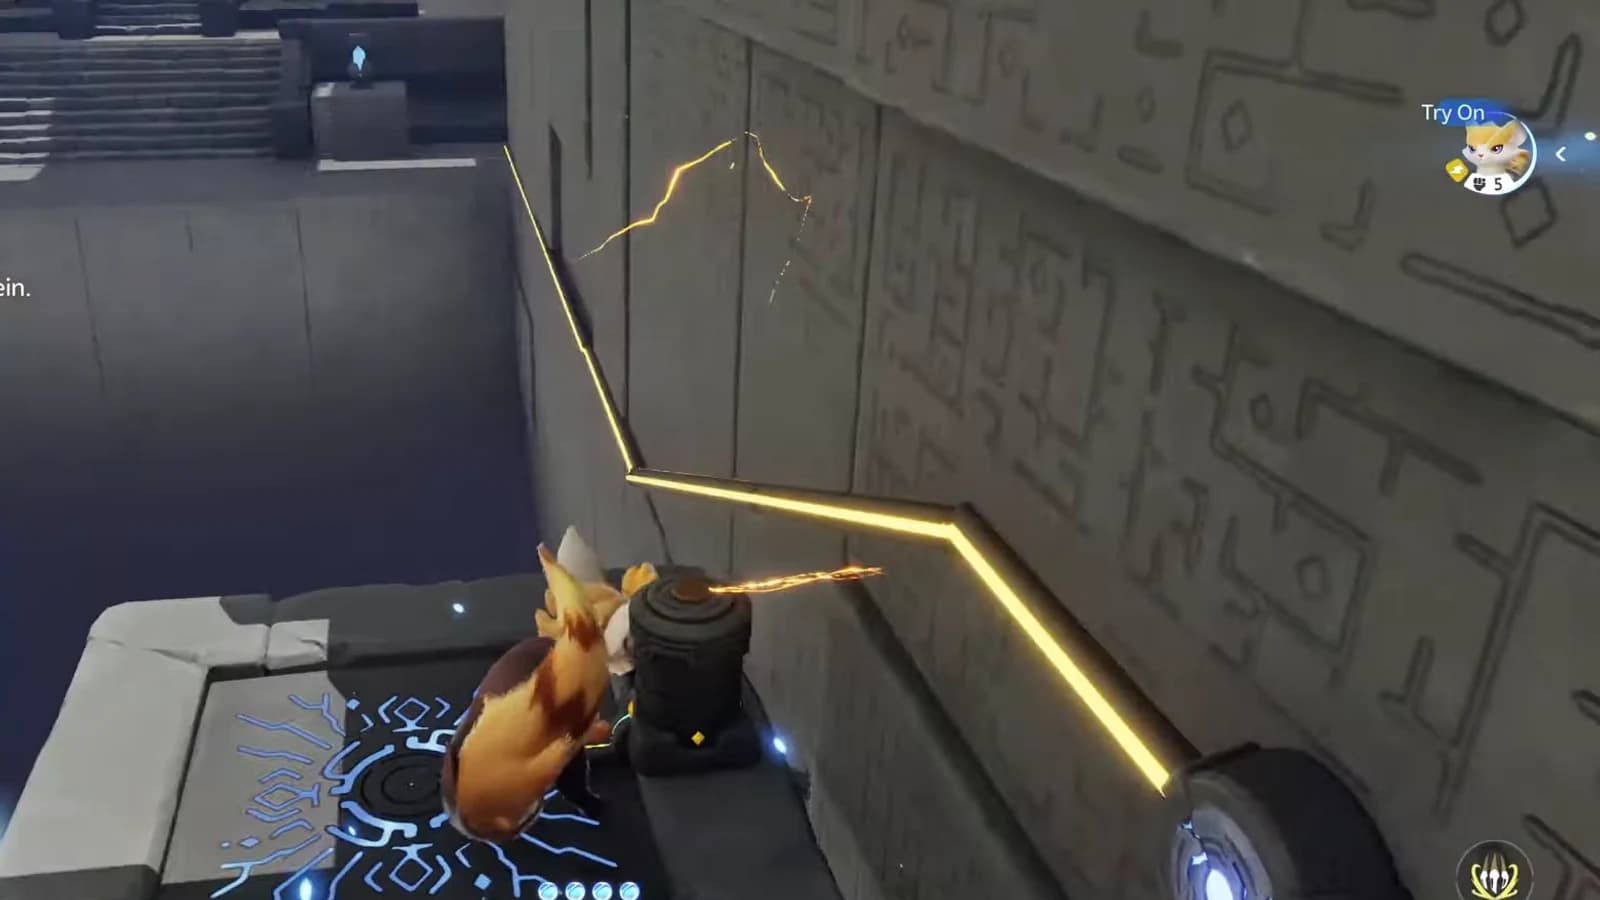
Use Bolty and BREAK beside the one short cylindrical conductor until its fixed wall feed is gold, then approach the separate square Sanctum Terminus and interact to restore the Vein.
Bolty, controls and circuit-state primer
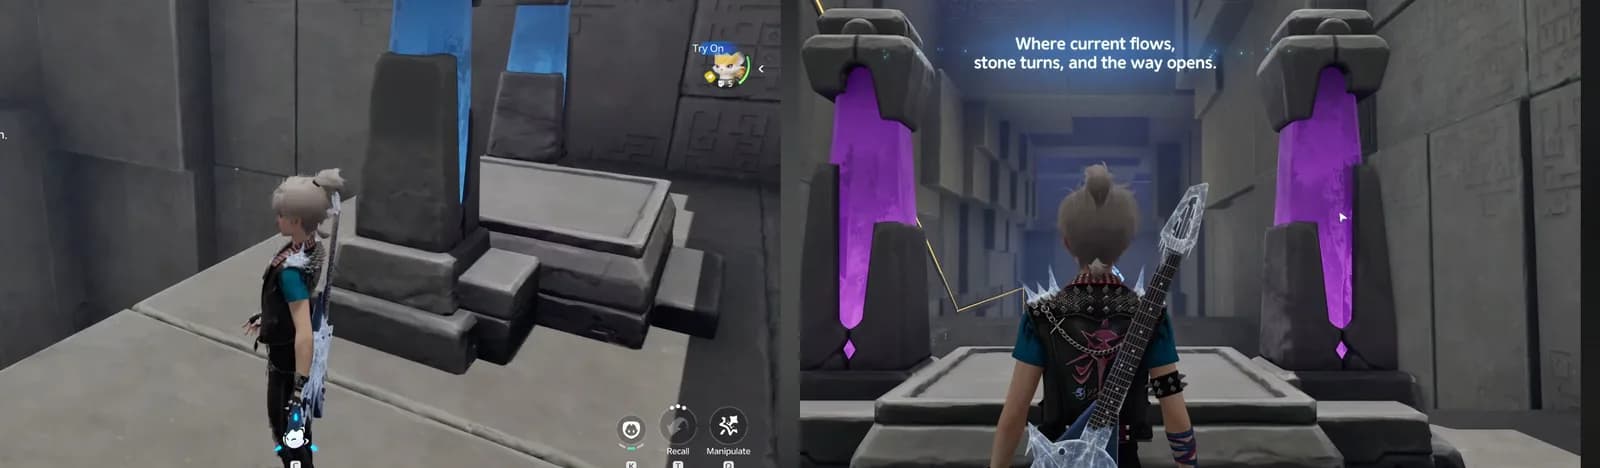
The opening statue supplies trial  Bolty. The Aniimo Index lists Bolty’s element as electric and role as BREAK; this guide renders that element as Lightning. The room tutorial reads: Where current flows, stone turns, and the way opens.
| Label | Use | Notes |
|---|---|---|
| Try On | Claim trial Bolty at the statue | You do not need to own Bolty |
| BREAK | Bolty action shown beside marked cylindrical conductors | The room prints BREAK, not a combat-skill name |
| Untwine | Return to the Wayfarer for object placement | It does not reset the room |
| Manipulate | Lift and position the opening objects, cubes and round component | The blue hold aura only means you are carrying it |
| Drop / Throw | Controls visible while carrying an object | Drop is what seats an object on a node |
| Recall | A companion control | It does not reset circuit objects |
Violet fixed feed
That branch is not powered yet
Trace the line back toward its source
Gold fixed feed
The branch from source to destination is powered
The line, not a carried object aura, is the confirmation
Cyan doorway trim
The linked doorway is open
A blue object is not automatically a powered one
Blue Manipulate aura
Pathfinder is currently holding the object
It is not a power-state indicator
Trace each fixed line from its source toward the next node. The Puzzle Tutorials guide uses the same target, action and confirmation habit across every Sanctum.
Opening objects and chest 1
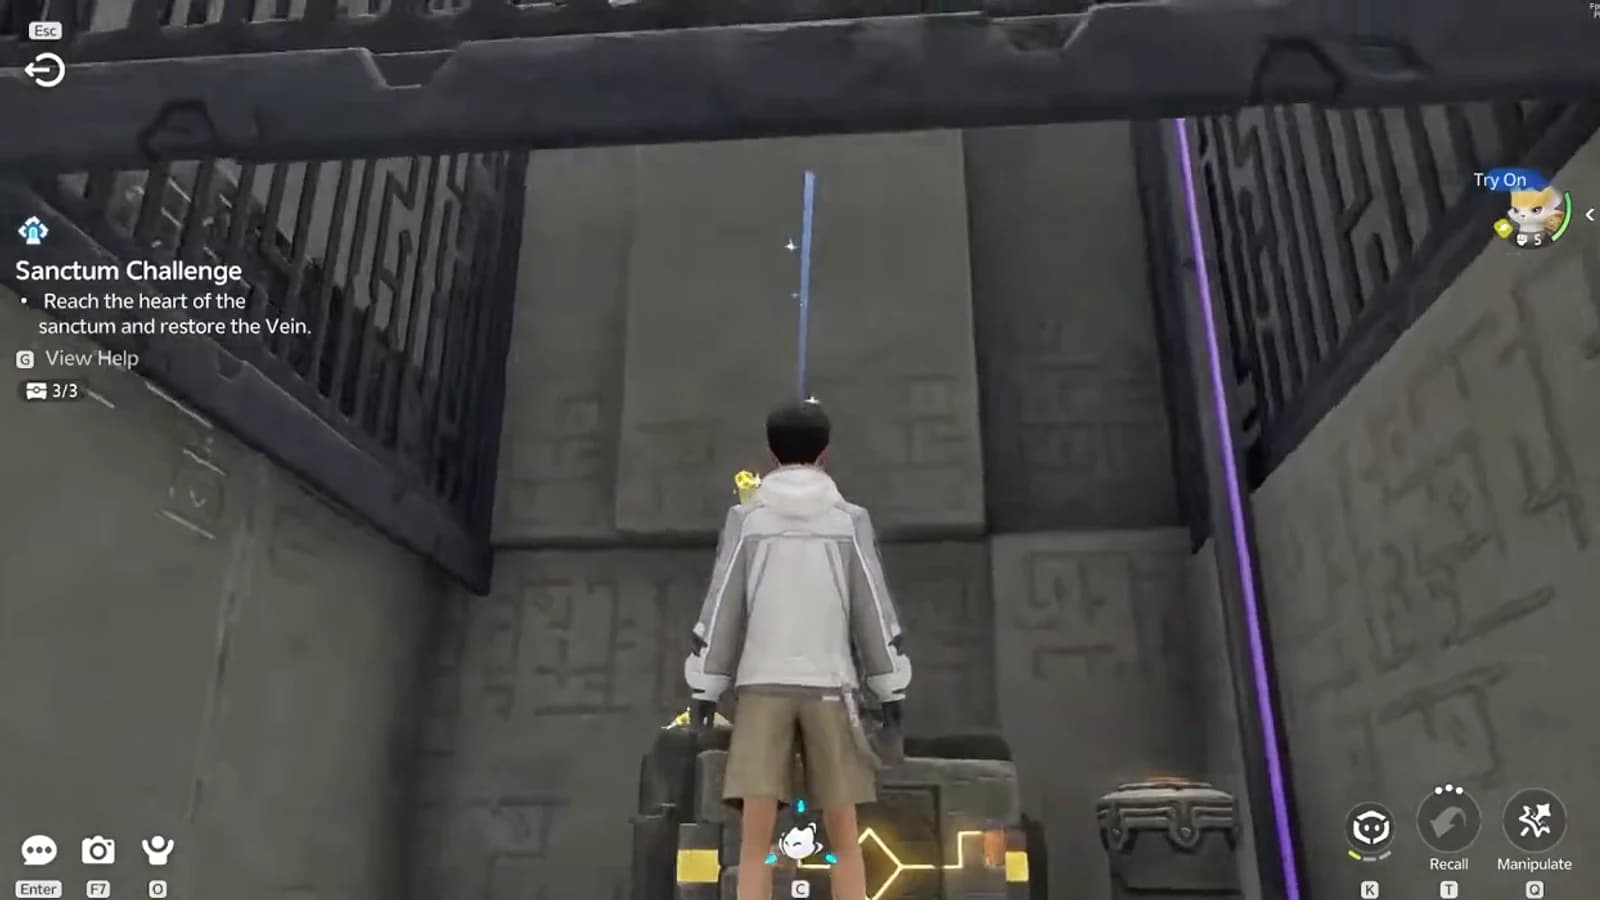
The large wooden puzzle crate is already present in the opening room at 0/3. It is a separate puzzle object, not chest 1 and not an emptied shell left by that chest. Put the crate on one blue floor node and center/Drop the maze-faced cube on the other. You can open the separate chest before or after those placements; finish both placements and confirm 1/3 before trial Bolty.
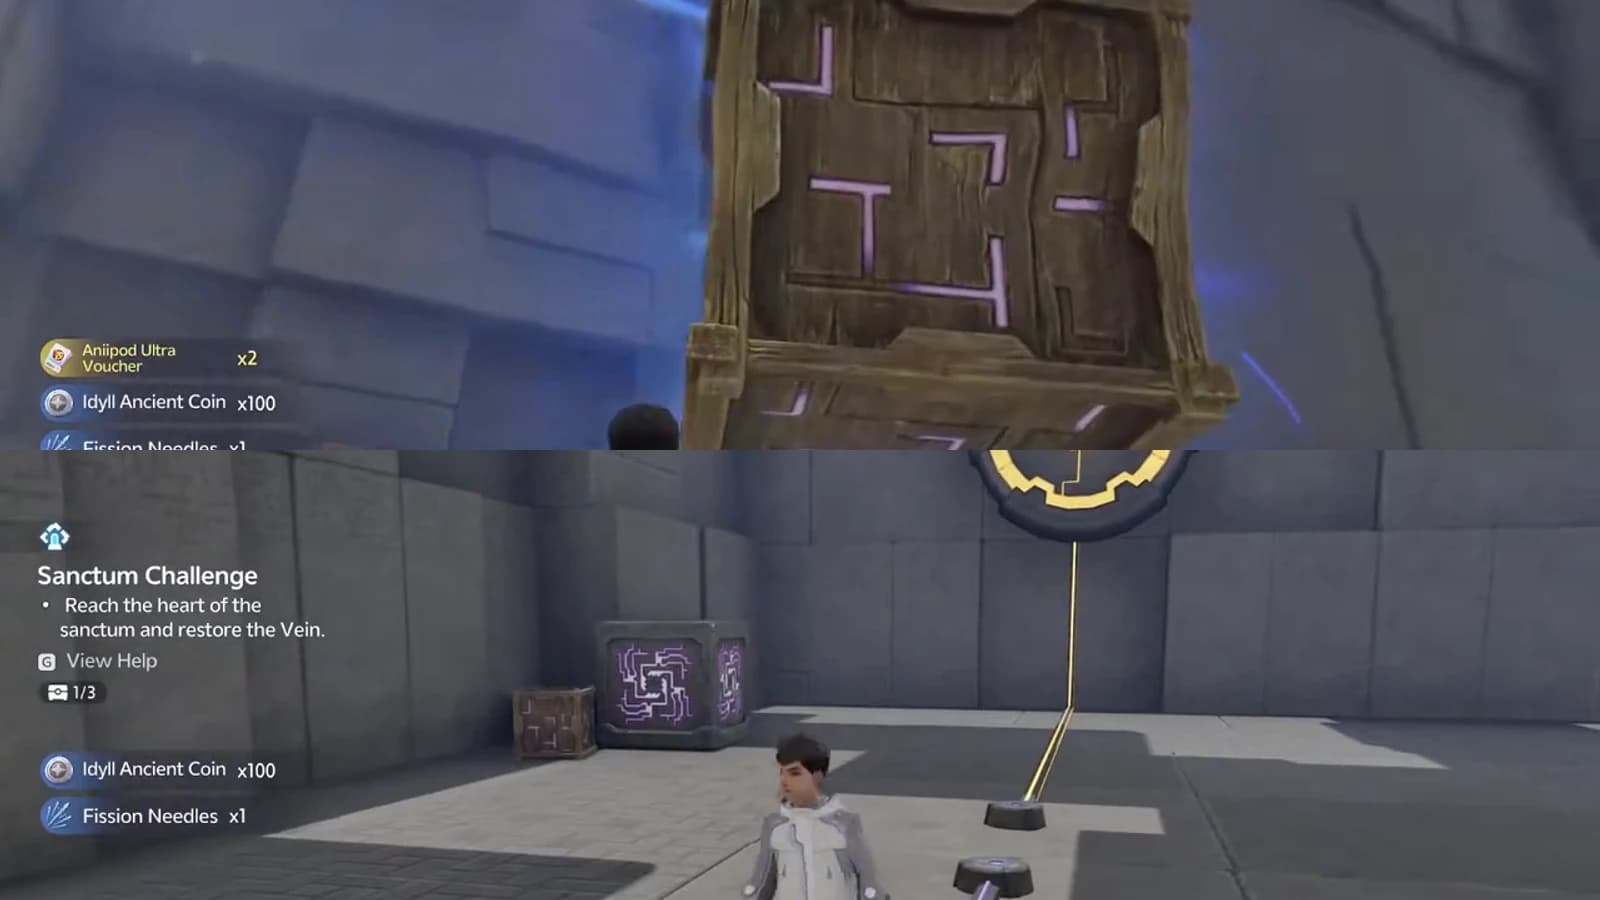
Complete the maze-cube node during the opening route: center the cube over the other blue floor node and use Drop. Distance and the Drop/Throw controls are the only inputs here; there is no rotation control.
Conductors, climbing cube and chest 2
After claiming trial Bolty, Twine and use the displayed BREAK action beside the marked cylindrical conductors. Power the whole sequence before you go for chest 2, and use the fixed line turning gold as the confirmation.
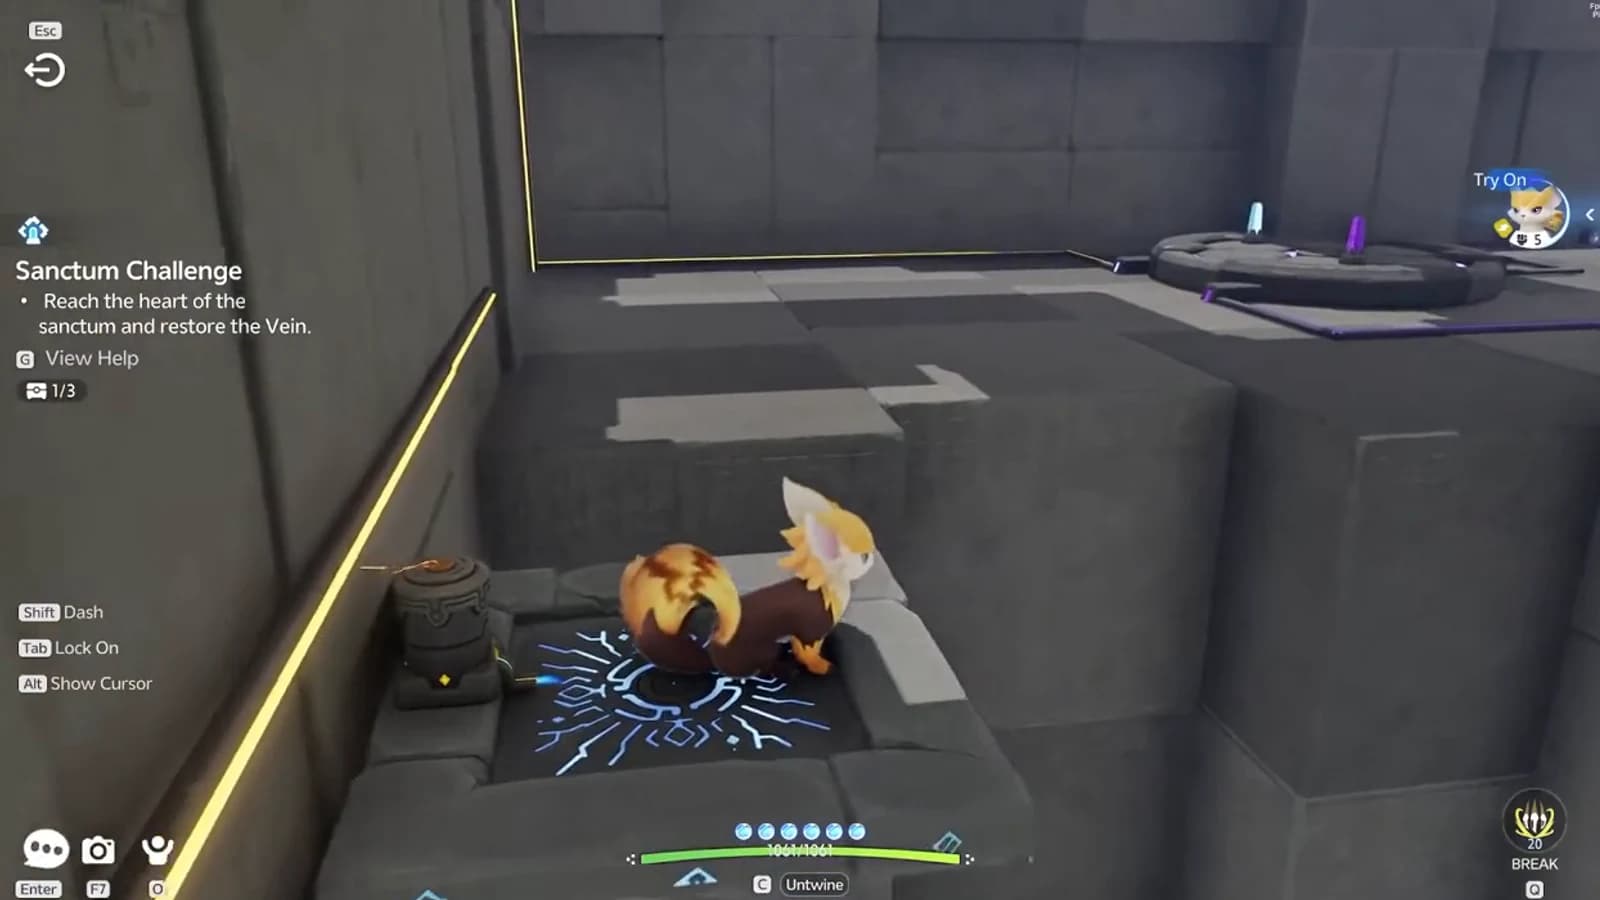
Untwine and move the nearby maze-faced cube under the chest ledge. Climb the cube, open the chest and confirm 2/3. Only after the chest is collected do you move that same cube to the blue floor node that opens the cyan-trimmed exit.
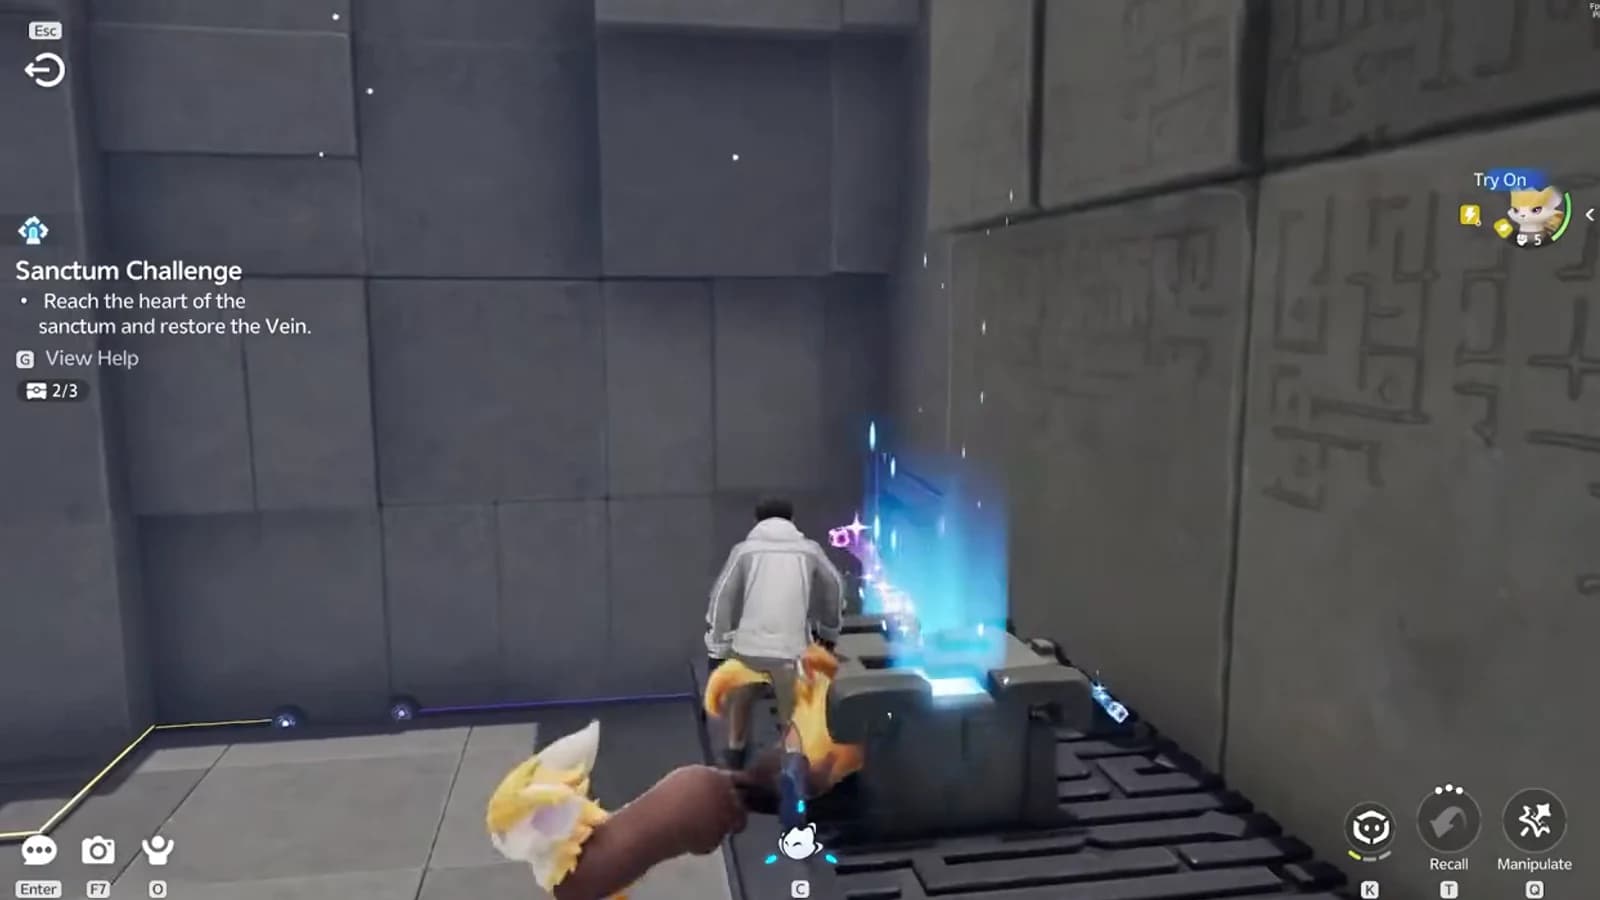
Wet Wooden Chest conductor
In the shallow-water room, first confirm the upstream fixed circuit is already gold. Submerge the Wet Wooden Chest. When the droplet and lightning indicators appear, use Pathfinder Manipulate to carry the still-wet chest to the downstream blue node and Drop it there to open the bars.
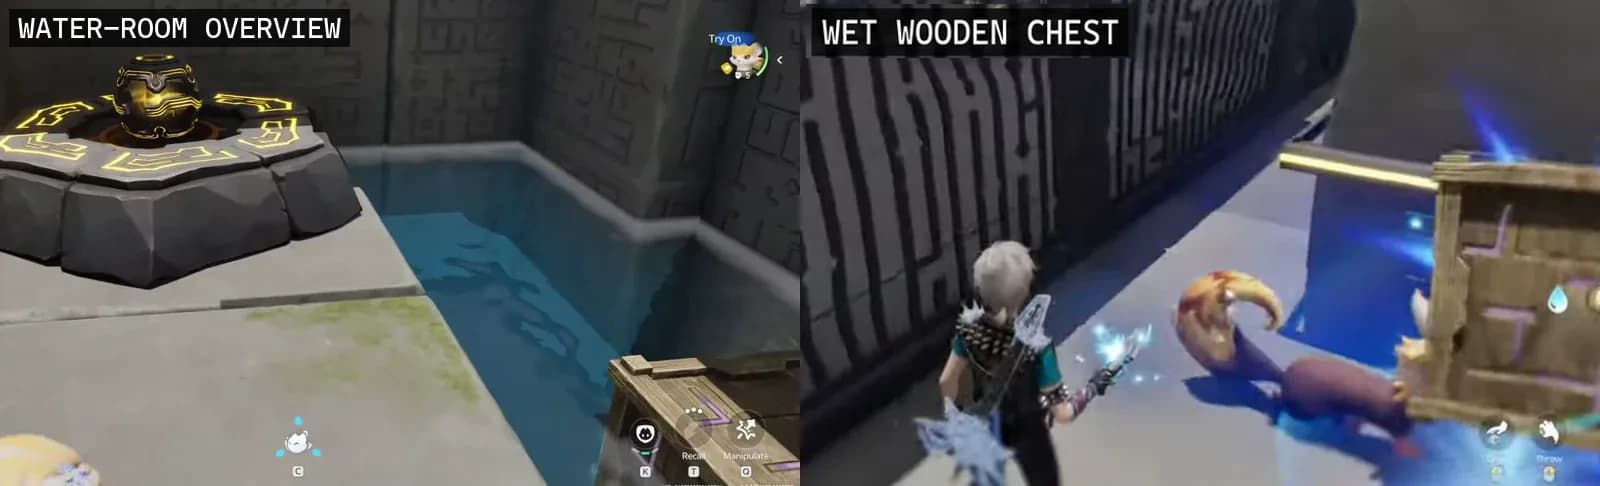
A wet wooden chest conducts current. Here that means water first, then the carry: the object has to still be wet when it reaches the downstream node.
Round component, chest 3 and the later cube gate
After the wet-conductor gate, use Manipulate on the black-and-gold round component and place it on the first small blue node. That placement opens access to chest 3. Enter, open the chest and confirm the objective counter reaches 3/3 before moving the component again.
Move the same round component onward to its next round pedestal. In the following room, manipulate the large maze-faced cube onto the blue node; a cyan-trimmed doorway confirms that later gate is open. These are two sequential mechanisms, so do not fold the cube into chest 3.
Final conductor, Sanctum Terminus and rewards
Beyond the later cube gate, Twine with Bolty and use BREAK beside the one short cylindrical conductor on the blue-violet floor panel. Continue until the fixed wall feed holds gold. The wall ring behind it is part of the circuit backdrop: it is not a flower receiver, and there is no second final placement.
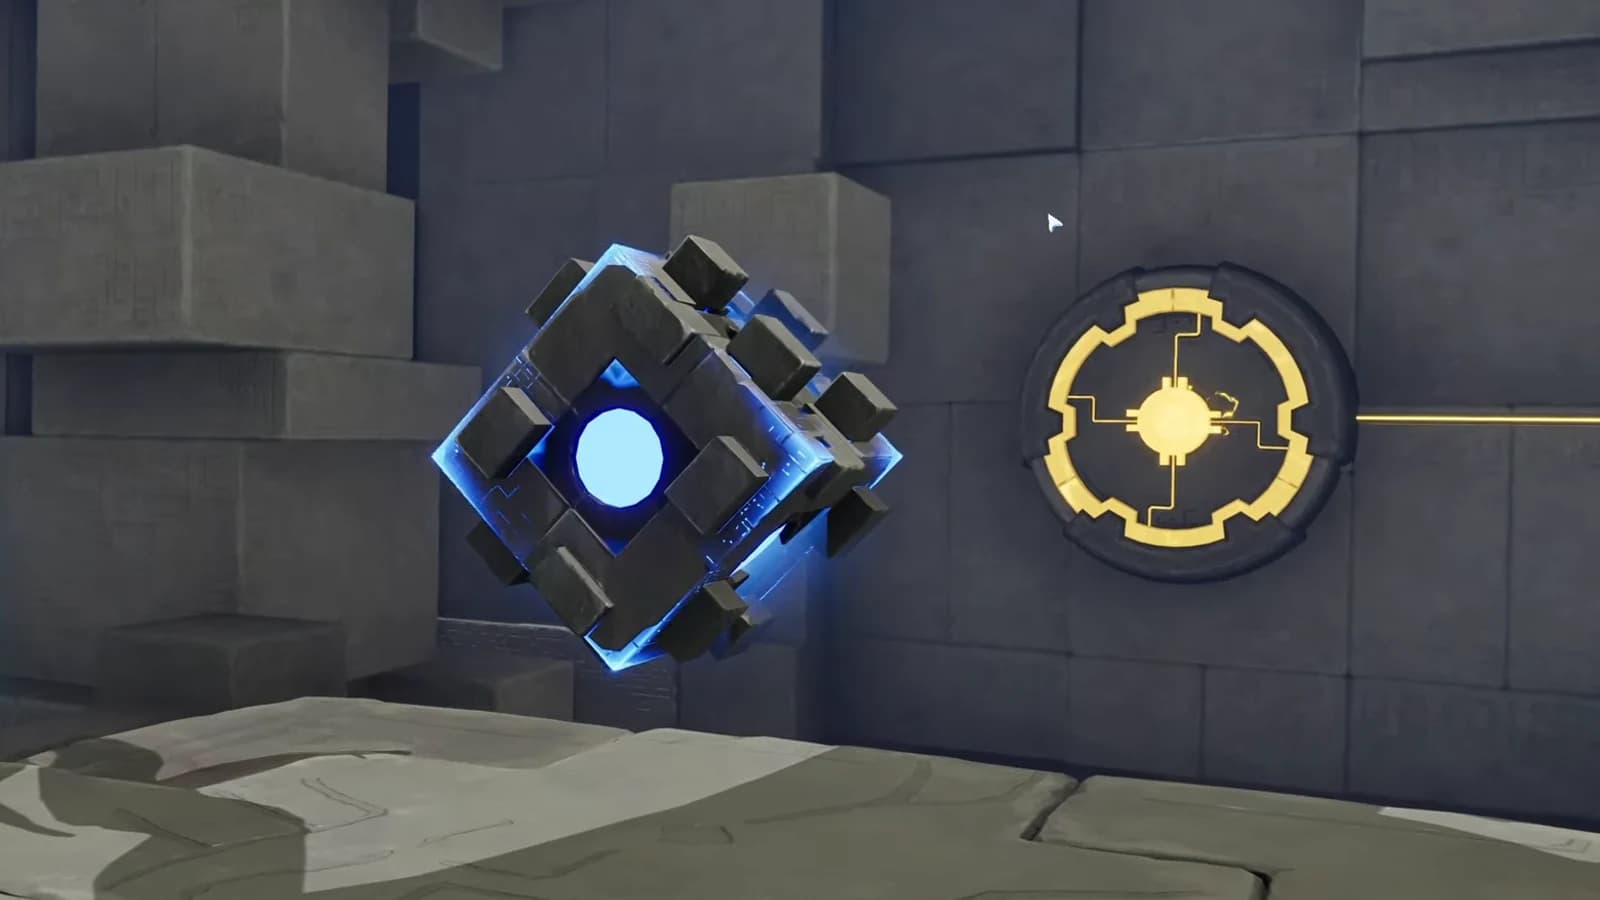
Approach the separate suspended square Sanctum Terminus and interact with it. The game also calls this device a Tesseract. It changes to a blue-white state and restores the Vein; the square device itself is not the Vein.
Three-chest ledger
Chest 1
- Where
- Opening object room, before trial Bolty
- What happens next
- Finish any remaining opening node interaction, then claim Bolty
- Confirmation
- Counter reaches 1/3
Chest 2
- Where
- Ledge after the first conductor sequence
- What happens next
- Move that same cube to the exit node
- Confirmation
- Climb the cube and confirm 2/3
Chest 3
- Where
- Space opened by the round component on its first small node
- What happens next
- Move the component onward; solve the later cube gate
- Confirmation
- Counter reaches 3/3
Troubleshooting
Choose the next guide
You can also reopen the Sanctum atlas layer to choose the next entrance.
Frequently asked
Where is Electric Surge?
It is a solo Blitzwood Sanctum. Open the exact atlas pin. AniimoVerse plots it at 1873, 2101 on the atlas.
Do the maze-faced cubes need a specific orientation?
No. Center the cube over the node and use Drop. Read the fixed feed line and the linked doorway for confirmation.
Should Bolty strike the Wet Wooden Chest?
No. With the upstream fixed line already gold, submerge the Wet Wooden Chest until its wet and lightning indicators appear, then carry it with Manipulate and Drop it on the downstream blue node.
What is the final square object in Electric Surge?
It is the Sanctum Terminus, also called a Tesseract. Power the preceding single short conductor, then interact with the separate Terminus to restore the Vein.