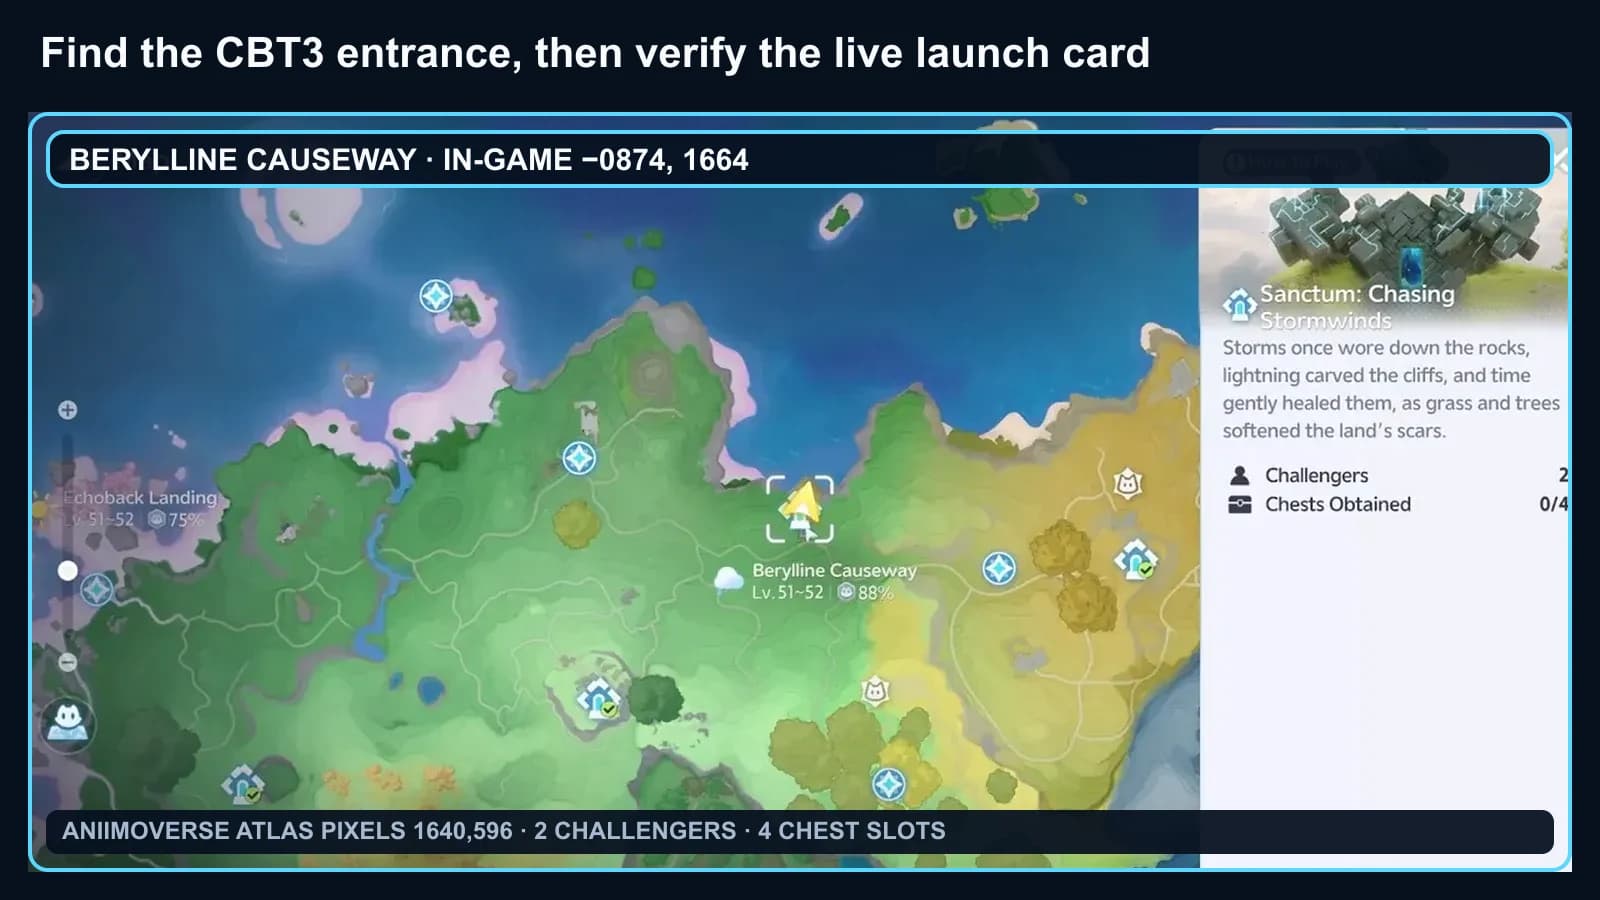
Location and party requirements
Open the exact Chasing Stormwinds atlas pin in Berylline Causeway. The marker sits at 1640, 596 on the AniimoVerse atlas.
| Mechanism | Useful callouts | Handoff rule |
|---|---|---|
| Pads and moving platform | Holder · runner | Holder keeps the active state until the runner calls safe. |
| Separated devices and panels | Left operator · right operator | Each player reports the visible state on their own side. |
| Bolty wire ascent | Wire operator · climber | The Bolty player maintains the wire while the other player climbs. |
| Two-cube circuit | Left cube · right cube | One player moves each cube and both check the wall arcs. |
The room supplies 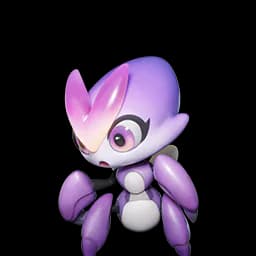 Wisptis and
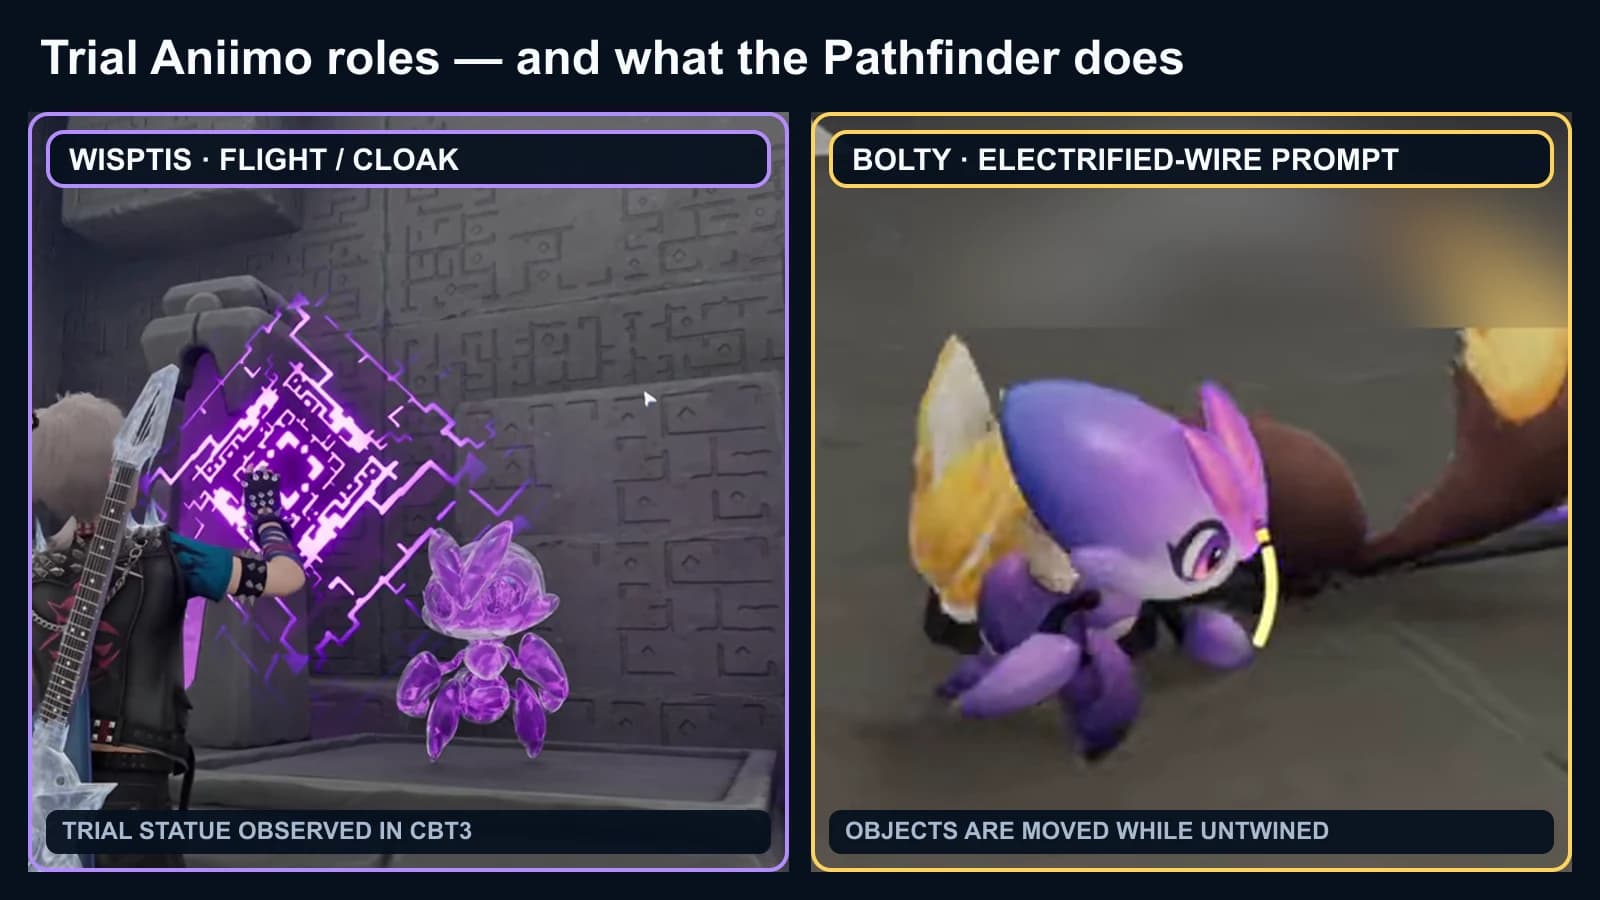
 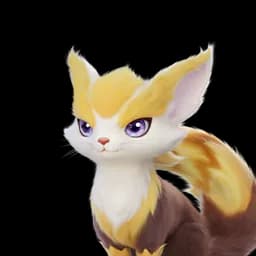 Bolty. Wisptis provides flight and Cloak traversal; the room later tells the Bolty player to electrify a wire. Gravity Pull is a Pathfinder skill; its tutorial says Grab, while the actionable HUD prompt says Manipulate before Drop or Throw. Untwine and use that Pathfinder action on the physical cubes or Wooden Chest instead of attributing object control to Wisptis.
Quick solution in route order
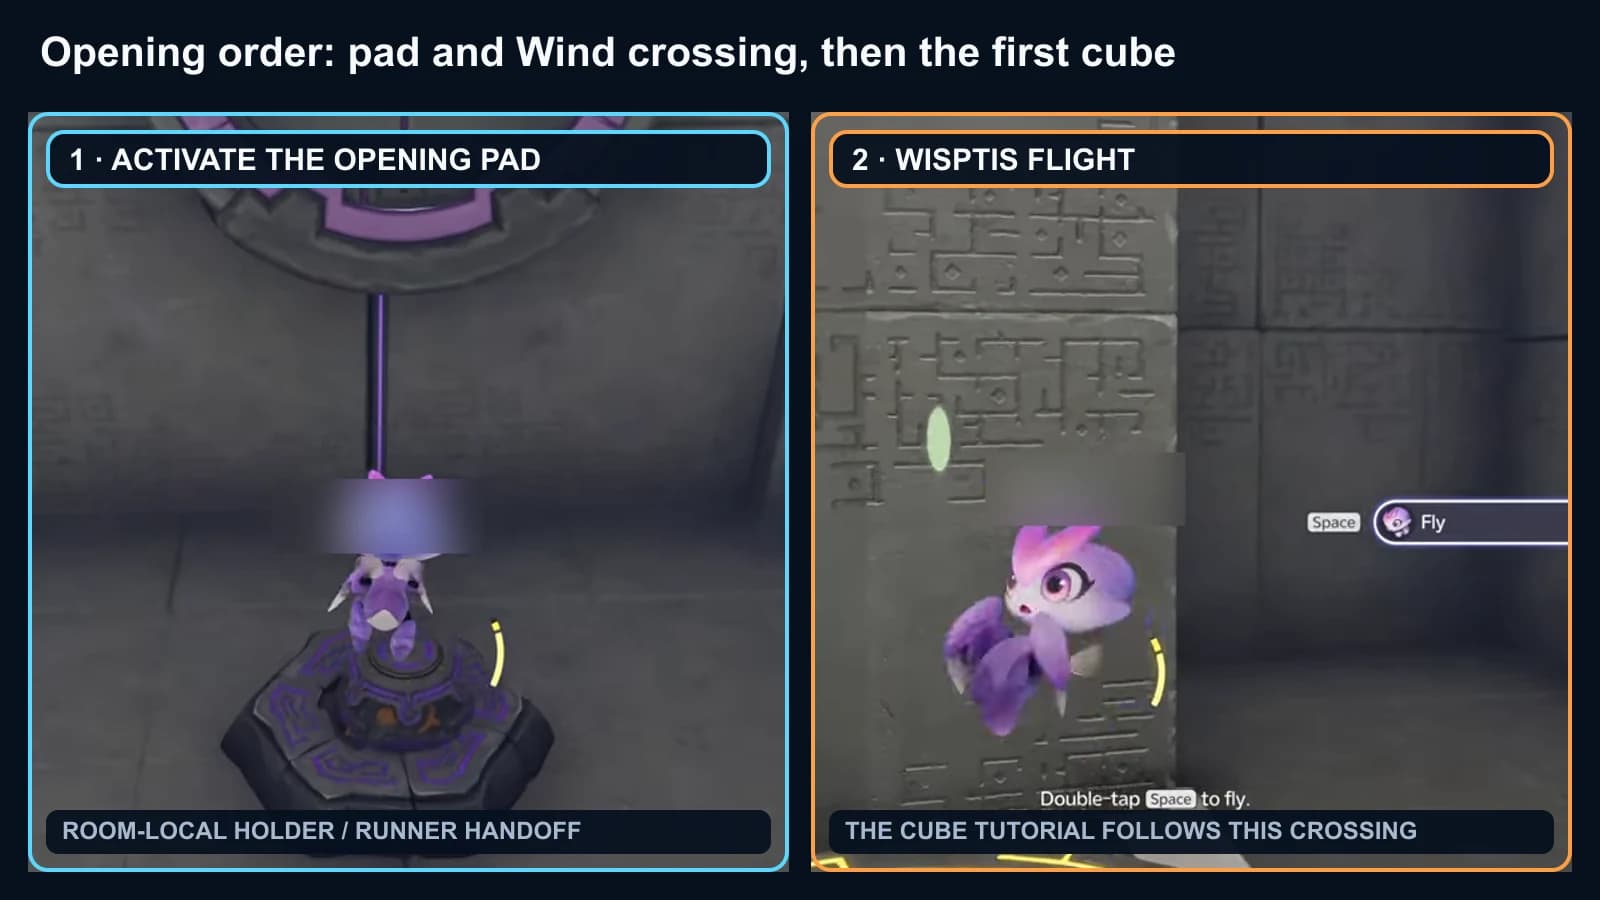
- 1Claim one trial Aniimo each and cross the opening Wind route
Choose Wisptis and Bolty, then use the first floor-pad handoff and Wind crossing. The opening traversal happens before the first movable cube.
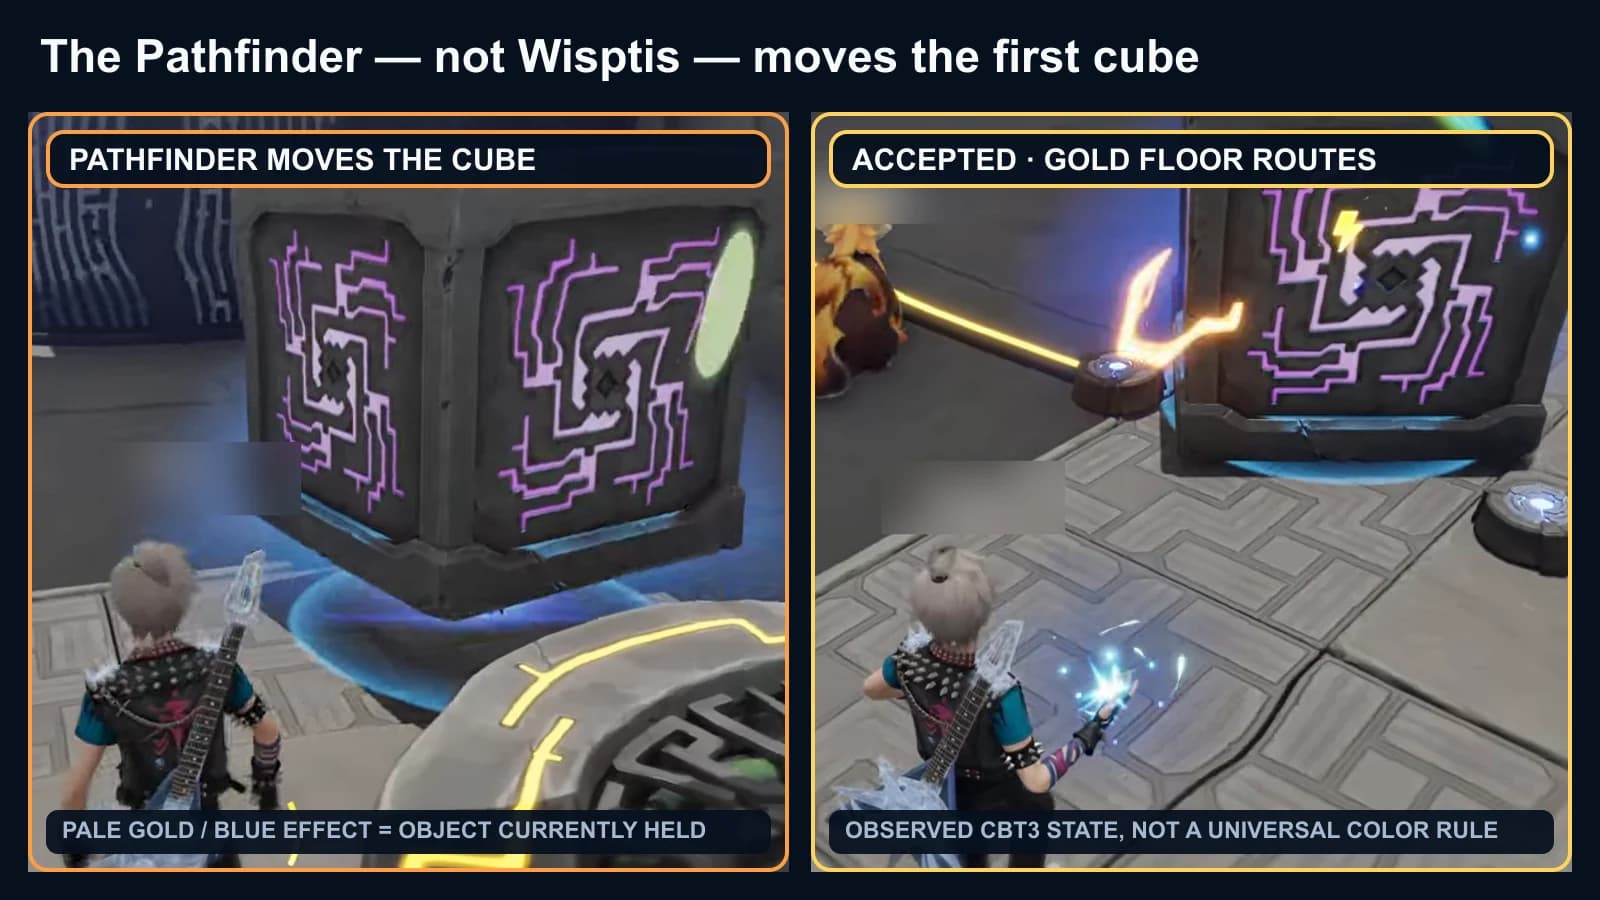
- 2Untwine and place the first cube with Pathfinder Grab
Use the Grab/Manipulate action from the Pathfinder Gravity Pull skill on the first purple maze cube. Continue when its connected floor routes turn gold.
- 3Open the early Wind route and take the high detour
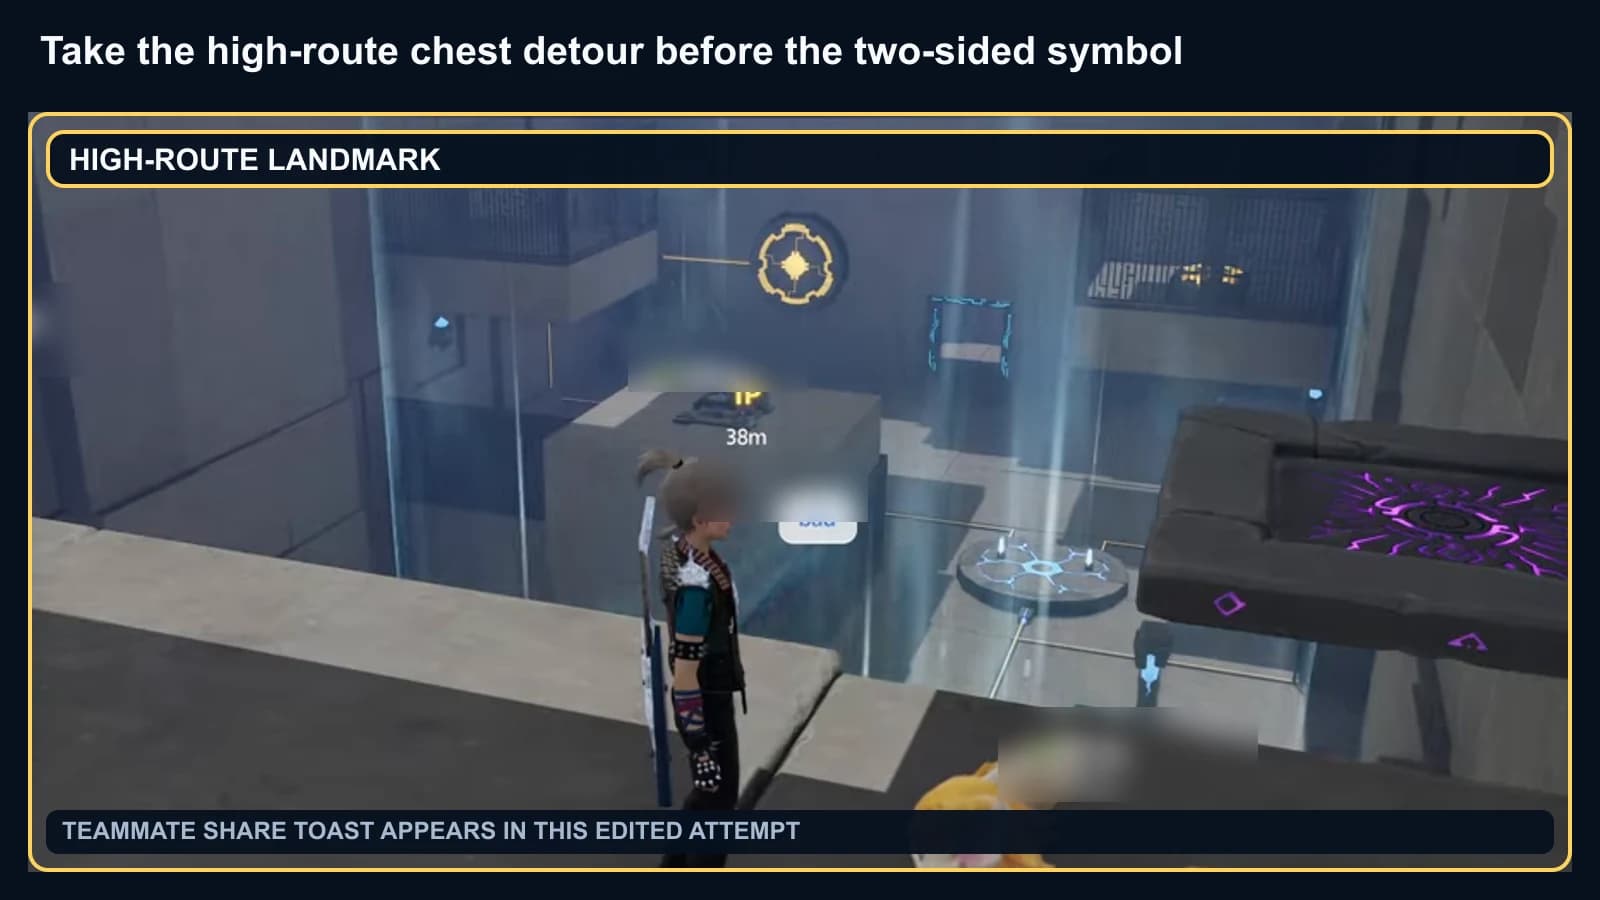
Use the next pads and electric device, send a runner over the active Wind route and take the high-route chest before both players operate the two-sided symbol.
- 4Keep the optional water chest separate from wetting the conductor
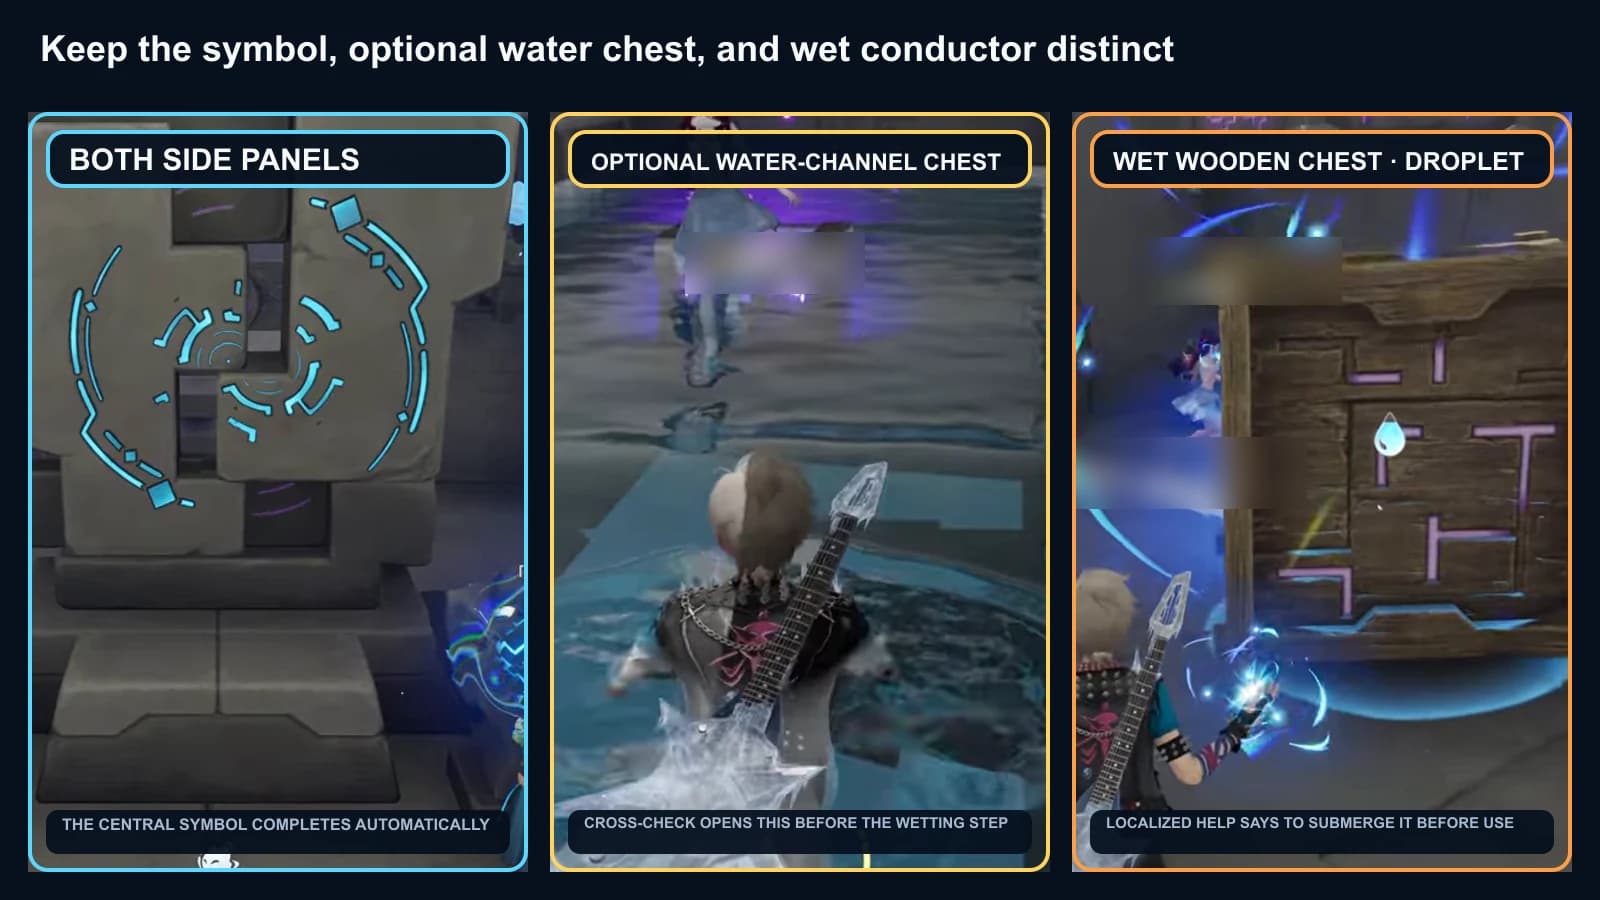
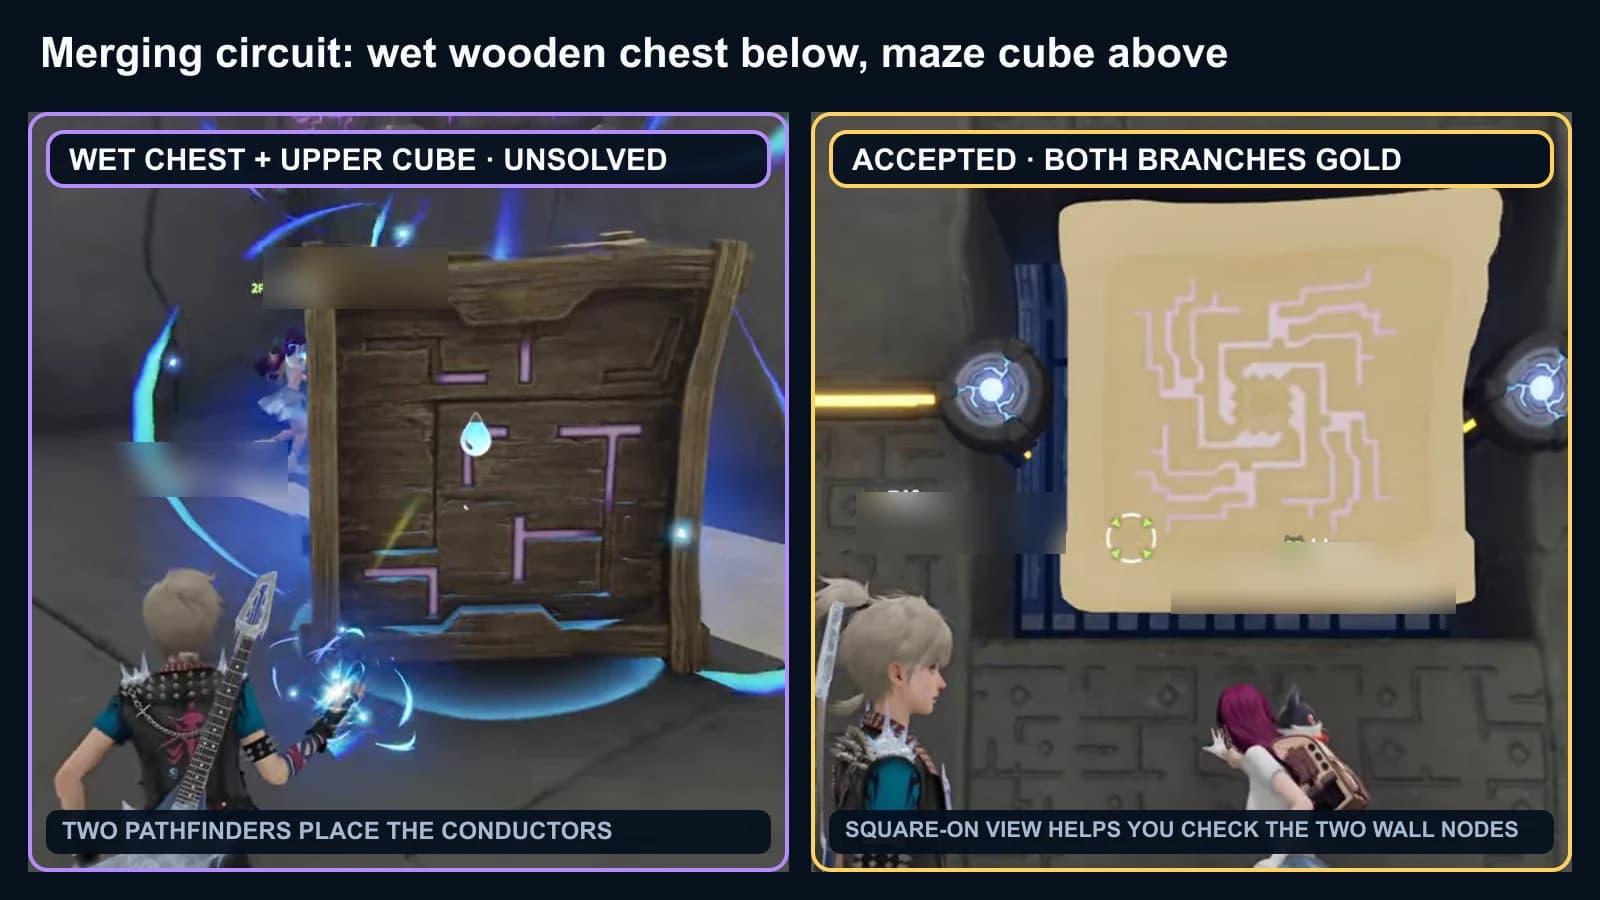
Open the water-channel chest when its branch is accessible. Separately submerge the Wooden Chest in water long enough for the droplet-marked damp state; that wet state makes it conduct electricity. The chest and the conductor are two different objectives.
- 5Activate the first separated device pair and check the alcove
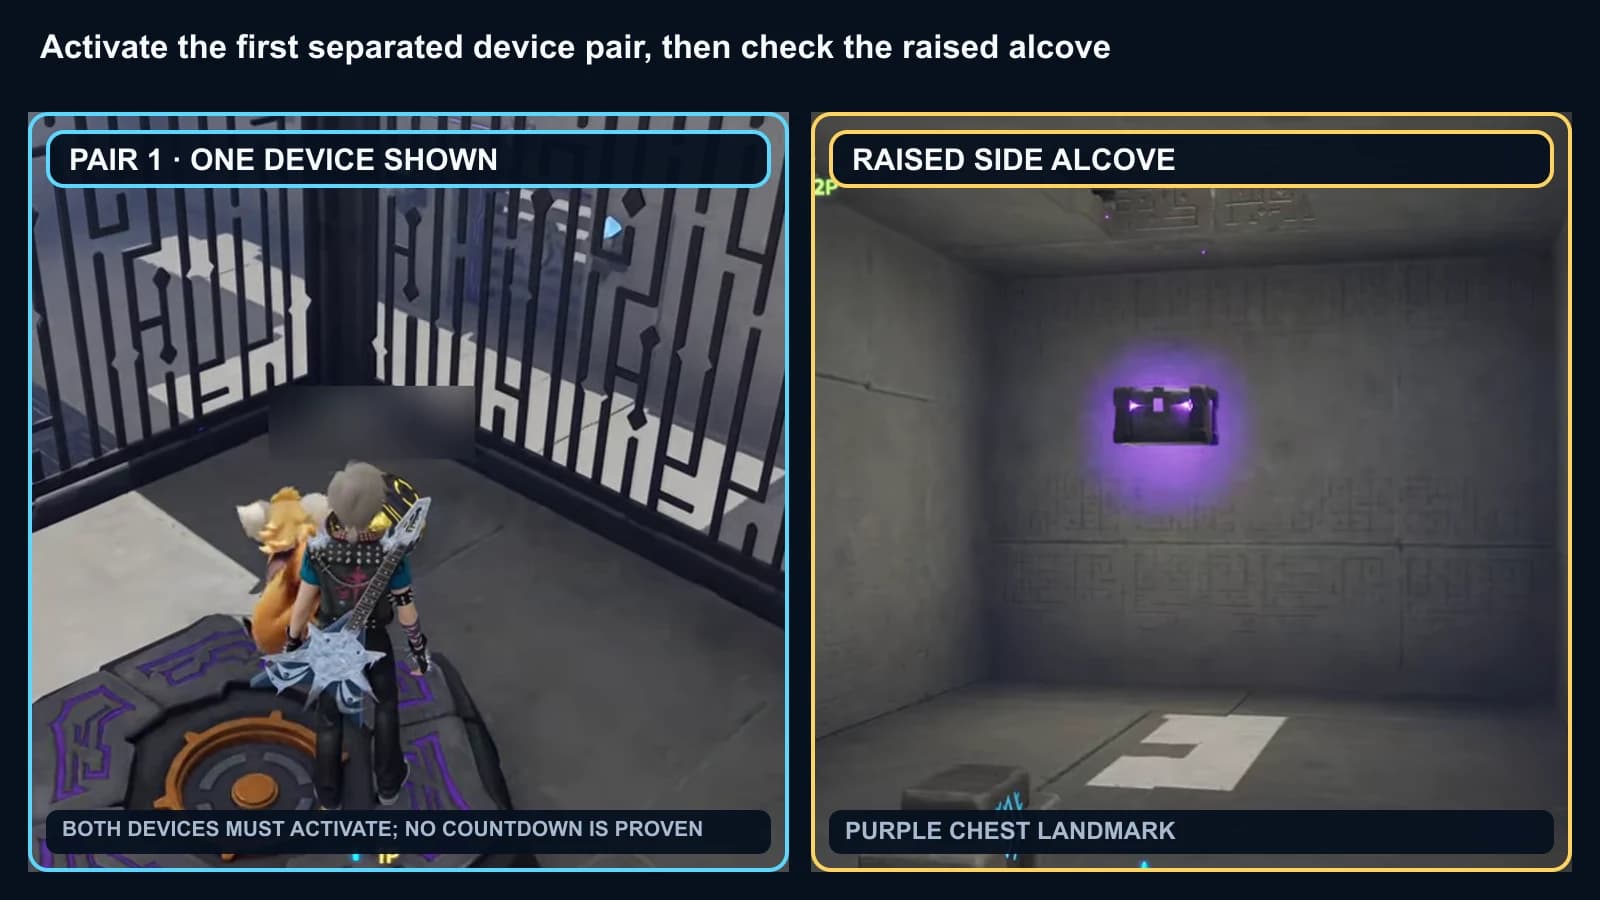
Keep both devices active until the route responds, then visit the raised side-alcove chest. There is no countdown and no exact same-frame button press.
- 6Hold the second floor-pad pair
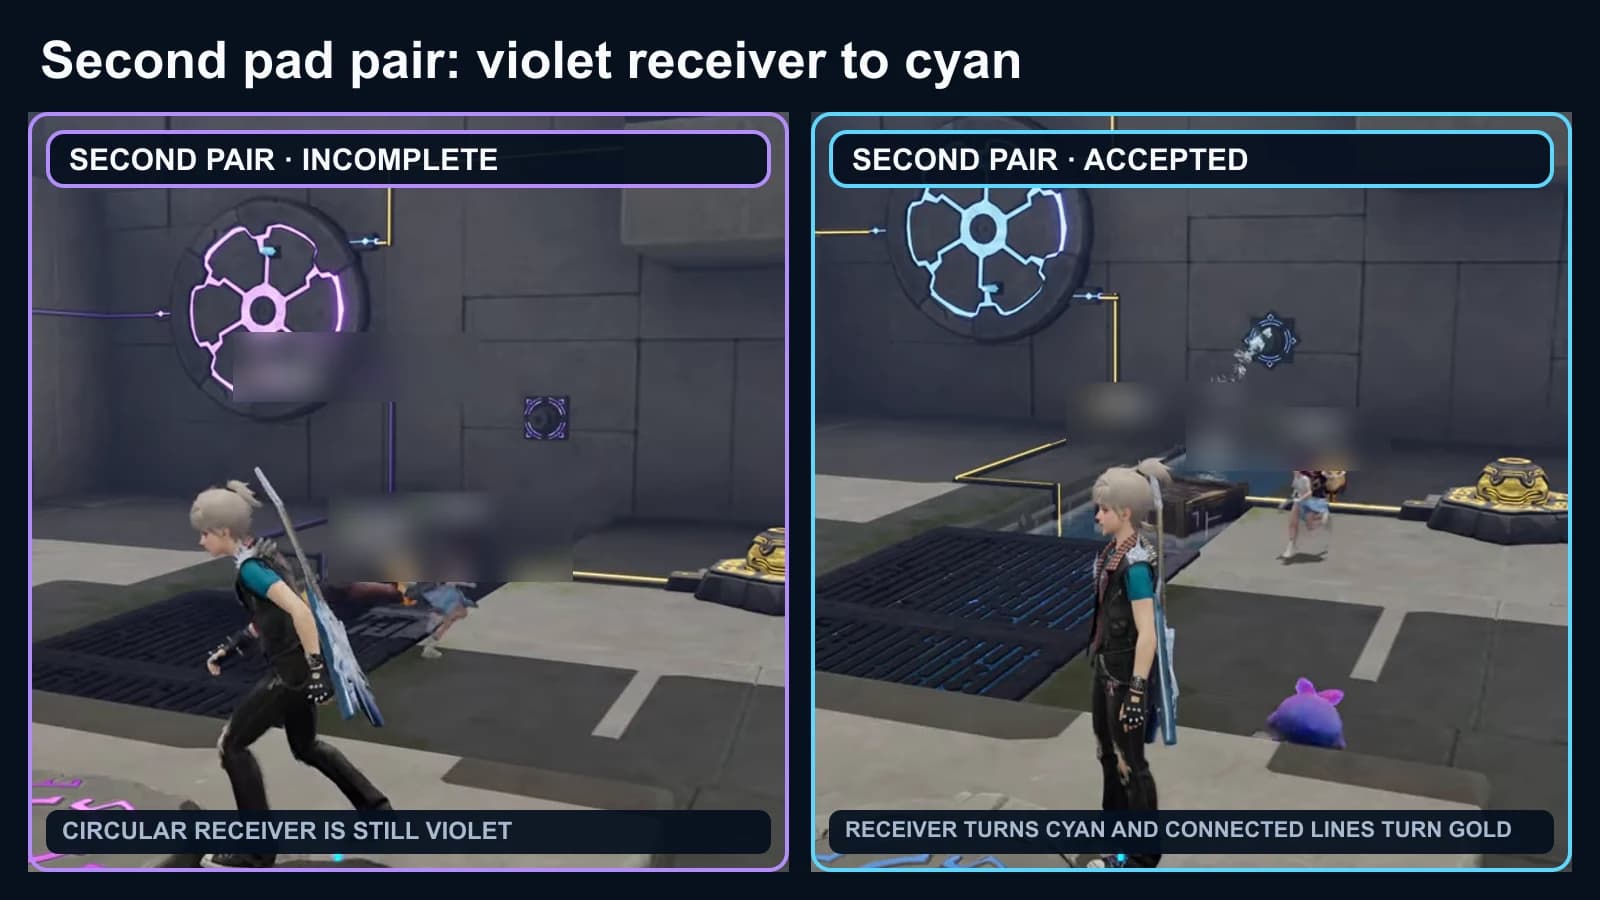
Do not skip the later pair: both pads change the large circular receiver from violet to cyan and turn the connected lines gold.
- 7Complete the wet-conductor and upper-cube circuit
Place the wet Wooden Chest as the low conductor and the maze cube above it until both circuit branches are accepted. A square-on camera helps you inspect the two wall nodes; camera position is not an input.
- 8Climb, solve the next symbol and power the Bolty wire
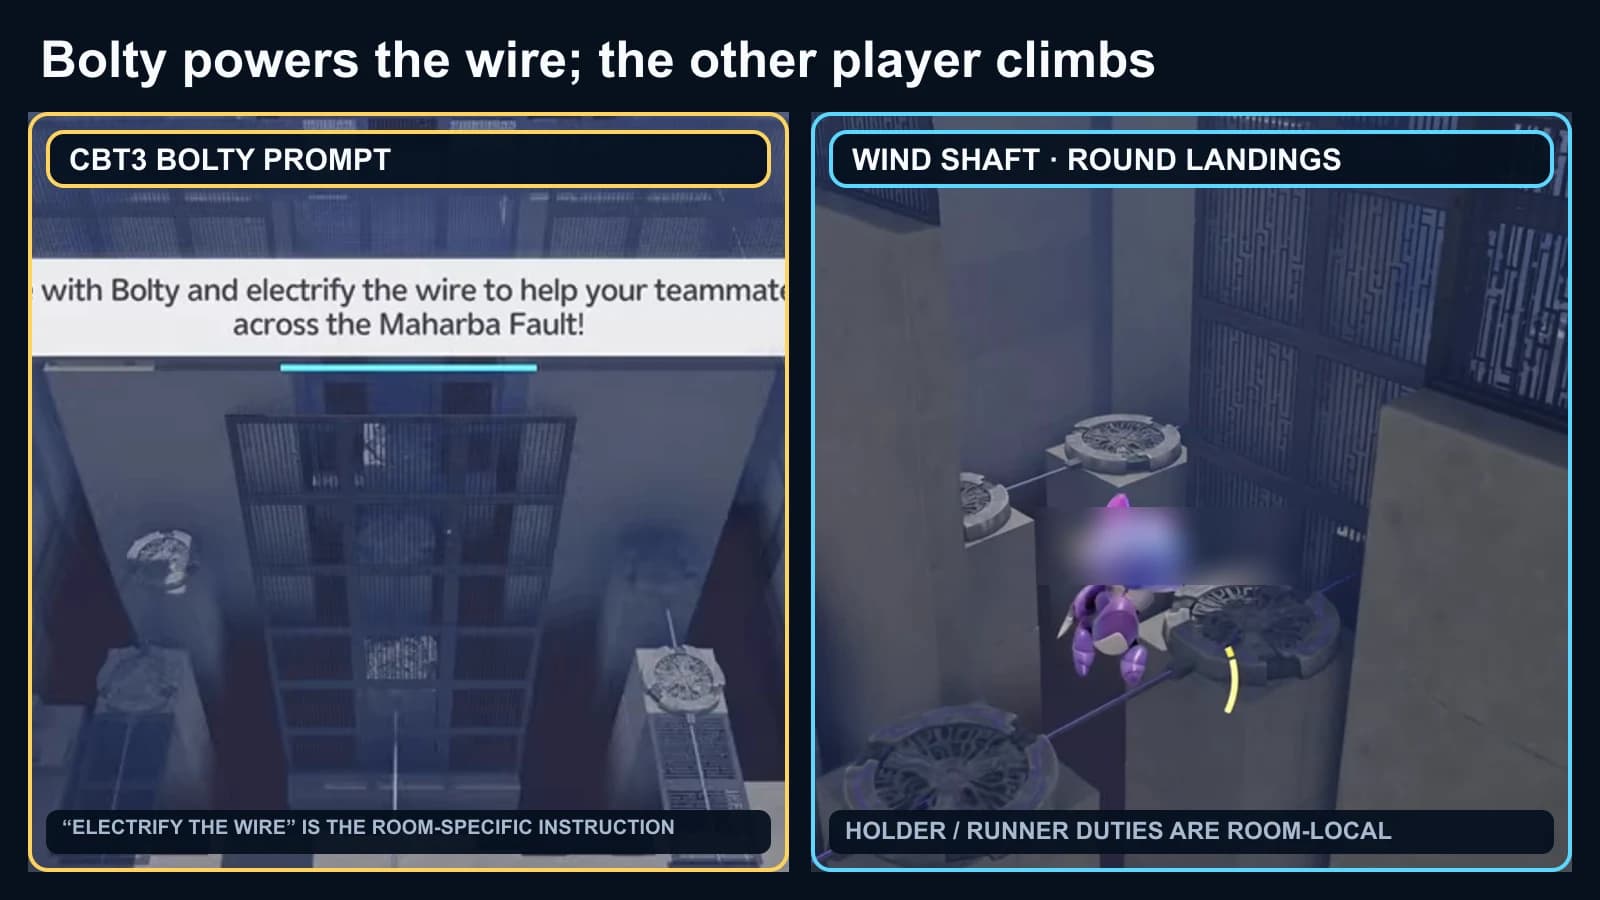
Use the Wind ascent and landing-pad handoff, operate the next two-sided symbol, then keep the Bolty wire powered while the other player climbs the vertical Wind route.
- 9Take the upper chest, relay the platform and move two cubes
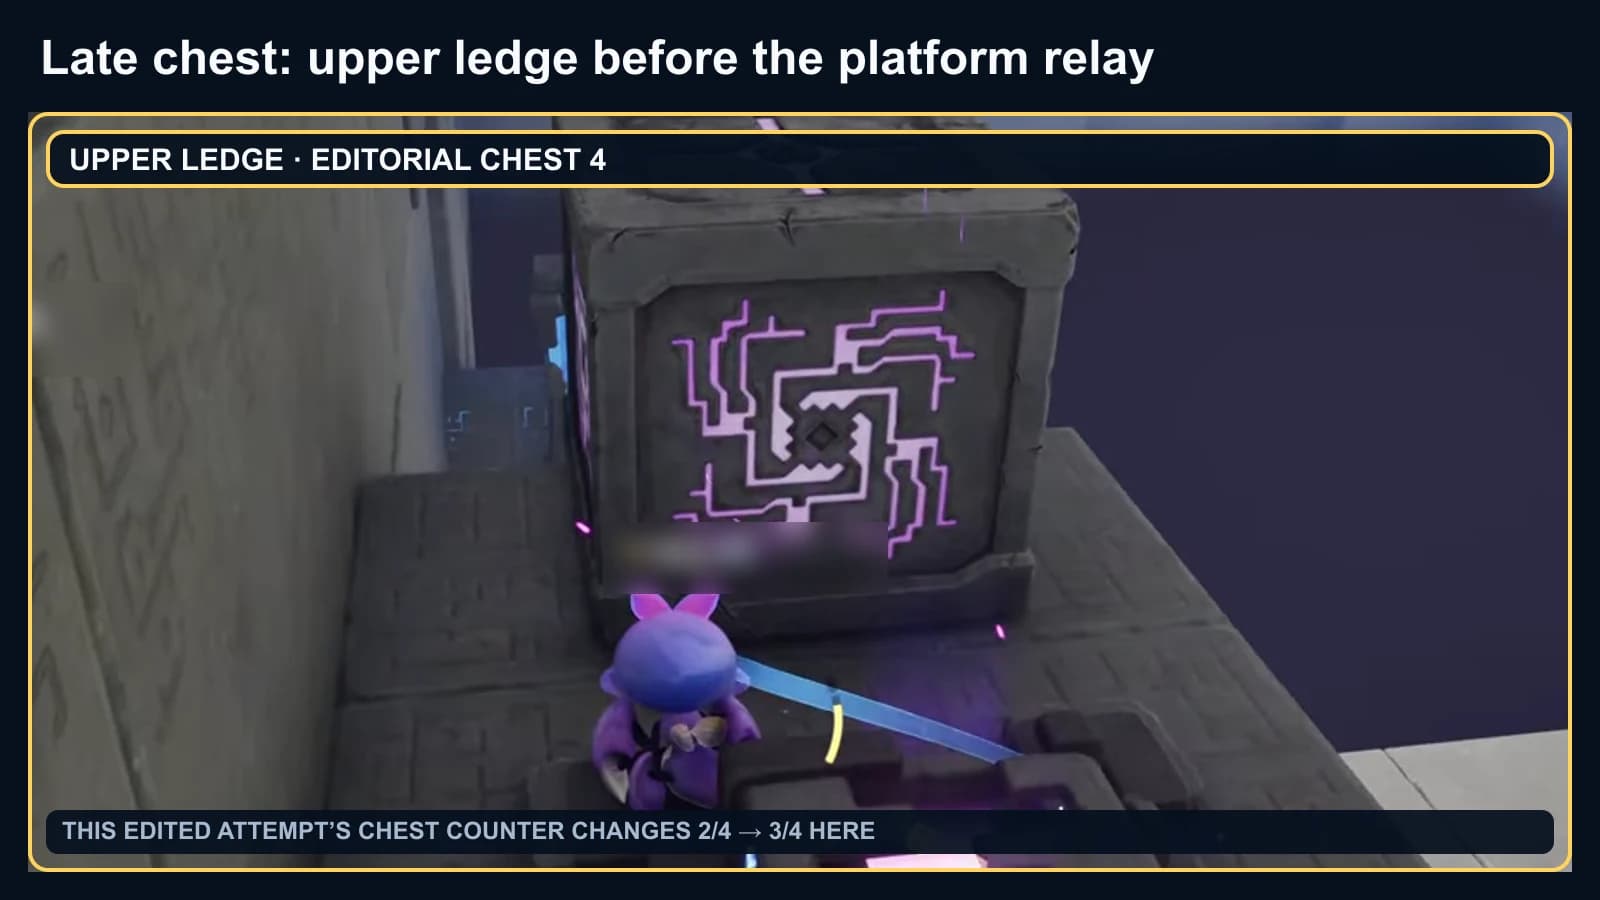
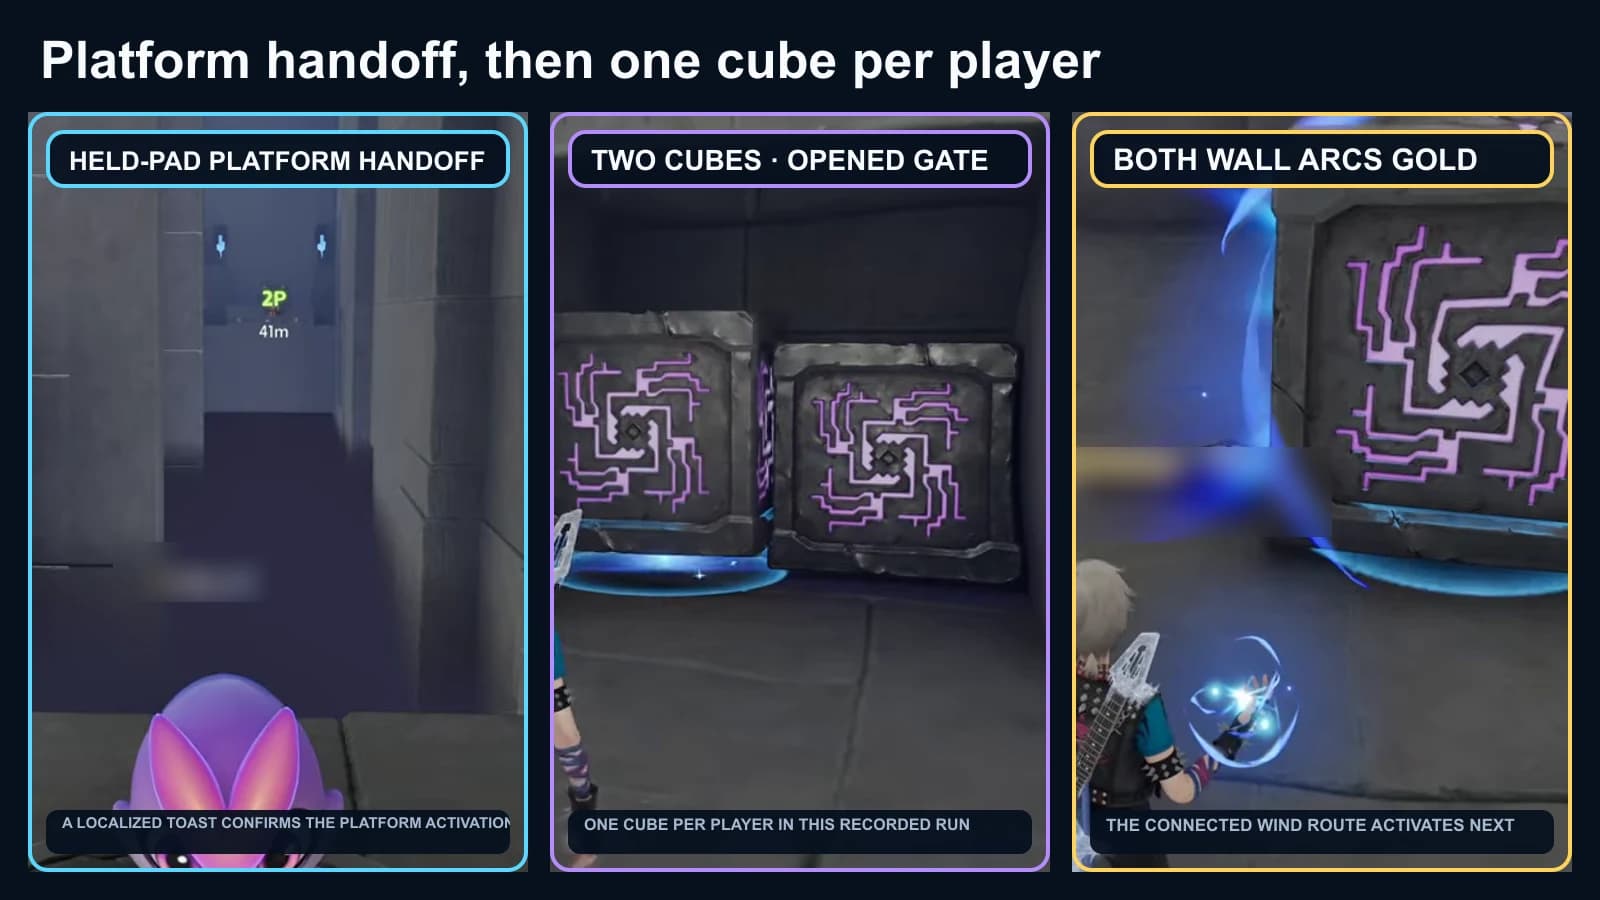
Take the upper-ledge chest before the platform relay. One player holds the platform pad; afterward each player moves one of the two revealed cubes until both wall arcs turn gold.
- 10Keep both final side panels active
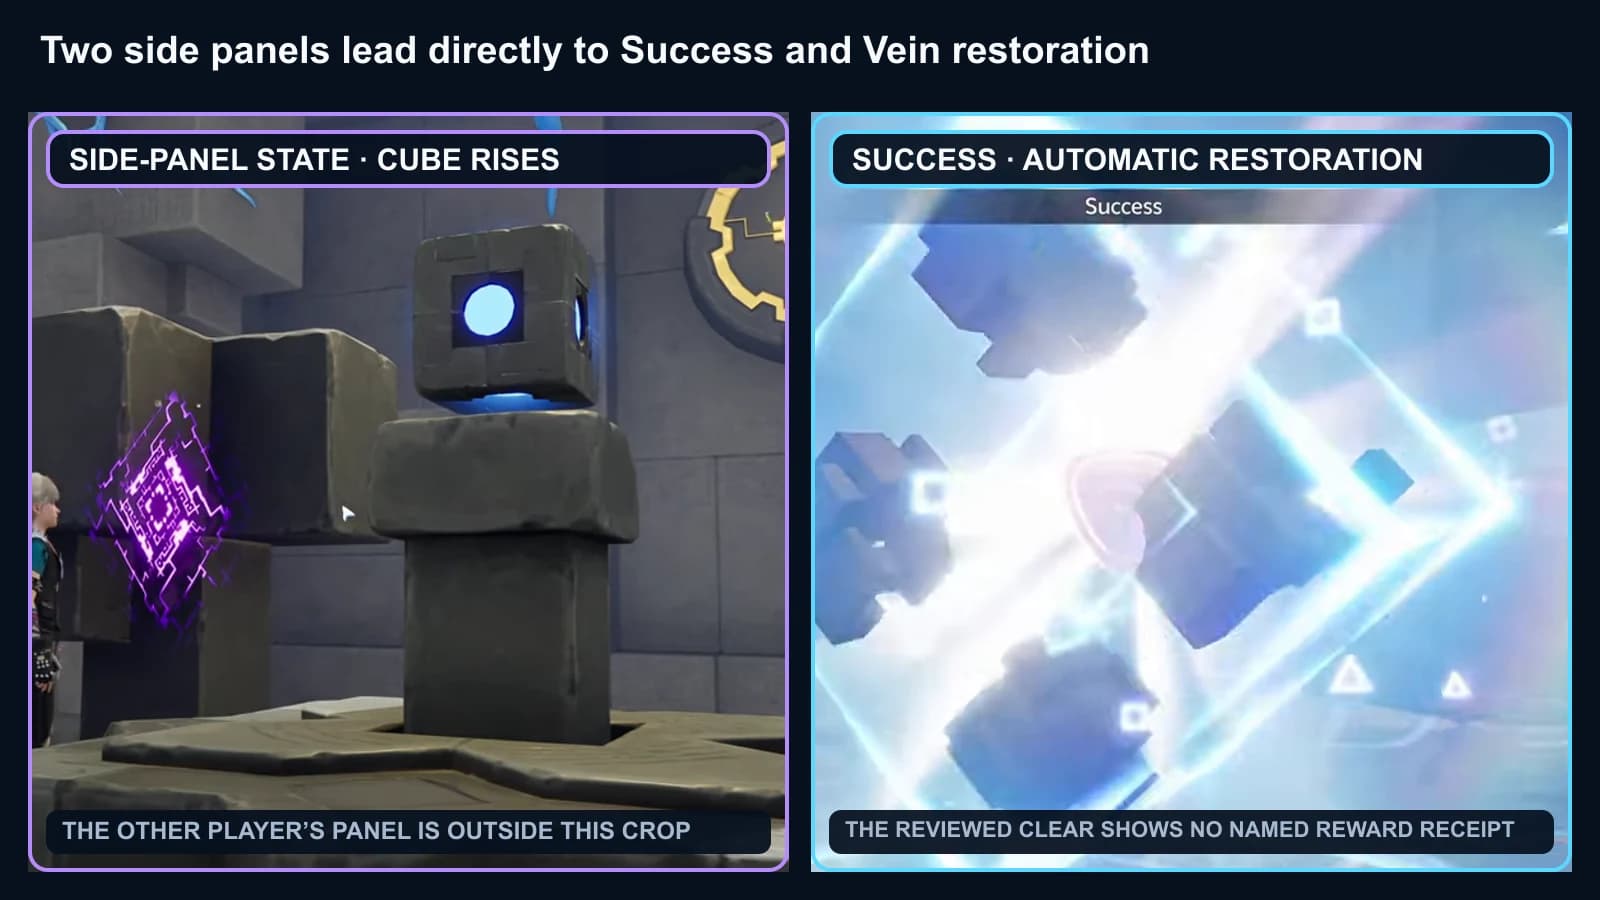
Hold the two side-panel states together. The central cube rises, Success appears and Vein restoration follows automatically; there is no separate final restore interaction.
Read the circuit states
| Visible state | What it means | Safe response |
|---|---|---|
| Violet circuit or receiver | The mechanism is not accepted yet. | Check the relevant pad, device, wire or physical object again. |
| Gold connected lines | That circuit branch is powered or accepted. | Look for the linked receiver, gate, platform or Wind field to change. |
| Cyan receiver or route | The linked state is active in that room. | Keep the required held state while the other player crosses. |
| Blue or pale-gold object effect | A Pathfinder is holding the object with Grab/Manipulate from Gravity Pull. | Release it, then check the circuit rather than treating the carry effect as success. |
Detailed co-op route and handoffs
- 1High route and the first two-sided symbol
After the first cube, use the pads and electric device to open the split Wind route. Send the current runner through the high branch and take its chest. At the next divider, one player uses each side panel; the central symbol aligns automatically after the two panel states are accepted, so there is no movable central symbol piece.
- 2Optional water chest and the wet Wooden Chest
A Wet Wooden Chest conducts electricity: submerge it in water for a moment to make it damp, and the droplet icon on the object confirms the state. The water-channel treasure chest is a separate optional branch that you can open before the wetting step, so do not tell a teammate that the conductor unlocks the chest route.
- 3First device pair, raised alcove and second pad pair
Activate both separated electric devices and check the raised side alcove. In the next room, occupy the second floor-pad pair until the large round receiver turns cyan and the connected lines turn gold. These are two different paired mechanisms.
- 4Wet-conductor merging circuit
Both players manipulate the physical conductors: the droplet-marked Wet Wooden Chest below and the maze cube above. Adjust them until both branches reach the wall nodes and turn gold. Facing the wall squarely makes the state easier to read, but the input is conductor placement, not a camera angle.
- 5Wind ascent, second symbol and Bolty wire
Ride the Wind ascent, use the landing-pad handoff and complete the next two-sided symbol. When the room prompts Twine with Bolty and electrify the wire, the wire operator maintains that state while the other player takes the vertical Wind route. Regroup at the top.
- 6Upper chest, moving platform and two-cube circuit
Take the upper-ledge chest before the moving-platform relay. A toast confirms the teammate activated the platform. The next chamber reveals two maze cubes; each player moves one until both wall arcs are gold and the connected Wind route activates.
- 7Final panels and automatic outcome
At the last mechanism, keep the two side panels active together. The central cube rises and glows, the game displays Success, and the Vein restoration animation begins on its own. Counting down together helps, but the two inputs do not have to land on the same frame.
Four chest landmarks
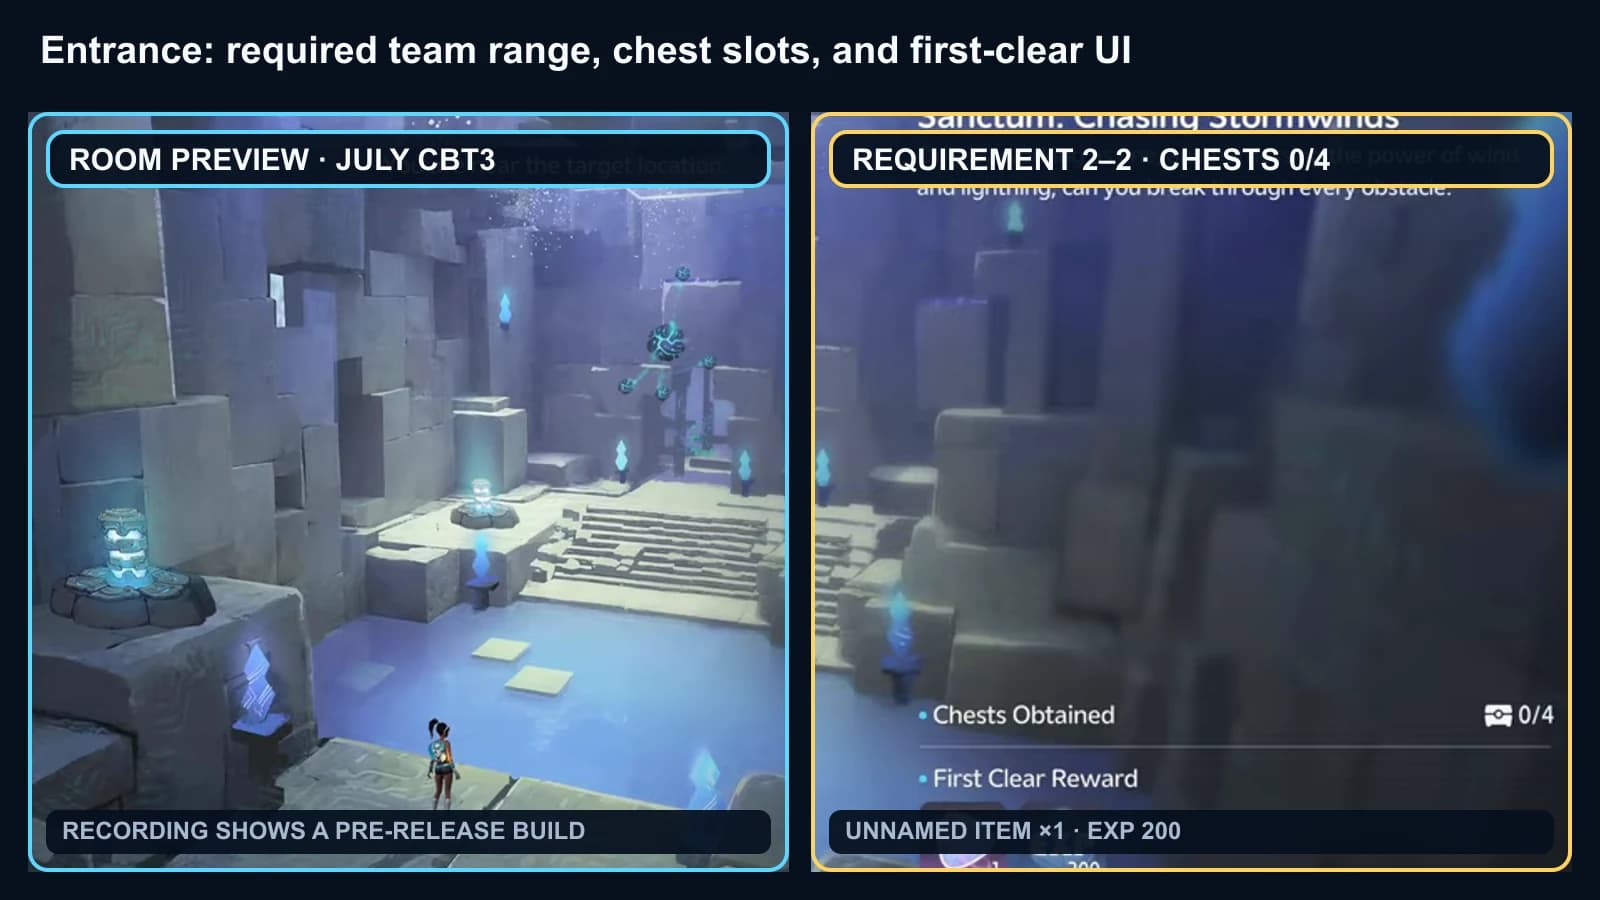
The entrance and map data list four chest slots, and the route passes four physical landmarks. Sweep all four before the final panels, and read your progress from the chest icon below View Help rather than the top-left party icon.
| Chest | Landmark | When to take it |
|---|---|---|
| 1 | High route before the first two-sided symbol | Before both players regroup at the symbol. |
| 2 | Water channel | While the water branch is accessible. |
| 3 | Raised side alcove after the first device pair | Before leaving the separated-device level. |
| 4 | Upper ledge before the moving-platform relay | Before dropping into the platform-and-two-cube sequence. |
Recovery, completion and rewards
The entrance first-clear panel shows an item ×1 and EXP 200, and a first-time Sanctum clear awards Lumin Amber.
Frequently asked
Where is the Chasing Stormwinds Sanctum?
It is in Berylline Causeway. The AniimoVerse atlas marker is at 1640, 596. Open the exact Chasing Stormwinds atlas pin.
How many players and chest slots does Chasing Stormwinds have?
The entrance requires two challengers and lists four chest slots. You can let the game fill the team automatically after you start, but a known partner makes the paired pads, panels and wire handoffs far easier.
Do Wisptis and Bolty move the Chasing Stormwinds cubes?
No. Wisptis handles flight and Cloak traversal, Bolty answers the electrified-wire prompt, and the human Pathfinder’s Grab/Manipulate action from Gravity Pull moves the cubes and the Wooden Chest.
What is the Chasing Stormwinds first-clear reward?
The entrance panel shows an item ×1 and EXP 200, and a first-time Sanctum clear awards Lumin Amber.