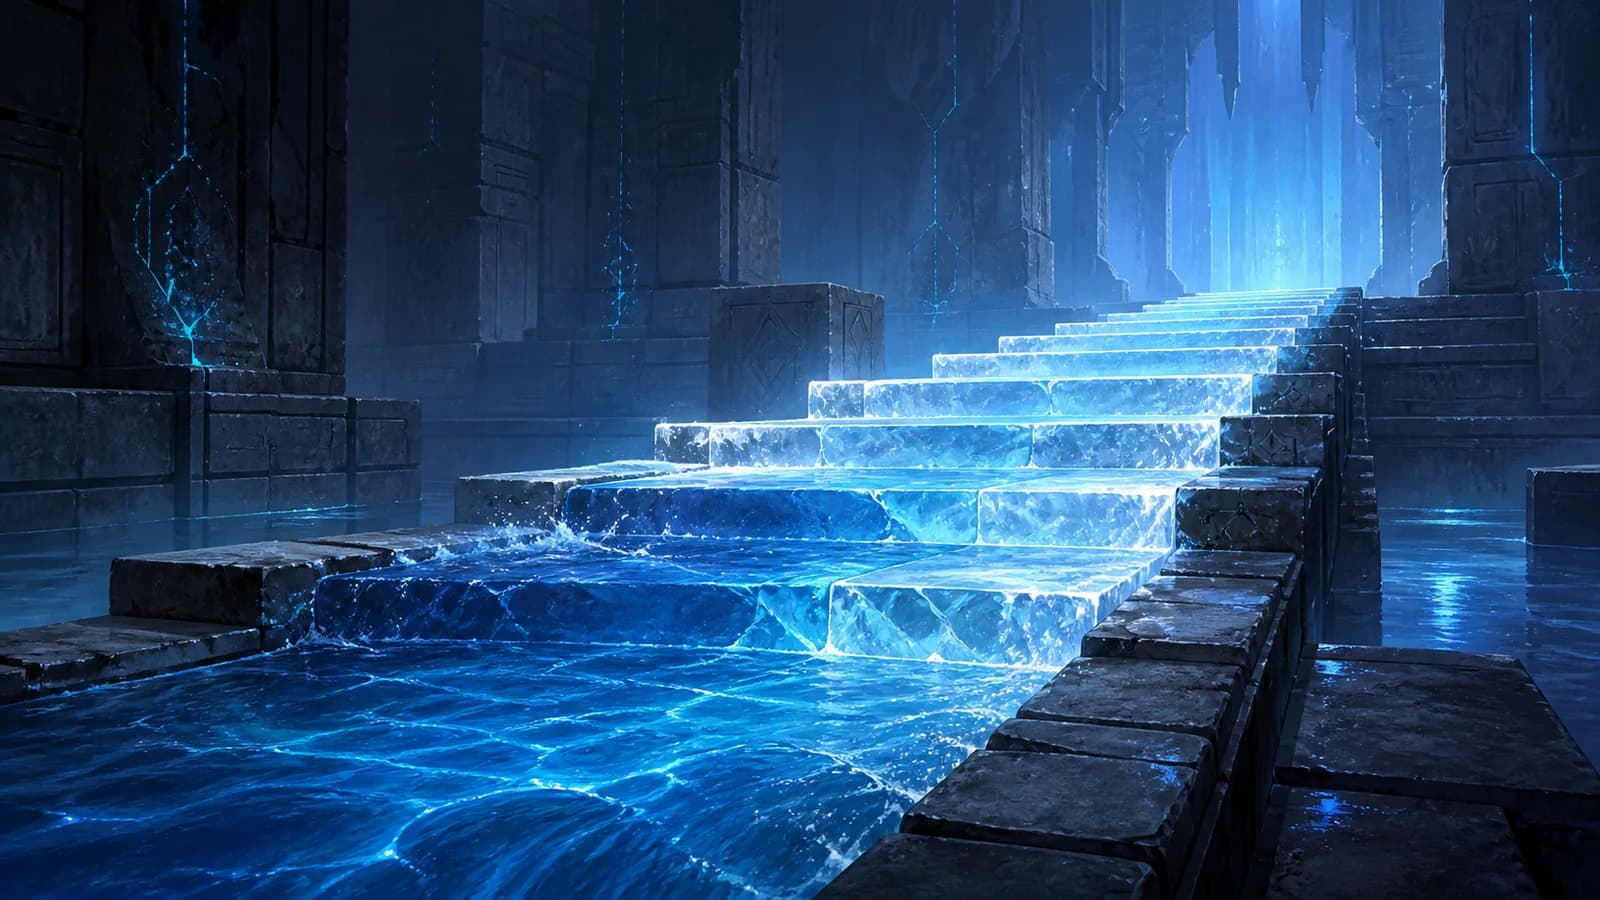
Location and requirements
Open the Water to Ice atlas pin in Beast Fang Ridge. The marker sits at 907, 959 on the AniimoVerse atlas. The entrance is a one-player challenge with three chest slots, and the required trial Aniimo waits inside.
Beast Fang Ridge
Players
- Value
- 1 · Solo
Chest slots
- Value
- 3
Trial Aniimo
- Value
 Fenrier
PC actions
- Value
- Fenrier Q on marked water · Pathfinder Q Manipulate · C switches forms

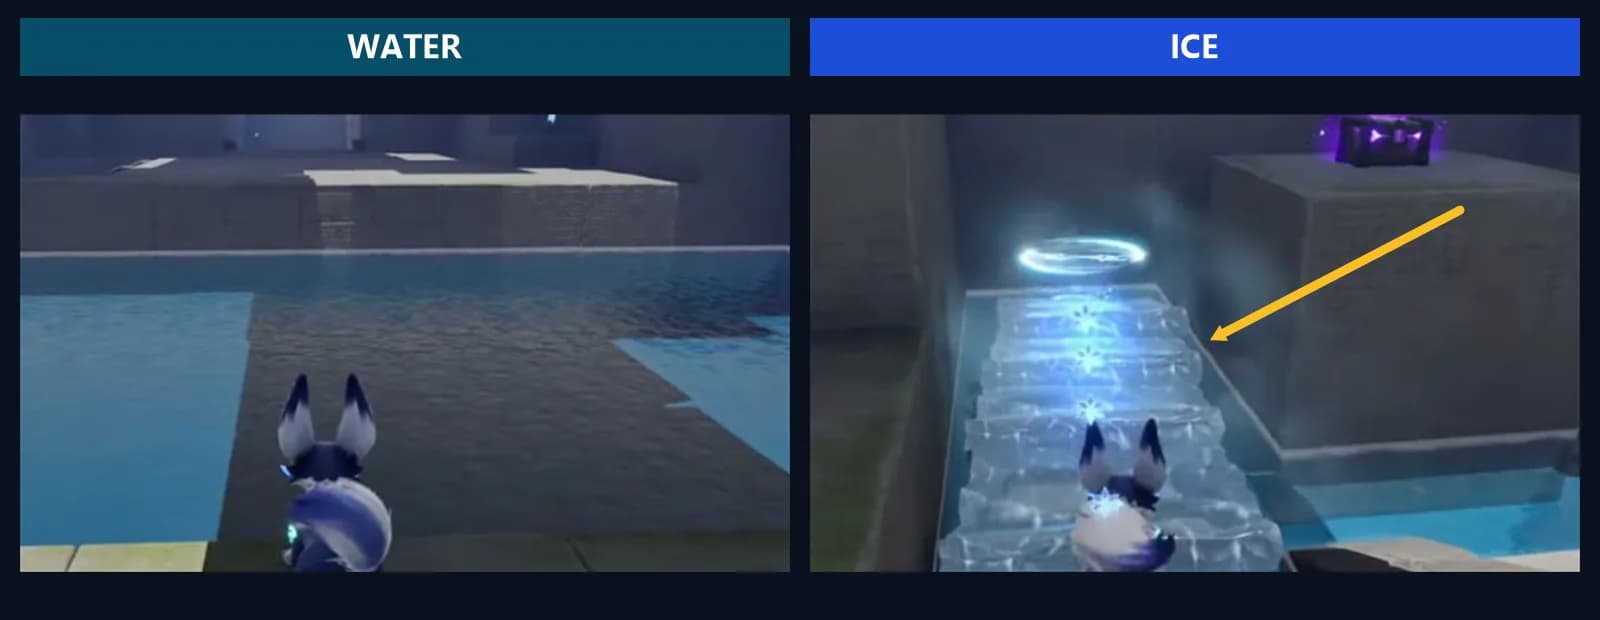
Water vs Ice state legend
| State | Visible cue | What it permits | Next action |
|---|---|---|---|
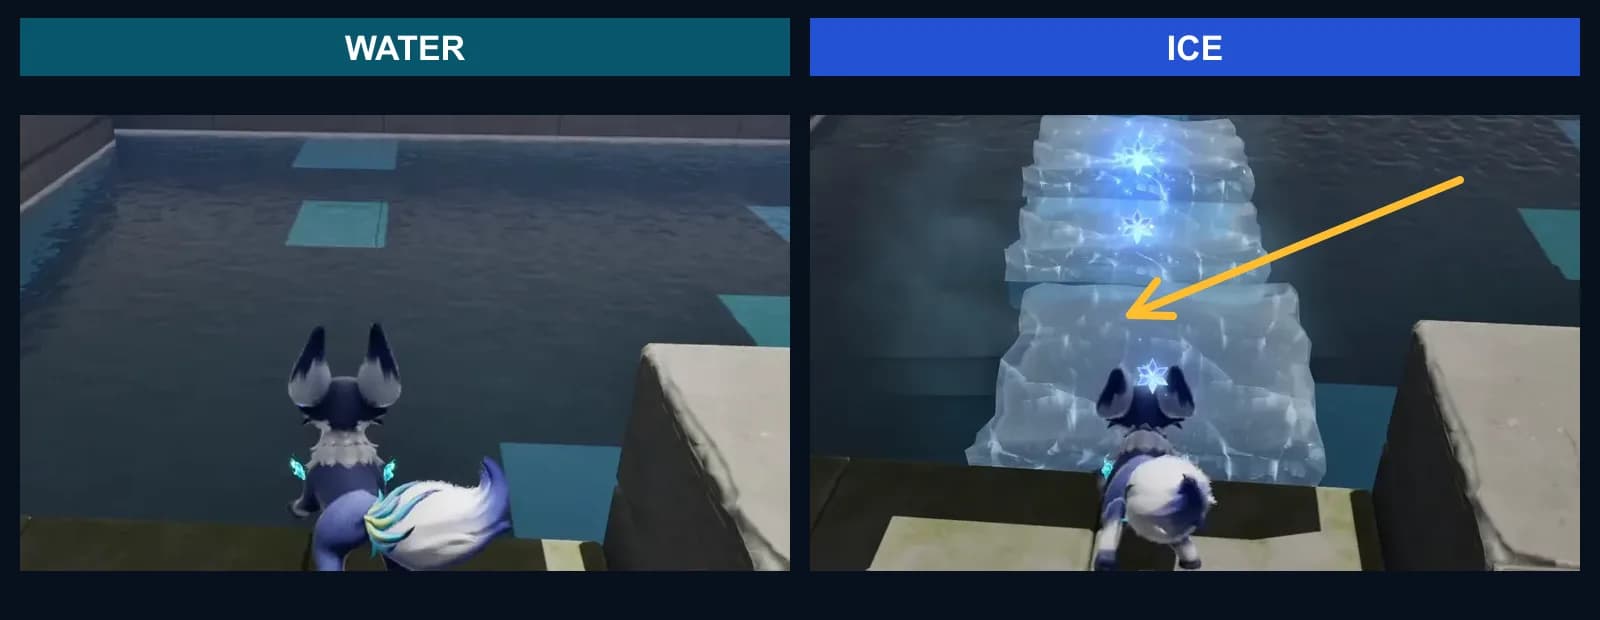
| Water | Open blue pool with pale route tiles | Swimming where the room geometry is open | Twine with trial Fenrier, aim at the marked water and press Q |
| Generated ice | Snowflake-marked steps or a complete floating block | Climbing, crossing, or moving one whole block onto a receiver | Cross promptly; Untwine before using Pathfinder Q Manipulate |
Quick solution
- Use Pathfinder Q Manipulate on the opening pre-existing ice block, put the whole block on the circular purple receiver, pass the cyan-framed gate and claim the trial Fenrier.
- Untwine and swim across the opening channel. At the far landing, Twine with Fenrier, press Q on the marked water, climb the generated steps and open chest 1 for 1/3.
- At the barred pool, step on the circular plate to enter. Generate ice, Untwine, and Manipulate a whole block onto that receiver. Swim through the raised far gate, climb out and open chest 2 for 2/3.
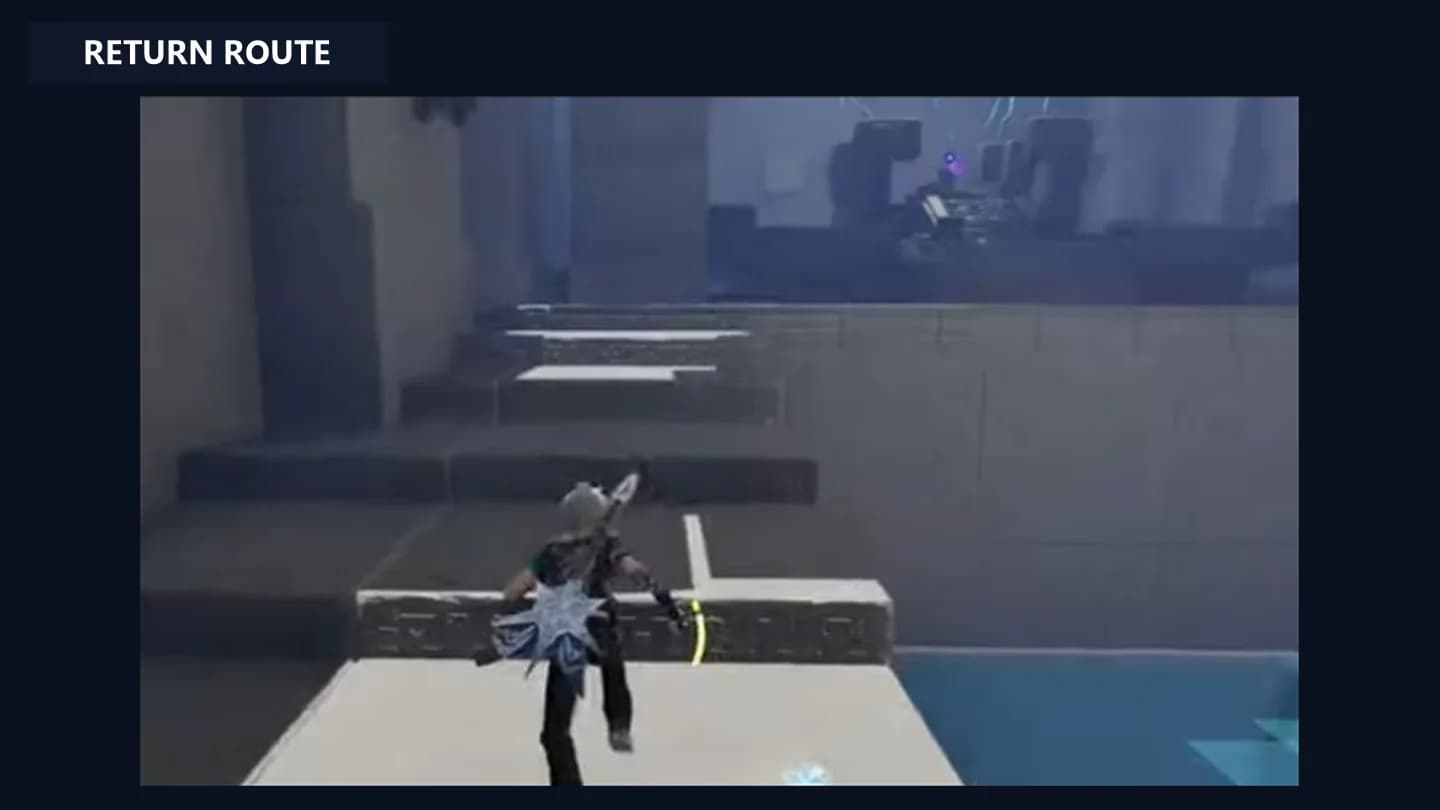
- Generate the return stairs after chest 2 and cross them. In the next water pocket, generate another whole block, Untwine and place it on the receiver below the low rectangular aperture; leave it there and walk through the opened doorway.
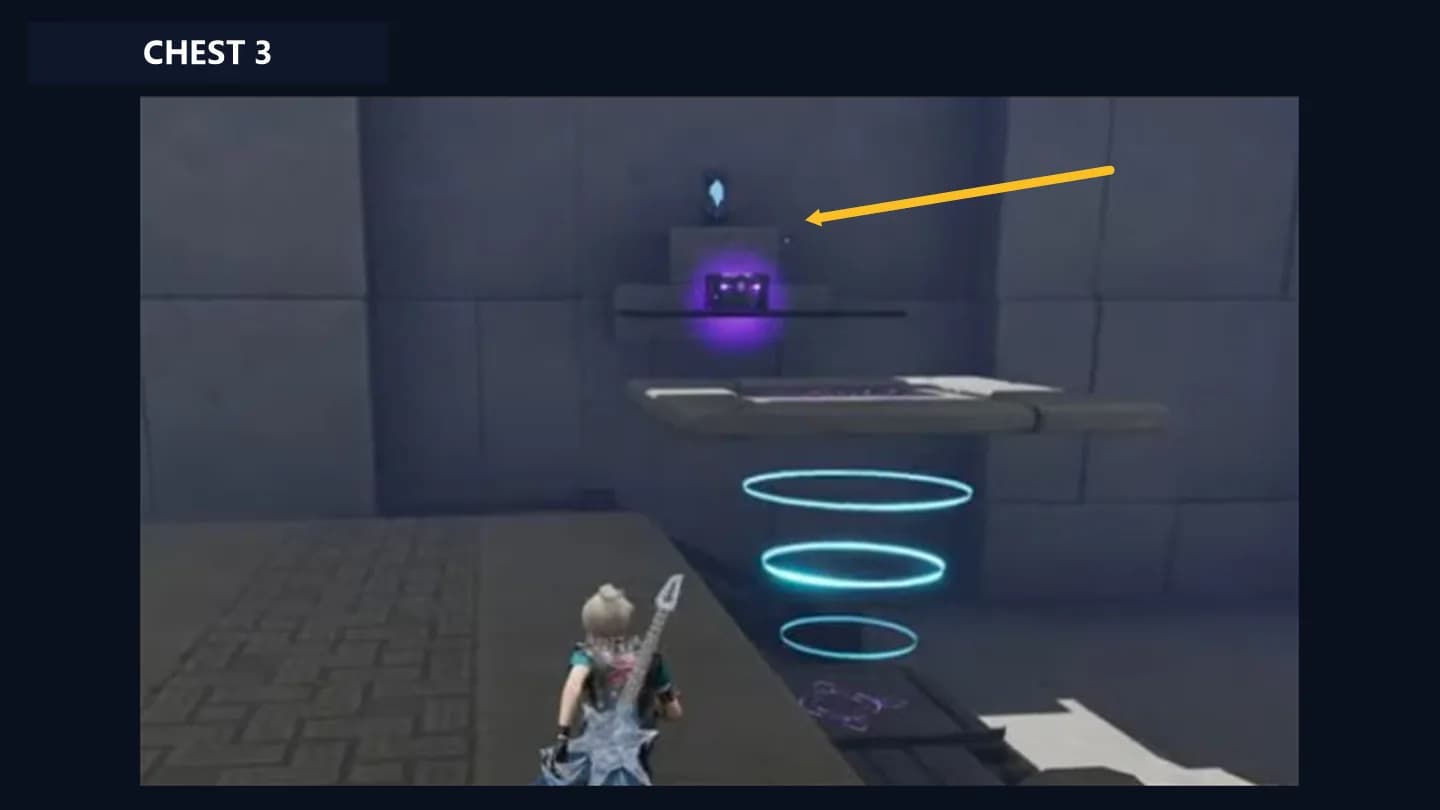
- In the final chamber, generate the set of ice blocks. Put one whole block on the chest-side receiver, ride the air rings and open chest 3 for 3/3.
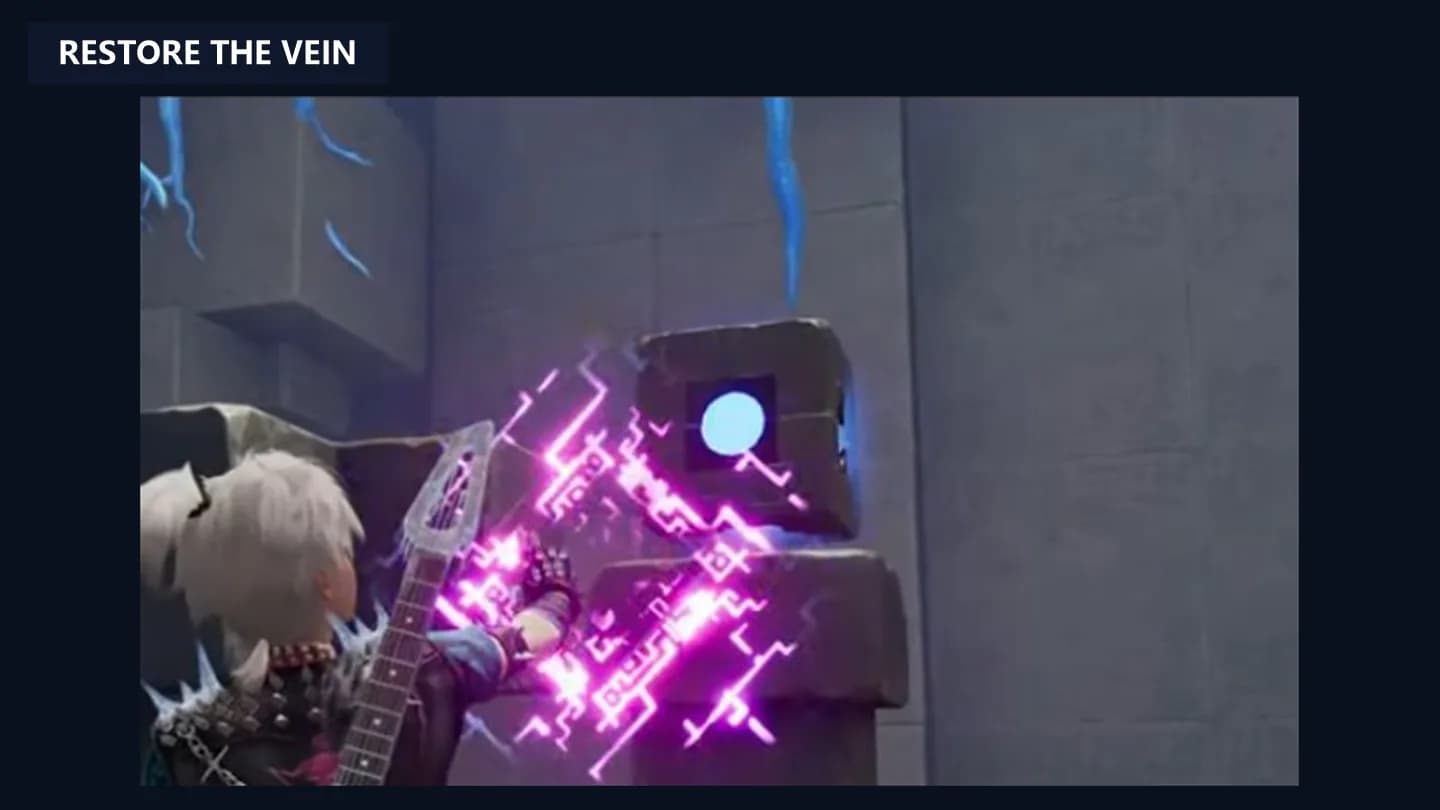
- Return to the blocks, put another whole block on the return receiver, ride the newly lit rings, follow the stone route and Touch the square Sanctum Terminus to restore the Vein.
Numbered rooms
Room 1: hold the opening receiver and claim Fenrier
Face the pre-existing horizontal ice block and press Pathfinder Q Manipulate. The tutorial calls this Grab; position the entire block over the circular purple receiver and use the displayed put-down input. Pass the cyan-framed gate, interact with the statue and use its Try On / Twine prompt to bond with trial
Fenrier.Room 2: swim first, then make the chest 1 stairs
- Finish this before the pass
- Switch back to the Pathfinder and swim from the entry bank to the far landing. Twine with Fenrier there, face the marked water and press Q. Climb the generated steps to the raised chest island, open chest 1 and confirm 1/3. Do not spend the cast before the opening swim.
Room 3: use one whole block to raise the water gate
- Finish this before the pass
- At the next barred pool, step on the nearby circular plate to enter. Use Fenrier Q on the marked water; if the HUD reports insufficient EP, wait and try again. Untwine, use Pathfinder Q Manipulate on one complete generated block and put it fully on the circular receiver. The raised far gate confirms placement. Swim through that opened water lane, go around the central pillar, climb onto the far ledge and open chest 2 for 2/3. The tall orange side bars are landmarks, not a melt timer or a low passage to wait beneath.
Room 4: build the return, then hold the aperture receiver
After chest 2, return to the marked channel, Twine with Fenrier and generate the ice stairs needed to cross back. In the next water pocket, use Fenrier Q again to create a separate whole block. Untwine and Manipulate that block onto the circular receiver below the low rectangular aperture. Leave the block on the receiver; the cyan-framed doorway is the route the Pathfinder walks through.
Room 5: power the chest-side air rings
- Finish this before the pass
- At the final marked pool, use Fenrier Q to generate a set of complete ice blocks. Untwine and move one whole block onto the first glyph receiver. Ride the air rings that light toward the raised chest shelf, open chest 3 and confirm 3/3.
- The run closes behind you here
Room 6: power the return and Touch the Terminus
Return to the generated blocks and use Pathfinder Manipulate to put another whole block on the second glyph receiver. Ride the new return rings, then follow the ordinary stone ledges and stairs. With the counter at 3/3, use Touch on the square purple Sanctum Terminus, also called the Tesseract. Touching it restores the Vein.
Three-chest checklist
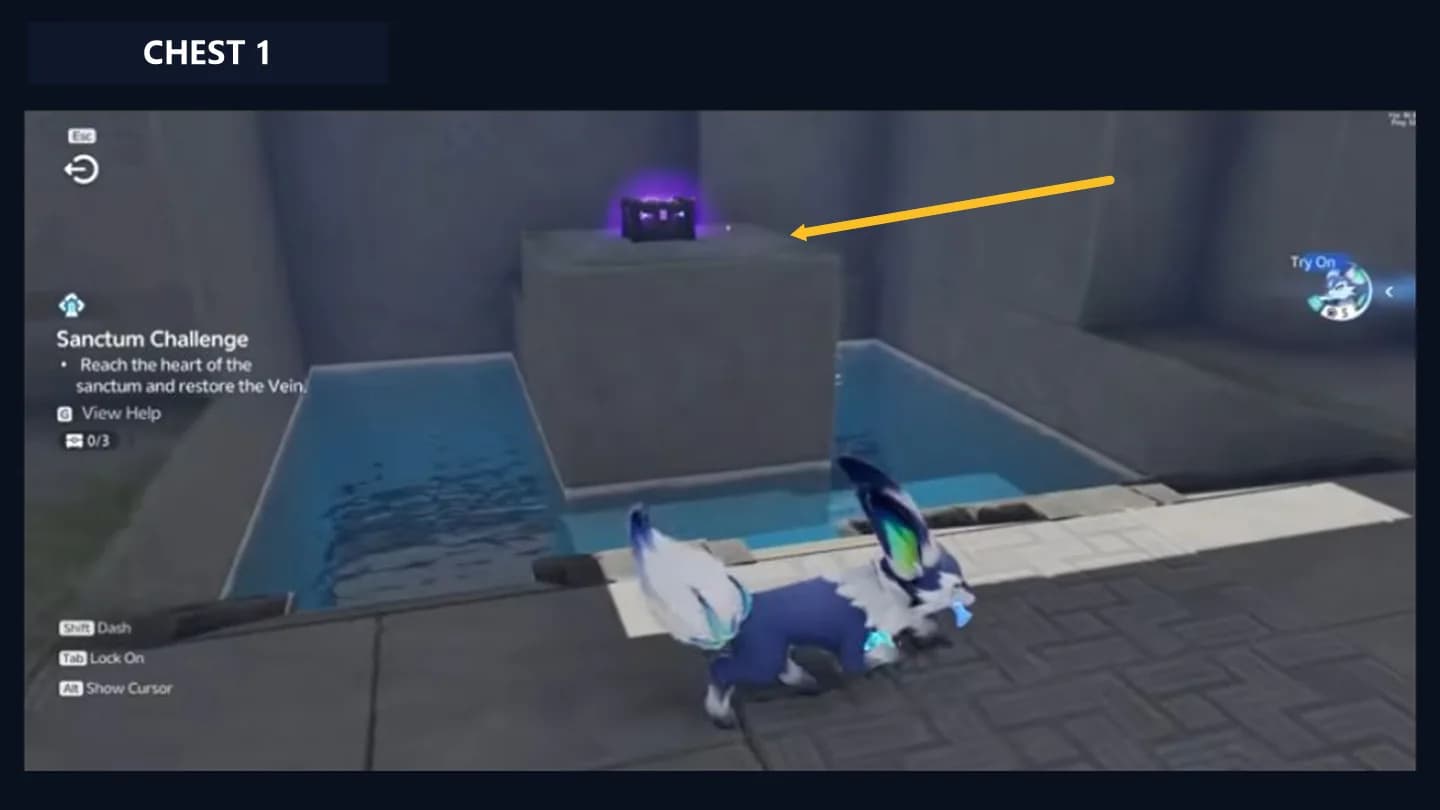
Chest 1
- Landmark
- Raised island after the opening swim
- Required state
- Fenrier Q from the far landing creates the access stairs
- Counter
- 1/3
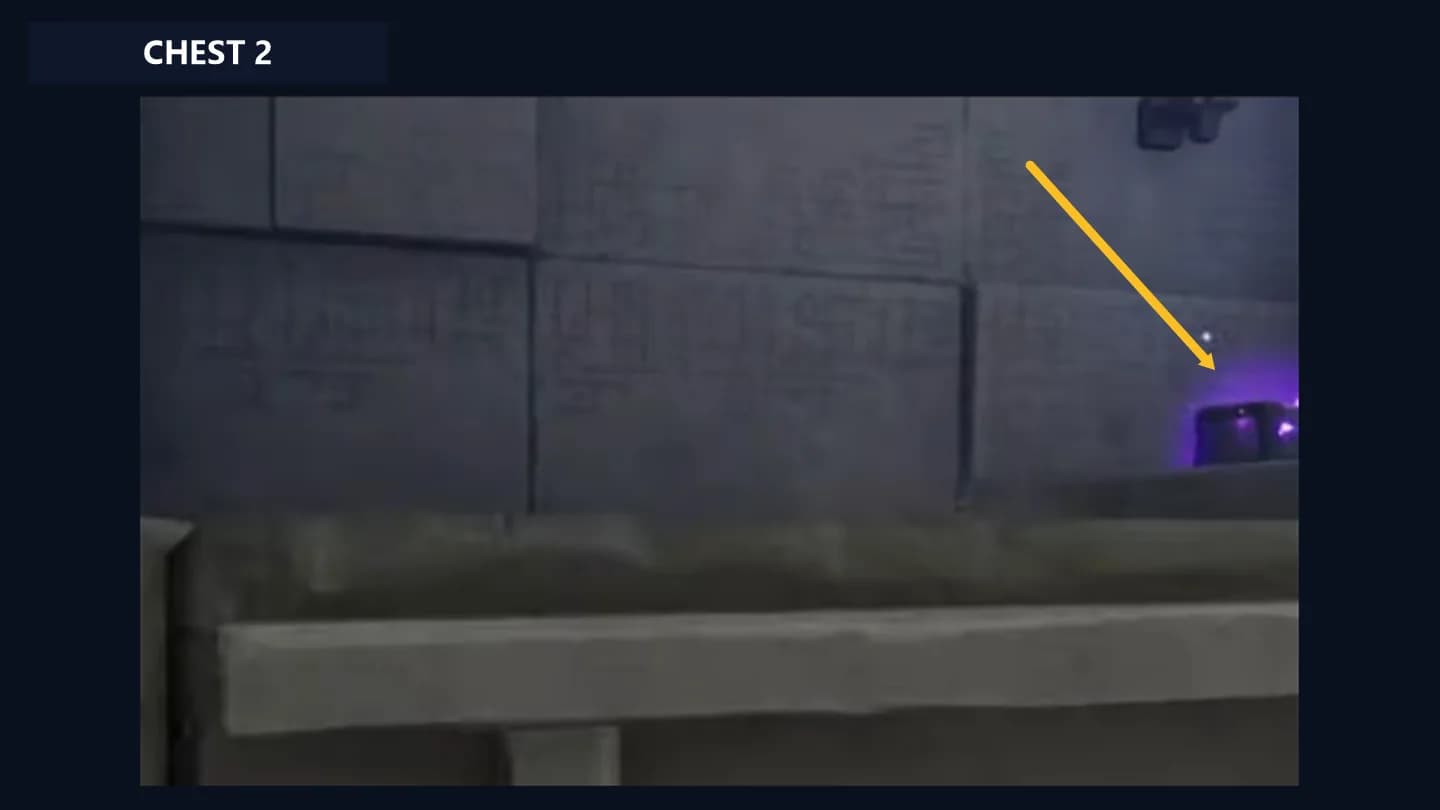
Chest 2
- Landmark
- Far ledge beyond the barred water gate
- Required state
- Whole ice block held on the circular receiver
- Counter
- 2/3
Chest 3
- Landmark
- Raised shelf above the final chamber
- Required state
- Whole ice block held on the chest-side air-ring receiver
- Counter
- 3/3
Melting, refreezing and failed-platform troubleshooting
For the same target-versus-result reading method in other rooms, use the Puzzle Tutorials hub. It distinguishes receivers, temporary objects and visible success signals.
Completion and reward
Frequently asked
Where is Water to Ice?
Water to Ice is a solo Sanctum in Beast Fang Ridge. Its marker sits at 907, 959 on the AniimoVerse atlas. Open the exact Water to Ice atlas pin.
What control generates ice in Water to Ice?
Aim the trial Fenrier at marked water and use the displayed contextual action. One cast labels it Ice while later casts show Weaken; the room tutorial says the action generates ice on water, so follow the current context and treat this environmental interaction as trial-specific.
How many chests are in Water to Ice?
There are three chest slots: one on the raised island after the opening swim, one beyond the receiver-raised barred water gate and one above the final air rings. Reach 3/3 before the Terminus.
What reward does Water to Ice give?
The entrance shows First Clear Reward with a purple item ×1 and EXP 200. First Sanctum clears are a Lumin Amber source, so clear each room once before repeating any of them.