

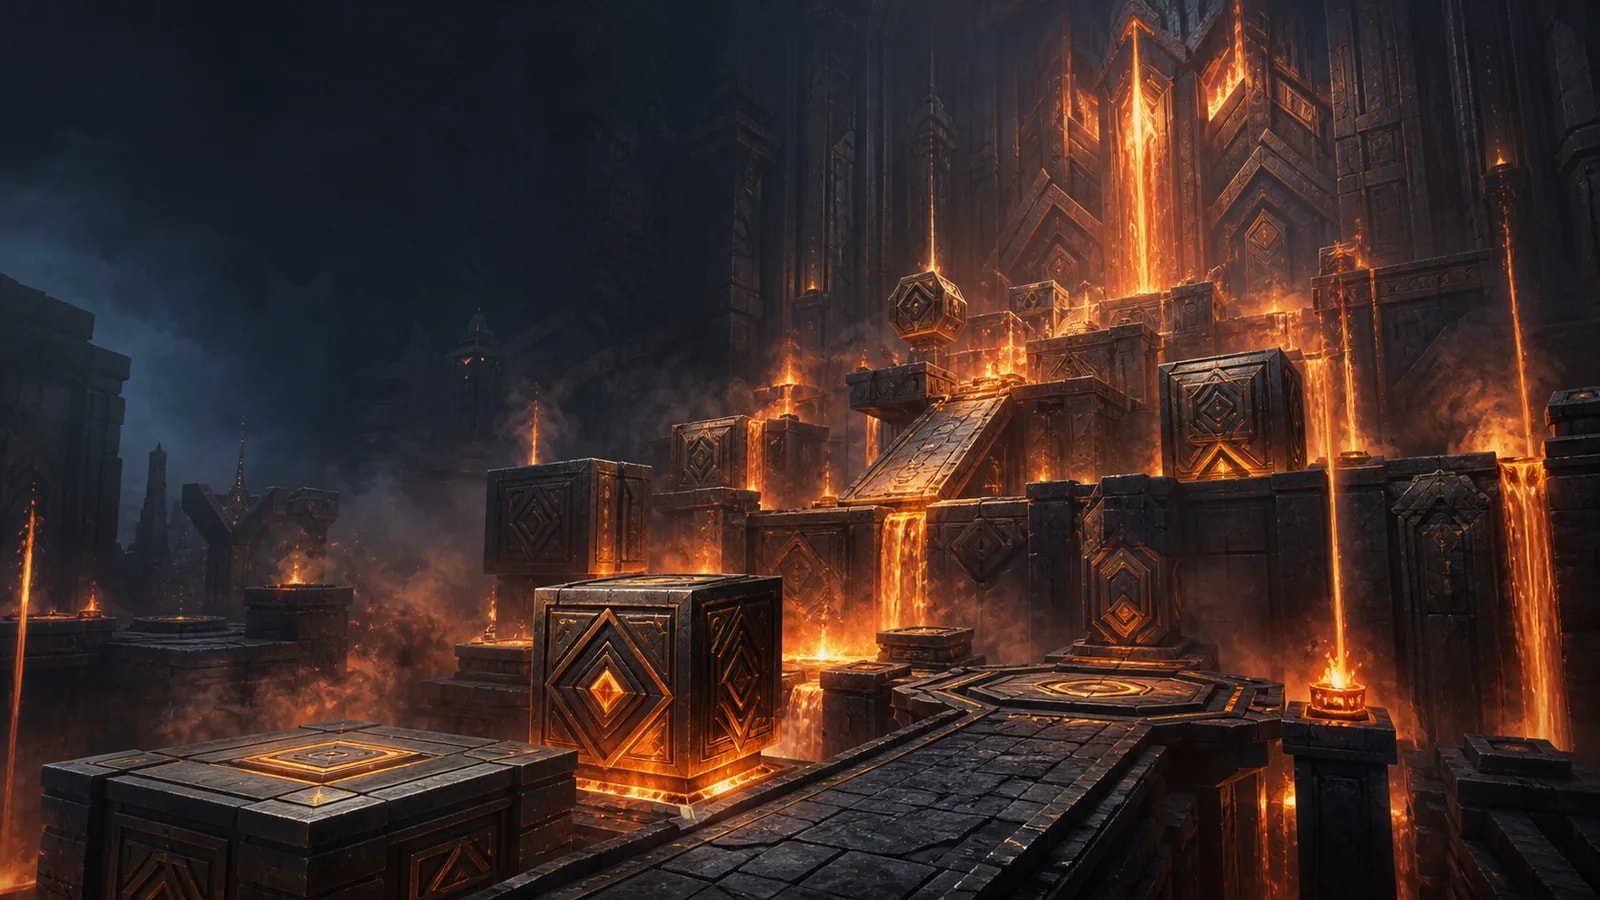

Location and requirements
Open the exact Rising Flames atlas pin in Beast Fang Ridge. The marker sits at 1376, 846 on the AniimoVerse atlas. The entrance takes one player and shows two optional chests.
Beast Fang Ridge
Players
- Value
- 1 · Solo
Optional chests
- Value
- 2
Atlas coordinates
- Value
- 1376, 846
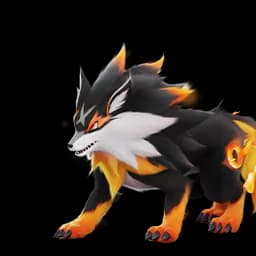
Trial Aniimo
- Value
- Flameruff with an aimed fire-ball action
Checkpoints
- Value
- 7 interior save points
First clear
- Value
- Lumin Amber: Breezy Plains ×1 and 500 EXP
Trial Fire primer
The statue and active HUD show Awaken and Try On without printing a species name, but the trial the room hands you is Flameruff, and this walkthrough calls it that throughout.
Route, step by step
The route runs east almost the full length of the Sanctum, doubles back west, drops south into the dark room and returns west to the Terminus, through eight distinct areas. Fire is the only tool: it burns wooden crates and vines, and a flame or a burning object lights a Fire obelisk. Metal never burns, which is why the blocks you carry survive the jets.
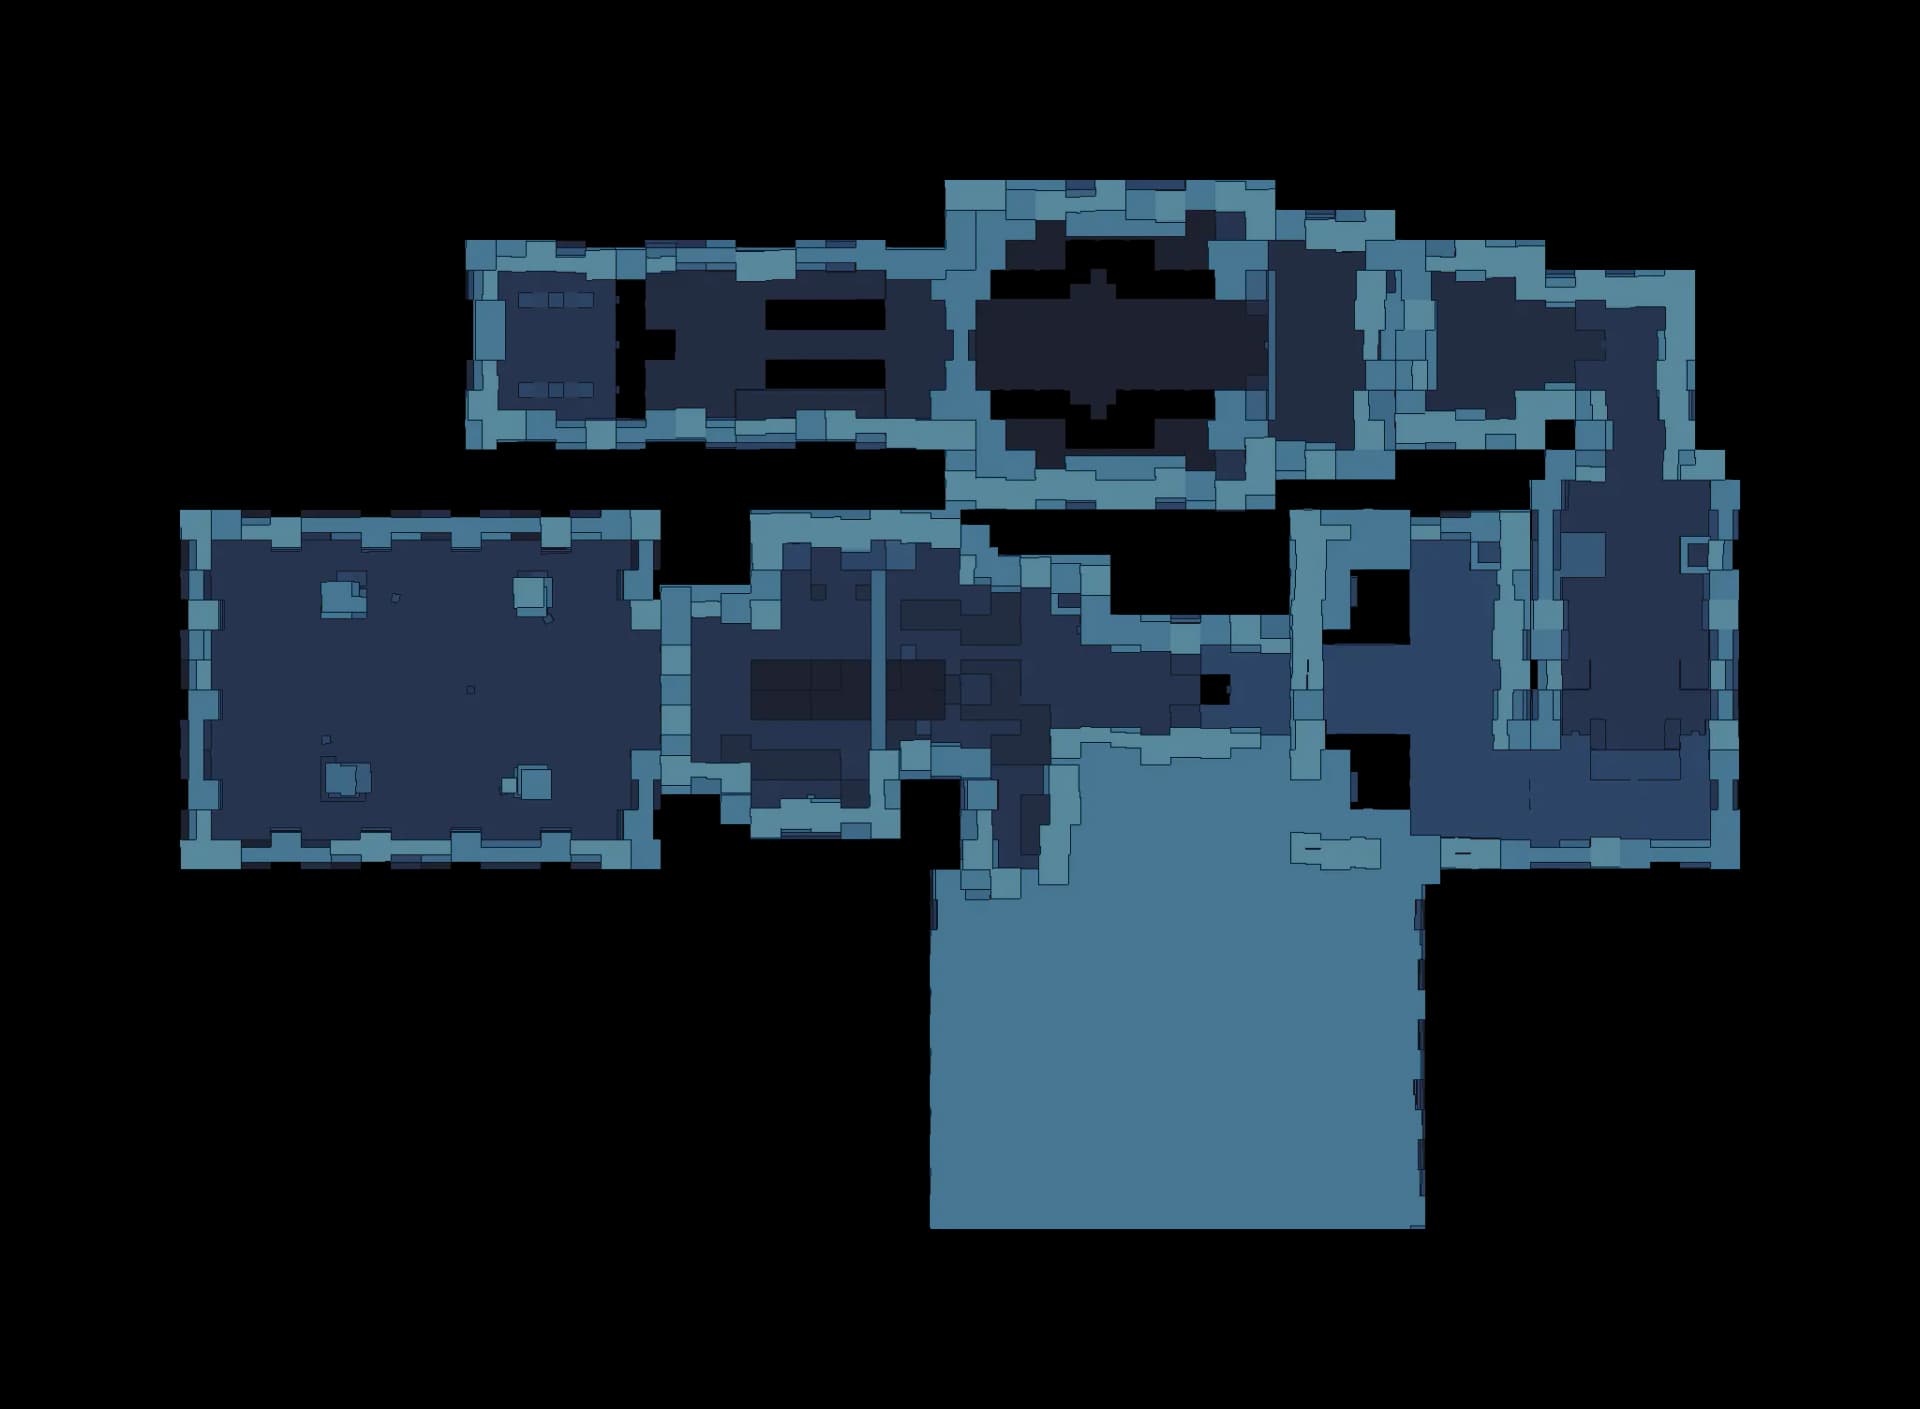 TXCC21ACCCCCCC
- Entrance
- Checkpoint
- Trial statue
- Terminus
- Chest
- Control
- Mechanism
- Element device
- Hazard
- 1Drop onto the entrance padRoom 0
You arrive on the pad at the west end of the entrance corridor, facing east down the whole Sanctum. This is the only respawn point the room starts with, and the Grab prompt appears as soon as you step off it.
- 2Carry the metal block past the opening flame jetsRoom 0
Grab the Ancient Metal Chest on the ledge ahead and bring it east with you. Metal does not burn, so the two wall jets cannot destroy it, but the drop beside the lane is fatal, so move the block and yourself between bursts.
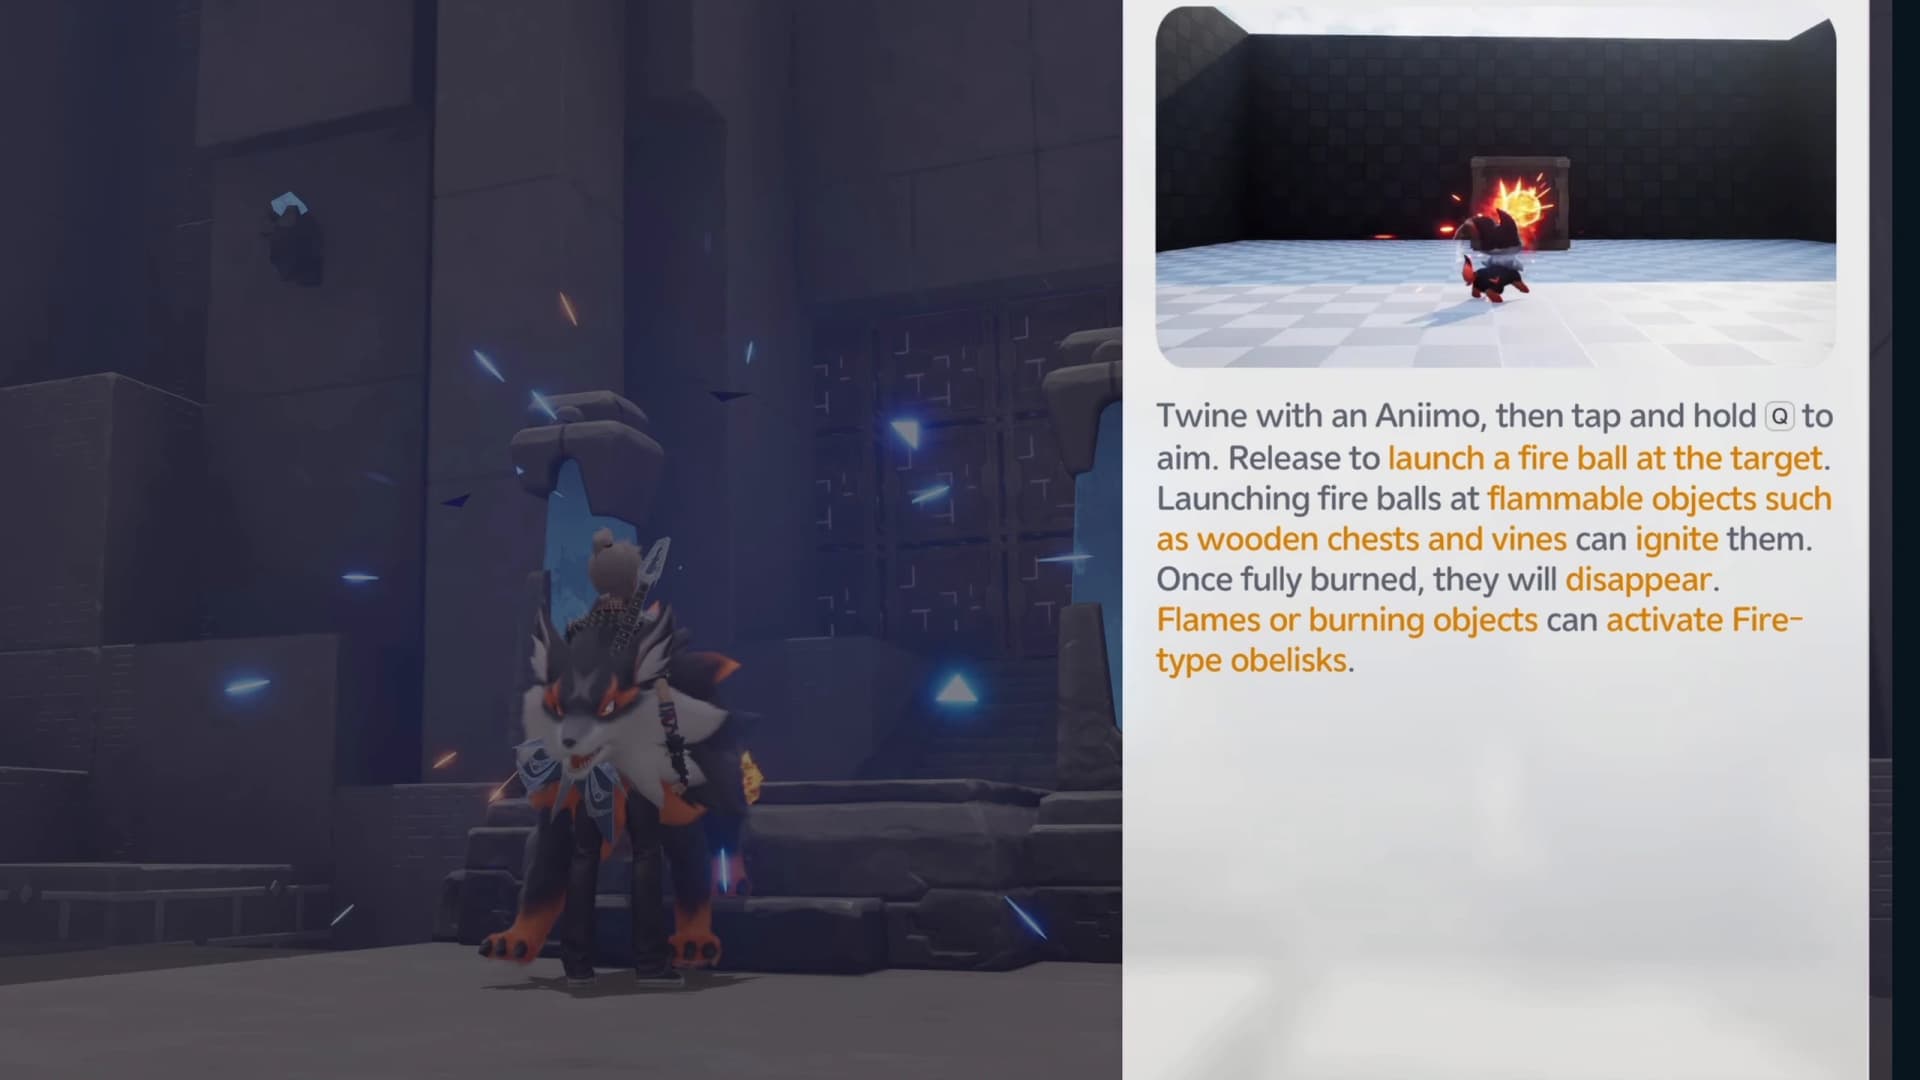
- 3Twine with trial Flameruff at the statueRoom 1
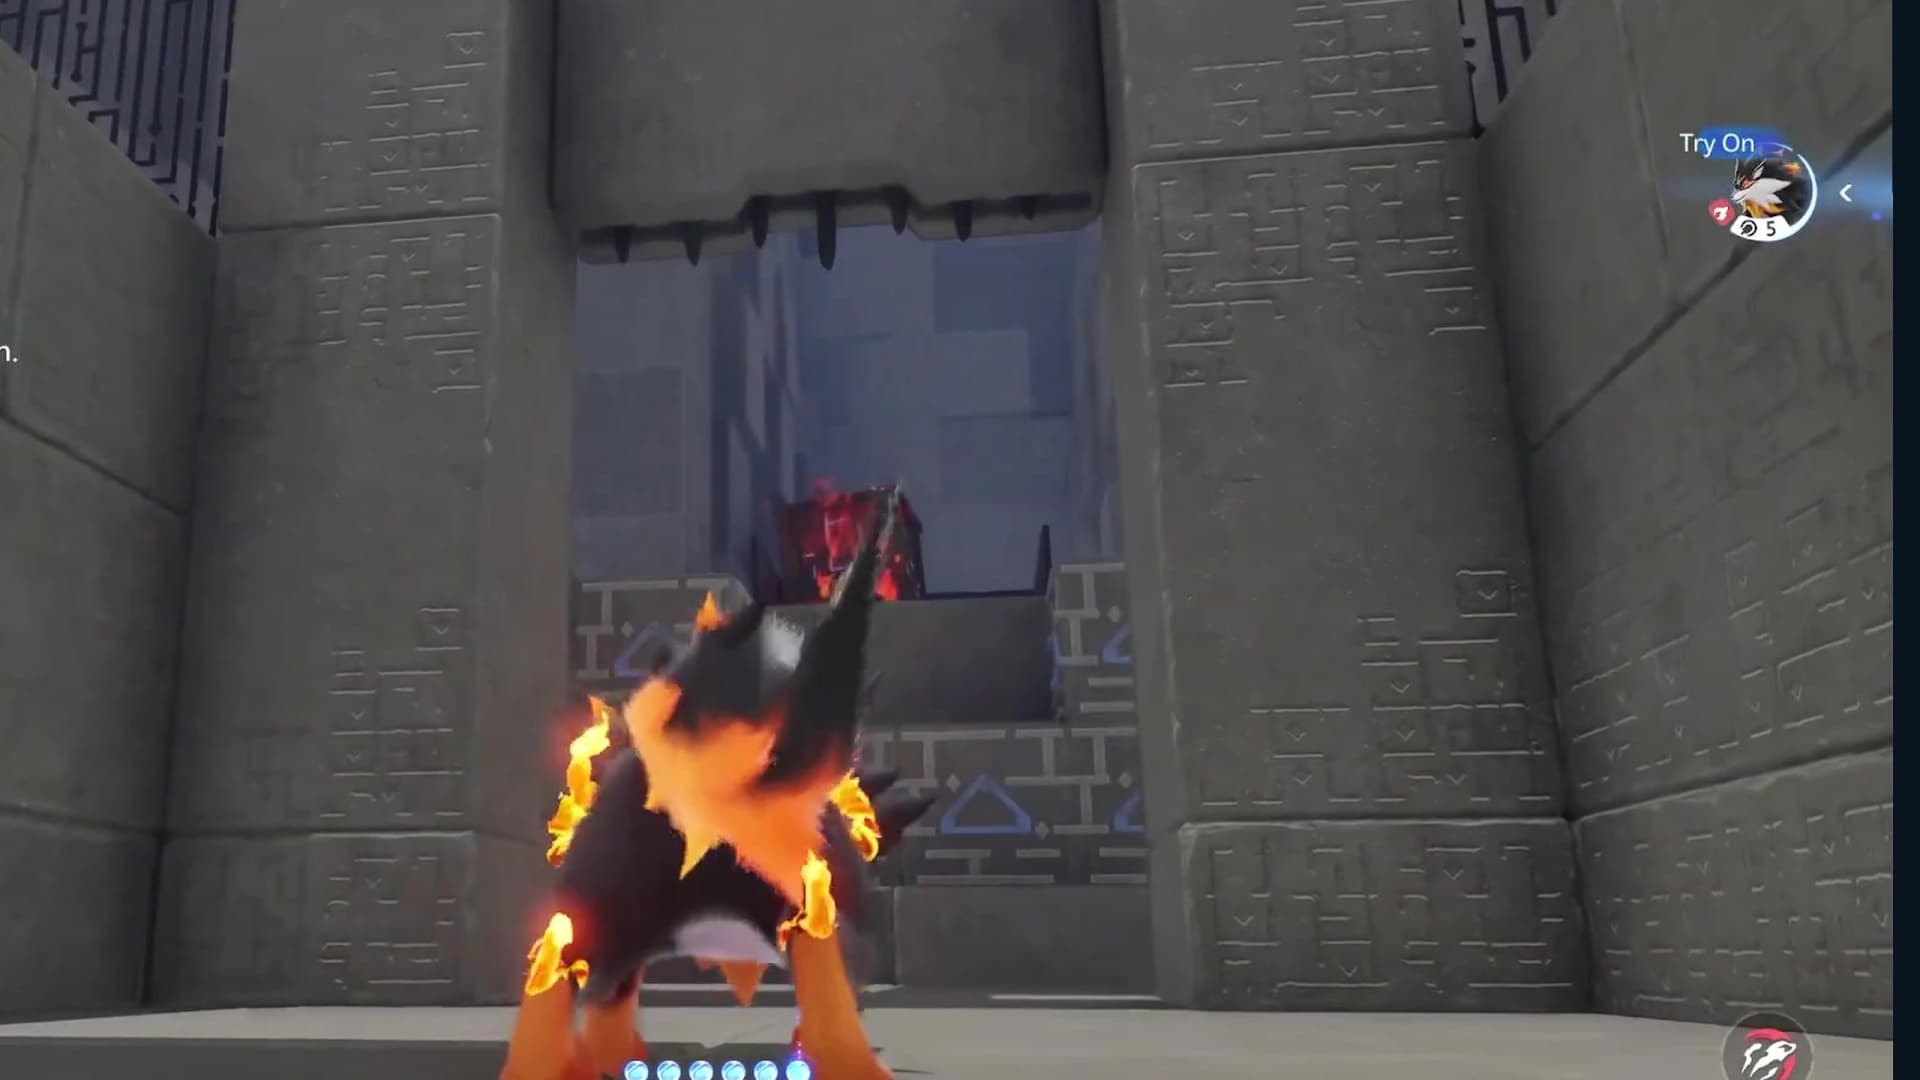
Use the statue on the low landing and choose Try On to take trial Flameruff. The tutorial card that follows is the rule for the whole Sanctum: fire balls ignite wooden crates and vines until they disappear, and flames or burning objects activate Fire obelisks.
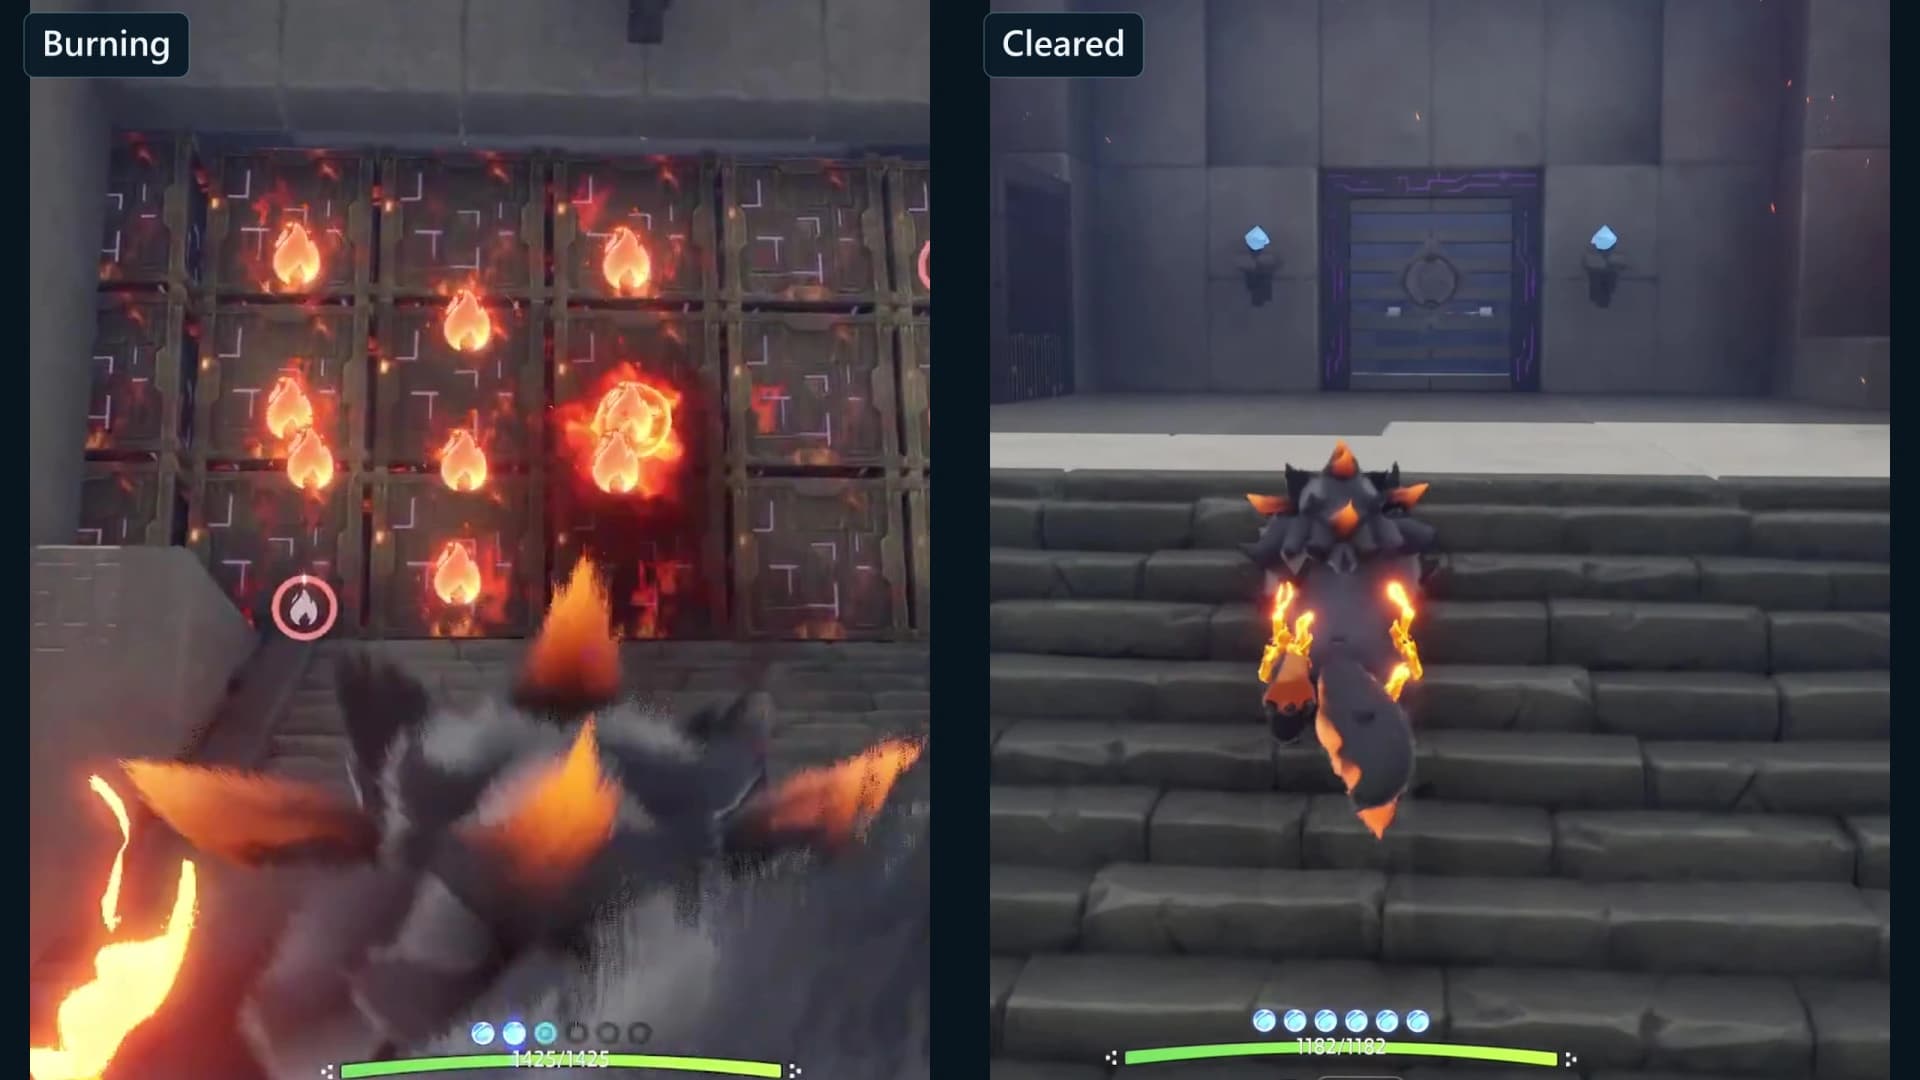
- 4Burn the wooden crate wallRoom 1
A few steps on, the corridor is plugged by a wall of large wooden crates stacked two deep and three high. Burn it through and wait for the last crates to finish disappearing before you walk in, because none of them come back.
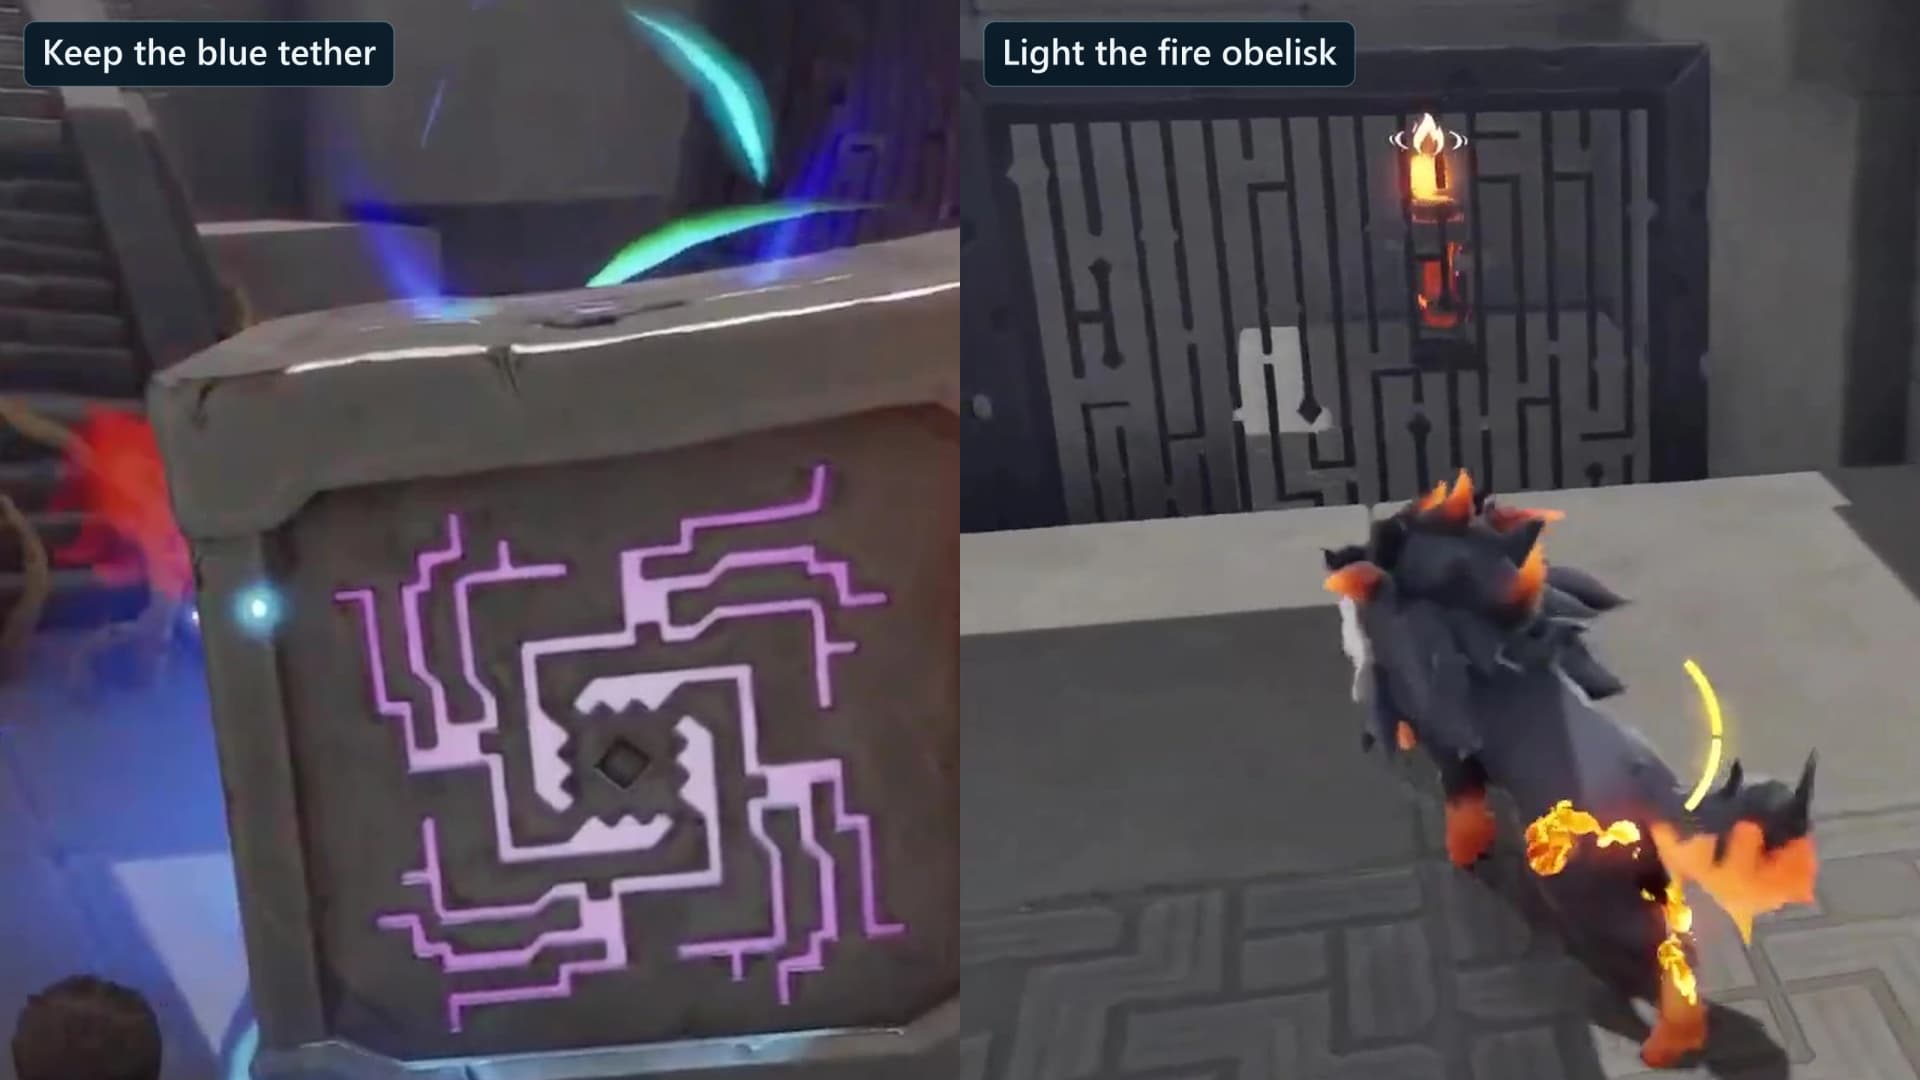
- 5Light the south Fire obeliskRoom 2
Past the wall, two Fire obelisks stand on either side of a temple mechanism door. Put a fire ball straight into the one on your right; a direct hit is enough on this one.
- 6Burn the crate stack over the north obeliskRoom 2
The obelisk on your left is under two stacked wooden crates. Burn the stack and let the flames fall onto the obelisk, which lights it and swings the door open.
- 7Take the first checkpoint in the east corridorRoom 3
Through the door the route bends south into a wide corridor. Stand on the checkpoint pad on your left to light the first checkpoint before you touch anything else in this room.
- 8Drop the crate on the plate to unbar the gateRoom 3
Crossing into the corridor drops a large wooden crate at the far east end. Set it on the pressure plate beside it, which turns the gear over the ancient mechanism gate and raises the bars, opening the alcove with a second metal block inside. Do not burn this crate, because it is the only one the corridor gives you.
- 9Burn the vine screen and cross the chasmRoom 4
The south wall of this wing is closed by a row of six flammable vines with a pair of oversized flame jets and a long drop in front of them. Burn the vines out, then cross with the jets between bursts; falling here puts you back at the checkpoint.
- 10Climb to the high ledge and take the second checkpointRoom 4
Work your way up to the ledge above the south end of the wing, using the crate stack that keeps replacing itself at the corridor's west end if you need a step. Crossing the ledge lights the second checkpoint on the balcony below.
- 11Light both obelisks across the pit and pass the second doorRoom 5
The next hall has a Fire obelisk at each end and an open pit down the middle. Shoot both directly in either order, then go through the door that opens on the west wall and stand on the checkpoint pad just beyond it.
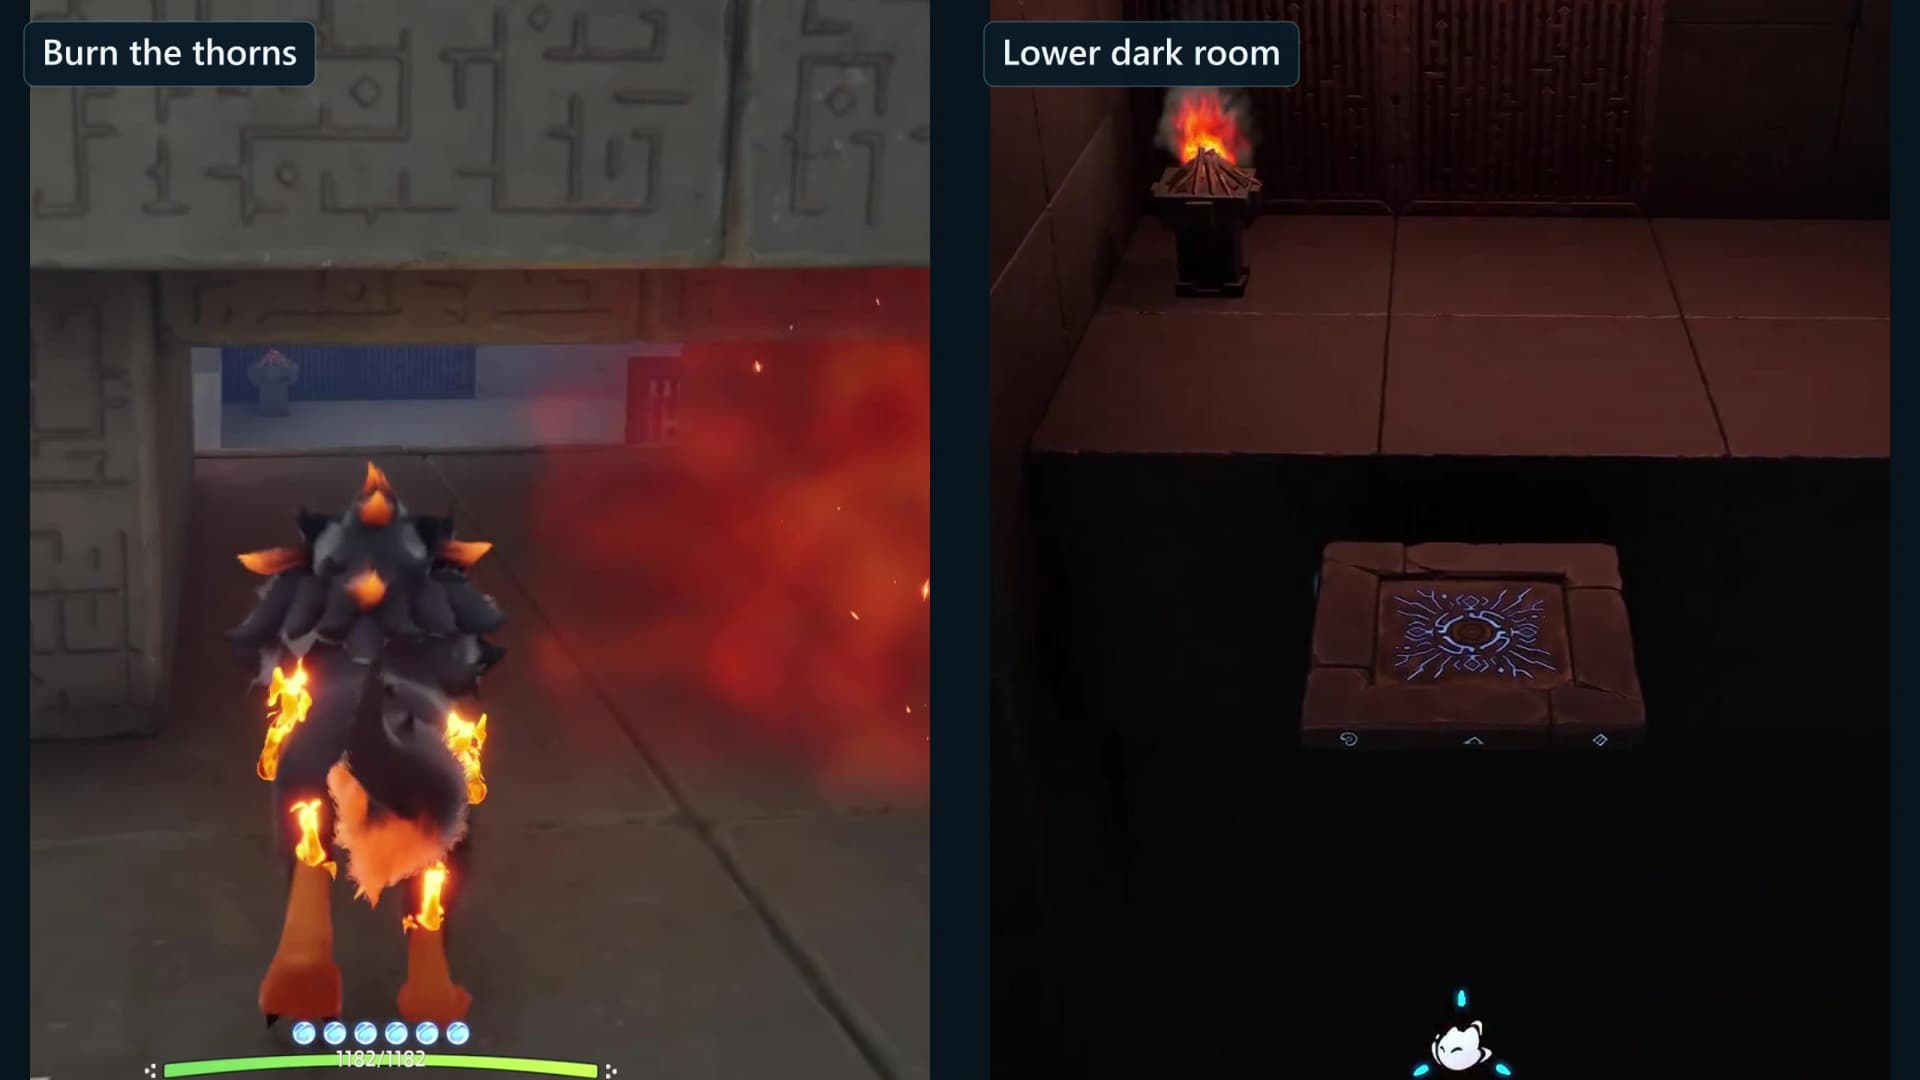
- 12Descend into the dark roomRoom 6
Follow the corridor west and drop south into a lightless chamber. One bonfire is already burning near the entrance, and its torch is the only lit thing in the room; crossing the floor here lights the next checkpoint.
- 13Set the metal block on the receiverRoom 6
Untwine, grab the Ancient Metal Chest beside the entrance and lower it onto the round receiver plate a few steps west. With the plate held down the square glyph platform out over the gap starts its shuttle run.
- 14Ride the platform and light the first bonfireRoom 6
Ride the platform across and Try On Flameruff again. Light the unlit bonfire on the far side; its torch and the area light above it open up the next stretch of floor.
- 15Light the second bonfire and bank the checkpointRoom 6
Follow the lit ground south along the east wall to the second bonfire and burn it. The checkpoint here is worth having, because the drop on your right respawns you back at the platform rather than at a portal.
- 16Light the third bonfire in the middle of the floorRoom 6
Turn west across the open floor and light the third bonfire. Its torch sits higher than the last two, so the light it throws marks the start of the climb out.
- 17Light the fourth bonfire at the south endRoom 6
Carry on to the far south corner, the deepest point of the room, and burn the fourth bonfire. This one lights the ledges you need for the last leg west.
- 18Light the fifth bonfire and take the last dark-room checkpointRoom 6
Climb north-west to the raised shelf and light the fifth and final bonfire. Crossing the shelf lights the checkpoint that sits right beside the chest ahead.
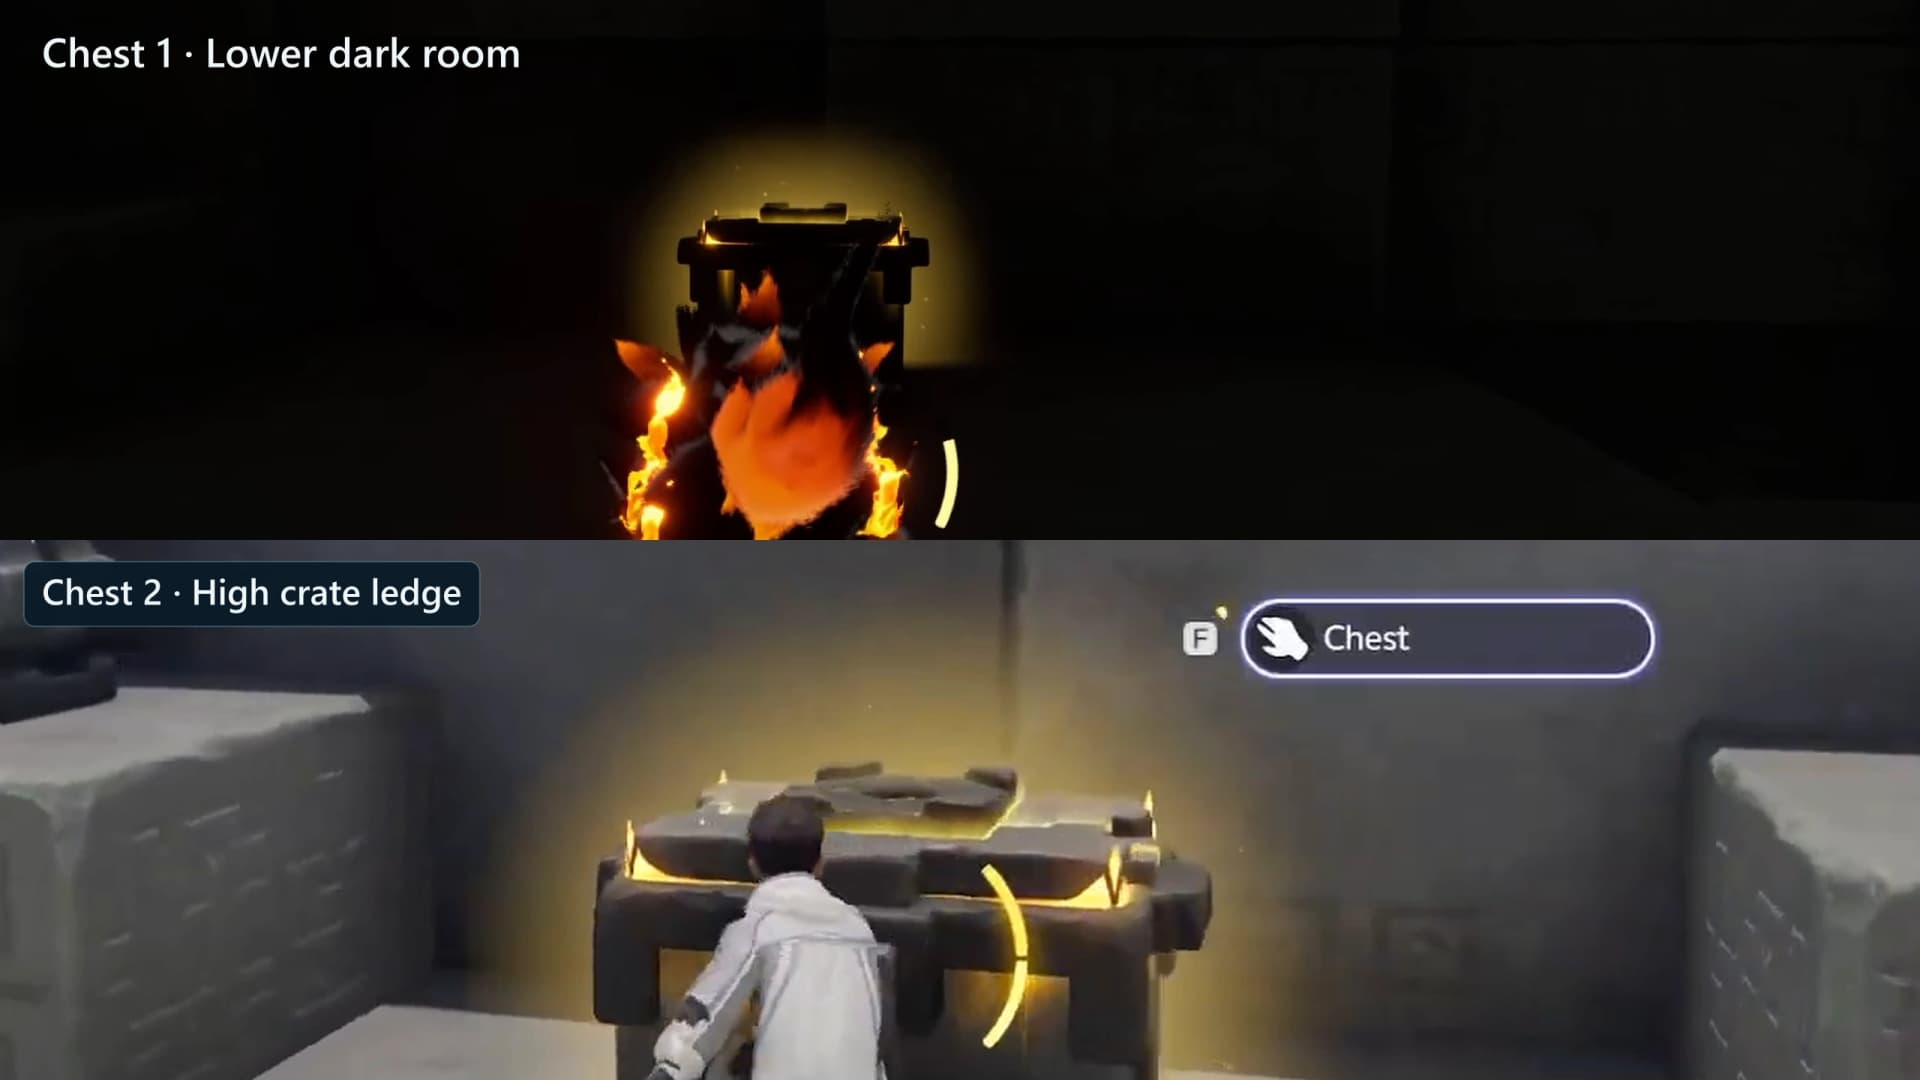
- 19Chest 1: the premium chest on the dark-room shelfOptionalChest 1Room 6
The first optional chest sits on the shelf a few steps west of that last bonfire, in the pool of light it just made. Take it and confirm the counter reads 1/2.
- 20Burn the thorn screen on the way outRoom 6
The way north out of the dark room is barred by three more flammable vines. Burn all three through and take the corridor up toward the sound of water.
- 21Set the crate on the plate to drain the poolRoom 7
A wooden crate drops onto the floor of the flooded hall as you arrive. Carry it west and rest it on the pressure plate at the pool's edge, which drops the water level and unbars the gate that was sitting under it. Keep fire away from this crate; if it does burn, the lever beside its landing spot puts a fresh one back.
- 22Chest 2: cross the pool to the premium chestOptionalChest 2Room 7
Two water jets spray across the crossing from opposite banks. Get past them and take the second optional chest on the north side of the hall, then check that the counter reads 2/2 before you go any further west.
- 23Take the last checkpoint and touch the TerminusRoom 7
Walking out of the hall lights the final checkpoint on the approach. Use Touch on the square Sanctum Terminus at the end of the passage; that restores the Vein and clears the Sanctum.
Checkpoints and hazards
Rising Flames is generous with checkpoints and unforgiving about falls. Seven interior save points light along the route, and four fall volumes sit under it. Each one is lethal, so the flame jets are dangerous less for their damage than for where they stand.
- Checkpoint 1, on the pad just inside the east corridor, before you touch the crate or the plate.
- Checkpoint 2, on the balcony below the high ledge in the east wing, lit by crossing the ledge above it.
- Checkpoint 3, just past the door that the two pit-hall obelisks open.
- Checkpoint 4, on the floor of the dark room as you drop in.
- Checkpoint 5, beside the second bonfire on the east wall of the dark room.
- Checkpoint 6, on the raised shelf by the fifth bonfire, a few steps from the first chest.
- Checkpoint 7, on the approach to the Terminus as you leave the flooded hall.
- Four lethal drops: the lane beside the opening jets, the chasm in front of the vine screen, the open pit between the two obelisks and the gap the dark-room platform shuttles across. Nothing here is on a clock, so wait out a jet burst rather than rushing a crossing.
The opening flame jets and the metal block
Two wall nozzles fire horizontal jets across the entrance lane; the flames pulse in place rather than sweeping sideways. The Ancient Metal Chest on the ledge is the object you take east, and because metal does not burn the jets cannot destroy it. What can kill you is the drop beside the lane, so carry the block between bursts and keep both of you on solid floor while a row is live.
The trial statue and the crate wall
The statue on the low landing hands over trial Flameruff. A few steps on, the corridor is plugged by a wall of large wooden crates stacked two deep and three high. Burn it through and wait for the last crates to finish disappearing before walking in; none of them come back, and there is no second jet lane on the far side of the wall.
The four Fire obelisks
Rising Flames has four Fire obelisks in two pairs, and each pair straddles one temple mechanism door. The first pair sits either side of the door past the crate wall: the south one takes a direct fire ball, and the north one stands under two stacked wooden crates, so you burn the stack and let the burning crates light the obelisk beneath. The second pair is the hall with the open pit down the middle, one obelisk at each end, both lit directly in either order.
The dark room: receiver, platform and five bonfires
The dark room is lightless apart from one bonfire burning by the entrance. Untwine, grab the Ancient Metal Chest beside it and lower it onto the round receiver plate a few steps west: with the plate held down, the square glyph platform out over the gap starts its shuttle run. The block is not consumed, and the room puts a fresh one back a second after one is destroyed.
Ride the platform across and light the four unlit bonfires in turn, east wall, middle floor, south corner, then the raised north-west shelf. Each one lights the ground for the next leg, and the fifth sits a few steps from the first chest. The vine screen on the way out is burned last, not on the way in.
Both optional chests
Both chests are premium. The first sits on the raised shelf at the far west end of the dark room, in the light the fifth bonfire makes; the second is across the pool in the flooded hall, past the two water jets, once the crate on the pressure plate has dropped the water level and unbarred the gate under it.
| Chest | Tier | Contents |
|---|---|---|
| Chest 1 | Premium | Glimmer x20, Credits x20000, Sparkling Crystal x15, one Epic held item |
| Chest 2 | Premium | Glimmer x20, Credits x20000, Sparkling Crystal x15, one Epic held item |
| First clear | Reward | Lumin Amber: Breezy Plains, EXP x500 |
Every held item: Spirited Feather, Fission Needles, Echoing Grimoire, Ferocious Fang, Miraculous Fleece, Lightning Needle, Gargantuan Horn, Marching Flask, Capacitous Battery, Heartseeker Pendant, Avenging Gear, Heritage Amulet, Explosive Gloves, Giant Tortoise Shell, Auspicious Bell.
Cube and tether reset troubleshooting
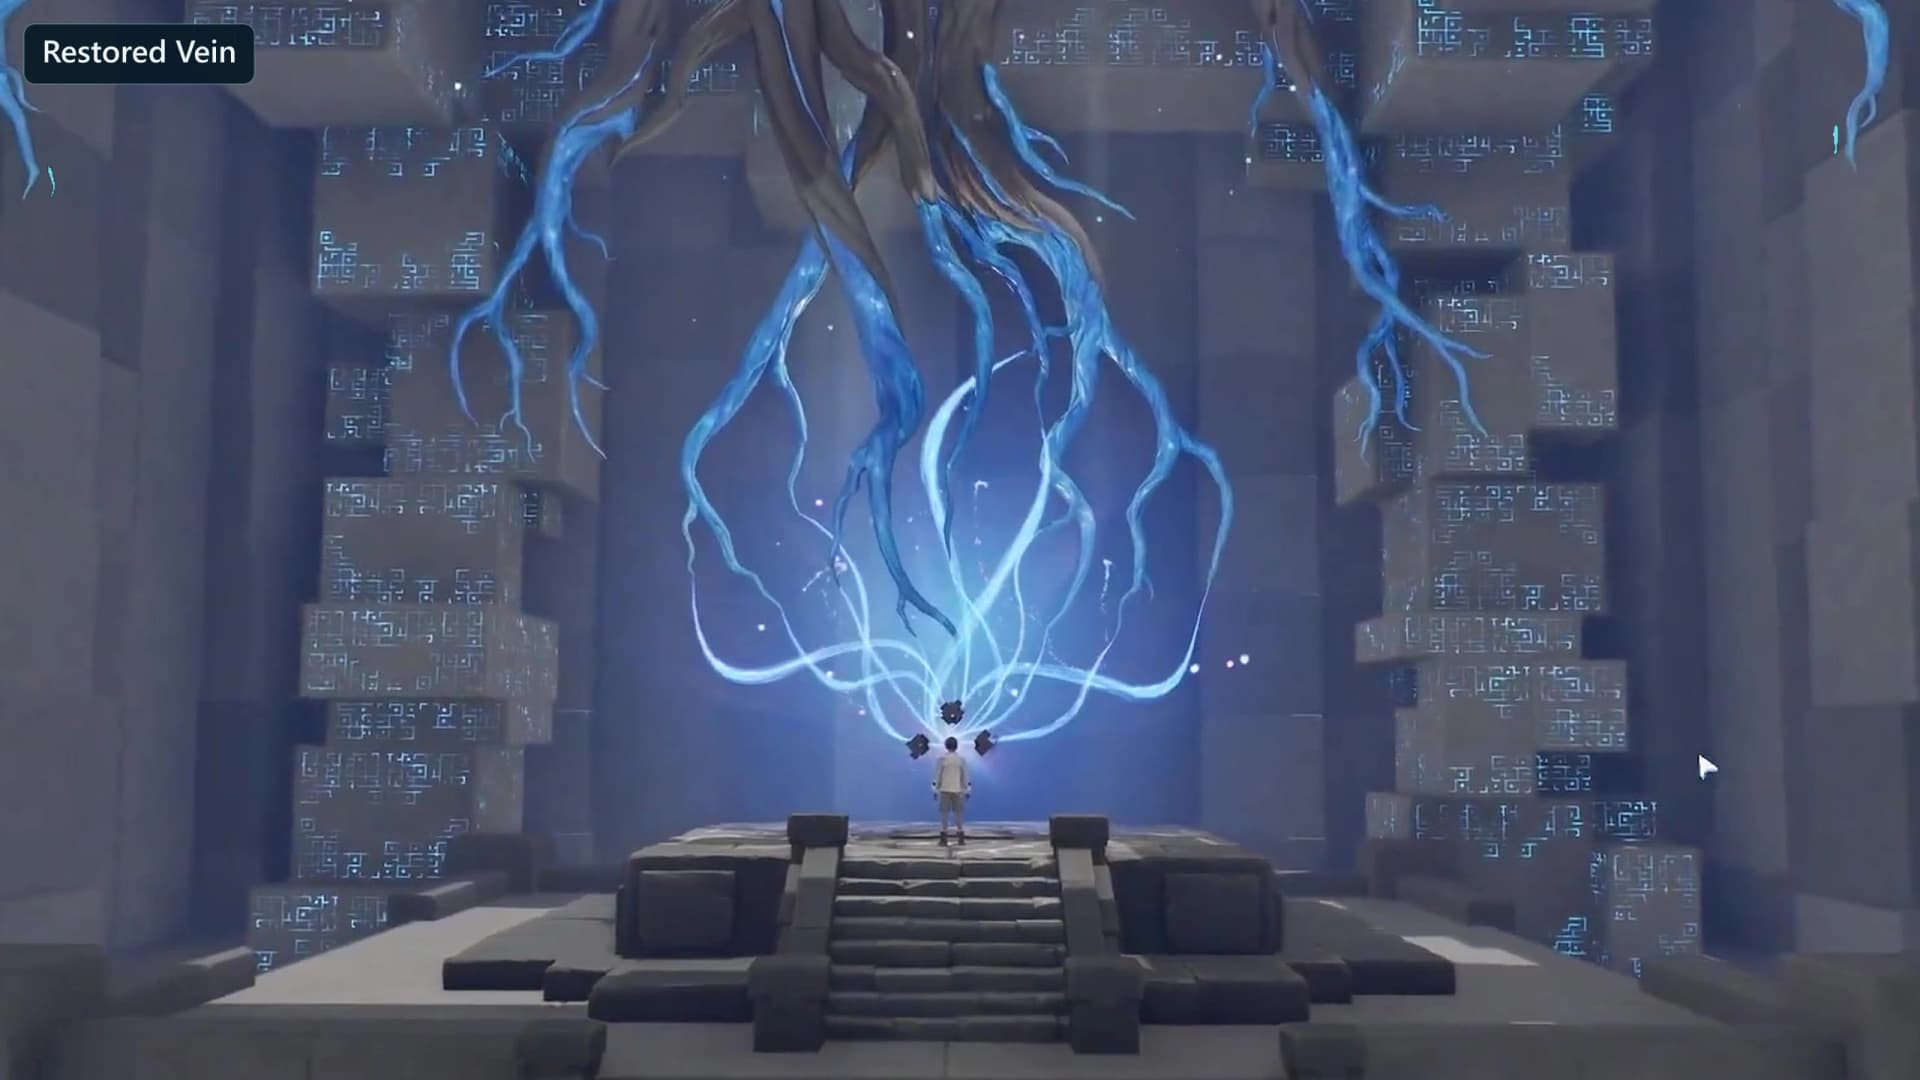
Touch the Terminus, restore the Vein and choose the next guide
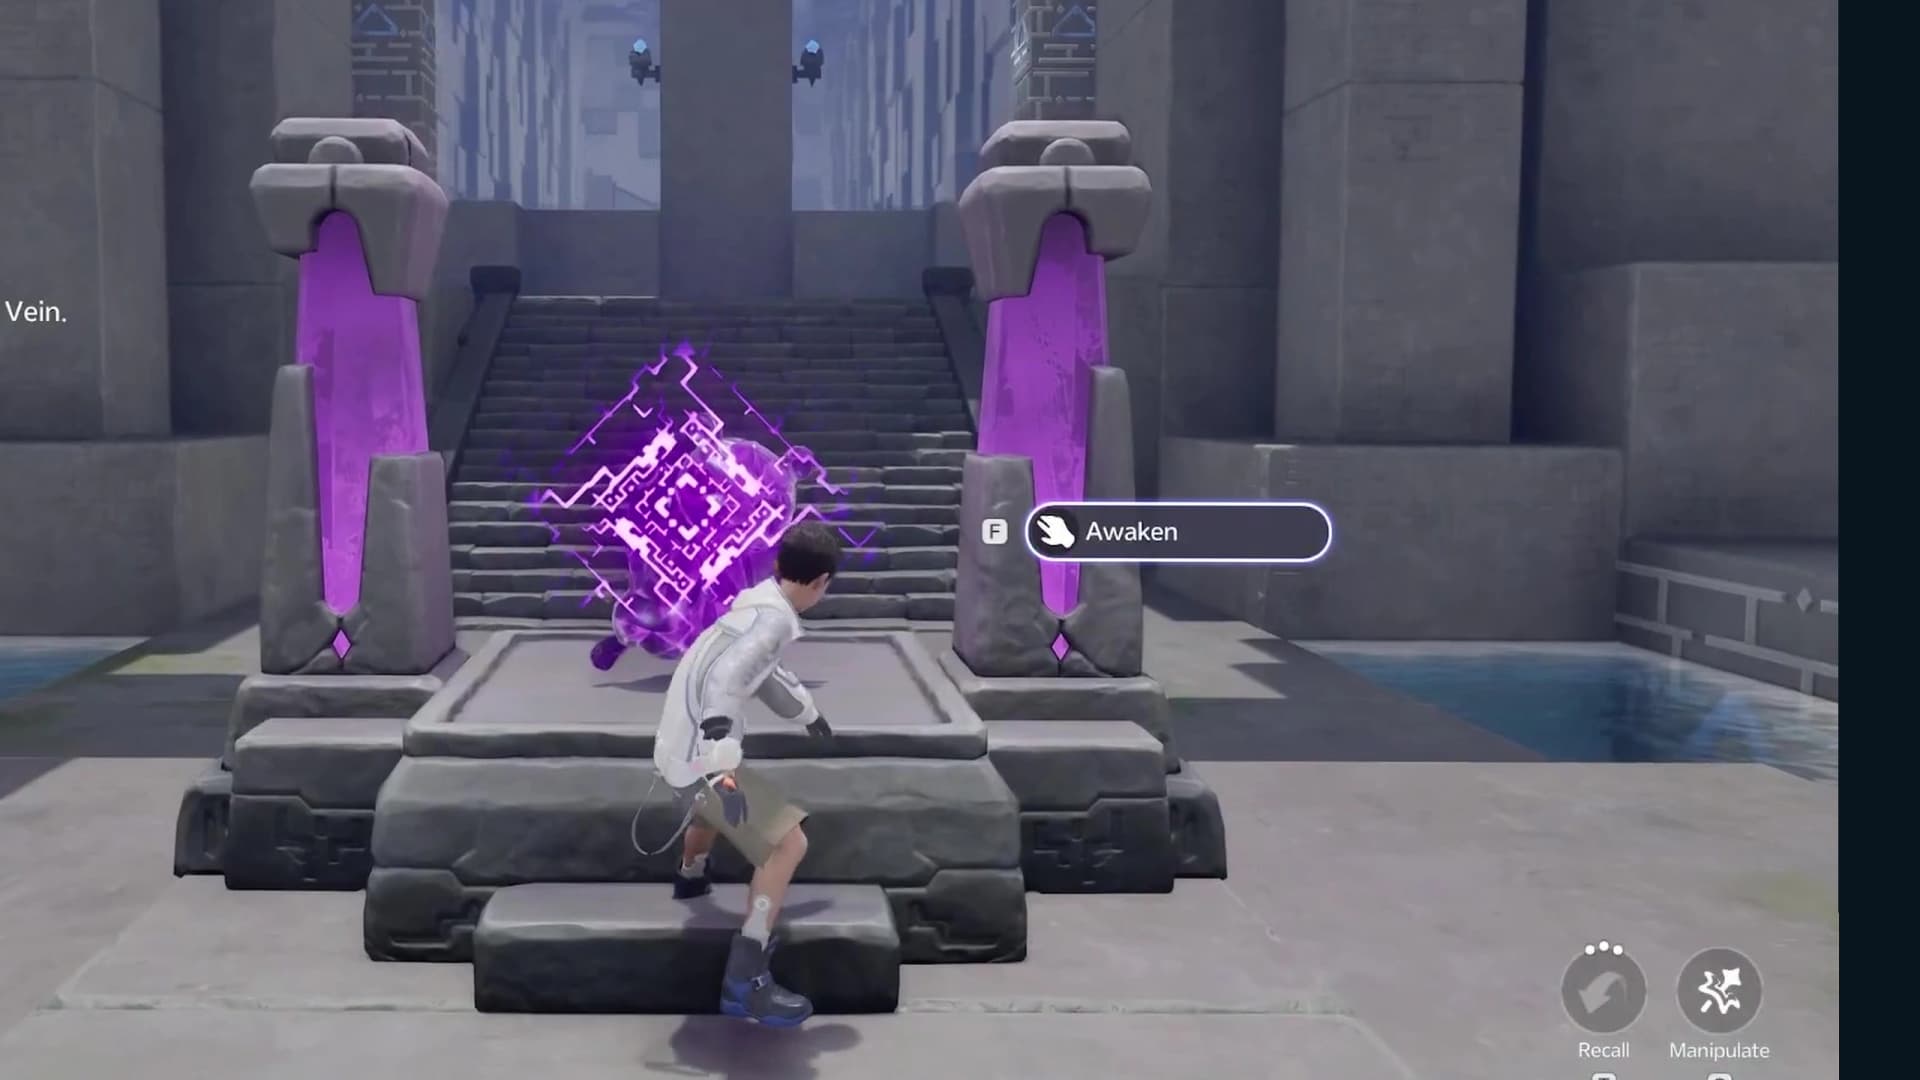
Return to the final platform only after the counter reads 2/2. Use Touch on the separate square purple Sanctum Terminus/Tesseract; that core restores the Vein. The first clear pays Lumin Amber: Breezy Plains ×1 and 500 EXP, lights this room’s Vein node and counts toward the Sanctum Delver badges at 3, 5, 10 and 15 clears. Later clears pay nothing beyond the optional chests.
Frequently asked
Where is Rising Flames?
Rising Flames is a solo Sanctum in Beast Fang Ridge. Its marker sits at 1376, 846 on the AniimoVerse atlas. Open the exact Rising Flames atlas pin.
Which trial Aniimo does Rising Flames use?
Flameruff. The statue shows Awaken and Try On without printing the species name, but the trial the room supplies is Flameruff, and its aimed fire ball is the only tool the Sanctum needs.
How many optional chests are in Rising Flames?
There are two, both premium. Chest 1 is on the dark room’s west shelf, at the end of the five-bonfire circuit. Chest 2 is across the pool in the flooded hall, once the crate on the pressure plate has dropped the water level.
What reward does Rising Flames give?
The first clear pays one Lumin Amber: Breezy Plains and 500 EXP, lights the room’s Vein node and counts toward the Sanctum Delver badges. Later clears pay nothing beyond the two optional chests.