


Location and requirements
Open the Frigid Waters atlas pin in Beast Fang Ridge. The marker sits at 907, 959 on the AniimoVerse atlas. The entrance is a one-player challenge with three chest slots, and the required trial Aniimo waits inside.
Beast Fang Ridge
Players
- Value
- 1 · Solo
Chest slots
- Value
- 3
Trial Aniimo
- Value
- Fenrier
PC actions
- Value
- Fenrier Q on marked water · Pathfinder Q Manipulate · C switches forms

Water vs Ice state legend
| State | Visible cue | What it permits | Next action |
|---|---|---|---|
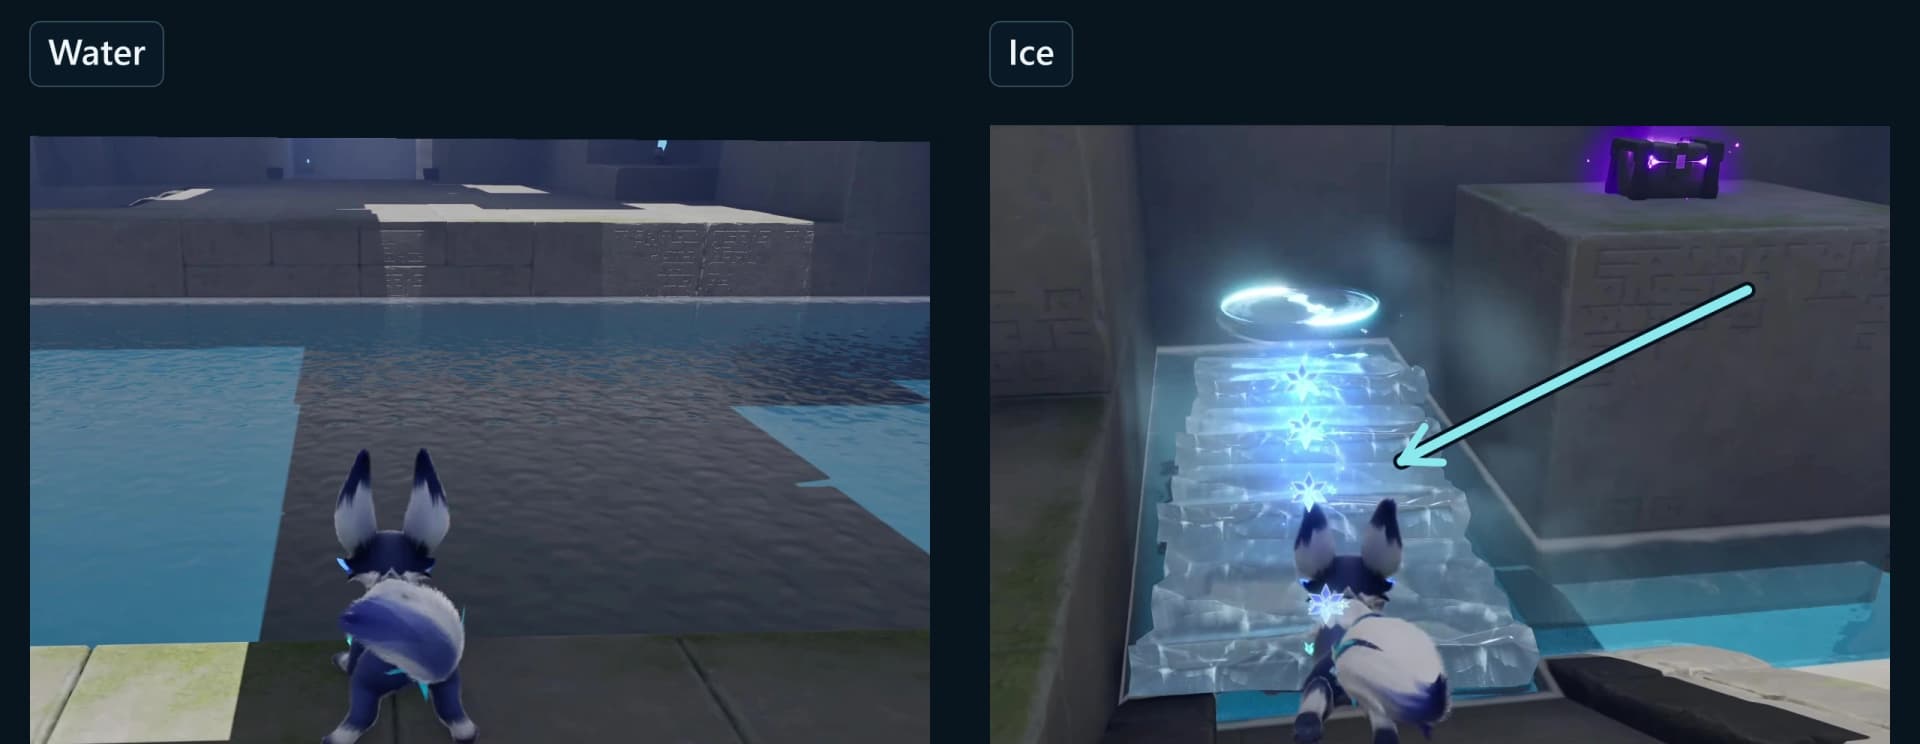
| Water | Open blue pool with pale route tiles | Swimming where the room geometry is open | Twine with trial Fenrier, aim at the marked water and press Q |
| Generated ice | Snowflake-marked steps or a complete floating block | Climbing, crossing, or moving one whole block onto a receiver | Cross promptly; Untwine before using Pathfinder Q Manipulate |
Quick solution
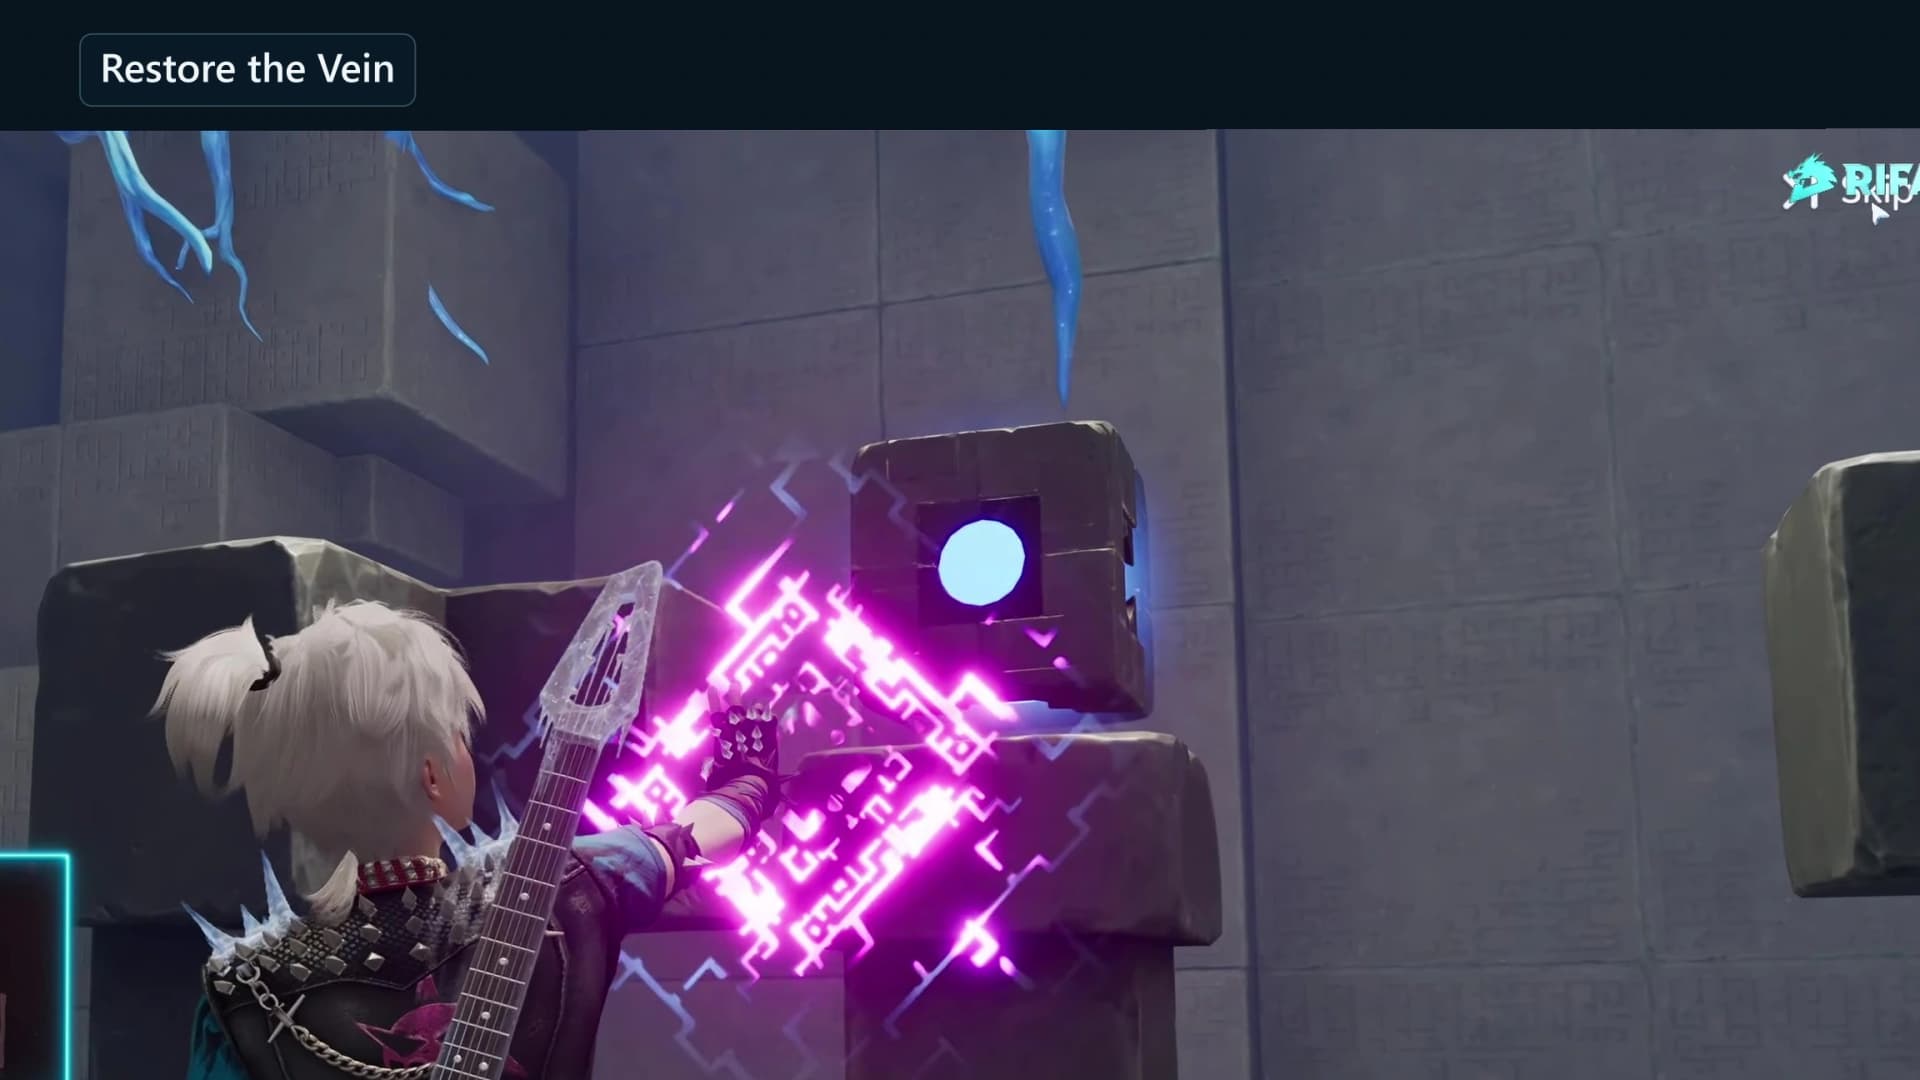
- Use Pathfinder Q Manipulate on the floating ice block in the north alcove and set the whole block on the free pedal receiver; a large ancient metal chest already weighs down the other one. Pass the mechanism door and claim trial Fenrier at the statue.
- Untwine and swim across the open channel. At the far landing, Twine with Fenrier, press Q on the marked water, climb the generated steps and open chest 1 for 1/3.
- Take the east lip down into the flooded basin. Generate a whole block, Untwine and Manipulate it onto the circular receiver on the east bank; both ancient mechanism gates rise while the block holds it down.
- Swim the opened lane, round the central pillar and climb out on the south ledge for chest 2 and 2/3.
- Follow the lower corridor west to the shut mechanism door, drop into the hollow beneath it, slip past the two flame jets and step on the single-use plate. The door stays open for good.
- In the balance chamber, put one whole block on the chest-side pan and ride the pan that rises to the shelf for chest 3 and 3/3. Load the other pan to raise the return, then follow the stone ledges up and Touch the square Sanctum Terminus.
Route, step by step
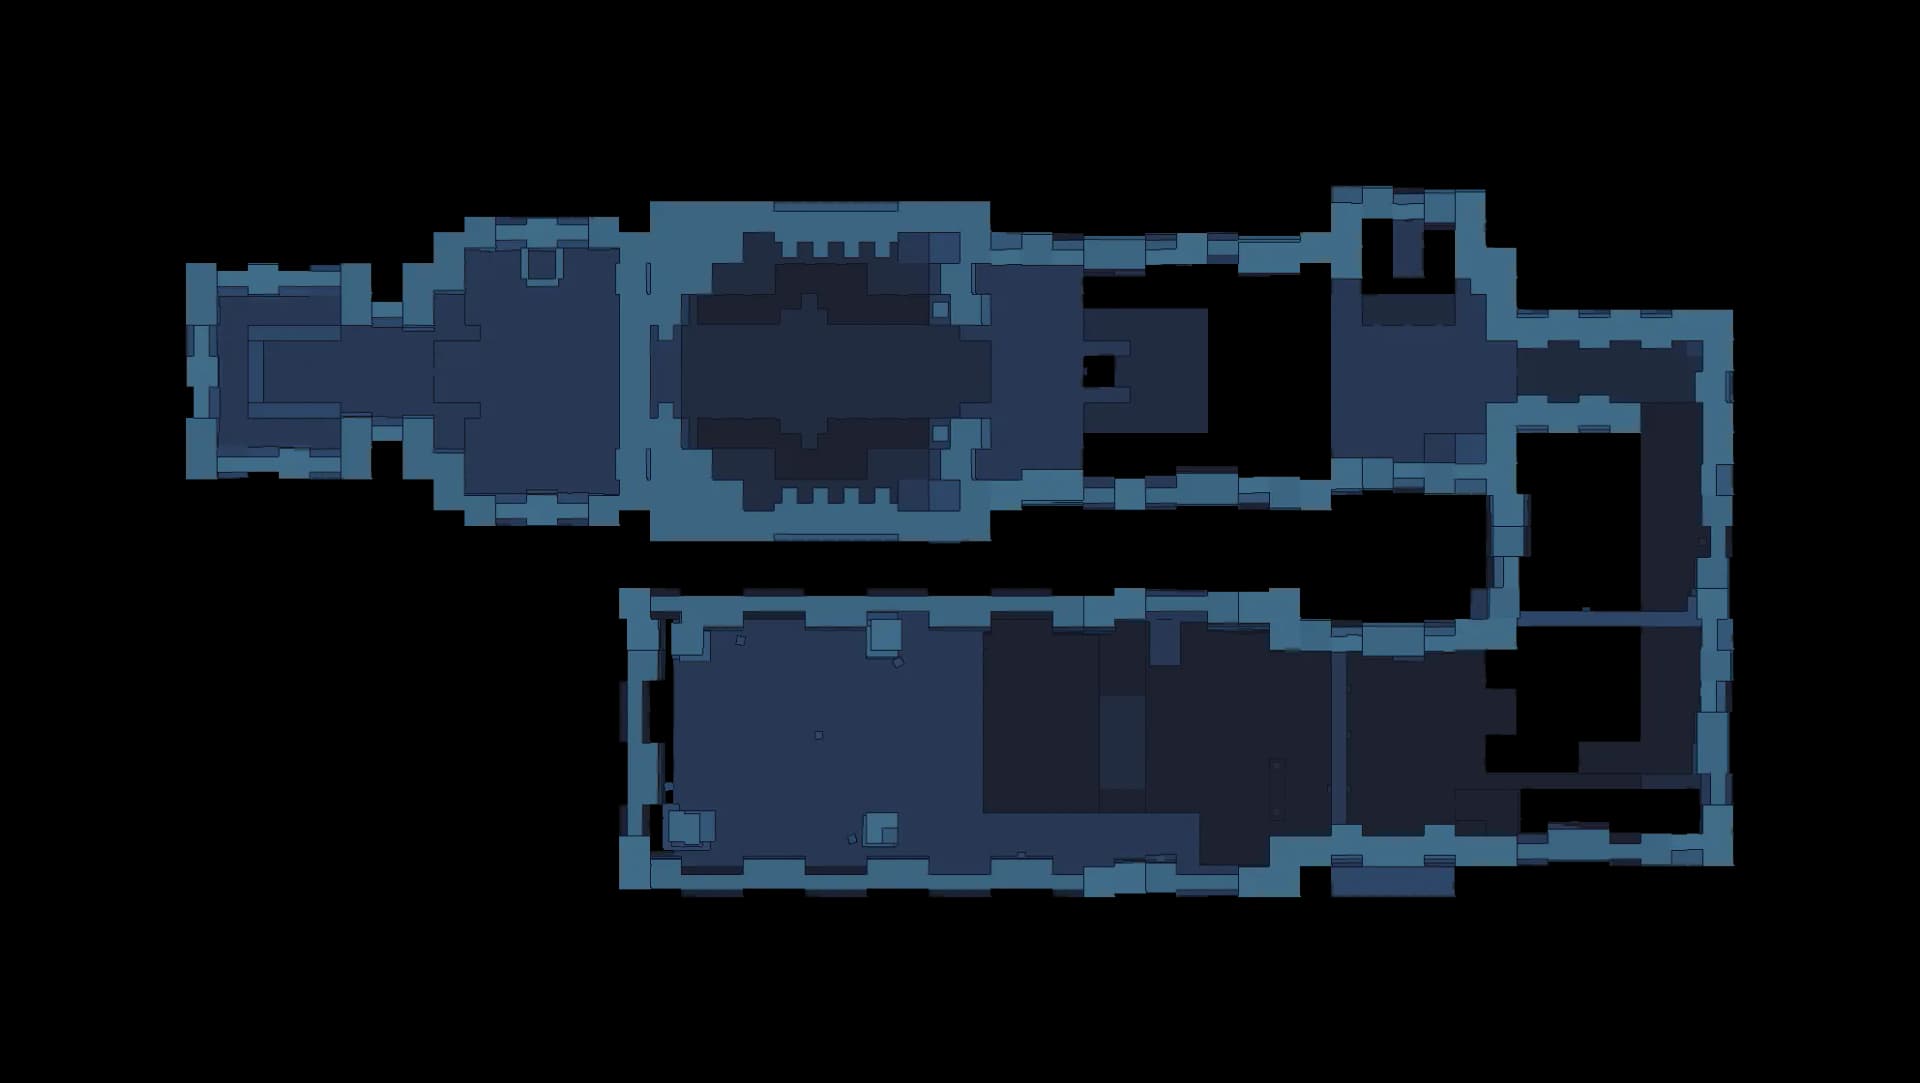
The room runs east from a flooded entrance hall, across an open channel, down into the eastern basin, back west along a lower corridor and up through the balance chamber to the Terminus. Follow the plan in order and let the receivers, the gates and the chest counter confirm each step rather than counting presses.
 TXC123ACCC
- Entrance
- Checkpoint
- Trial statue
- Terminus
- Chest
- Control
- Mechanism
- Element device
- 1Drop into the Frigid Waters entranceRoom 1
You arrive on the entrance pad at the west end of the long flooded hall. This is the only respawn point the room starts with, so read the entrance panel and then head east.
- 2Walk east until the floating ice appearsRoom 1
Head east down the hall. Crossing into the hall makes a floating ice block form on the water in the north alcove, and a few steps further on the Grab prompt for Pathfinder Manipulate comes up. If the block melts before you reach it, a fresh one forms on the same water a couple of seconds later.
- 3Set the ice block on the free receiverRoom 1
Two pedal receivers sit at the east end of the hall. A large ancient metal chest already weighs down the near one, so use Pathfinder Manipulate to lift the whole floating ice block and put it down on the empty receiver.
- 4Pass the temple mechanism doorRoom 1
With the receiver held down, the mechanism door on the hall axis opens. Walk east through it and keep following the corridor.
- 5Twine with trial Fenrier at the statueRoom 1
Interact with the stone statue base to take trial Fenrier. A second later the room tutorial appears: use the Aniimo skill on water to generate ice. That contextual action is what the rest of the route runs on.
- 6Light the first checkpointRoom 2
Carry on east past the statue to the save point on the north bank. Stepping into it lights the first checkpoint portal, so a fall from here on costs you nothing.
- 7Swim the open channelRoom 2
Untwine and swim east across the open channel as the Pathfinder. Save the ice cast for the far landing rather than spending it partway across.
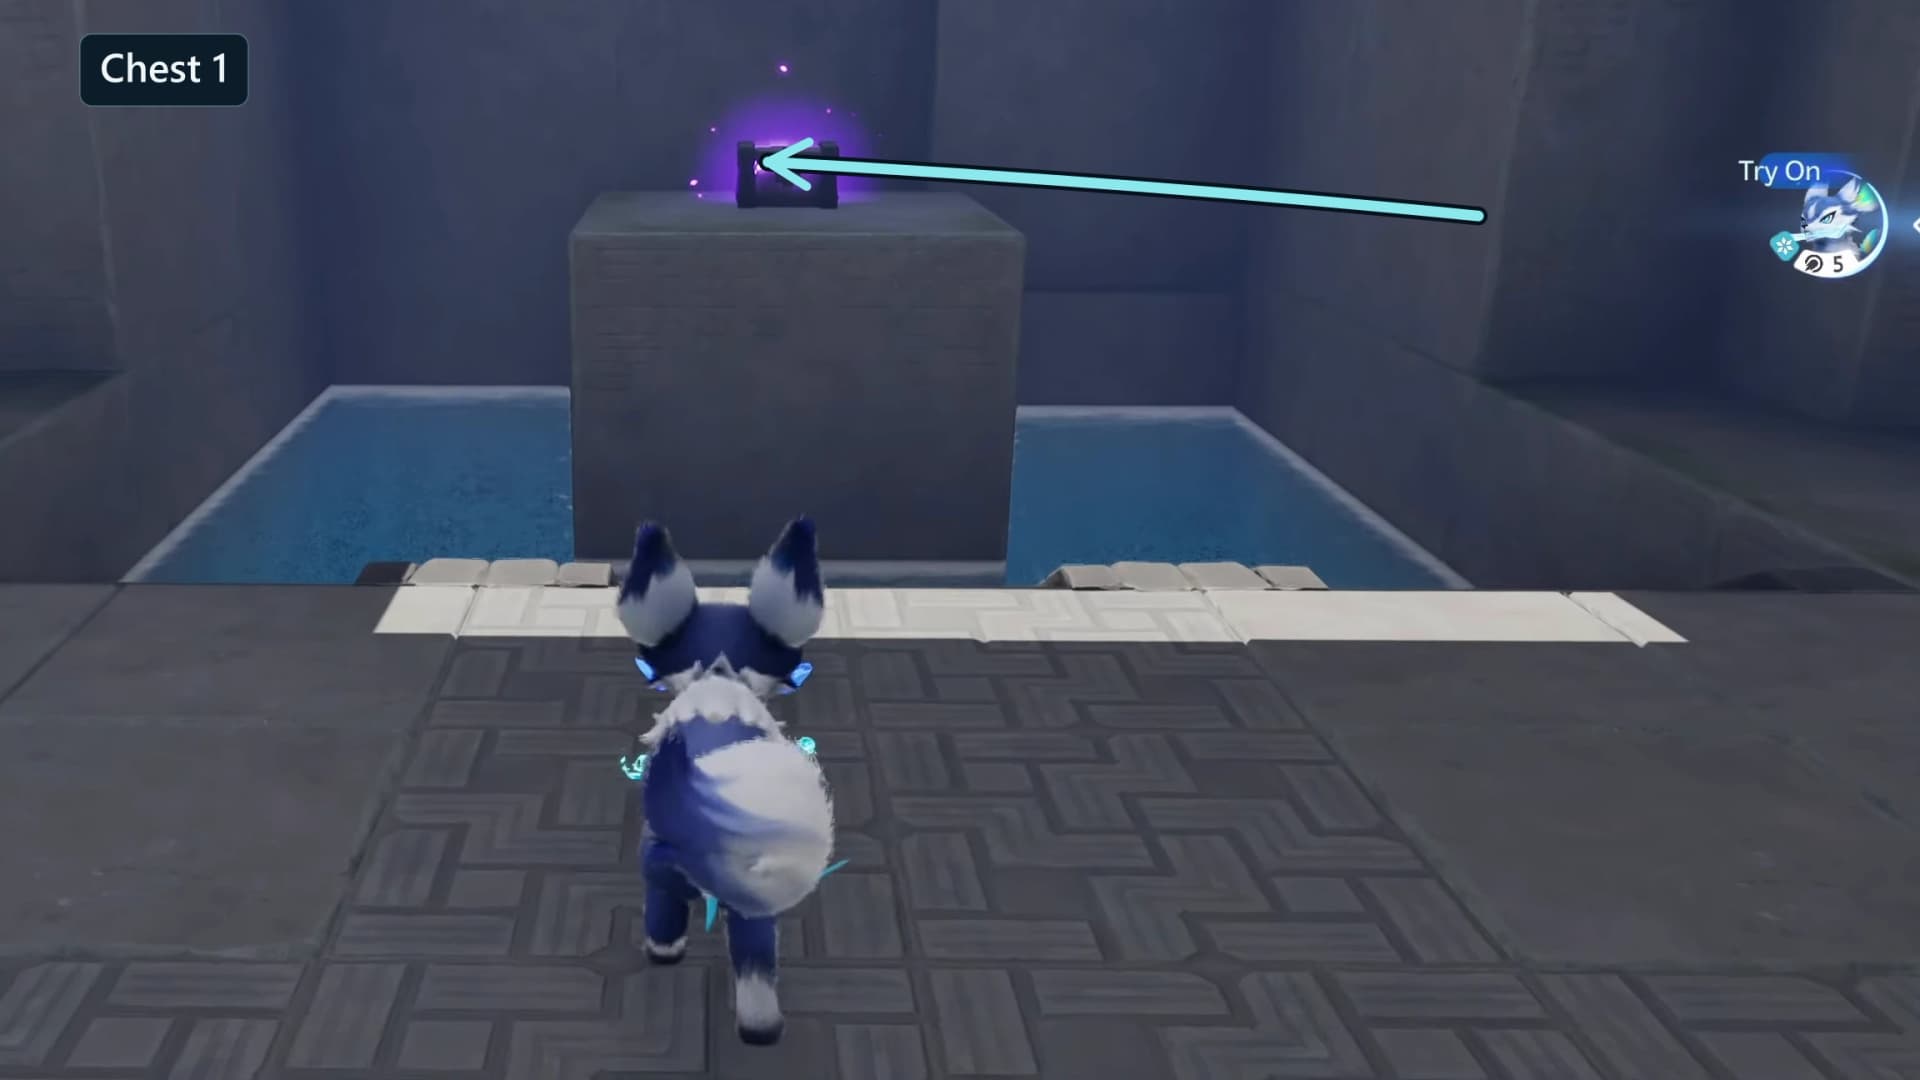
- 8Chest 1: freeze a stair to the raised islandOptionalChest 1Room 2
From the far landing, Twine with Fenrier, face the marked water to the north and use the skill once. Climb the ice steps it raises to the island and open the standard chest for 1 of 3.
- 9Take the east lip down to the second checkpointRoom 3
Keep east to the lip above the flooded basin. Crossing it lights the second checkpoint portal on the water level below, roughly seven units down from the ledge you are standing on.
- 10Weigh down the basin receiver to raise the gatesRoom 3
Two ancient mechanism gates bar the only lane west out of the basin. Generate a whole ice block on the marked water, Untwine, and Manipulate it onto the circular receiver on the east bank. The gates rise while the block holds the receiver down.
- 11Chest 2: the far ledge past the raised gatesOptionalChest 2Room 3
Swim through the opened lane, round the central pillar and climb out on the south ledge. The standard chest waits there for 2 of 3.
- 12Follow the lower corridor west to the shut doorRoom 4
Head west along the lower corridor. A temple mechanism door blocks it partway along, and there is no receiver next to the door itself, so look for the way down into the hollow on your left.
- 13Slip past the flame jetsRoom 4
Drop south into the hollow below the corridor. Two flame jets on the far wall fire in short bursts with no pause between them, so hug the near side and move on the gap in the flame.
- 14Press the one-shot plateRoom 4
At the west end of the hollow, step on the single-use plate. It fires once and holds, and the mechanism door above you on the corridor opens for good.
- 15Through the door to the last checkpointRoom 5
Climb back to the corridor, pass west through the opened door and keep going. A few steps past the frame the last checkpoint portal lights, on the ledge above the balance chamber.
- 16Chest 3: ride the balance scale to the shelfOptionalChest 3Room 5
A balance scale stands below the checkpoint with a pan on each side. Generate a whole ice block on the pool beside it, Manipulate the block onto the chest-side pan, and ride the pan that rises to the raised shelf. Open the standard chest there and confirm 3 of 3.
- 17Set the return and Touch the TerminusRoom 6
Put another whole block on the other pan to raise the return route, then follow the stone ledges west and up. With the counter reading 3 of 3, use Touch on the square Sanctum Terminus to restore the Vein and clear the room.
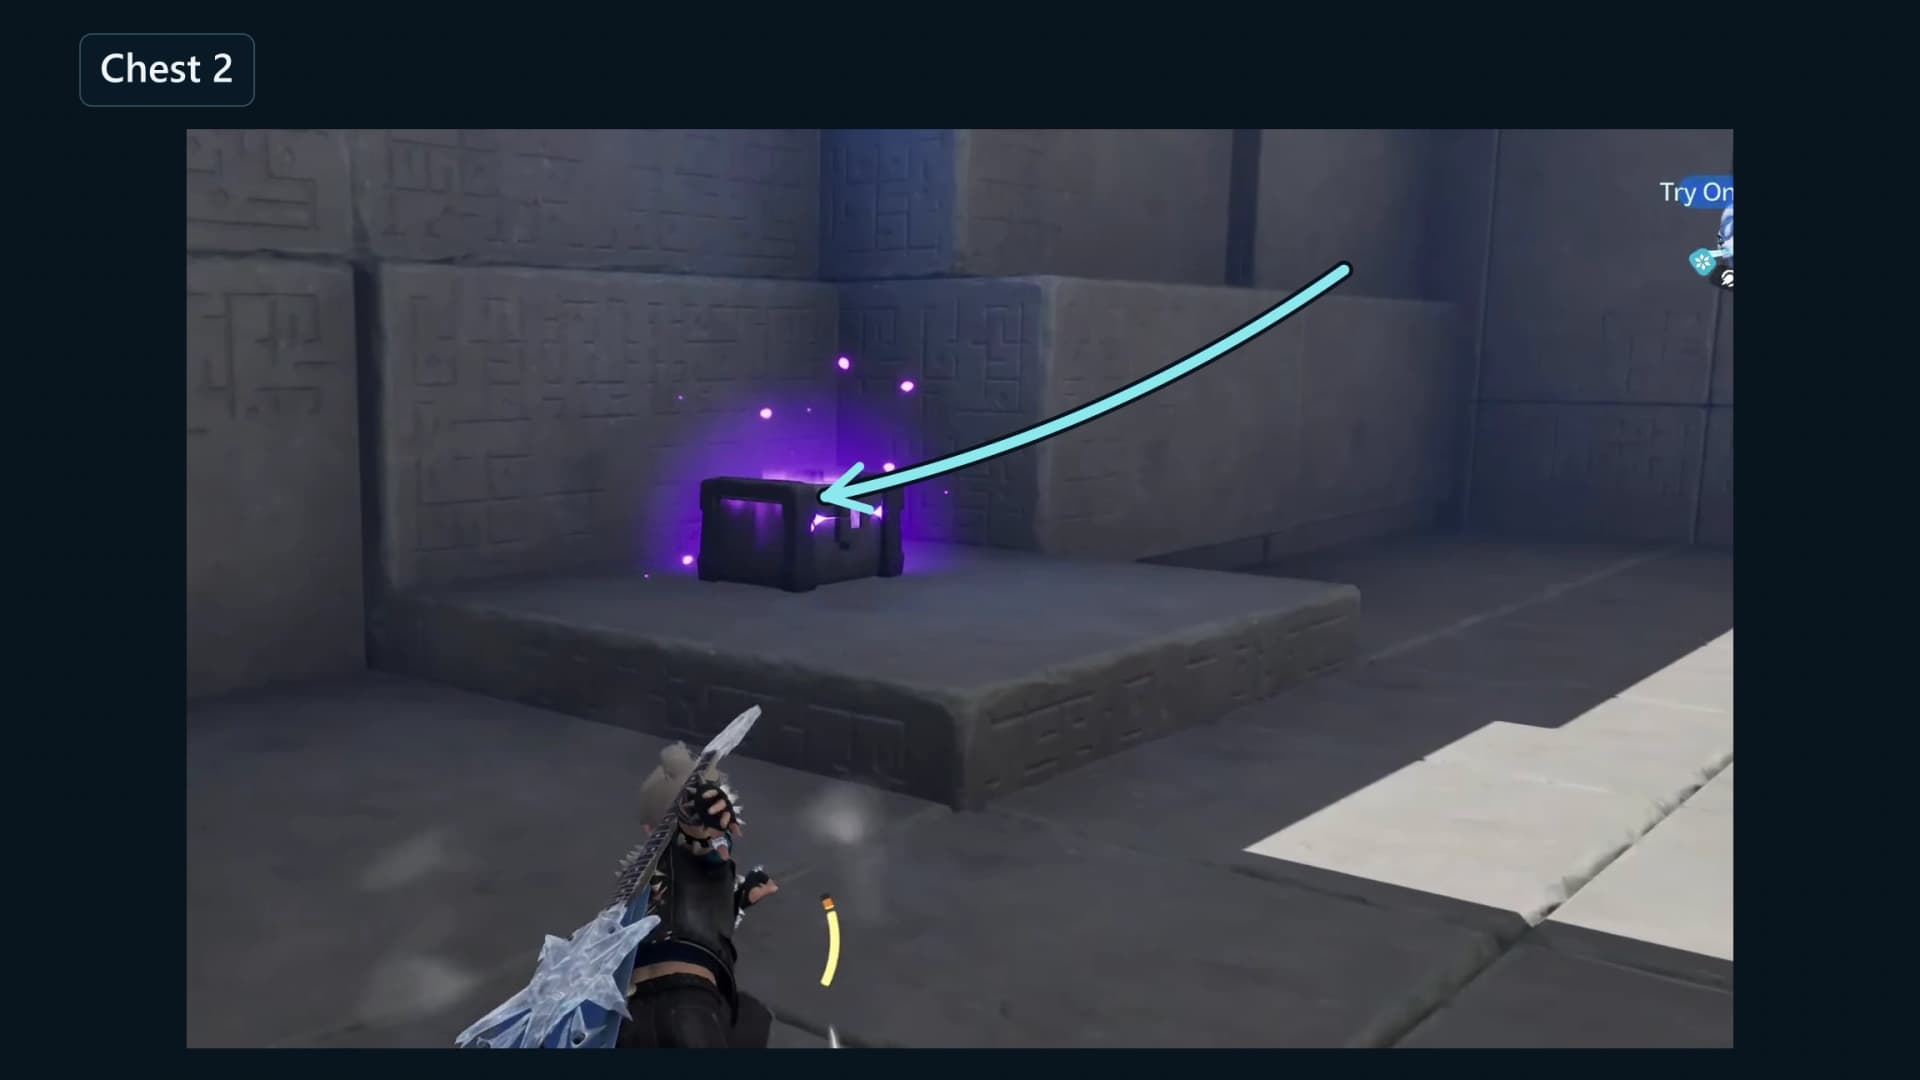
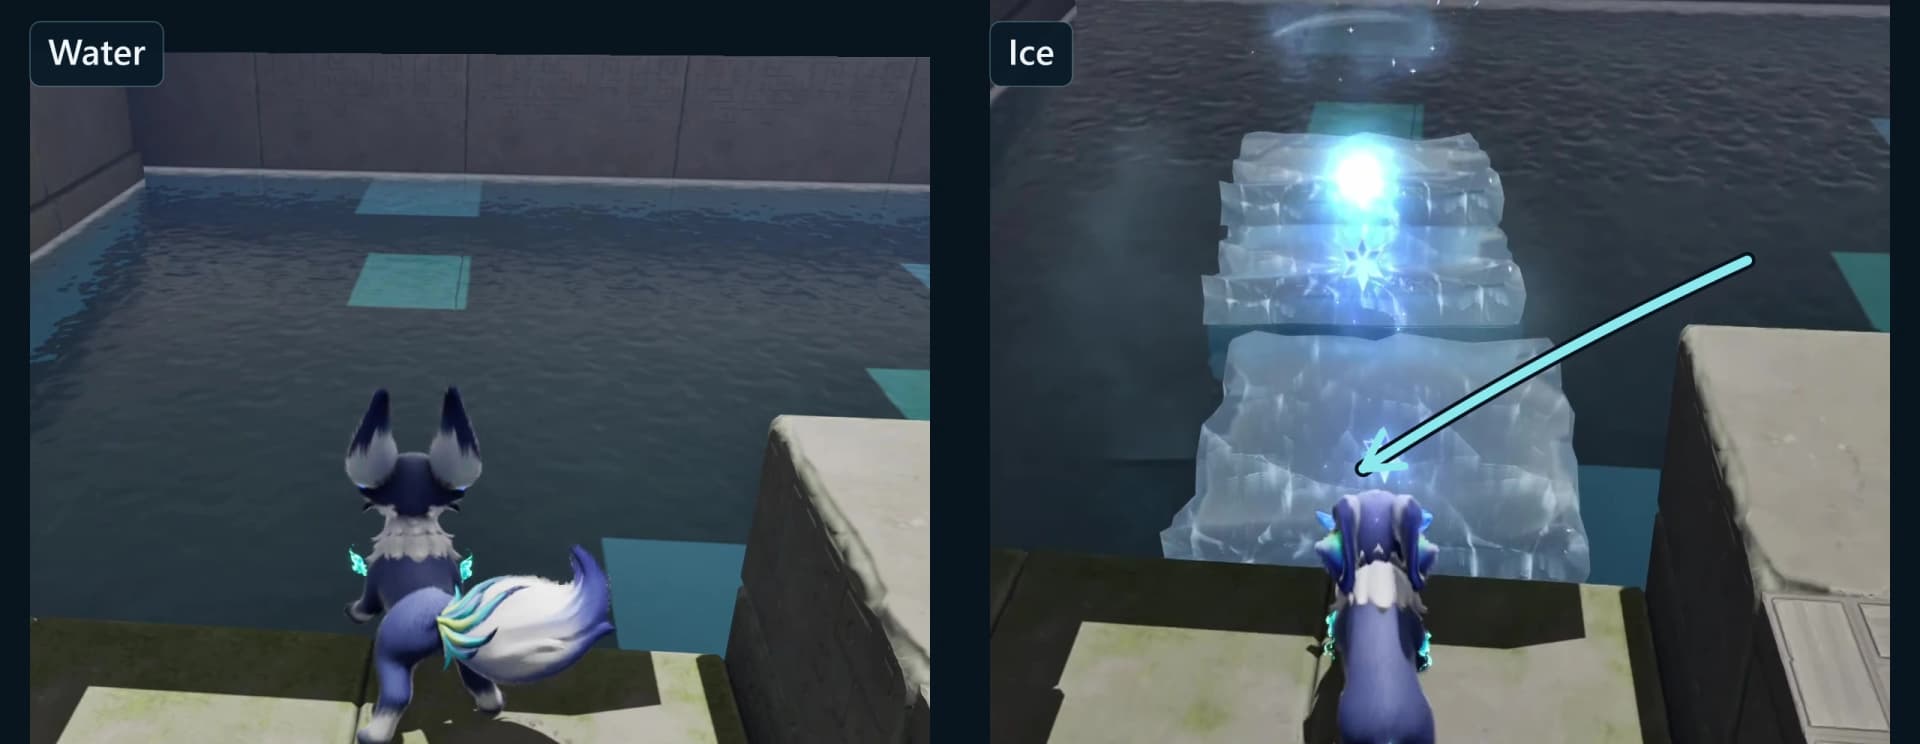
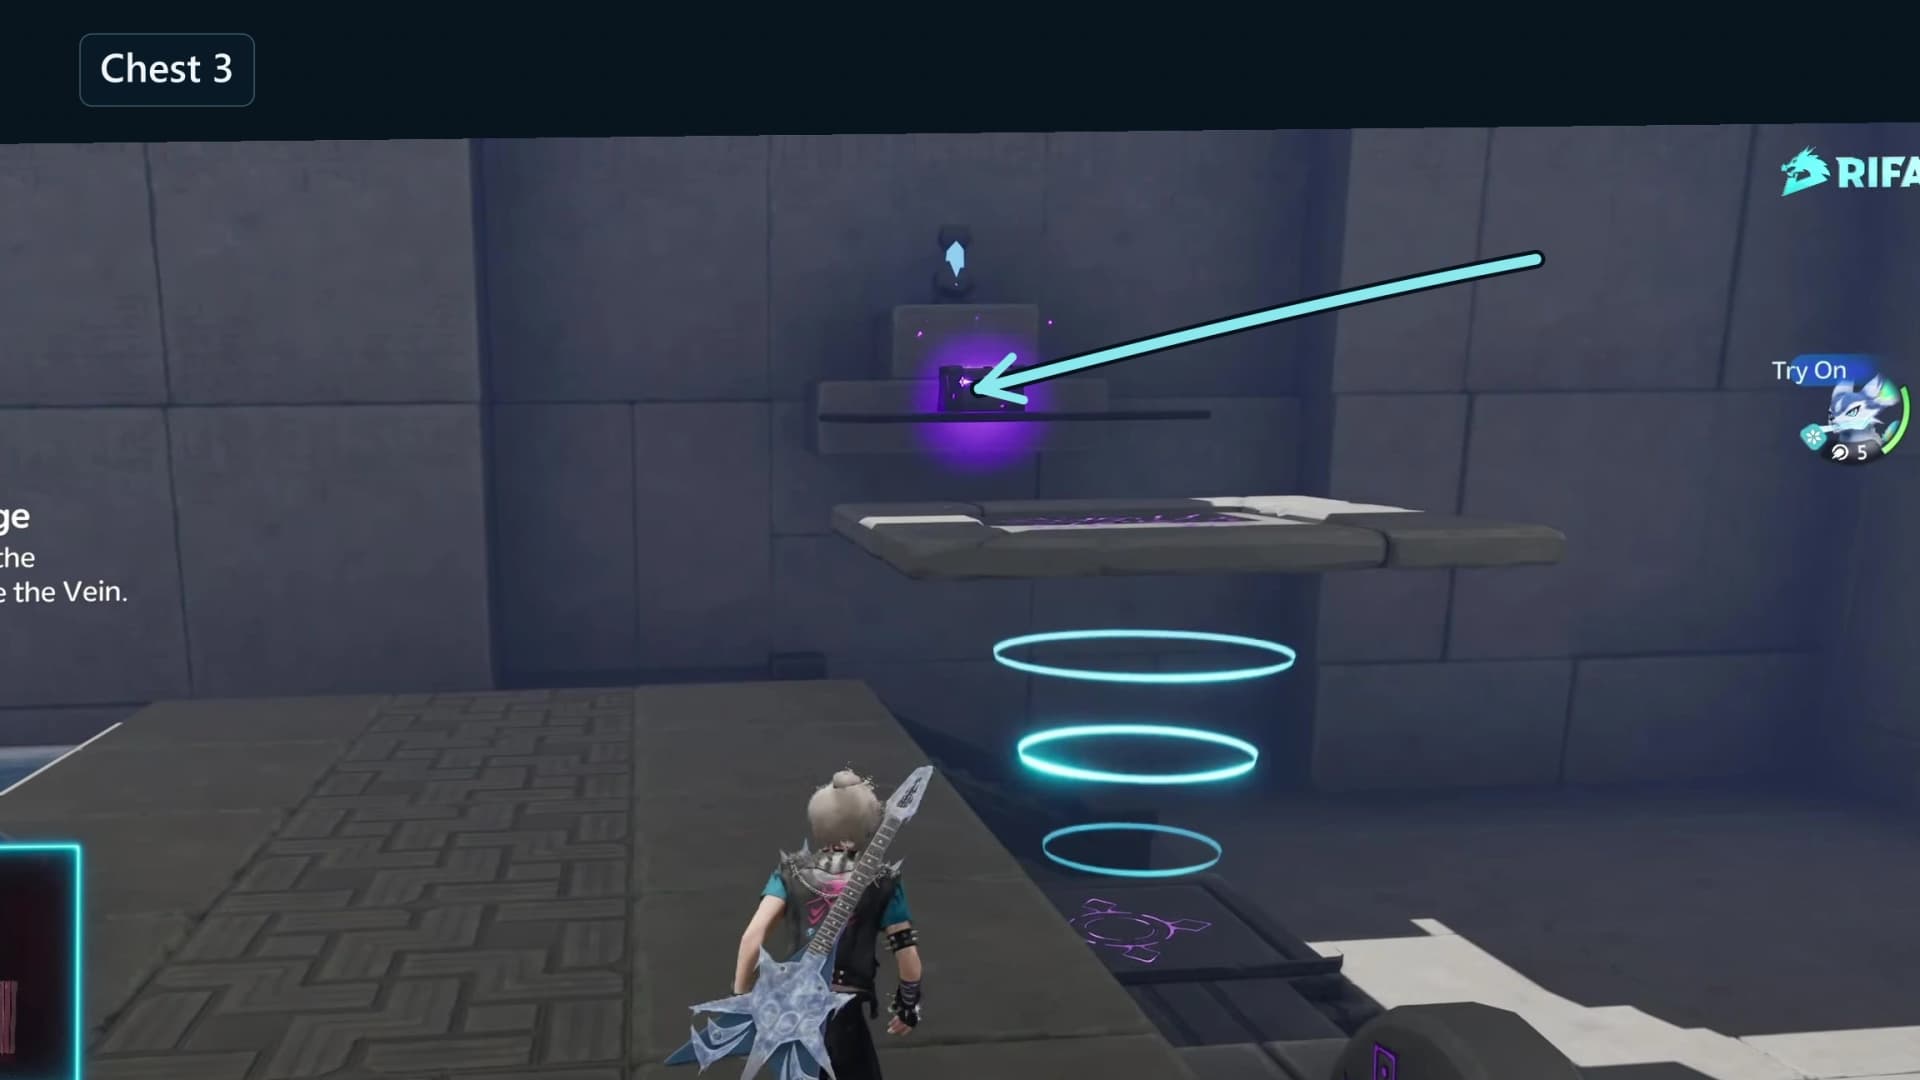
Three-chest checklist
All three chests are Standard tier and all three sit off the walking line: one on the raised island after the swim, one on the south ledge past the basin gates, one on the shelf above the balance scale. The ledger lists them in the order the route opens them.
| Chest | Tier | Contents |
|---|---|---|
| Chest 1 | Standard | Glimmer x10, Credits x10000, Sparkling Crystal x10, one Rare held item |
| Chest 2 | Standard | Glimmer x10, Credits x10000, Sparkling Crystal x10, one Rare held item |
| Chest 3 | Standard | Glimmer x10, Credits x10000, Sparkling Crystal x10, one Rare held item |
| First clear | Reward | Lumin Amber: Breezy Plains, EXP x500 |
Every held item: Spirited Feather, Fission Needles, Echoing Grimoire, Ferocious Fang, Miraculous Fleece, Lightning Needle, Gargantuan Horn, Marching Flask, Capacitous Battery, Heartseeker Pendant, Avenging Gear, Heritage Amulet, Explosive Gloves, Giant Tortoise Shell, Auspicious Bell.
Checkpoints and hazards
Frigid Waters starts you on the entrance pad at the west end of the flooded hall, and that pad is the only respawn point the room begins with. Three more checkpoint portals light as you cross the route, each one triggered by walking a line rather than by using anything.
- Entrance pad, west end of the hall. Your only respawn until the first checkpoint lights, so the opening block work is the one stretch with a long walk back.
- North bank past the statue. Stepping into the save point east of the statue lights the first checkpoint, which covers the open swim and the drop that follows.
- Basin floor below the east lip. Crossing the lip above the flooded basin lights the second checkpoint roughly seven units below the ledge, before any of the gate work starts.
- Ledge above the balance chamber. A few steps west of the opened corridor door the last checkpoint lights, covering the balance scale and the climb to the Terminus.
Melting, refreezing and failed-platform troubleshooting
For the same target-versus-result reading method in other rooms, use the Puzzle Tutorials hub. It distinguishes receivers, temporary objects and visible success signals.
Completion and reward
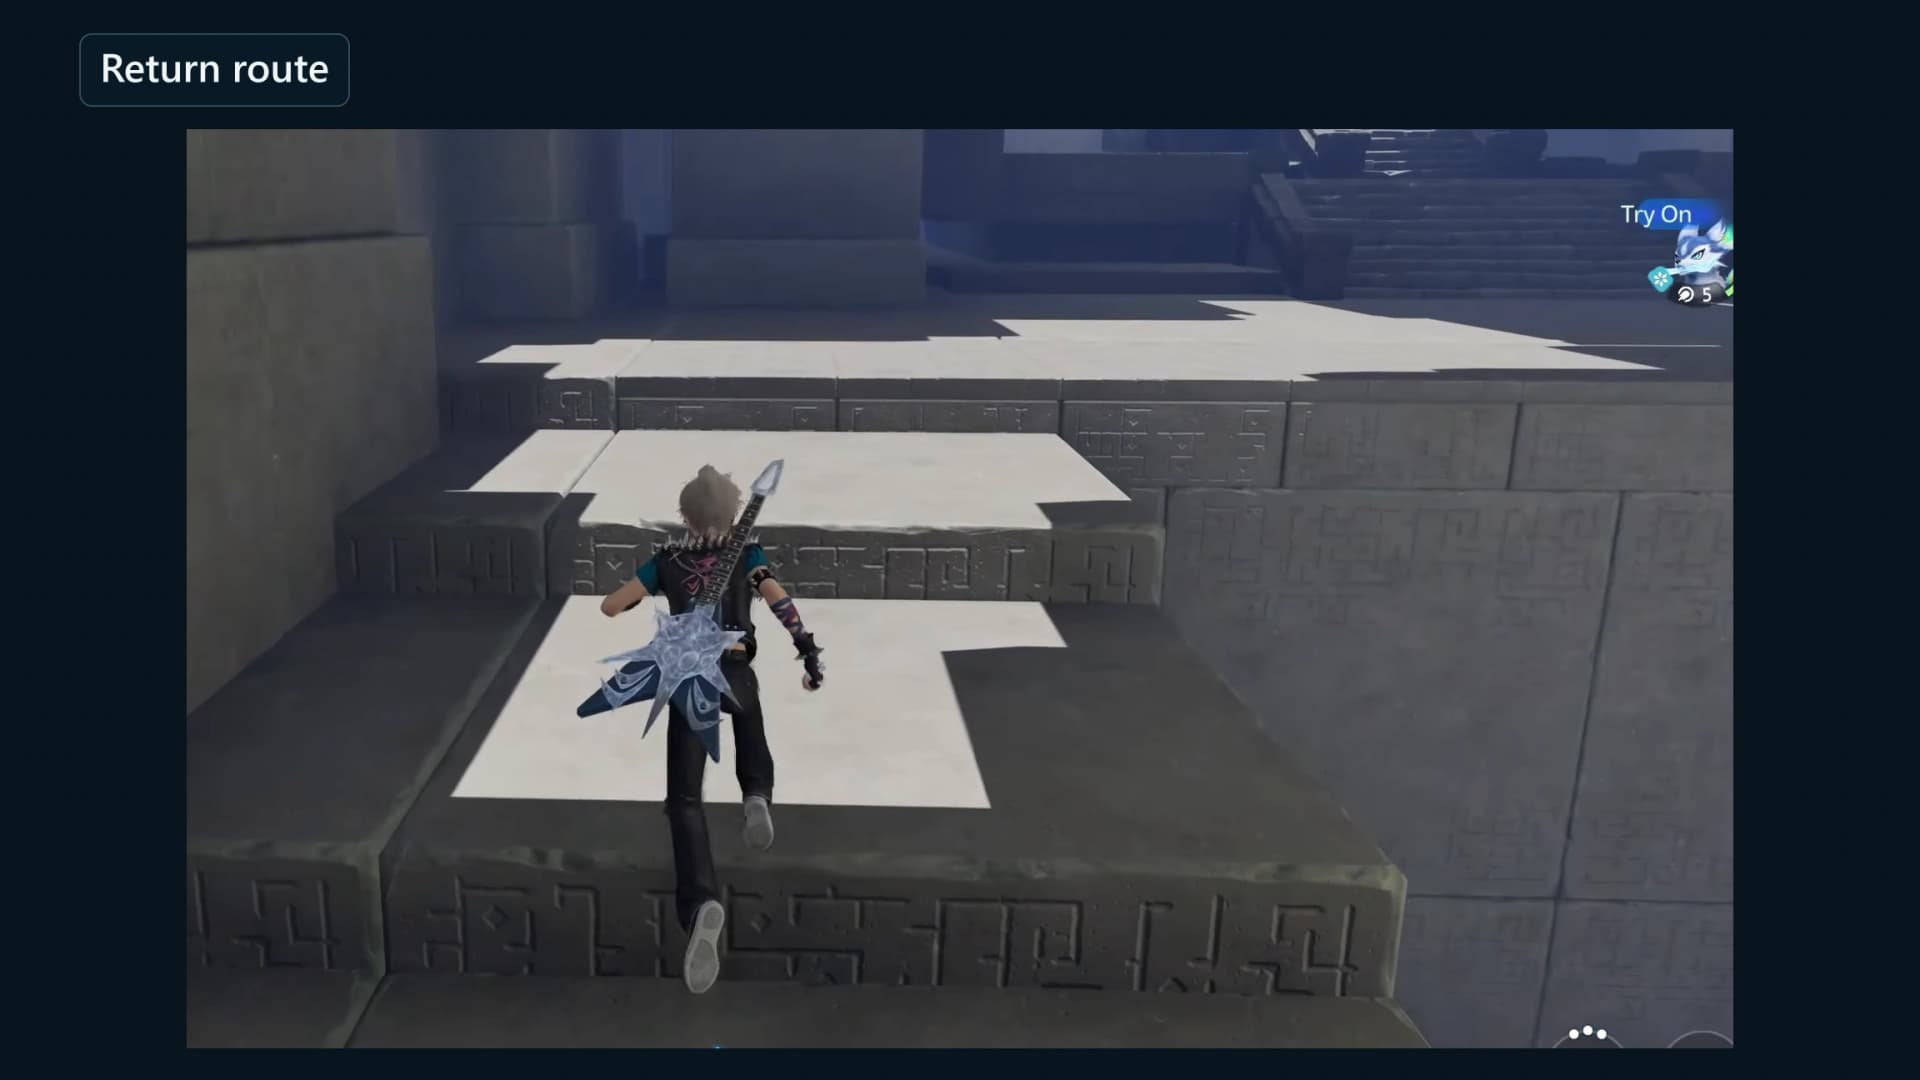
Frequently asked
Where is Frigid Waters?
Frigid Waters is a solo Sanctum in Beast Fang Ridge. Its marker sits at 907, 959 on the AniimoVerse atlas. Open the exact Frigid Waters atlas pin.
What control generates ice in Frigid Waters?
Aim the trial Fenrier at marked water and use the displayed contextual action. One cast labels it Ice while later casts show Weaken; the room tutorial says the action generates ice on water, so follow the current context and treat this environmental interaction as trial-specific.
How many chests are in Frigid Waters?
There are three chest slots: one on the raised island after the opening swim, one on the south ledge past the two basin gates and one on the shelf above the balance scale. Reach 3/3 before the Terminus.
What reward does Frigid Waters give?
A first clear pays Lumin Amber: Breezy Plains ×1 plus 500 EXP, lights the room’s Leyline Tree node and counts toward the Sanctum Delver badges at 3, 5, 10 and 15 clears. Repeat clears pay nothing, so clear each room once before repeating any of them.