Location and quick route
Open the exact Through Flame and Thorn atlas pin in Mistwoods. The marker sits at 1624, 1634 on the AniimoVerse atlas.
An older wiki page listed this room as Burn Your Way Out. The name in game, on the entrance card and on every current map record is Through Flame and Thorn, so search for that one.
Sanctum: Through Flame and Thorn
Match this before starting
Area
- Value
- Mistwoods
- How to use it
- Northern stone ruins
Challenge size
- Value
- 1 challenger
- How to use it
- Run it solo
Chest counter
- Value
- 0/2 at entry
- How to use it
- Finish at 2/2 before the Terminus
AniimoVerse atlas marker
- Value
- 1624, 1634
- How to use it
- Use the pin link to jump straight to it
First-clear panel
- Value
- Item ×1 · EXP 200
- How to use it
- Paid once, on your first clear
Claim and Twine with trial Emberpup
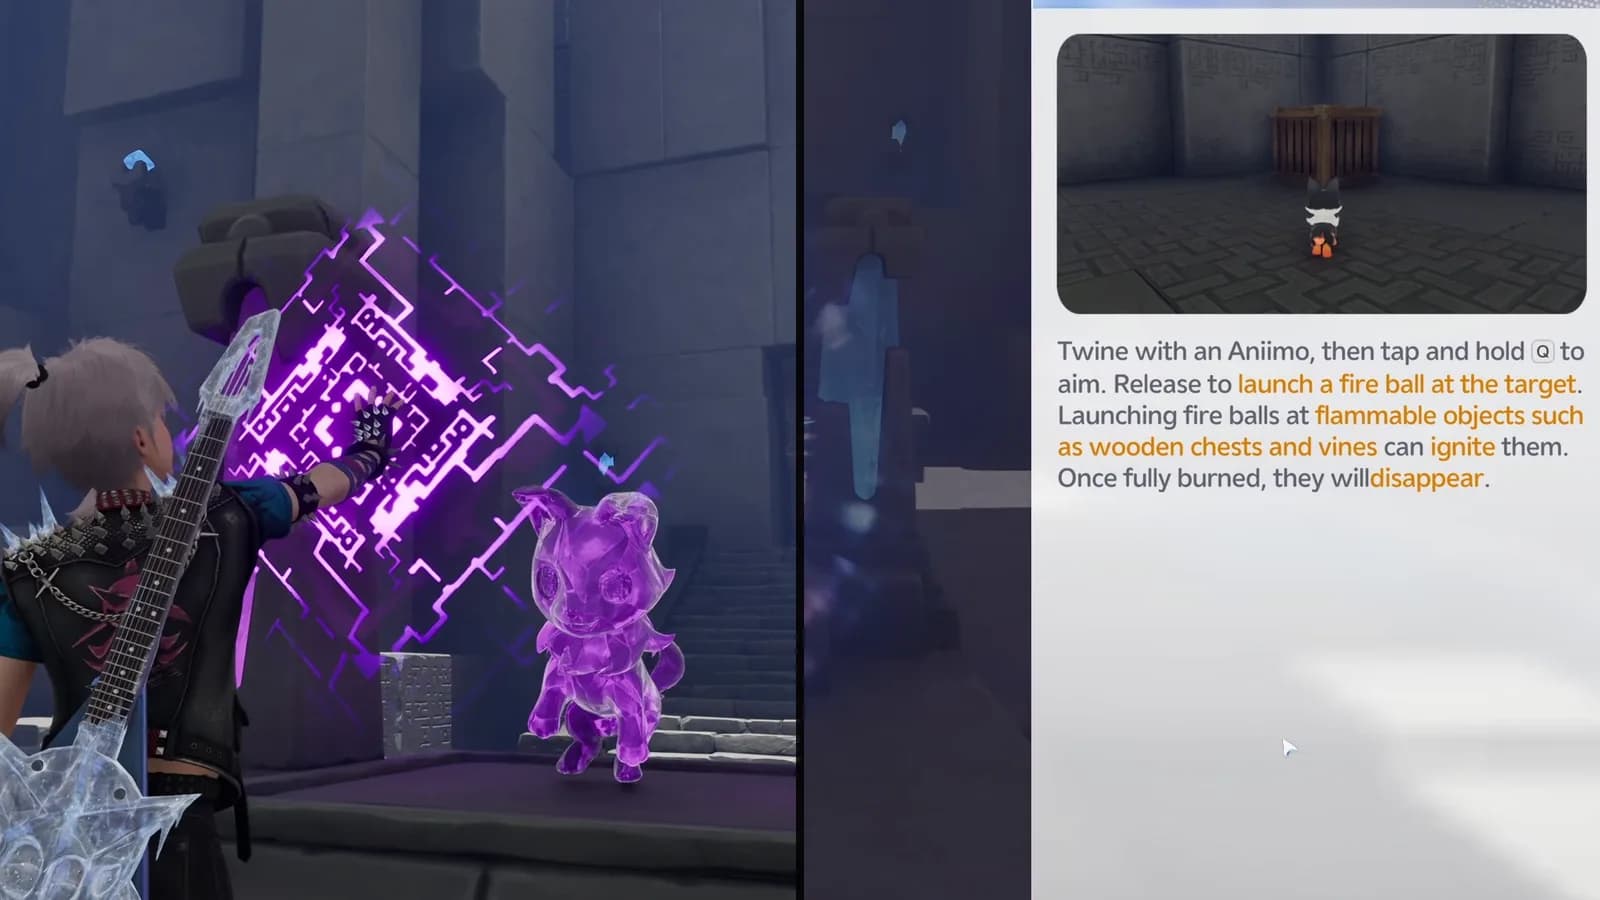
Use the opening statue, then follow the displayed Fire Bolt binding: hold to aim and release to shoot.
Burn the opening gate and release ball 1
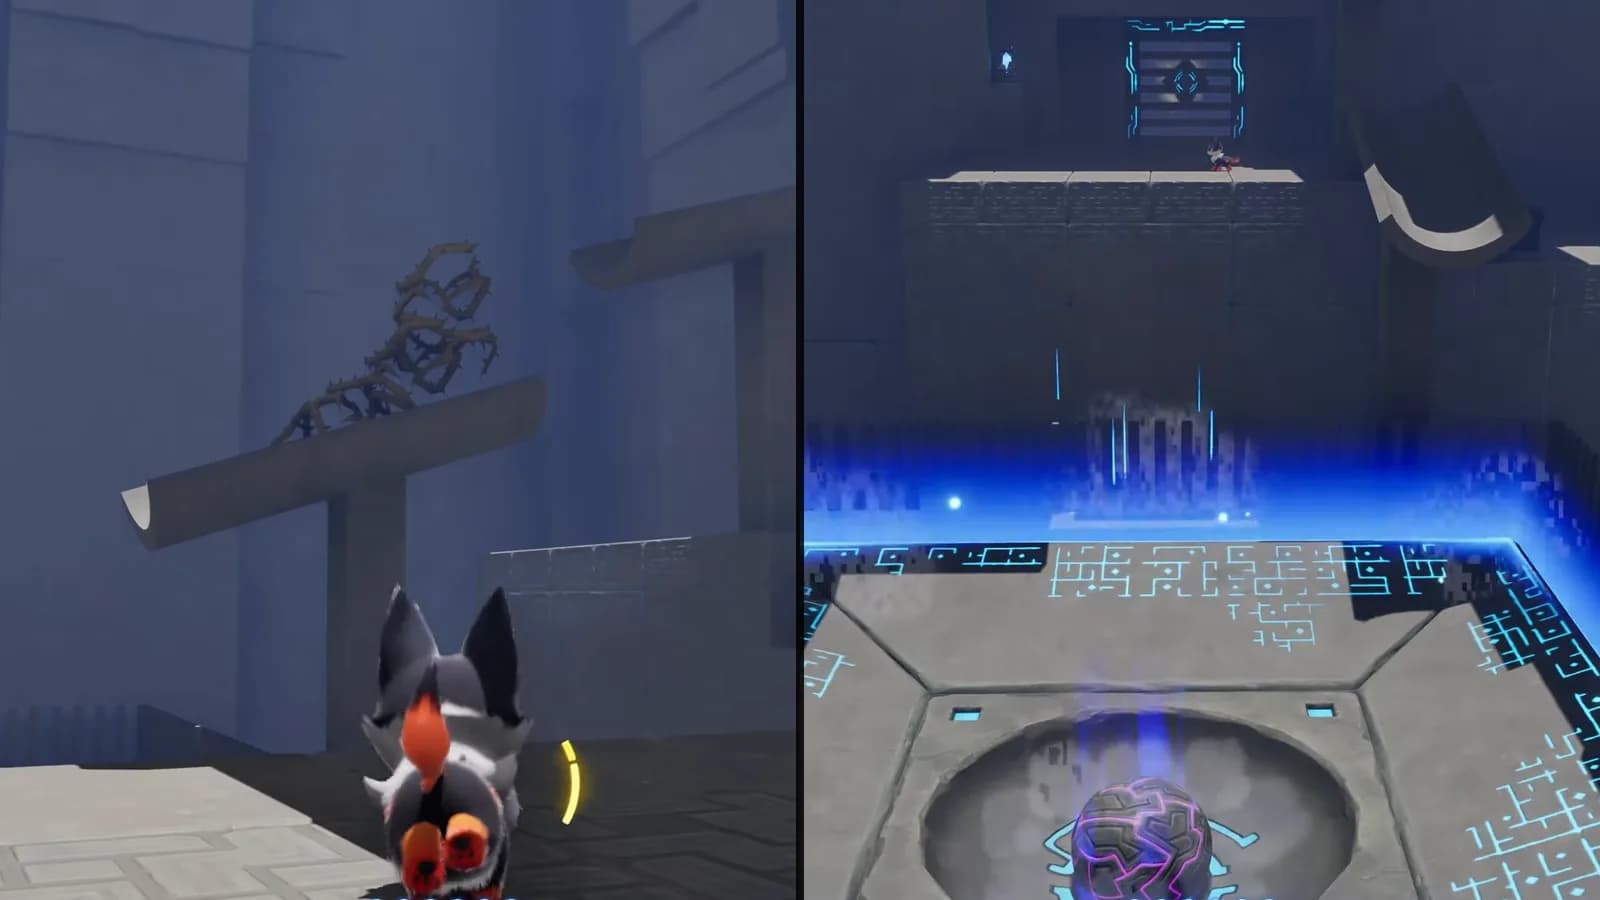
Burn the wooden gate, walk straight through, then burn the thorn/vine brace on the first tilted beam so its large purple ball reaches pad 1.
Release ball 2 and collect chest 1
- Finish this before the pass
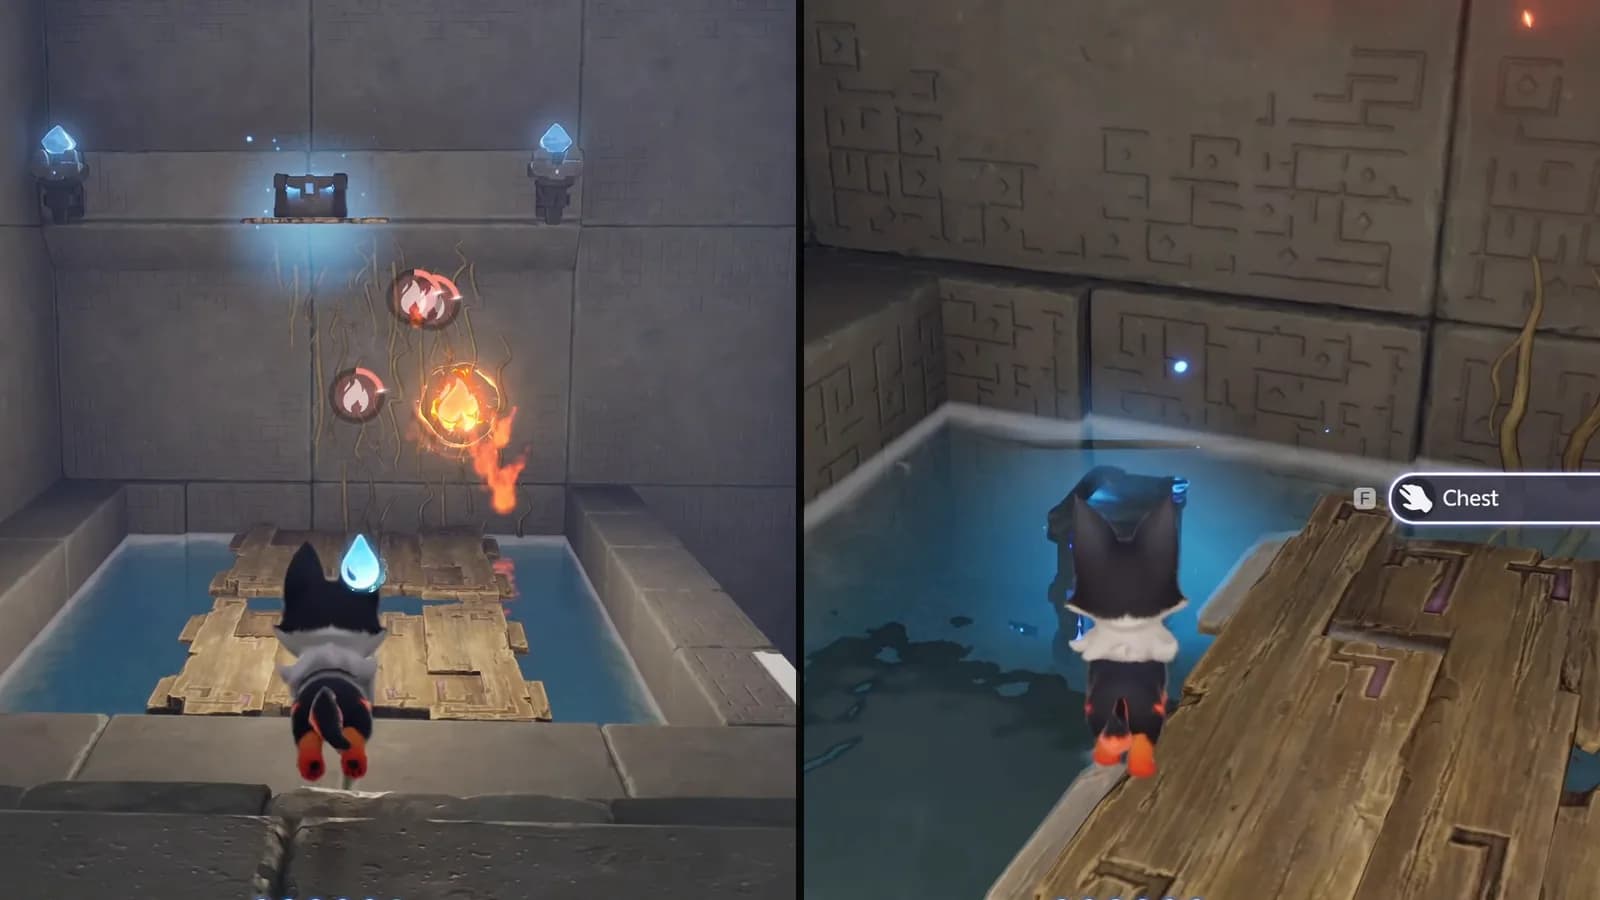
- Burn the next beam brace, follow the cyan route, burn the flame-marked wall vines over the water alcove and cross the already-present planks. Confirm 1/2.
Carry fire past the first water stream
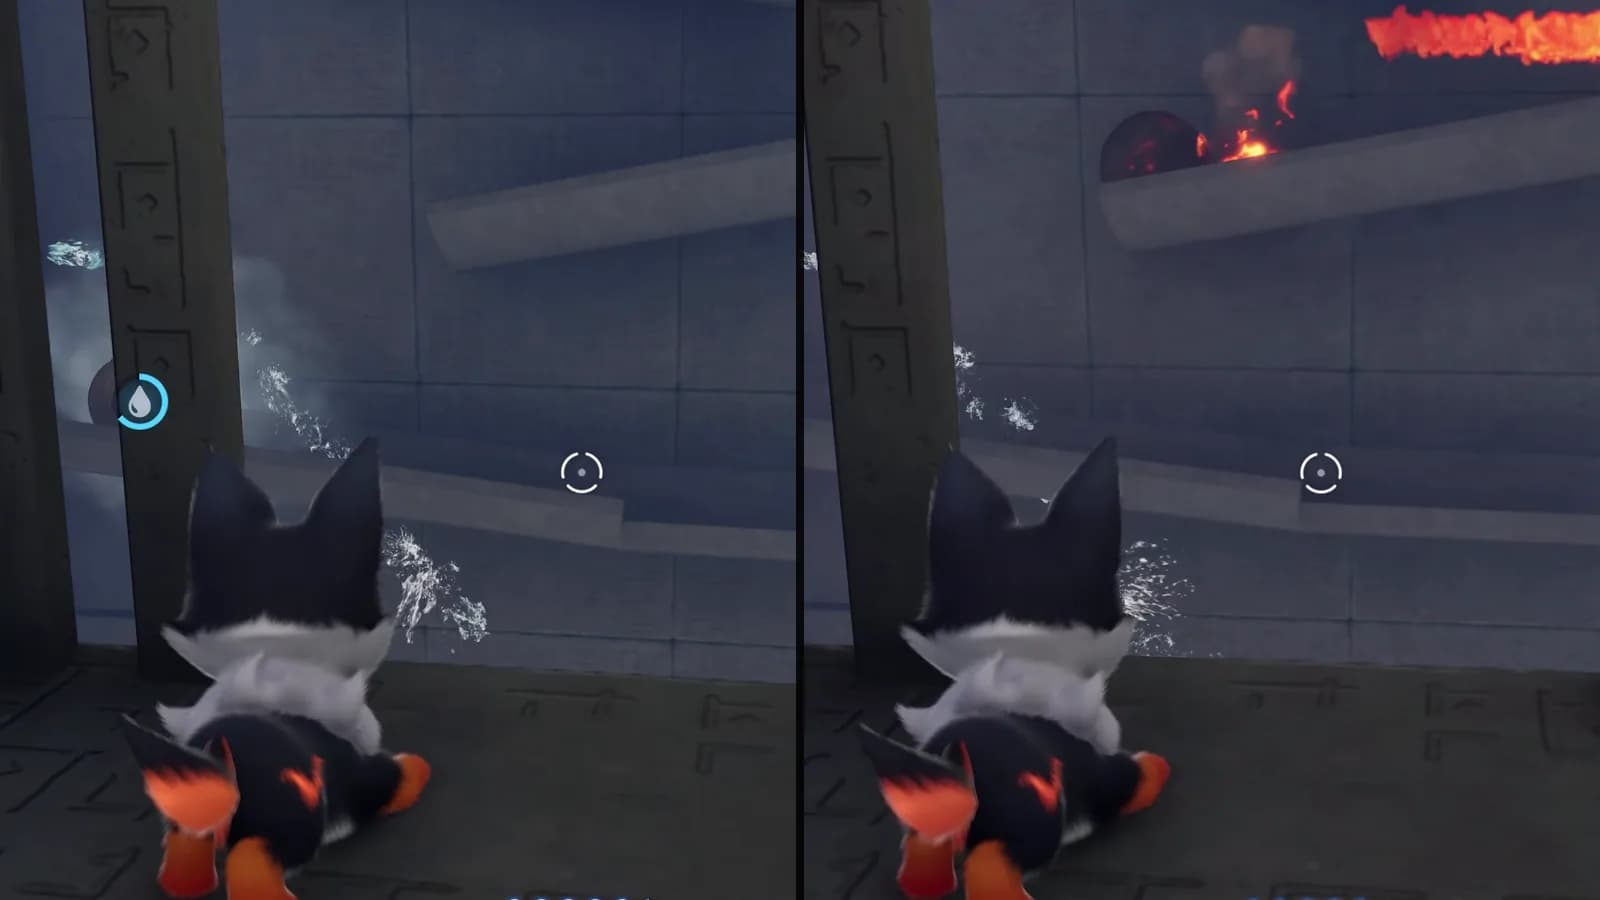
Ignite the small rolling carrier, watch the water extinguish it, then re-ignite it after the stream. Its flame burns the brace that releases the next large ball.
Burn the high box and let carrier 2 finish
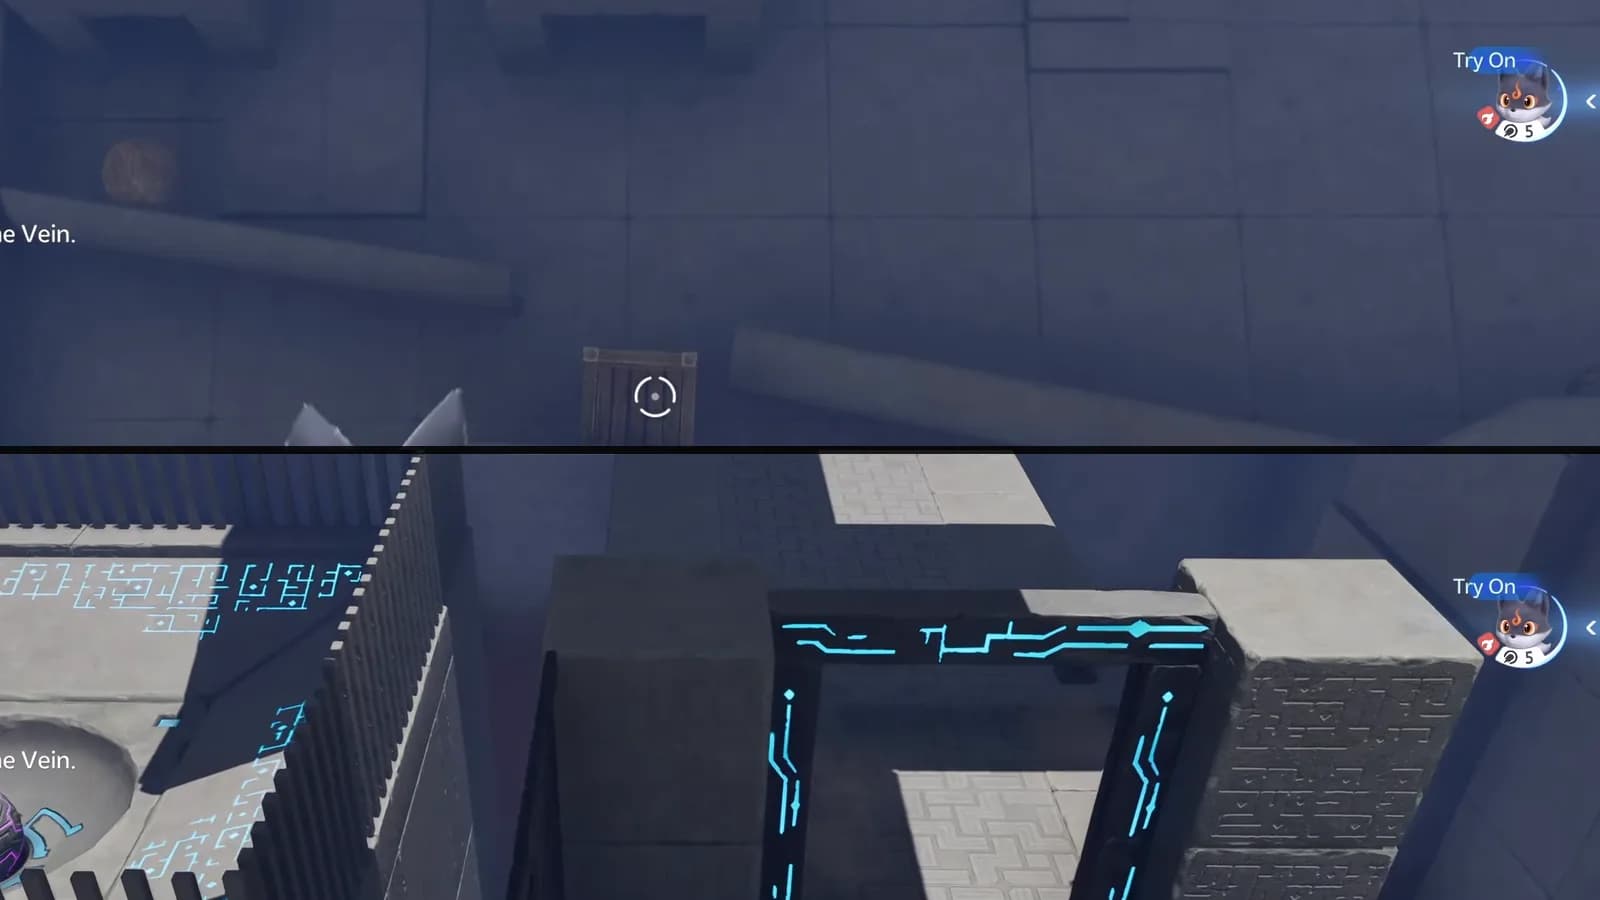
Burn the single fixed wooden box on the high shelf. That one shot is enough. The carrier travels on alone and delivers the flame to the next brace.
Collect chest 2 on the final staircase landing
- Finish this before the pass
- Open the chest between the lower and upper stair flights and confirm the counter reads 2/2.
- The run closes behind you here
Use the Sanctum Terminus
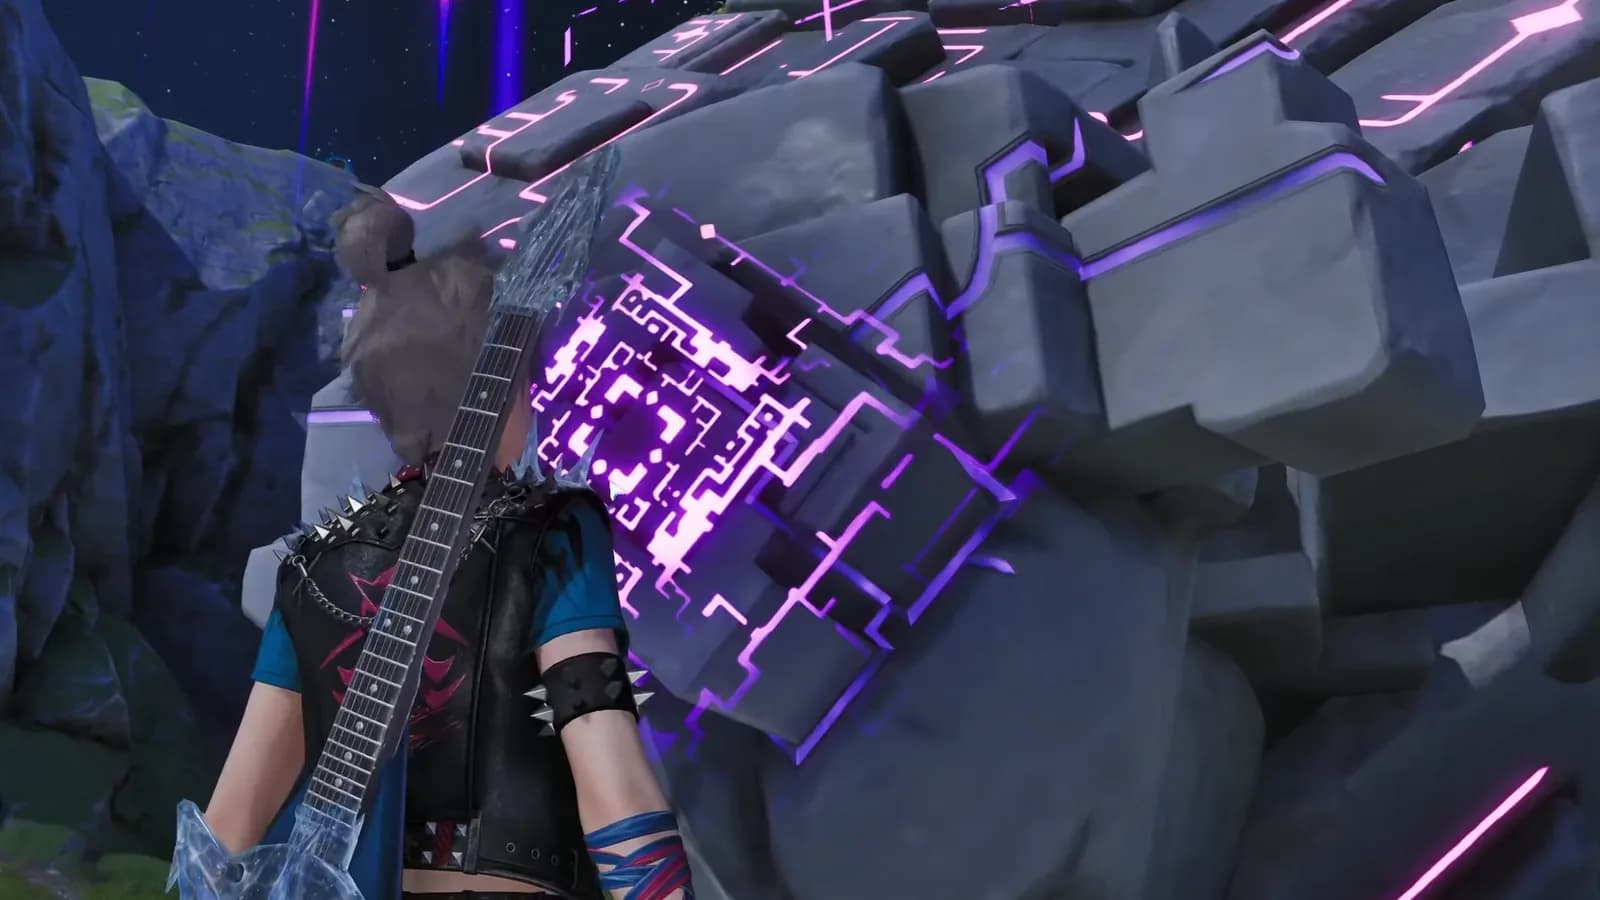
Interact with the square Terminus, also called the Tesseract, to restore the Vein.
Emberpup and Fire Bolt primer
The opening statue supplies trial  Emberpup. Claim it and Twine before approaching the gate. Fire Bolt launches a fireball and applies Fire Debuff. Hold the displayed skill button to aim, then release to shoot. The PC default is Q; another layout may show a different binding.
- Direct burn target: center the reticle on wood or a thorn/vine brace and wait for the obstruction to finish burning.
- Rolling fire carrier: the small carrier transports flame; it is not the separate large purple ball that eventually rolls onto a pad.
- Success proof: read the resulting state: missing brace, seated large ball, cyan pad or open doorway. The room’s ambient purple light never changes.
Opening gate and first ball pad
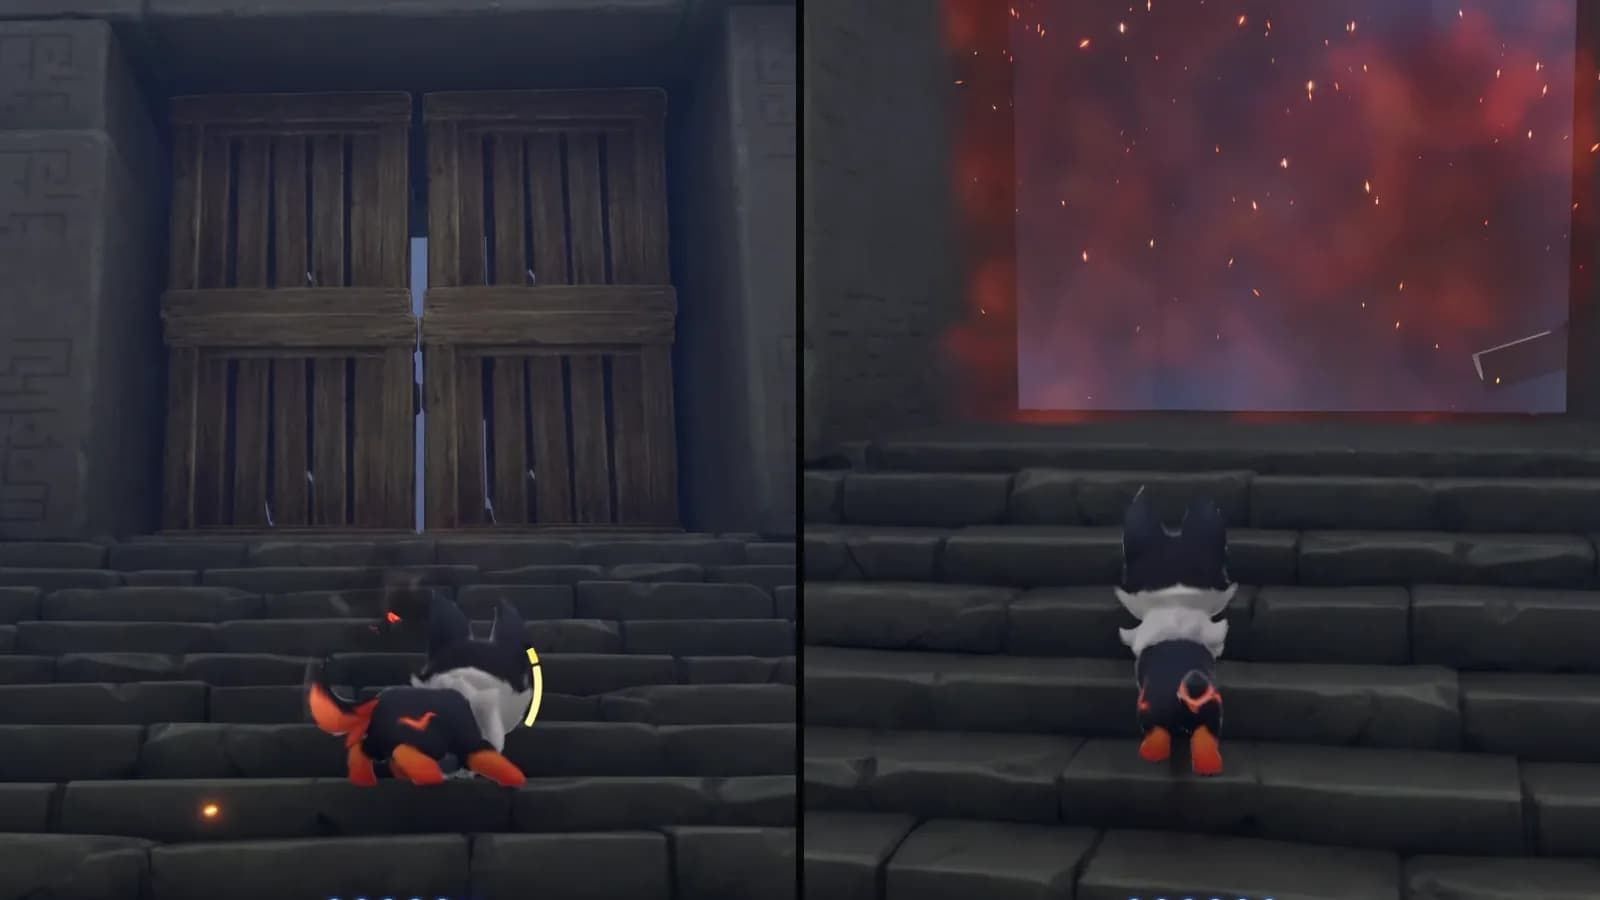
Burn the slatted wooden gate at the top of the opening stairs and wait until it disappears. There is no flame sweep to time: once the gate is gone, walk straight through. In the next space, aim at the thorn/vine brace on the high tilted beam. Shoot the brace, not the large purple ball; the ball then rolls automatically into the round pad.
Second ball pad and chest 1
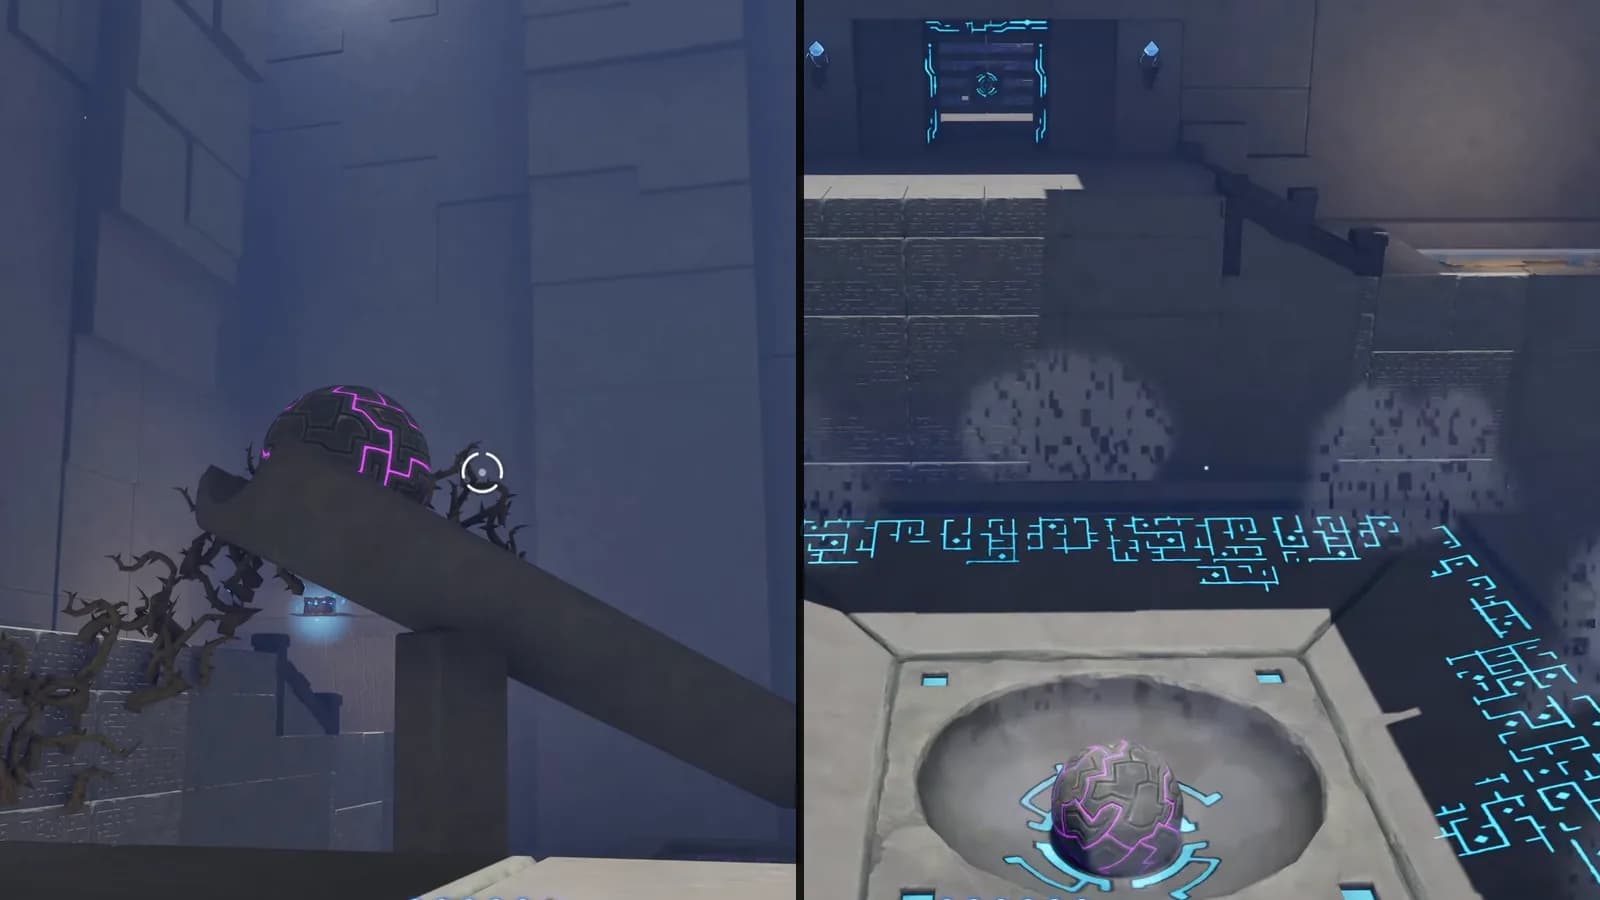
Burn the thorn/vine brace on the second angled beam and wait for its large purple ball to reach the round pad. Follow the newly materialized stone bridge to the water alcove. Three flame markers sit on one connected wall-vine curtain, and one aimed Fire Bolt lights the whole curtain. You do not need three separate shots.
First rolling fire carrier: re-ignite after water
The barred mechanism uses a small rolling fire carrier, not a blue target traveling to a socket. Ignite the carrier through a clear gap. A water stream extinguishes it and adds a blue droplet/wet state. Track it past the stream and re-ignite it through the bars. Keep watching until the still-lit carrier reaches and burns the downstream thorn/vine brace.
High wooden box, second carrier and chest 2
In the second barred area, look high for one fixed wooden box on a shelf. One Fire Bolt on that box starts the cycle, and no second shot is needed. The carrier it frees keeps burning downstream and delivers the flame to the brace. The burned brace releases another separate large purple ball, and the next doorway opens when that ball reaches its pad.
Enter the final chamber and open chest 2 on the landing between the lower and upper final stair flights. Do this before approaching the square device above, then confirm the objective counter reads 2/2.
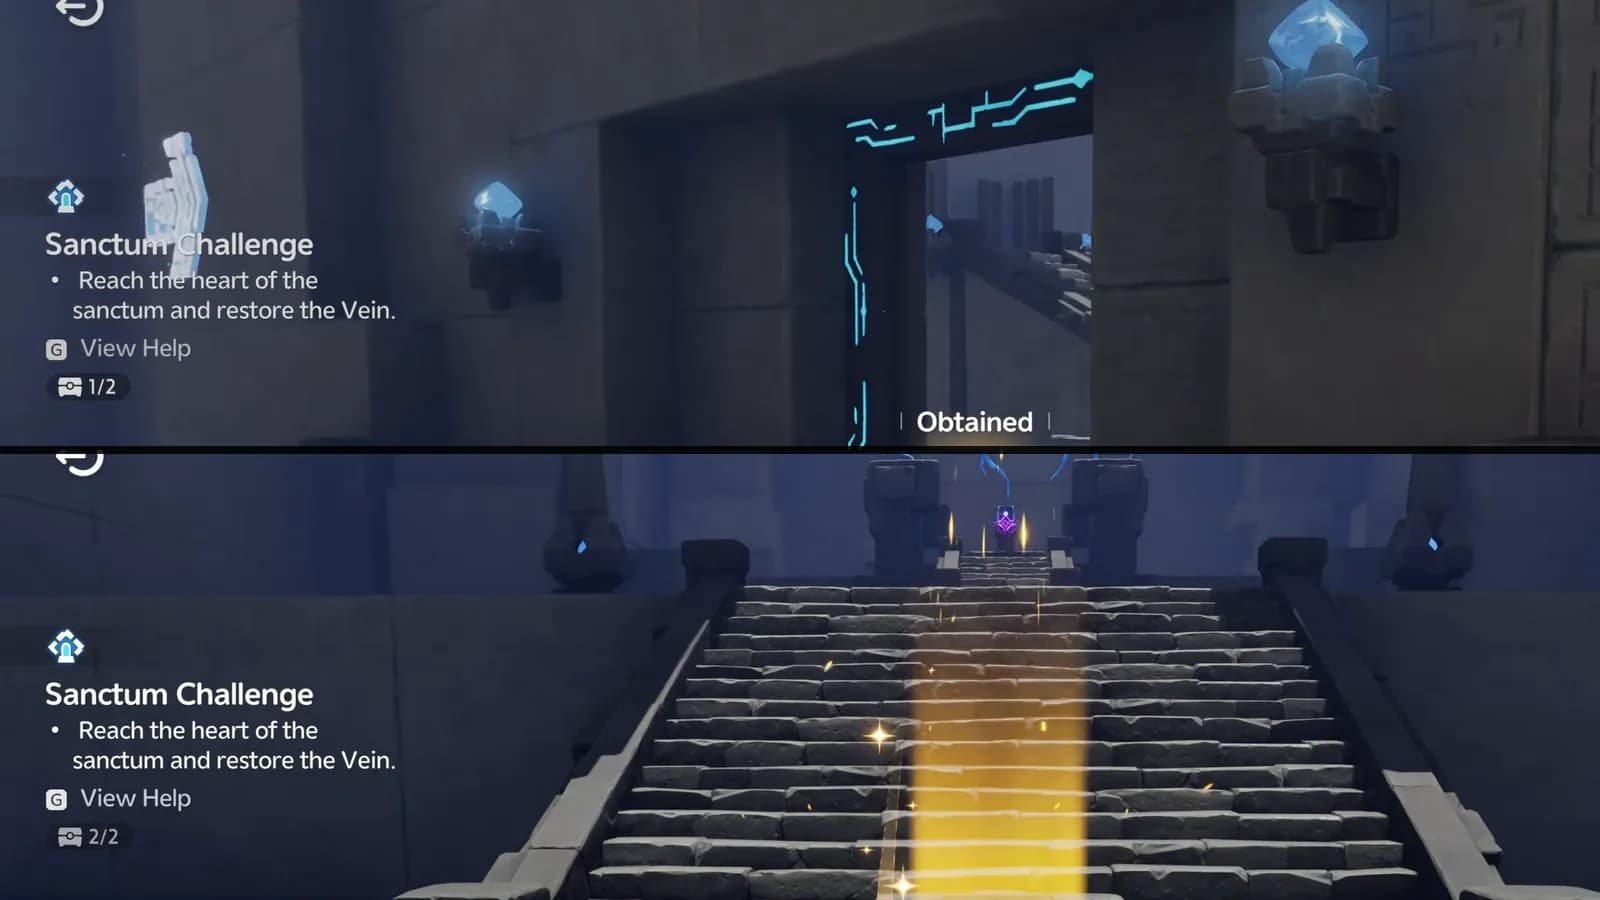
Chest order and every burn state
Chest 1
- Location
- Water alcove after ball pad 2
- Unlock
- Burn the connected flame-marked wall vines; cross the already-present planks
- Confirm
- Counter reads 1/2
Chest 2
- Location
- Final staircase landing
- Unlock
- Complete both rolling-carrier mechanisms and enter the last chamber
- Confirm
- Counter reads 2/2 before the Terminus
| Object or state | Before | Fire interaction | Confirmation |
|---|---|---|---|
| Opening wooden gate | Slatted wood blocks the stairs | Aim Fire Bolt at the gate | Wood disappears; route opens |
| Beam brace 1 | Thorn/vine growth tethers the first tilted beam | Burn the brace | Large ball reaches pad 1 |
| Beam brace 2 | Thorn/vine growth tethers the second tilted beam | Burn the brace | Large ball reaches pad 2; bridge materializes |
| Chest 1 wall vines | Connected curtain hangs over the chest; planks already exist | One aimed hit lights the whole curtain | Chest releases; counter reaches 1/2 |
| Carrier 1 before water | Small carrier is unlit | Ignite through a gap | Carrier burns until the water stream |
| Carrier 1 after water | Blue droplet marks the extinguished wet state | Re-ignite after it clears the stream | Lit carrier burns the downstream brace |
| Downstream brace 1 | Thorns hold a separate large ball | Carrier flame reaches it automatically | Brace burns; large ball reaches its pad |
| High fixed wooden box | Box sits on the upper shelf | Burn the box | Carrier 2 travels on, burning |
| Downstream brace 2 | Thorns hold the final large ball | Carrier 2 reaches it automatically | Brace burns; ball seats and doorway opens |
Troubleshooting
Use the Terminus and choose the next guide
After confirming 2/2, climb to the square Sanctum Terminus, also called the Tesseract. Interacting with it restores the Vein; the device itself is not the Vein. The blue restoration effect ends the run.
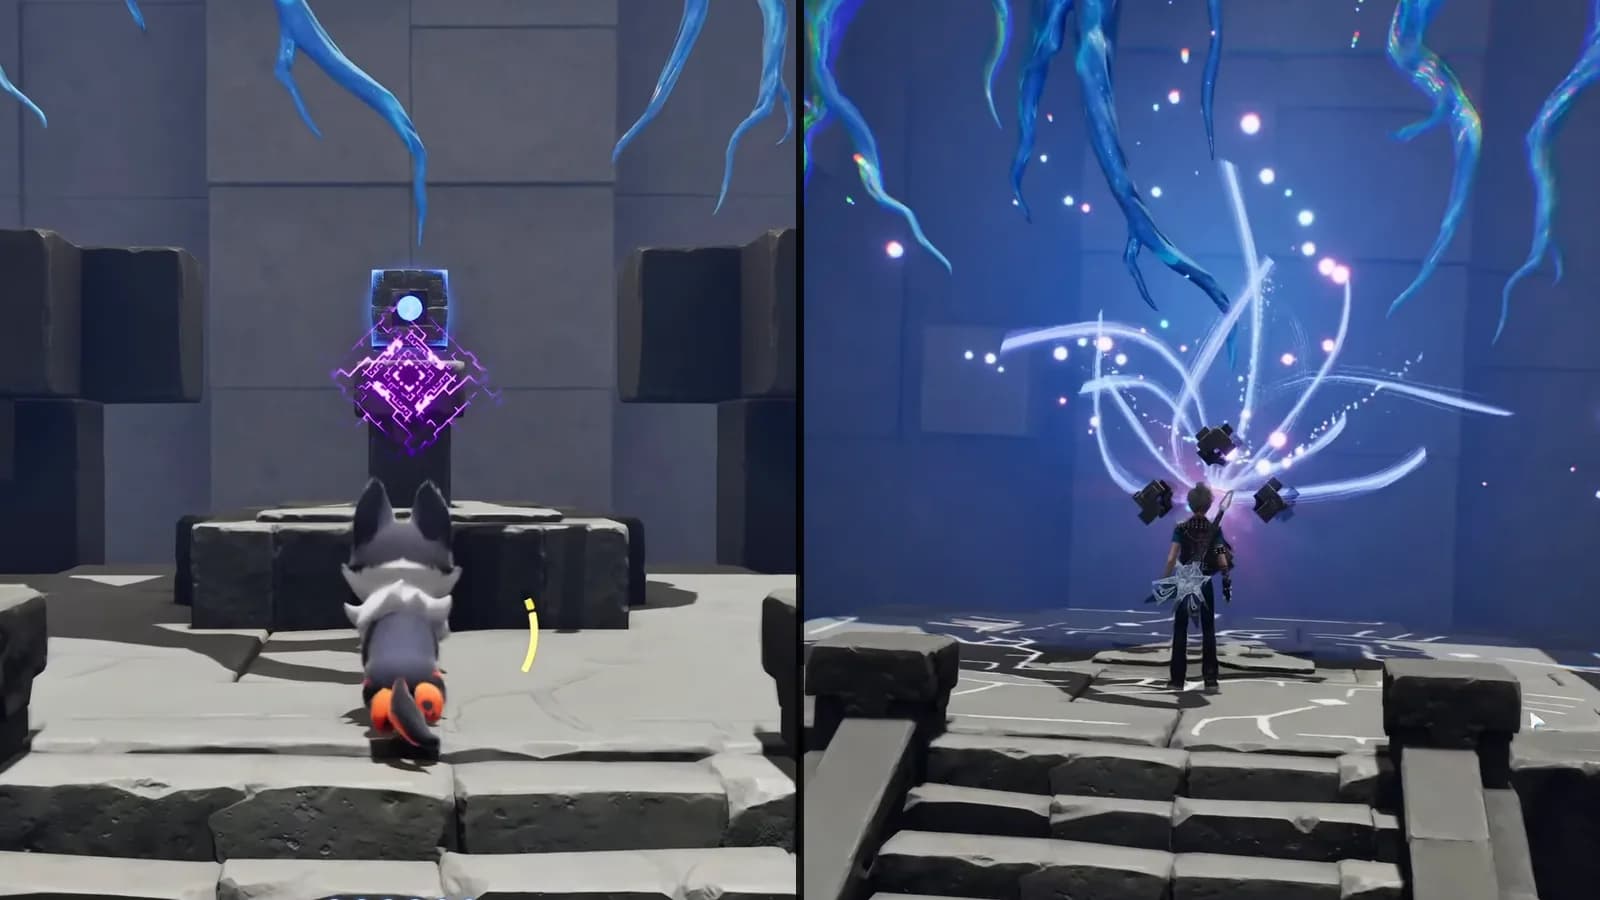
You can also reopen the Sanctum atlas layer to choose the next entrance.
Frequently asked
Where is Through Flame and Thorn?
It is a solo Mistwoods Sanctum. Open the exact atlas pin. The marker sits at 1624, 1634 on the AniimoVerse atlas.
How many optional chests are in Through Flame and Thorn?
Two. Chest 1 is in the water alcove after ball pad 2; chest 2 is on the final staircase landing. Confirm 2/2 before using the Terminus.
Why does the first rolling fire carrier stop burning?
The water stream extinguishes it and leaves a blue droplet or wet state. Wait until the carrier clears the stream, then re-ignite it with Fire Bolt through a gap in the bars.
Is the final square object the Vein?
No. It is the Sanctum Terminus, also called the Tesseract. Interacting with that device restores the Vein.