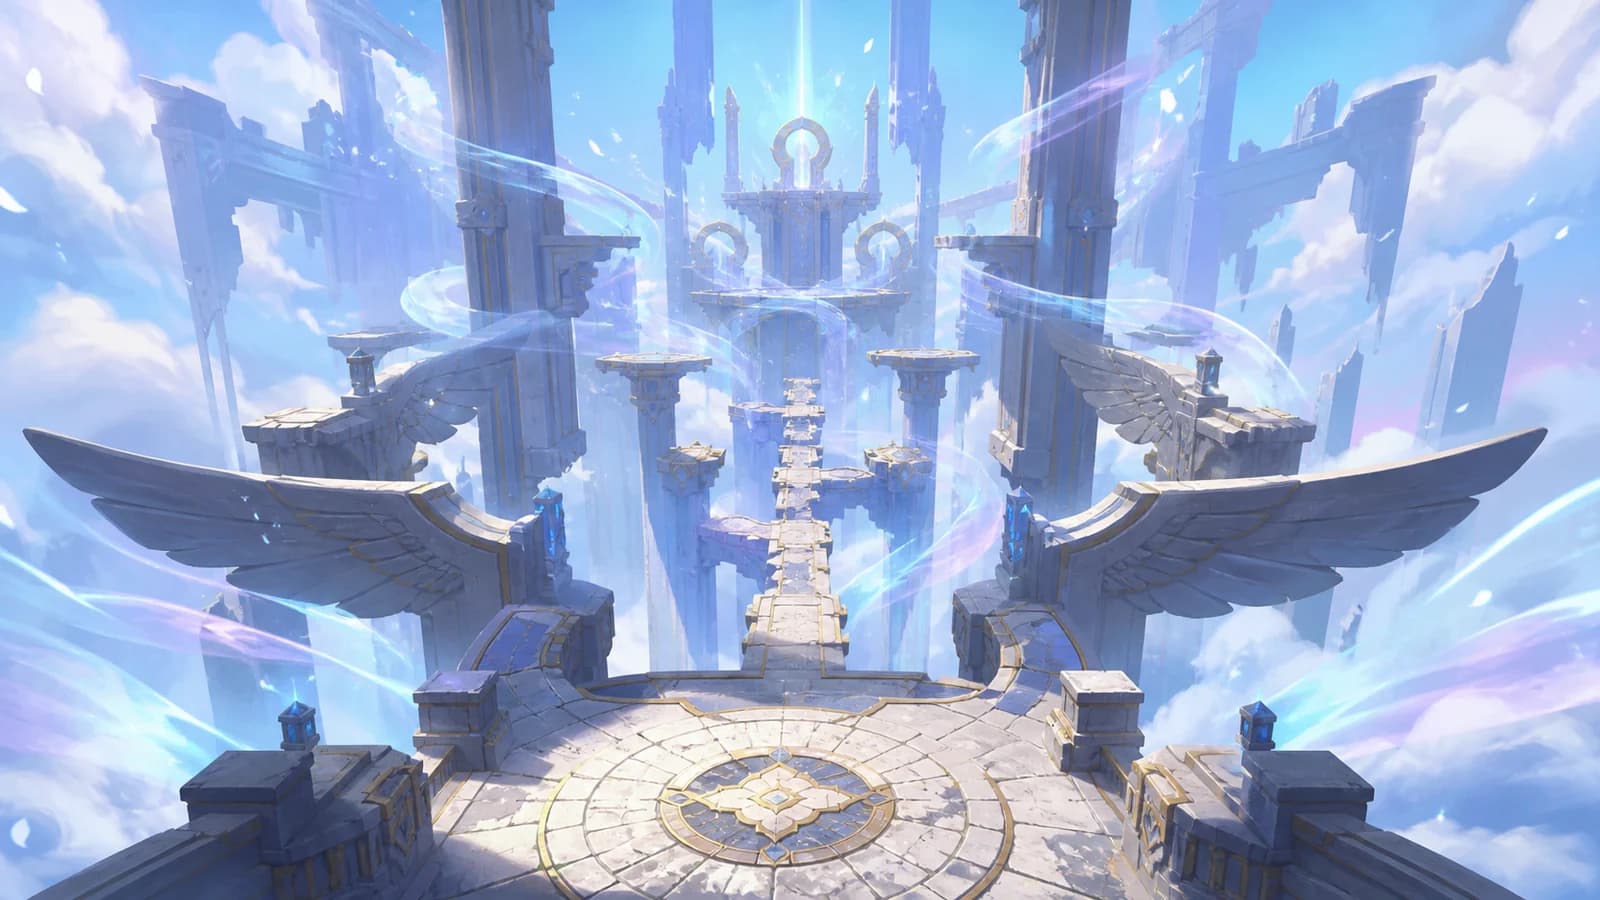
Location and requirements
Open the exact Wings Unfurled atlas pin in Forest of Falling Stars. The marker sits at 738, 1259 on the AniimoVerse atlas. The entrance takes one player and starts at 0/3 chests.
Forest of Falling Stars
Atlas area label
Atlas position
- Value
- 738, 1259
- Notes
- AniimoVerse atlas pin
Players
- Value
- 1 · Solo
- Notes
- Entrance requirement
Chest slots
- Value
- 3 · 0/3 at entry
- Notes
- Collect all three before the finish
Trial Aniimo
- Value
 Celestis
- Notes
- Supplied inside the room
Pathfinding mobility
- Value
- Climb Lv.1 · Fly Lv.1
- Notes
- Official Celestis index

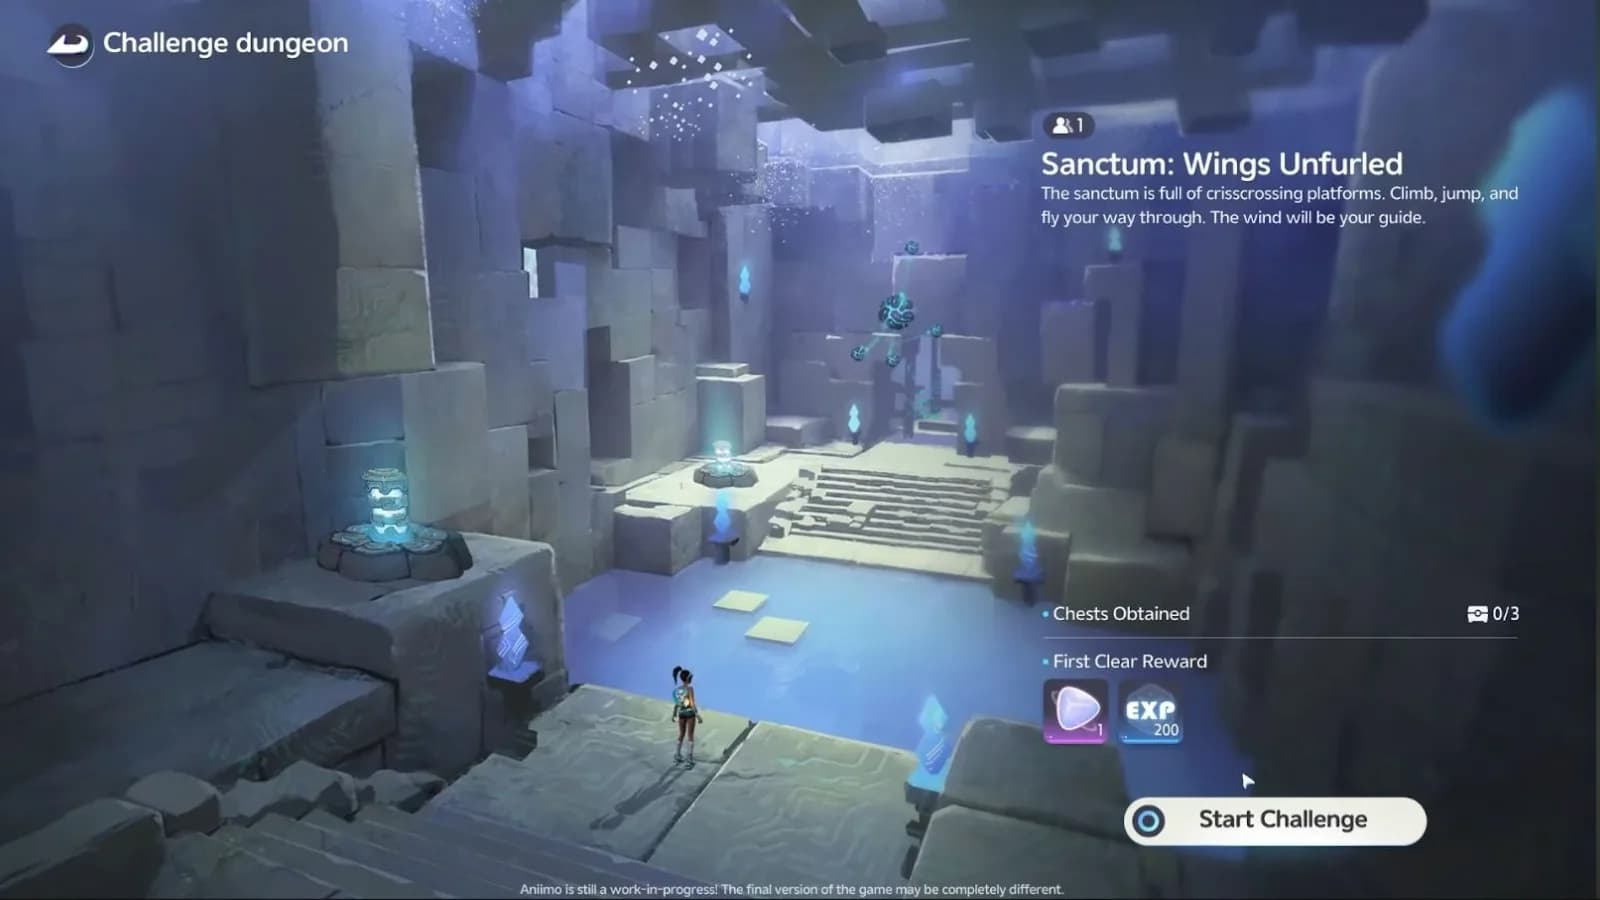
Quick route
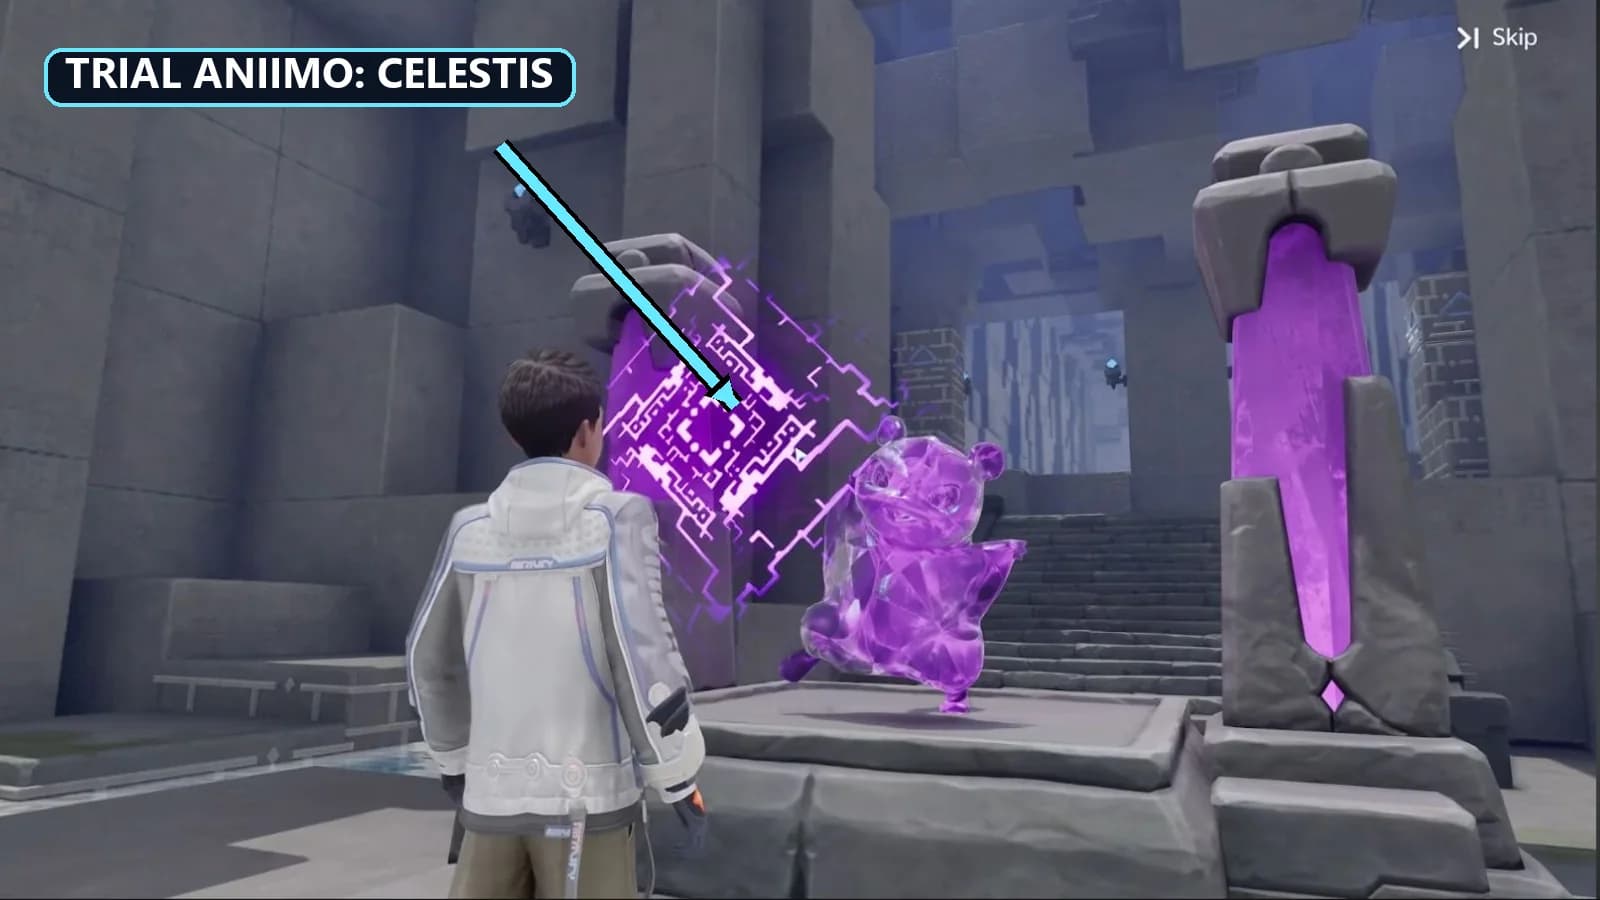
Awaken and Twine with trial Celestis
Start the solo challenge, approach the purple Aniimo statue, Awaken the sealed
Celestis and Twine with it. Read the Climb and Flight tutorial before leaving.Climb twice for chest 1
- Finish this before the pass
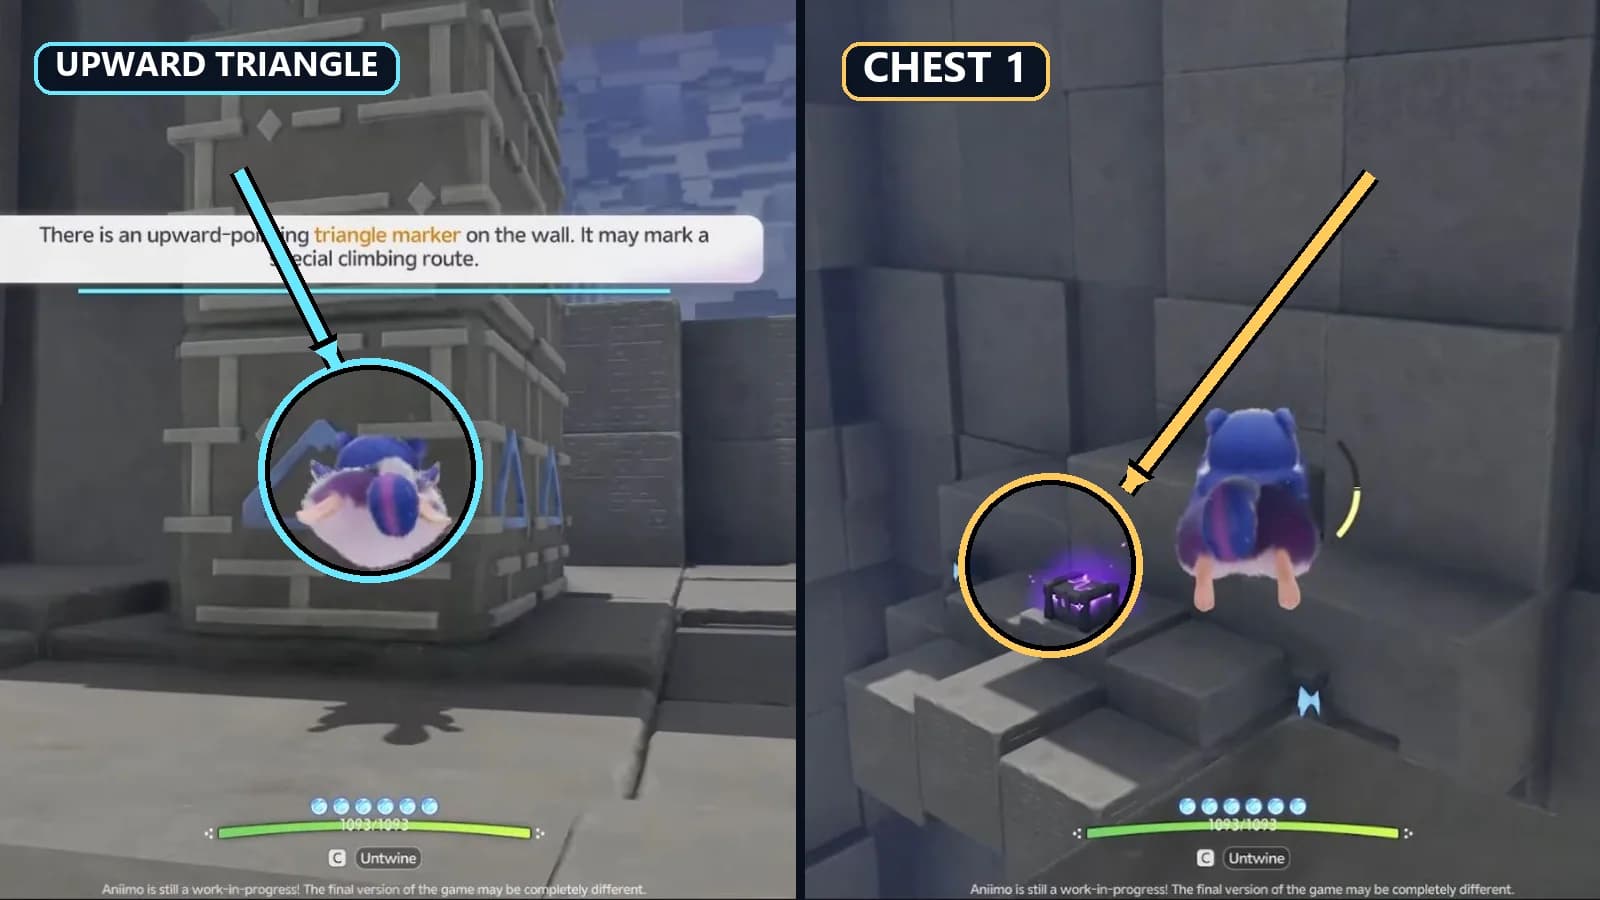
- Climb the first triangle-marked block, fly to the second marked wall, climb again, then make the short flight to chest 1. Open it and confirm 1/3.
Stage the wind-field ascent to chest 2
- Finish this before the pass
- Drop to the wind tutorial landing, enter Flight inside the visible current and use the broad stairs and round fan-pad platforms as staging surfaces. Ride the next lift toward the purple chest, open it and confirm 2/3.
Cross the marked central route for chest 3
- Finish this before the pass
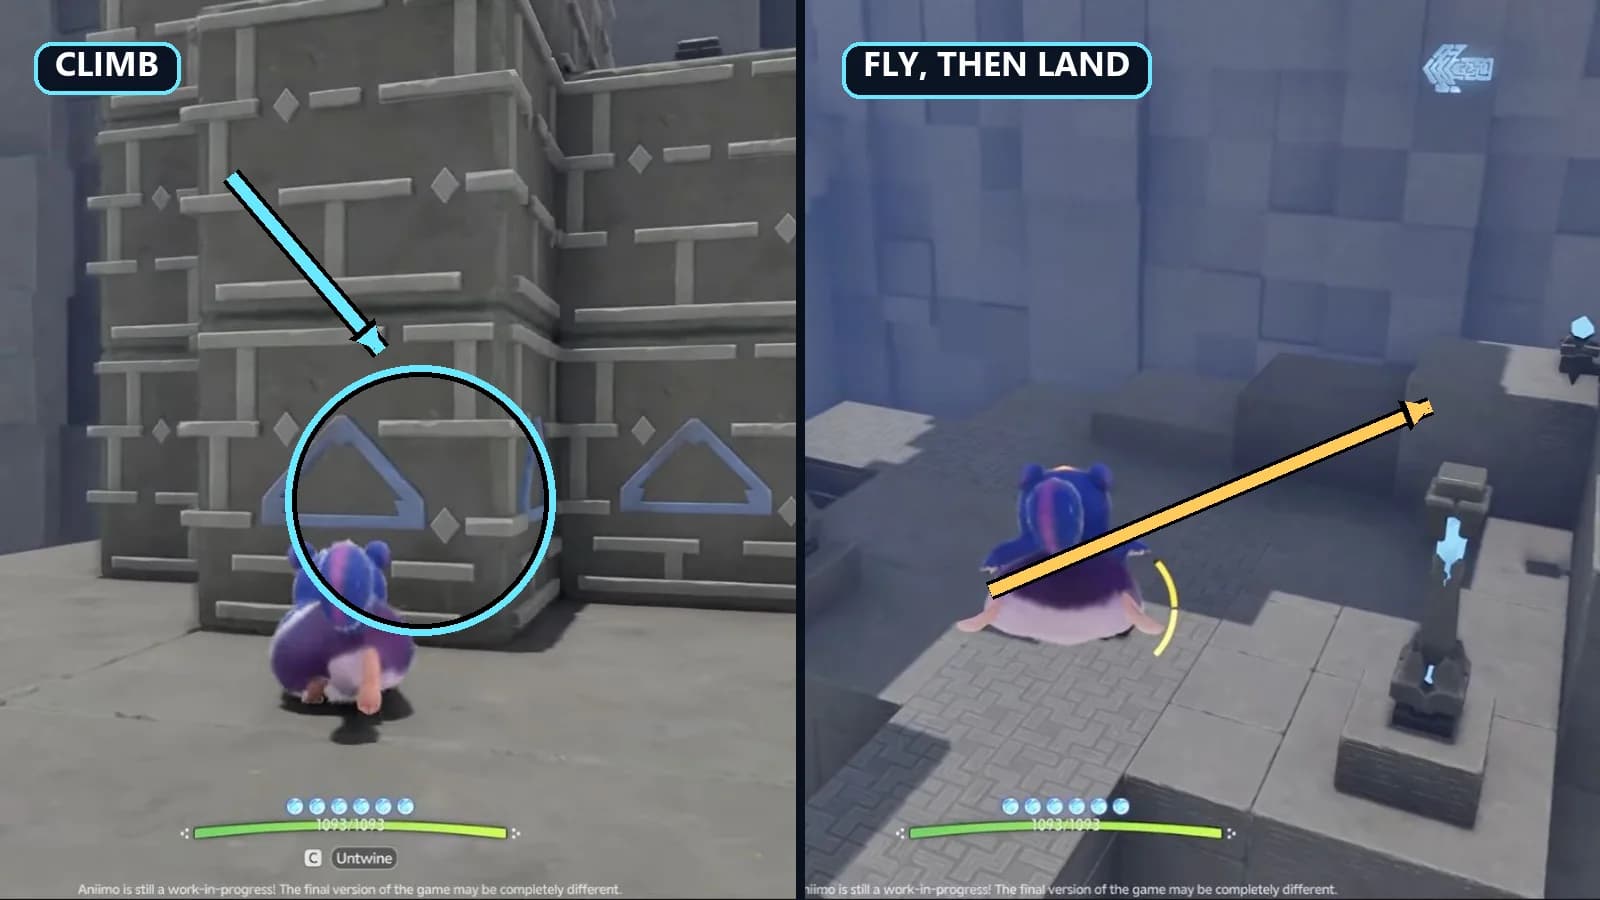
- After chest 2, climb the left marked face, fly across the broad shelves to the next stairs, climb the next marked wall and make the final short flight to chest 3. Open it and confirm 3/3.
Ride the two final wind columns
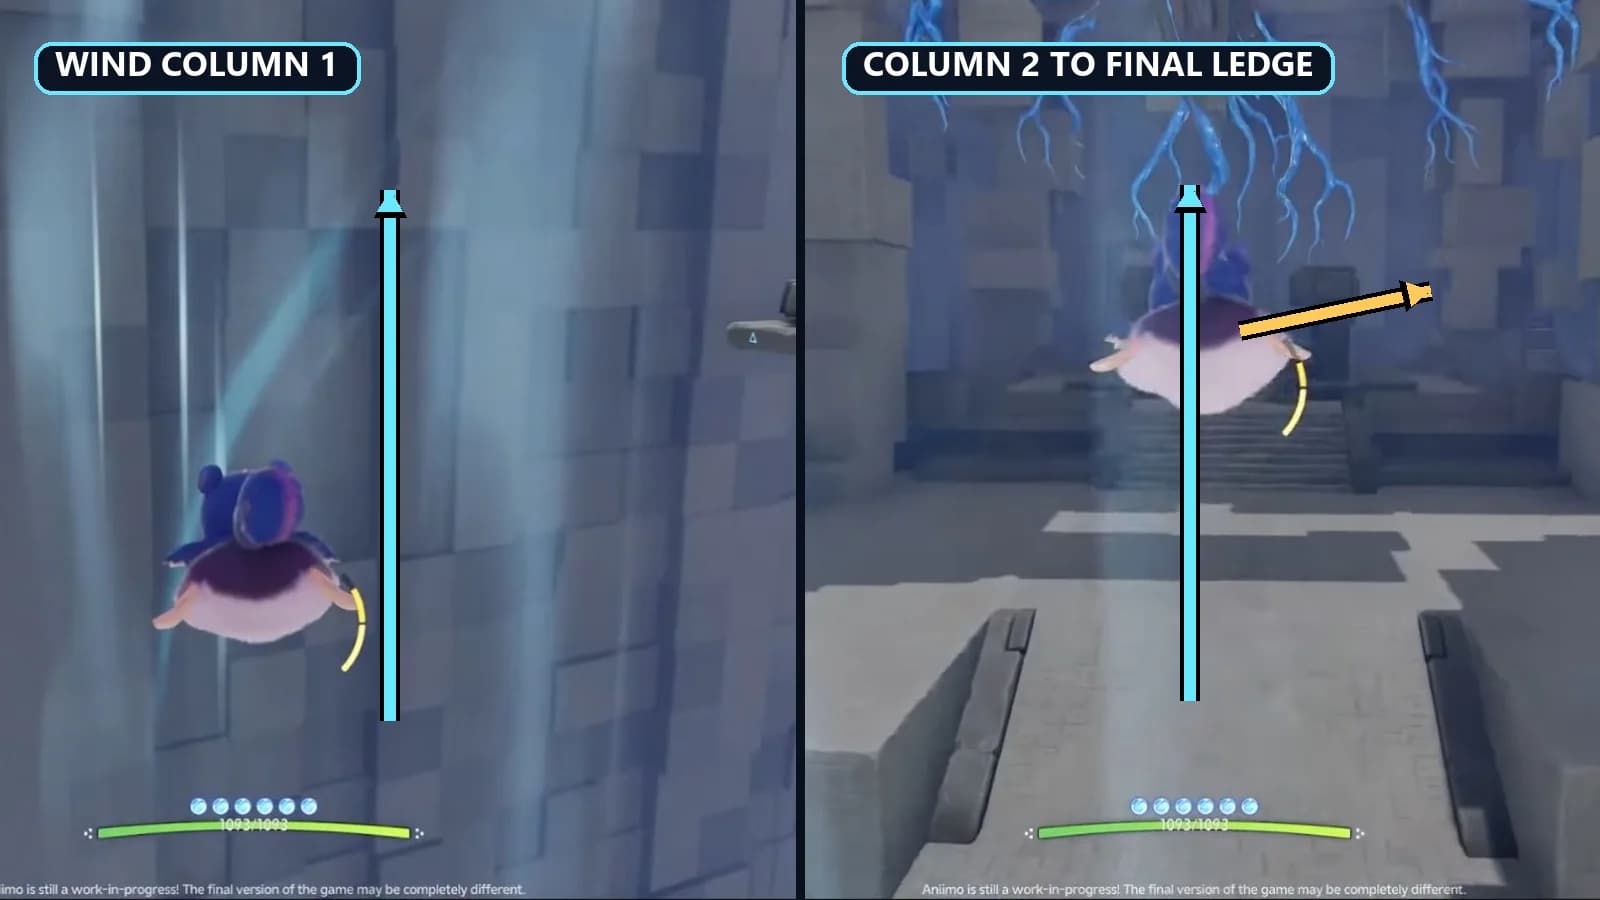
Fly through the first vertical current and land on the elevated multi-pad shelf. Enter the second current, rise to the final ledge and follow the stairs.
- The run closes behind you here
Touch the Sanctum Terminus
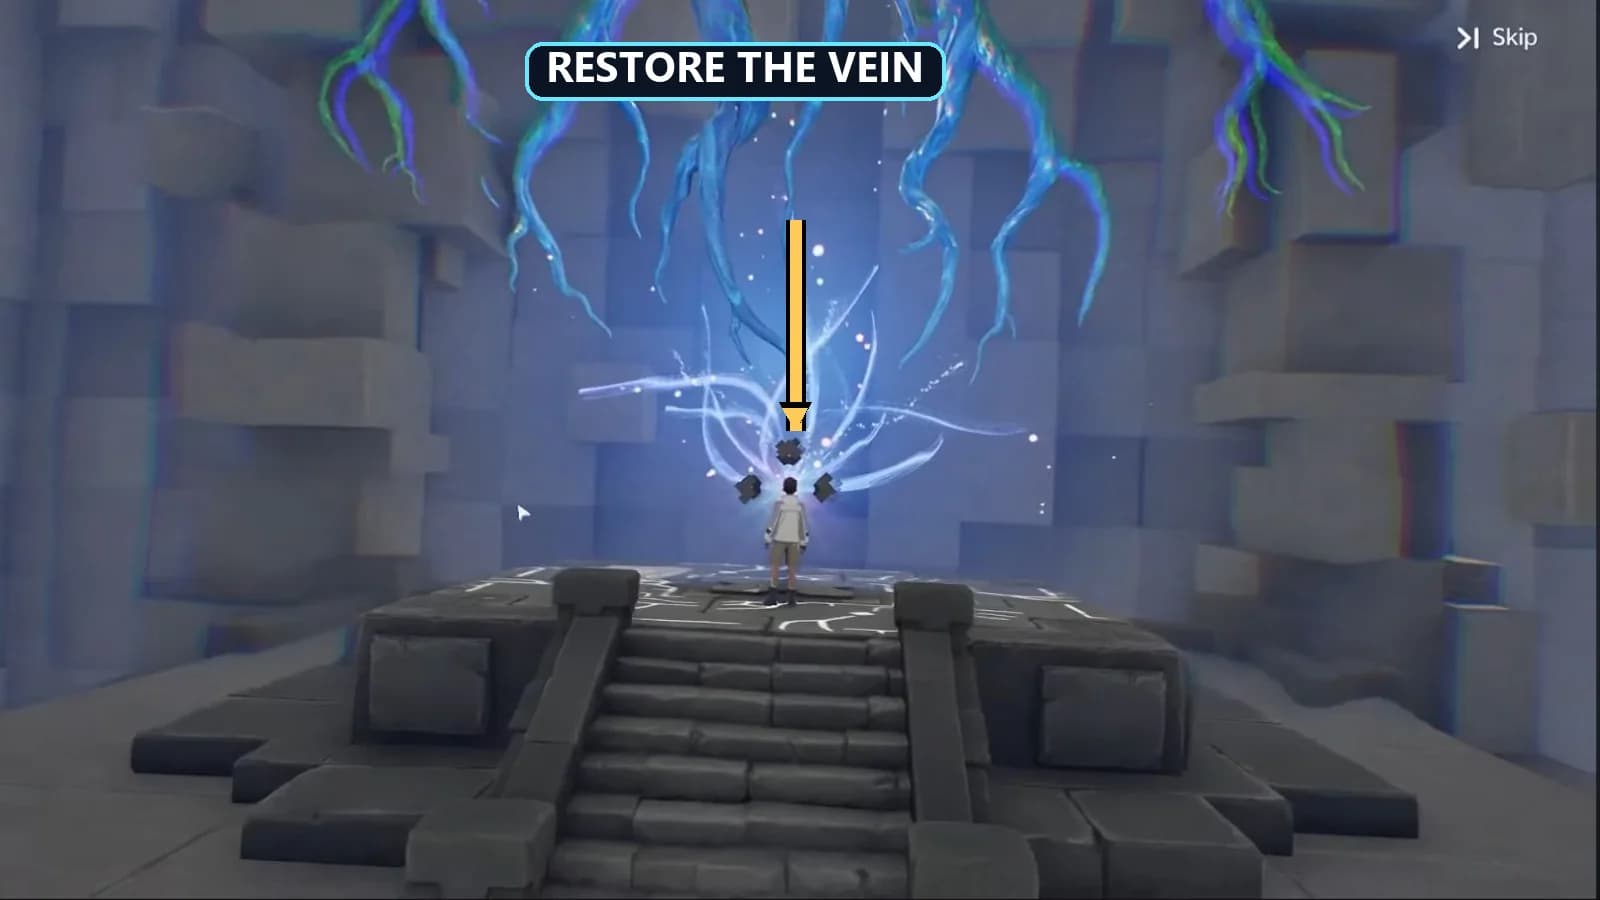
Stay Twined with Celestis, with the C · Untwine prompt still visible, and use F · Touch on the square purple Sanctum Terminus, also called the Tesseract. The cinematic that follows shows the Pathfinder and restores the Vein; the device itself is not the Vein.
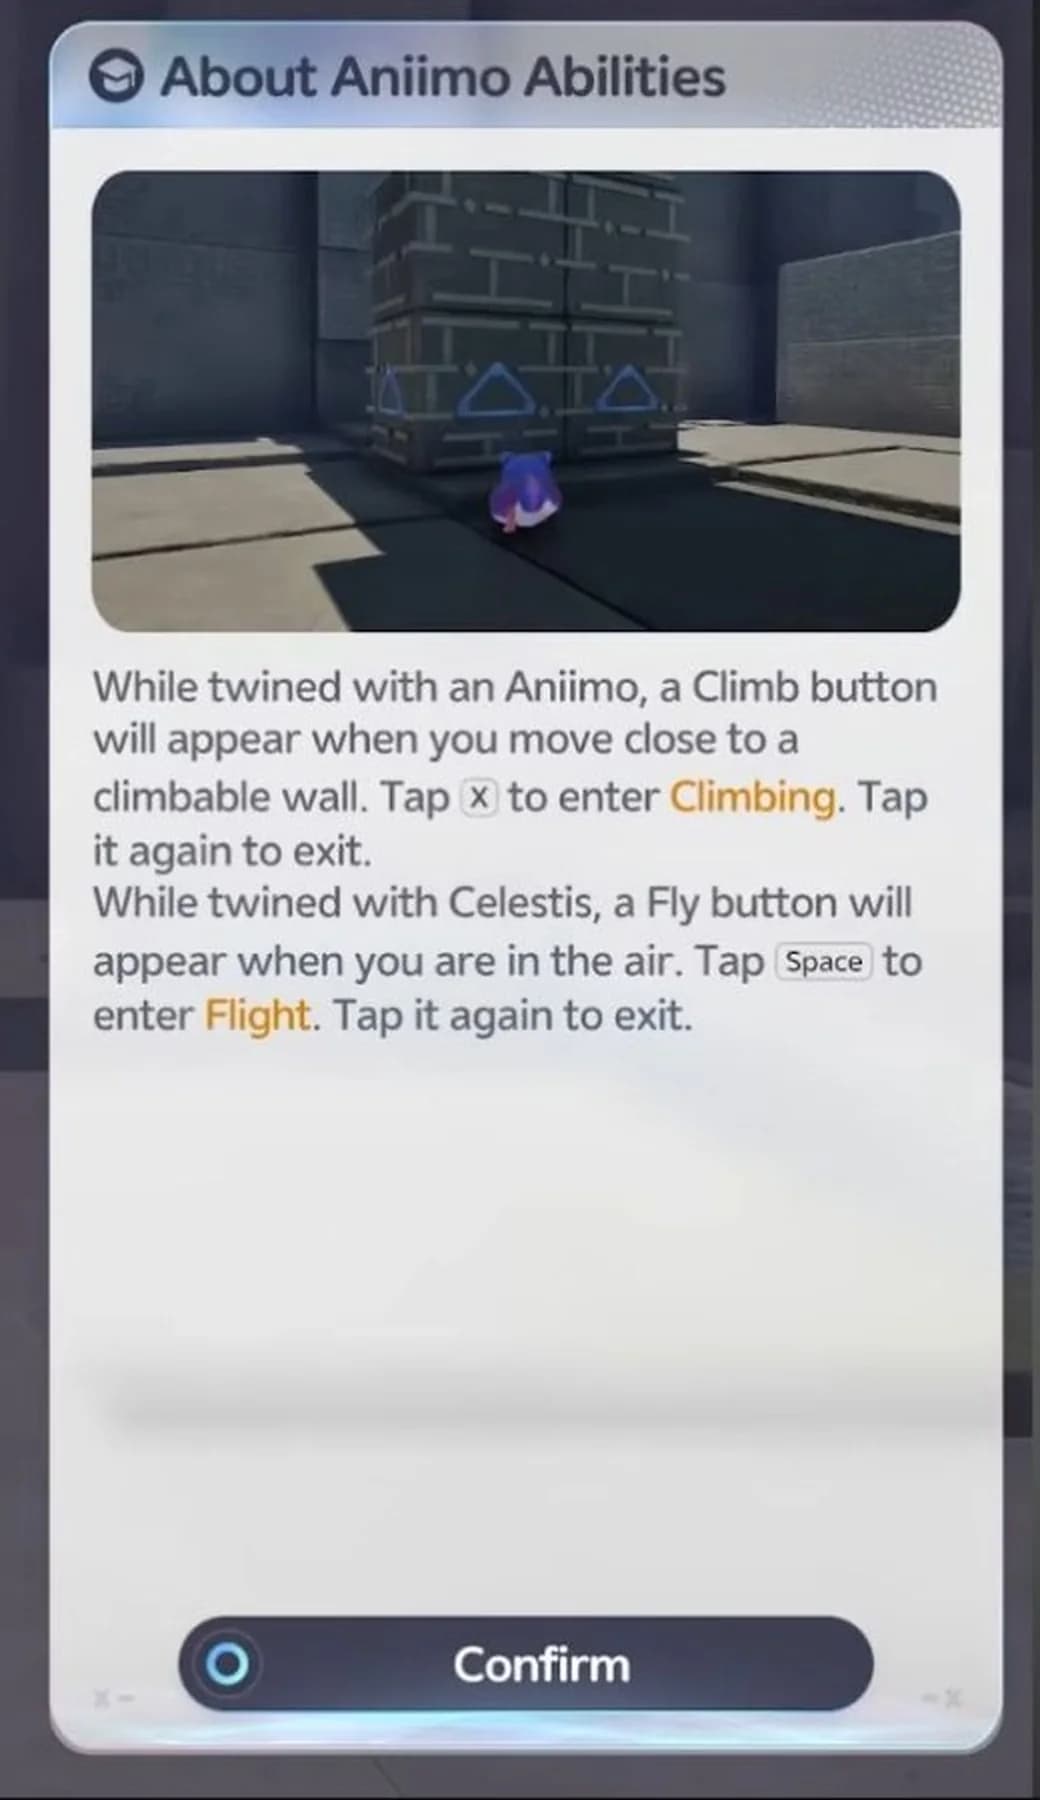
Celestis climb and flight primer
Celestis carries Climb Lv.1 and Fly Lv.1, the two Pathfinding actions this room teaches. The statue supplies Celestis for the run, so you do not need it in your own roster. The Twining and traversal guide explains the broader form handoff.
| State | Displayed control | Result |
|---|---|---|
| Beside a climbable wall | X · Climb | Enter Climbing |
| While Climbing | X · Cancel Climb | Leave the wall; tap X again to exit |
| Airborne before Flight | Space · Fly | Enter Flight while Twined |
| During Flight | Space · Rise | Spend movement margin to gain extra height |
| During Flight | X · Exit | Leave Flight over a safe landing |
Triangle-marker and wind-field legend
Upward triangle on a wall
A special climbing route up that face
Approach while Twined and use the displayed Climb input
Blue-white vertical wind lane
A flying Aniimo is lifted continuously inside it
Enter Flight, stay inside the lane and steer toward the next broad landing
Round fan-pad cluster
A landing and relaunch surface
Land, re-center the camera and pick out the next visible current
Broad stair or pale stone shelf
A forgiving surface between flights
Touch down before starting the next climb or wind lift
Numbered vertical route
Use the chest counter and the broad landings as route checks. The Puzzle Tutorials hub applies the same rule elsewhere: read the room’s visible cue before committing to an interaction.
1. Enter, Awaken Celestis and read the tutorial
Start the one-player challenge and approach the purple statue. The room first explains that your own Aniimo are unavailable. Use the displayed Awaken interaction, Twine with the trial Celestis, then read the About Aniimo Abilities panel for the X: Climb and Space: Fly inputs.
2. Two marked climbs and chest 1
Climb the first triangle-marked block and stand on its top. Jump outward and enter Flight, steering to the second triangle-marked wall across the gap. Exit over its base, climb that second wall, then make the short final flight to the chest ledge. Open chest 1 and verify 1/3.
3. Staged wind lifts and chest 2
Drop from chest 1 to the lower landing where the wind-field tutorial appears. Enter Flight inside the visible current and let the lane provide the lift while you steer toward the broad staircase. Continue across the short shelves to the multi-pad platform, relaunch through the next wind lane and aim for the broad chest landing. Open chest 2 and confirm 2/3.
4. Central marked route and chest 3
Take the stairs beyond chest 2 to the paired triangle-marked walls. Climb the left marked face to the top, fly across the central broad-shelf sequence and land at the next stairs. Climb the next marked wall, make the short flight to the final chest ledge and open chest 3 for 3/3.
5. Final wind columns and the Sanctum Terminus
From chest 3, enter Flight in the first vertical wind lane and steer onto the elevated cluster of round pads. Relaunch into the second column and let it carry Celestis level with the final ledge. Land and follow the stairs. Stay Twined with Celestis, with the C · Untwine prompt still visible, and use F · Touch on the square purple Sanctum Terminus/Tesseract. The cinematic that follows shows the Pathfinder and restores the Vein; the square device itself is not the Vein.
Three-chest checklist
Chest 1
- Route landmark
- Ledge after climb → flight → climb → short flight
- Counter after opening
- 1/3
Chest 2
- Route landmark
- Broad landing after the staged wind-field ascent
- Counter after opening
- 2/3
Chest 3
- Route landmark
- Upper ledge after the central marked-wall route
- Counter after opening
- 3/3
Movement margin and flight recovery
A curved yellow gauge appears beside Celestis during Climbing and Flight. Treat it as your movement margin and land between long flights instead of chaining rises.
- Still in Flight inside a wind lane: steer toward the target and spend Space: Rise only when you need the extra height.
- A broad shelf already beneath you: stop rising, steer over it and use X: Exit.
- You miss a landing: aim for a lower block, stair or round pad on the way down, then climb back to the line you left.
- Your buttons differ: trust the active HUD and your remapped labels rather than the introductory panel’s second-tap Flight wording.
Completion and rewards
The square object at the end is the Sanctum Terminus, called a Tesseract in game text and tied to fractured Vein energy. Touching it restores the Vein; the device itself is not the Vein. Reach 3/3 first, then let the restoration sequence finish.
The entrance lists First Clear Reward with one item plus EXP 200. First-time Sanctum clears award Lumin Amber, and optional chest loot is separate from that award.
Frequently asked
Where is Wings Unfurled?
It is a solo Sanctum in Forest of Falling Stars. Open the exact atlas pin; the marker sits at 738, 1259 on the AniimoVerse atlas.
Which trial Aniimo and controls does Wings Unfurled use?
The room supplies Celestis, whose official Pathfinding mobility is Climb Lv.1 and Fly Lv.1. On keyboard, the room shows X to enter Climbing, Space to enter Flight, Space to Rise and X to Exit.
Where are the three Wings Unfurled chests?
Chest 1 follows two marked climbs with flights between them; chest 2 follows the staged wind-field ascent; chest 3 follows the central marked-wall and broad-shelf route. Confirm 3/3 before the final wind columns.
What finishes Wings Unfurled, and what does it award?
Touch the square Sanctum Terminus/Tesseract to restore the Vein. The entrance lists one first-clear item plus EXP 200, and first-time Sanctum clears award Lumin Amber.