



Know which rare you are hunting
One Emberpup can carry several independent results. Decide which column matters before you start, because the route creates more checks but does not turn one rare category into another.

Emberpup
Independent results
Perfect
- What it means
- The highest Potential grade, calculated from six per-stat Potential values.
- What this route does
- Creates more catches to appraise.
Sparkling
- What it means
- The game’s shiny trait: a glittering coat, independent of Potential and form.
- What this route does
- Creates more wild encounters to inspect.
Regional form
Forms named here
- Basic
- Highland
- Mountain Woods Emberpup
- What it means
- Basic, Highland or Mountain Woods Emberpup, with form availability tied to habitat.
- What this route does
- Beast Fang Ridge is a listed habitat for Basic and Mountain Woods forms.


Reach the white-flower farm
The official habitat list places Emberpup in Beast Fang Ridge. Use the Aniimo spawn atlas to orient on the ridge, then enter from the northern side and follow three visual anchors: a short tunnel, a pair of fang-shaped stones and a white-flower clearing.

- 1Start at the northern approach
Use the map image as your orientation, then follow the path toward the narrow break in the rocks.
- 2Pass through the short tunnel
Stay on the direct line through the ridge instead of climbing the outer slopes.
- 3Find the twin fang rocks
On the far side, look for the two tall stones that lean inward like teeth. They are the clearest field landmark on the loop.
- 4Move into the white flowers
The clearing directly beyond the rocks is your center point. Sweep its edges and the nearby path, then return here after each catch.

- 1Twin fang rocksThe two tall stones that lean inward like teeth. The clearest field landmark on the loop.
- 2White-flower clearingSits just beyond the rocks. Sweep its edges and the nearby path, then return here after each catch.
Run a clean catch loop
Treat the clearing as a circuit, not a single spawn point. Emberpup appears around several nearby angles, so a short sweep is more useful than waiting on one patch of flowers.

- 1Inspect the whole clearing
Circle once before throwing. Check the flower bank, the base of the fang rocks and the open path toward the tunnel.
- 2Catch every useful candidate
A normal-looking Emberpup can still roll Perfect Potential. Appearance alone does not settle the grade, so catch first and appraise the batch later.
- 3Sweep the outer angles
After a catch, make one compact loop around the rocks and tunnel mouth instead of standing still at the original spot.
- 4Recenter on the flowers
Return to the clearing and repeat. If the immediate circuit is empty, widen the sweep before assuming the route has stopped producing encounters.

Appraise the haul safely
A Perfect hunt is decided after the catch. Open the report or appraisal view, sort the batch and inspect the six Potential values behind each Emberpup grade.
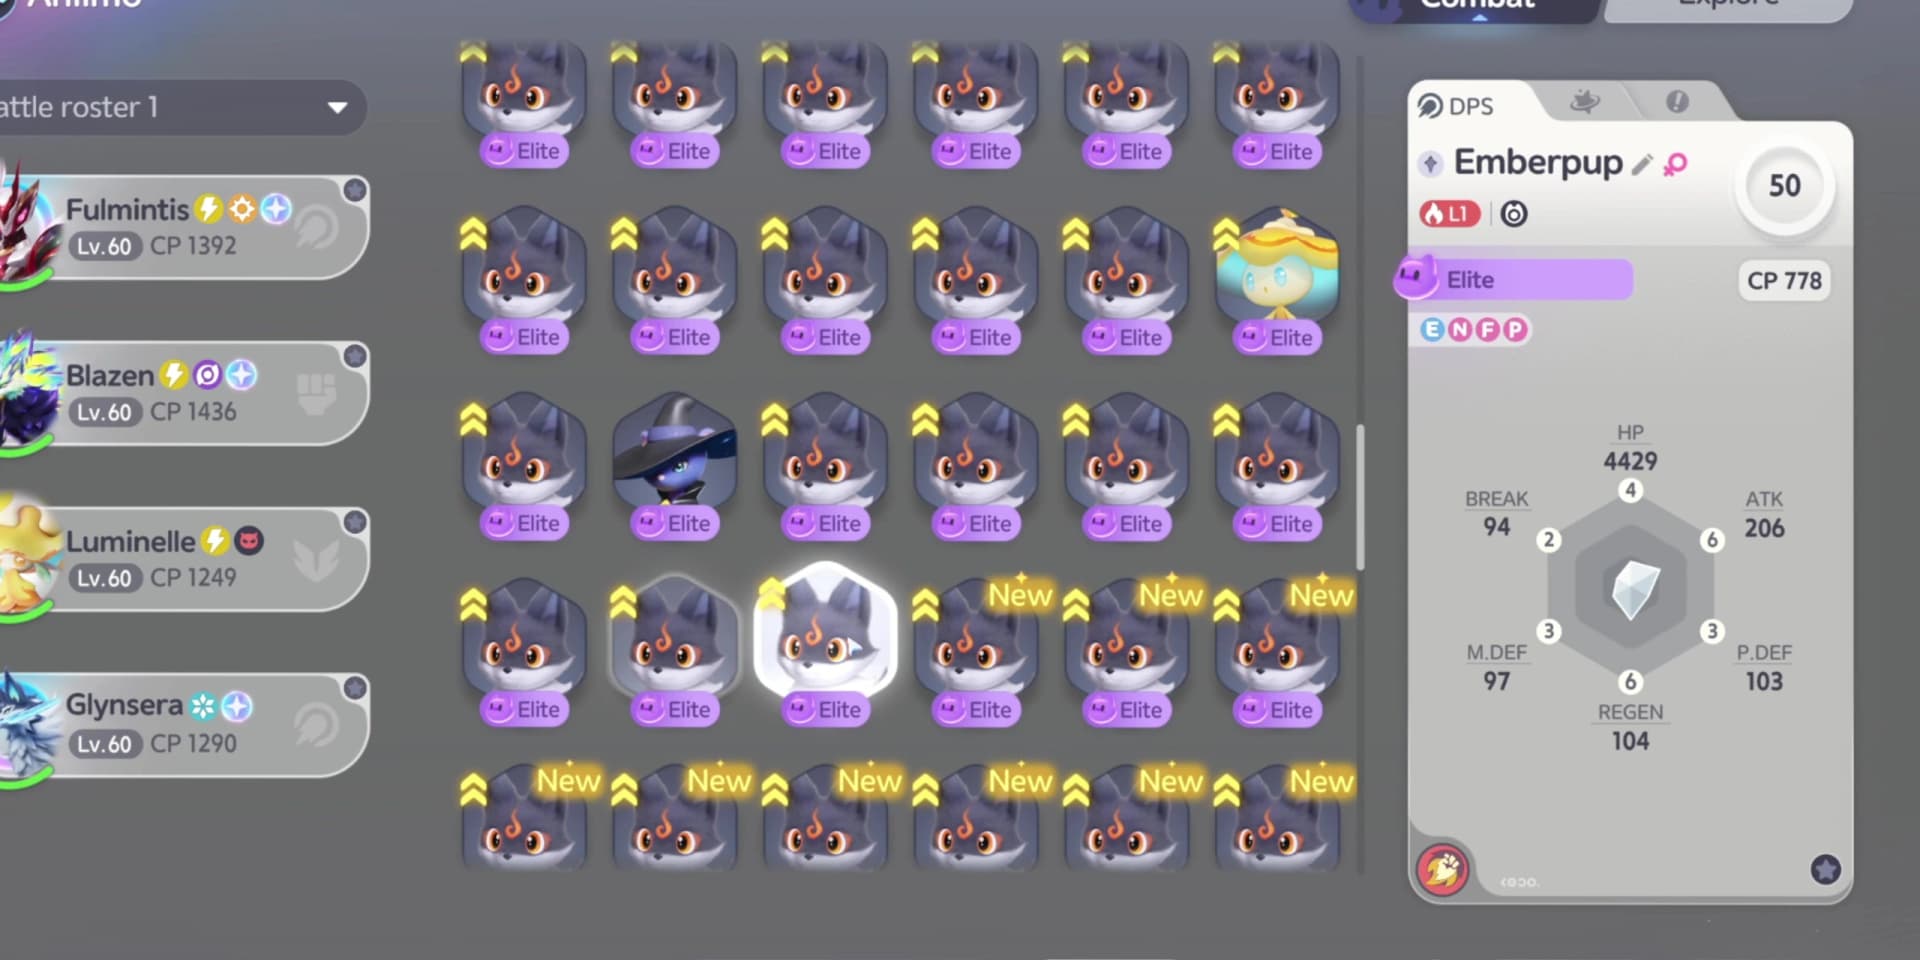
- 1Finish the field batch
Appraise in groups so you spend more of the session on encounters and less on menu switching.
- 2Sort by Potential
Perfect is the target grade. Use the detailed six-stat spread when choosing between multiple high-grade catches.
- 3Protect every special result
Before releasing duplicates, lock or separate any Perfect, Sparkling, Alpha or regional-form result you want to keep.
- 4Release only after the second check
Filters speed up cleanup, but verify the protected group manually before confirming a bulk release.
Emberpup forms, stats and evolution
All three indexed Emberpup forms share the same listed base stat line. The form changes the elemental profile and habitat, not the 371-point total shown below.
| Stat | Value |
|---|---|
| HP | 67 |
| ATK | 86 |
| PDEF | 60 |
| MDEF | 53 |
| BREAK | 38 |
| REGEN | 67 |
| Total | 371 |
Its trait, Scorching Flames, adds 15 percent damage against enemies weak to its element. Its mobility action, Hustle, trades stamina for extra movement speed.

Where each form belongs





That makes Beast Fang Ridge the overlap habitat for Basic and Mountain Woods Emberpup. Highland belongs to a different route, so do not use this clearing as a universal farm for all three forms.
The two final branches
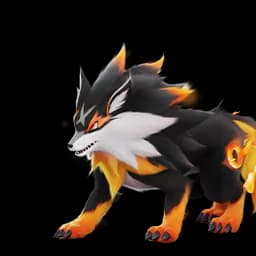
Emberpup evolves into Flameruff, then branches into Scorchhowl or Inferlupa. Pick the branch for the finished role you want; the field hunt supplies the starting Emberpup for either path. The Inferlupa build page sets out what that ending plays like, and the Inferlupa unlock guide covers the night quest the branch needs.


Add Sparkling checks without slowing down
A Sparkling is a visual trait, so inspect each wild Emberpup before committing to a fast throw. A Sparkling can also have any Potential grade or eligible form; finding one does not end a Perfect hunt unless it rolls Perfect too.
| Moment | Check |
|---|---|
| Before the throw | Pause long enough to inspect the coat and effects. |
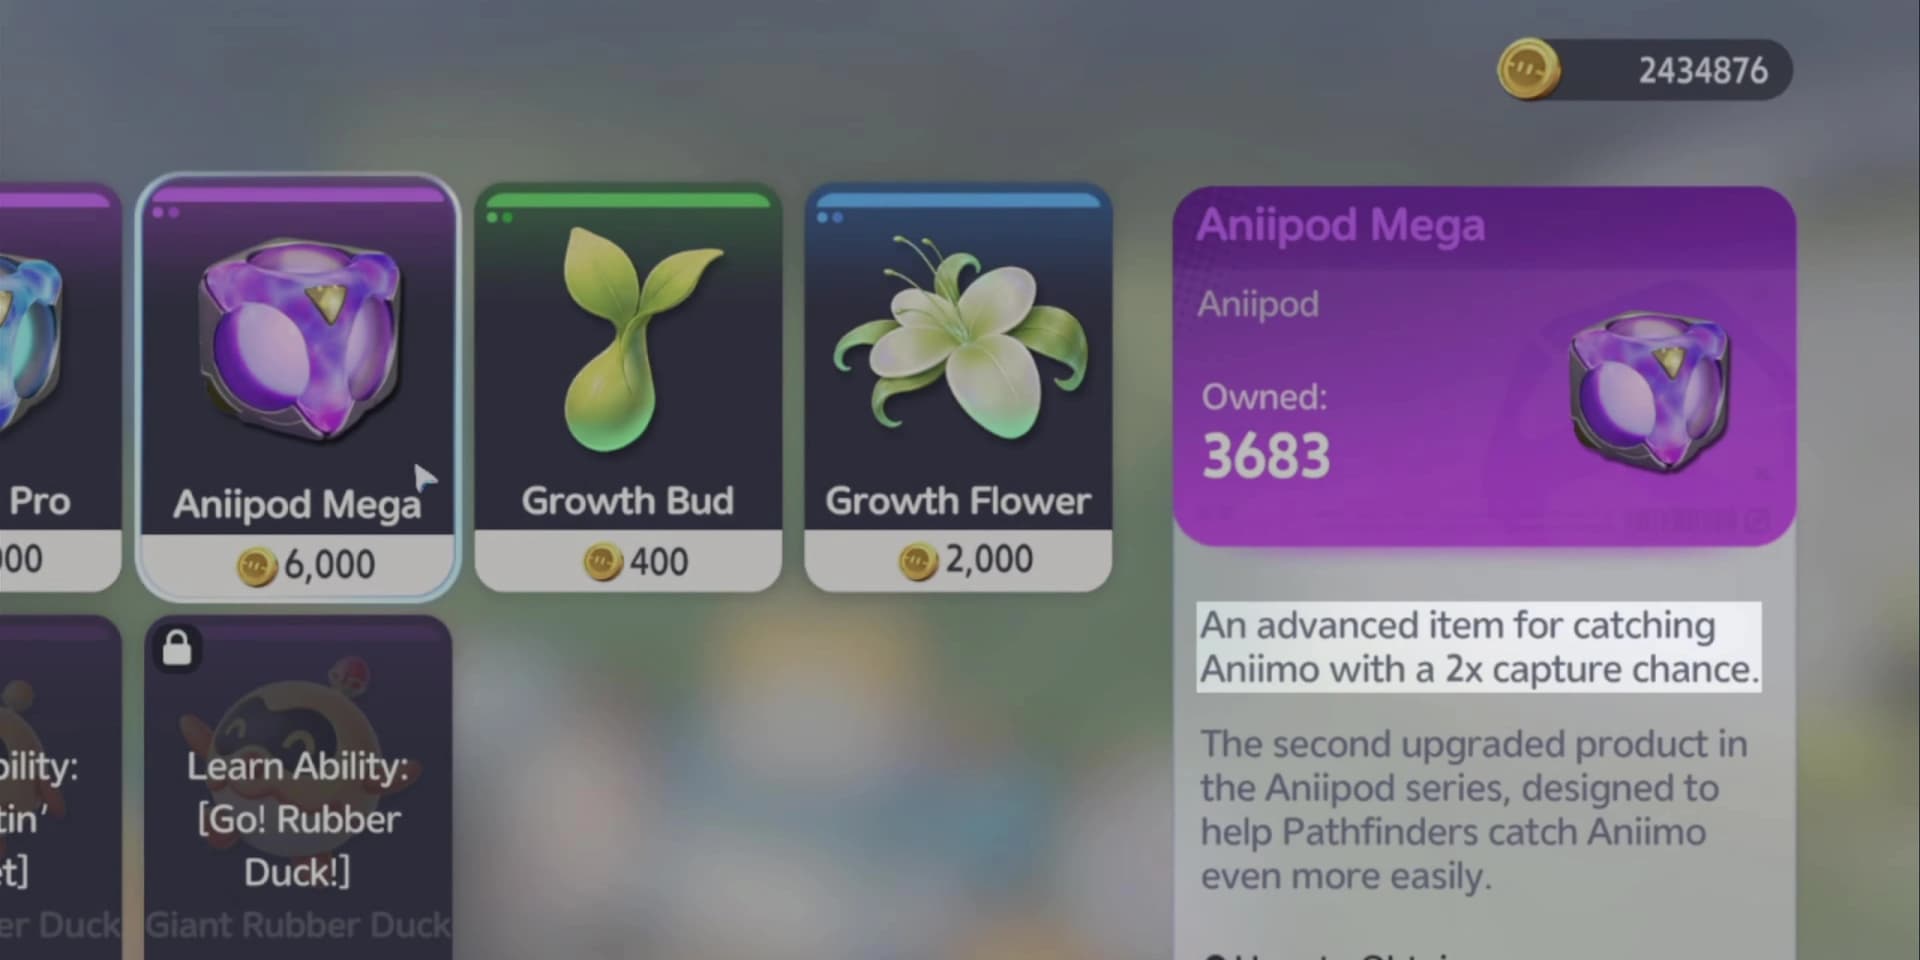
| During the catch | Use a stronger pod when losing the candidate would matter. |
| During appraisal | Read Potential separately from the Sparkling trait and form. |
| Before release | Protect every rare axis first, then clean up ordinary duplicates. |

Frequently asked
Where should I farm Emberpup at Beast Fang Ridge?
Use the northern approach, pass through the short rock tunnel and look for the paired fang-shaped stones. The white-flower clearing beyond them is the center of the catch loop; sweep the rocks and tunnel mouth before returning to it.
Can I tell whether an Emberpup is Perfect before catching it?
Not from its coat or form. Catch it, then use the report or appraisal view to read its Potential grade and six per-stat Potential values.
Is a Sparkling Emberpup automatically Perfect?
No. Sparkling is the shiny trait and Perfect is the top Potential grade. They are separate rolls, so an Emberpup may be one, both or neither.
Which Emberpup forms appear at Beast Fang Ridge?
The official habitat index lists Beast Fang Ridge for Basic and Mountain Woods Emberpup. Highland Emberpup is instead listed for Zephyrus Landbridge and Russet Highlands.