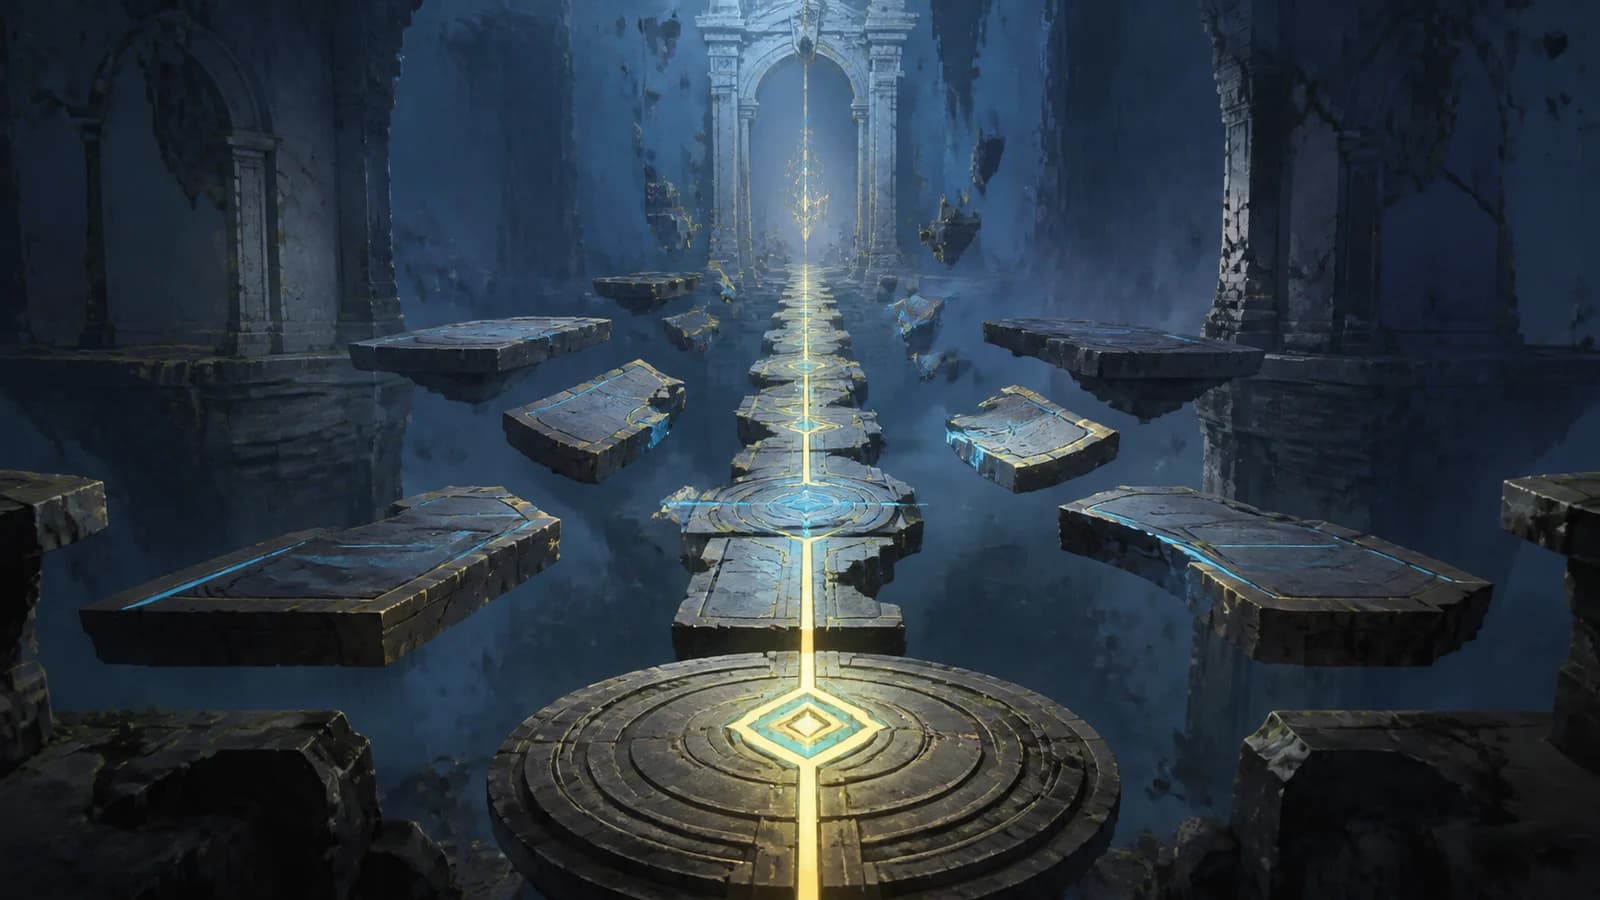
Location and route overview
Open the exact All in Sight atlas pin in Russet Highlands. The marker sits at 2083, 662 on the AniimoVerse atlas. The entrance is solo and its optional-chest counter runs from 0/5 to 5/5.
Russet Highlands
Players
- Value
- 1 · Solo
Optional chests
- Value
- 5
Trial Aniimo
- Value
 Helmut
Room action
- Value
- Detection
Mechanism prompt
- Value
- Raise/Lower Ram

How Detection and the remote rams work
The square object beside the player is an environmental control, not a ram, pressure plate or place to stand. The room tutorial says its distant battering ram can form a path or knock a ball into a socket. After you Twine with trial Helmut, Detection reveals the hidden rails, the green ball and the mechanism slot through obstacles. Use the nearby control’s Raise/Lower Ram action while reading that hidden route.
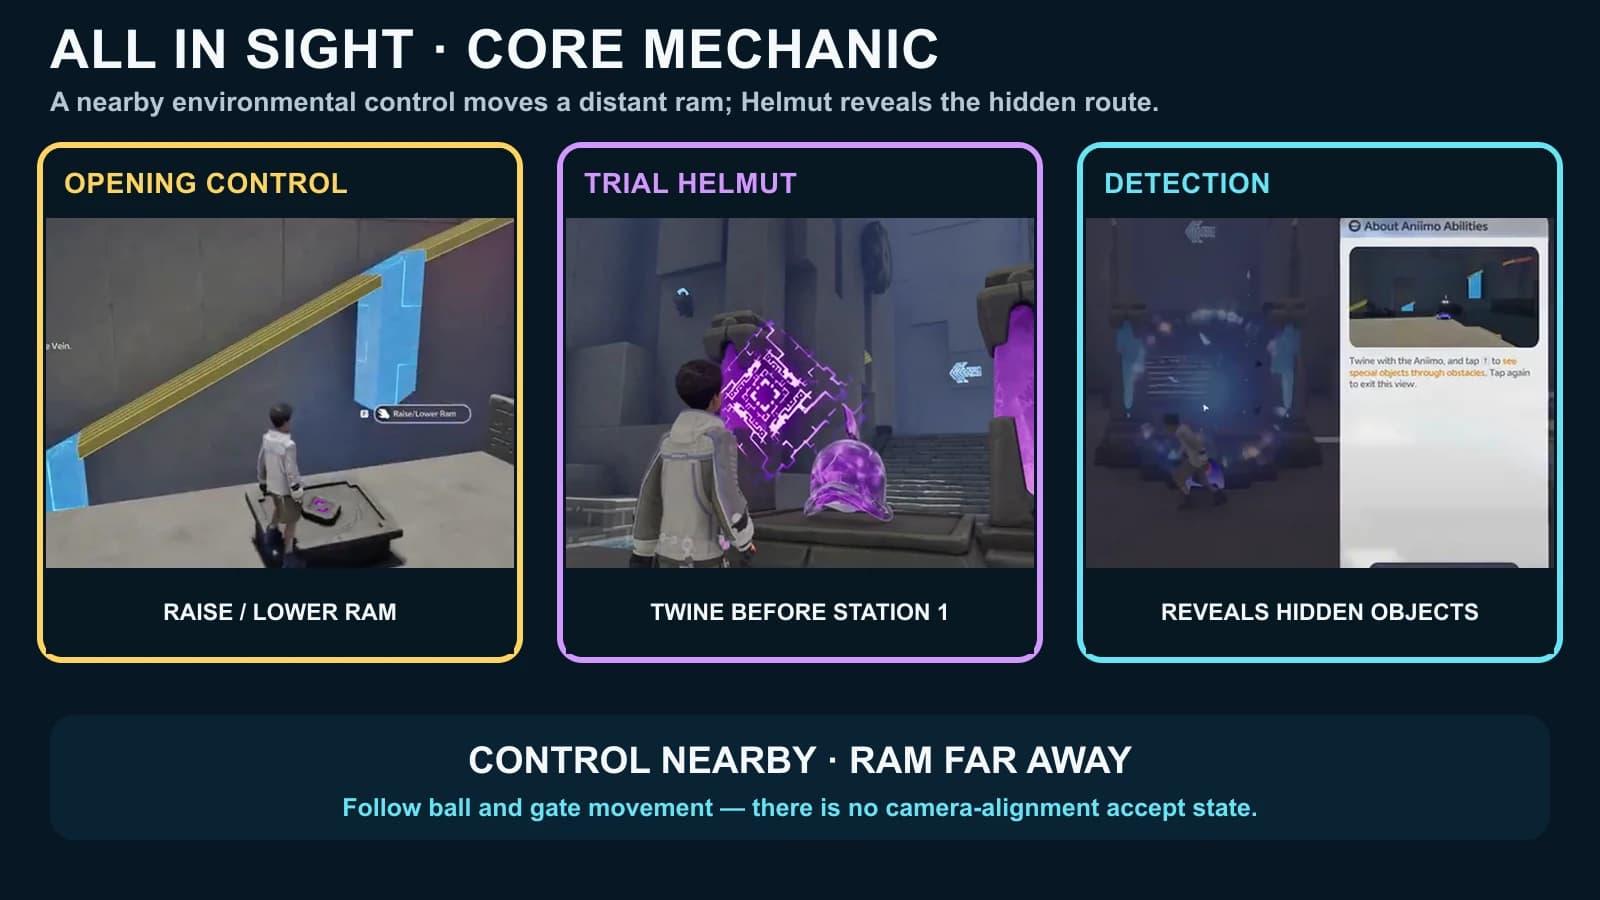
- Use the control from beside it. Helmut never needs to stand on the square mechanism.
- Enter Detection to read the route. Amber view exposes the hidden rails, green ball and socket state.
- Press Raise/Lower Ram as the ball path requires. The control changes a distant ram; it does not align the camera.
- Watch the room, not a silhouette. Progress is the ball moving into a mechanism slot or a gate/path opening.
- Use Refresh Ball only when that exact prompt appears. Recall is a separate combat action and is not the room reset.
Full route: opening control and four Detection sequences
The room has one opening mechanism before Helmut and four post-trial Detection sequences across three physical controls. Sequence 4 returns to the same first main-shaft control used for sequence 2. Follow the mechanisms in room order and use the ball and gate movement as your confirmation, since the number of button presses depends on where the ball currently sits.
Use the opening control
At the first square mechanism, use Raise/Lower Ram to make the distant ram form the route forward. Continue to the trial statue.
Claim trial Helmut and chest 1
- Finish this before the pass
- Twine with trial Helmut, confirm the Detection tutorial, then open the purple chest in the entry-side recess. Leave this area at 1/5.
Run Detection sequence 1
Use the first post-chest mechanism. Enter Detection and operate Raise/Lower Ram until the green ball follows the revealed rail and the next gate opens.
Run Detection sequence 2
At the first main-shaft control, keep Detection active while the distant ram advances the green ball through the middle rail field.
Run adjacent sequence 3
Move to the neighboring control and repeat the remote-ram sequence for the adjacent rail/socket route. Then sweep the newly accessible chest cells.
Audit chests 2–4
- Finish this before the pass
- Check the lower side cell, the gold chest in the right recess and the opposite side cell. You can take these now or after sequence 4, whichever the open gates allow.
Return for Detection sequence 4
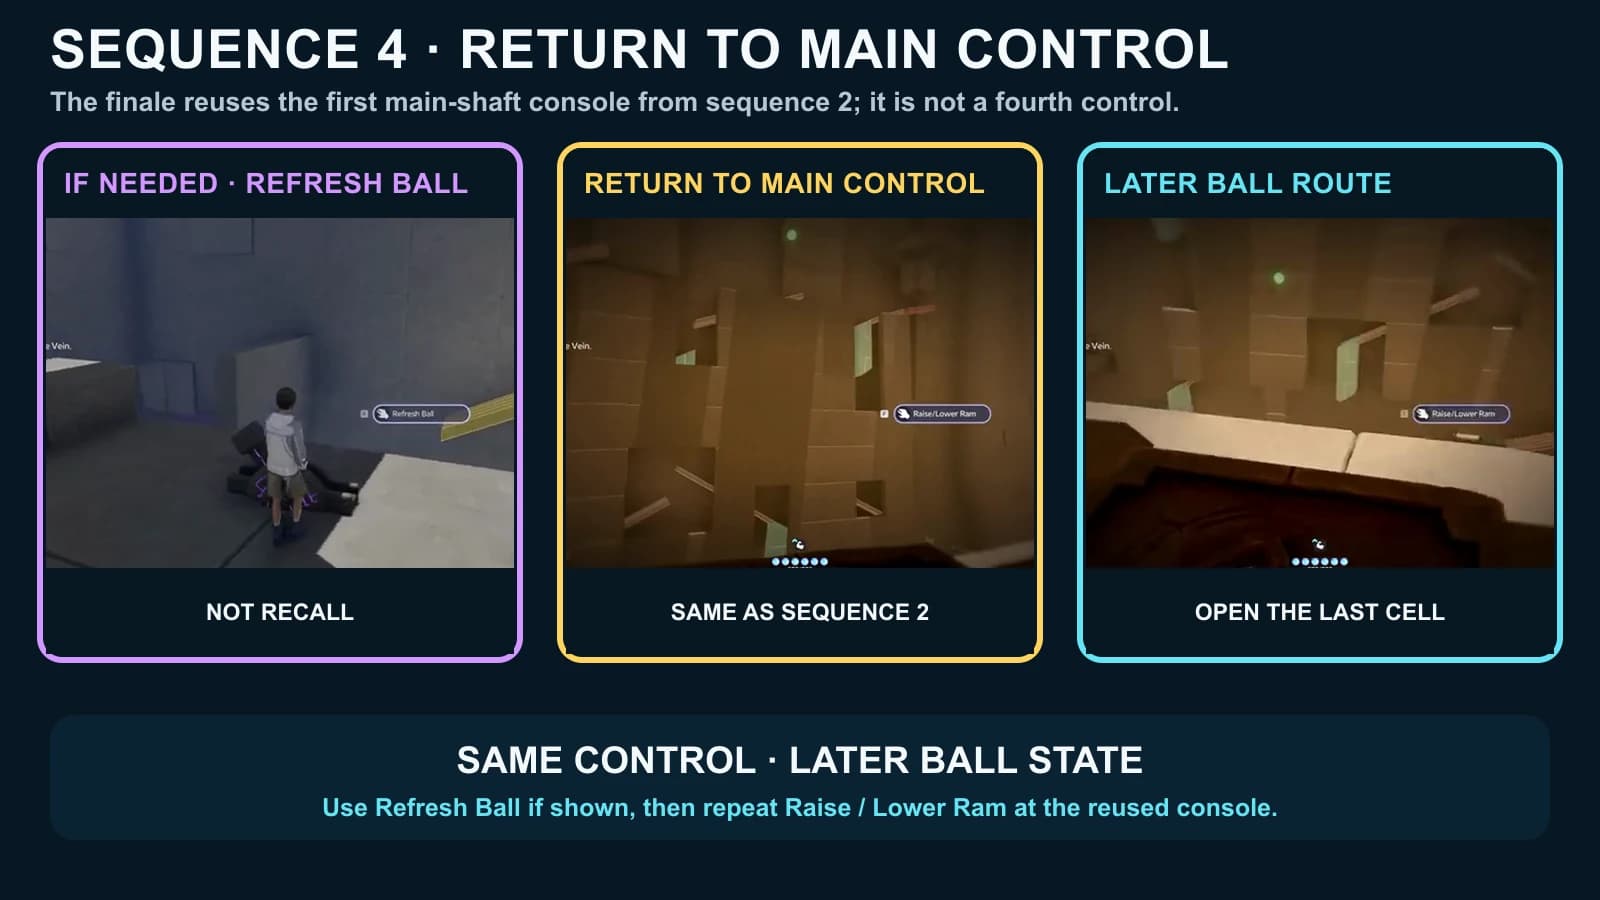
Return to the first main-shaft control used for sequence 2. If the adjacent prompt is present, Refresh Ball, then operate Raise/Lower Ram at that reused control until the last ball reaches its slot and the final barred cell opens.
- The run closes behind you here
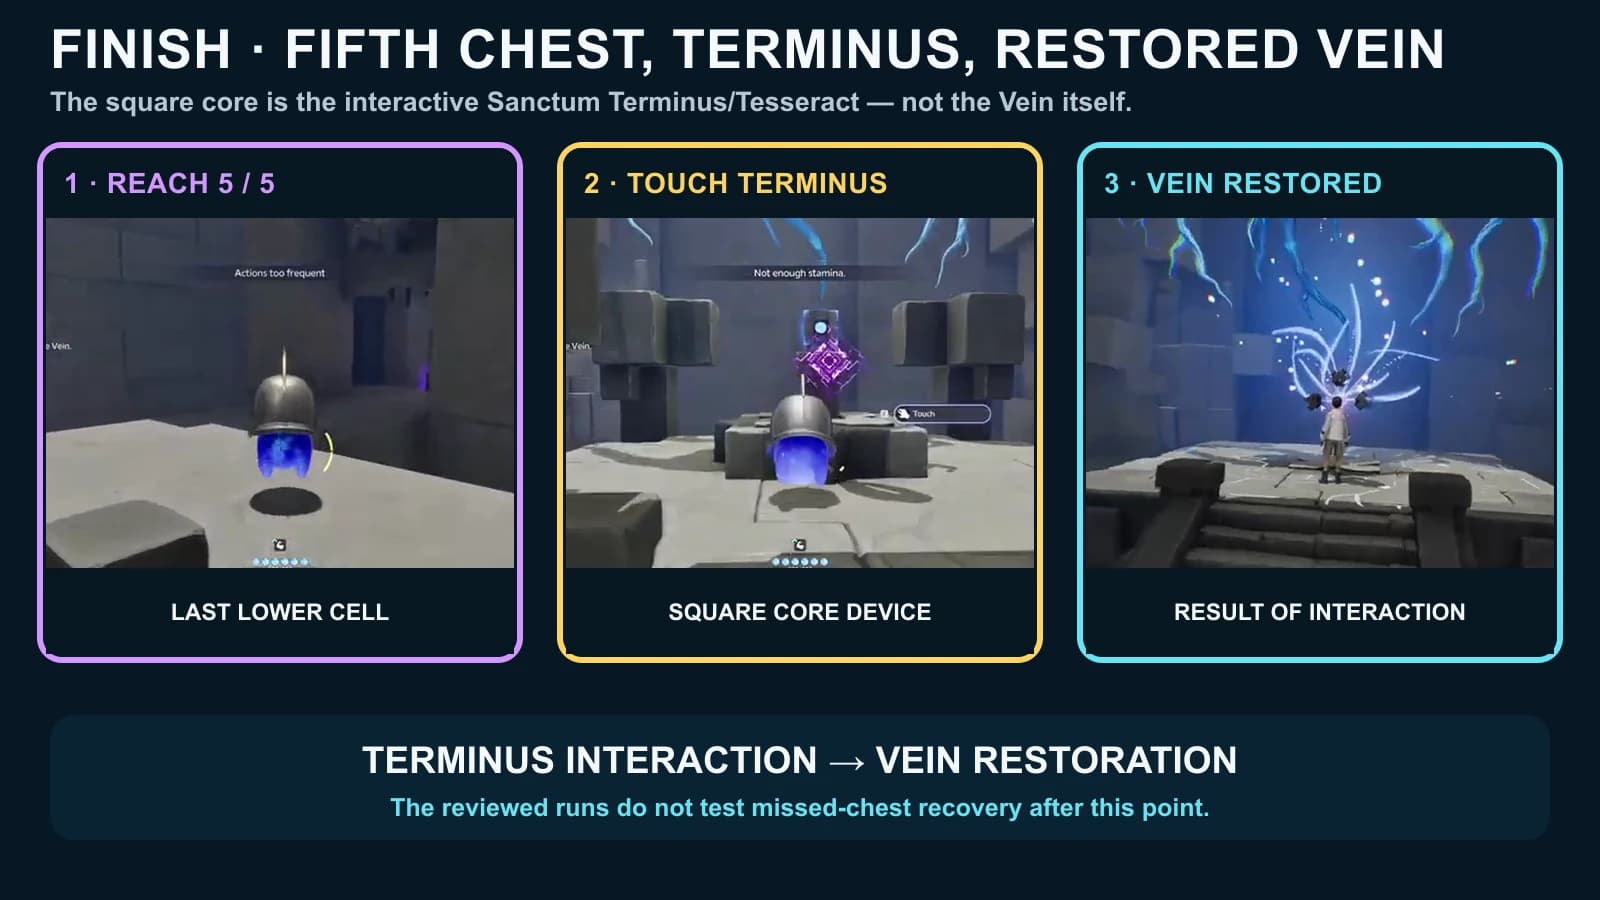
Reach 5/5 and touch the Terminus
Open the last lower barred-cell chest, confirm 5/5, then use Touch on the square Sanctum Terminus/Tesseract to restore the Vein.
Sequence 1: first post-trial control
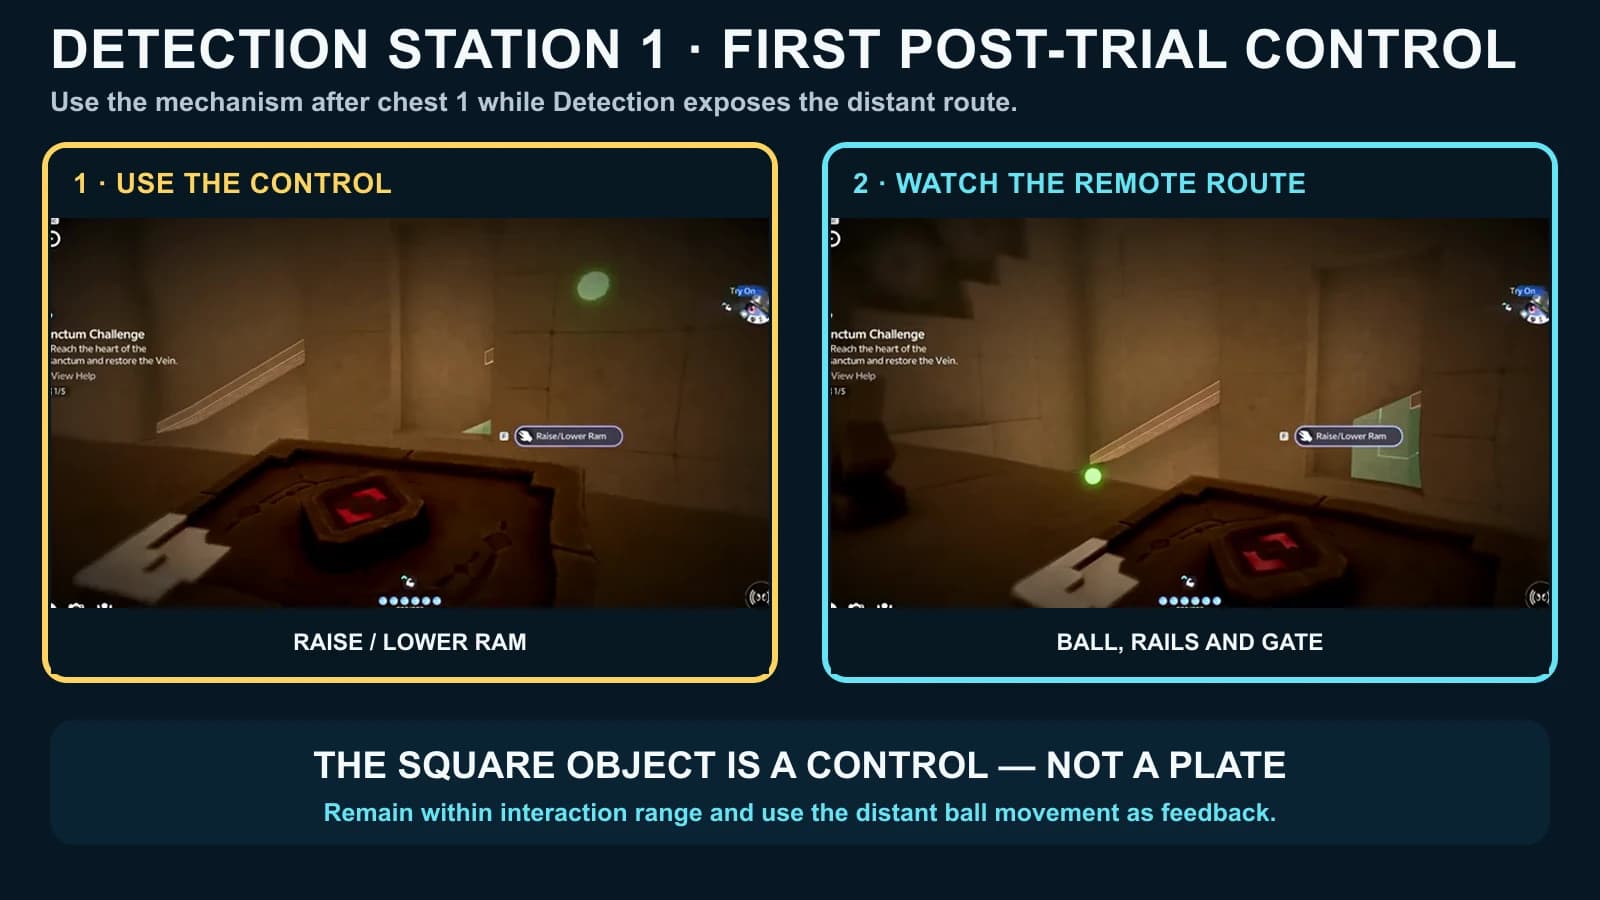
After chest 1, stop at the first square control overlooking a revealed rail field. Enter Detection, keep the control within interaction range and use Raise/Lower Ram. The green ball and pale rails are the useful state indicators; continue until the ball advances and the route opens.
Sequences 2–3: two main-shaft controls
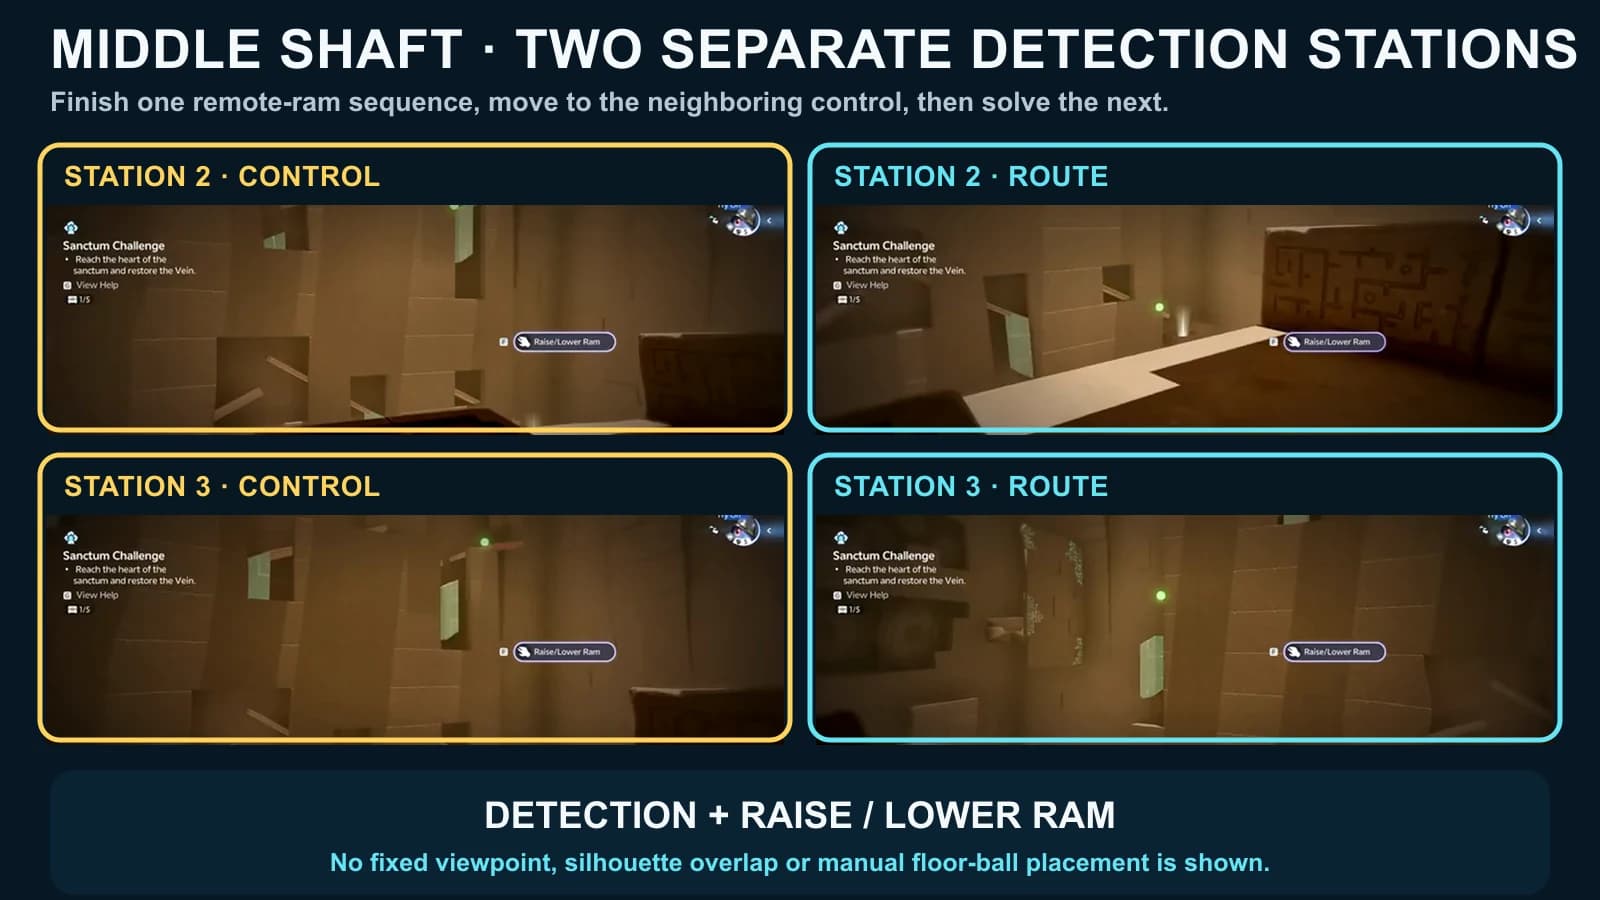
The next two controls overlook the tall central shaft from nearby positions. Treat them as separate mechanisms: finish the first visible ball/rail sequence, move to the adjacent control, then solve the next. Both use Detection plus Raise/Lower Ram; neither requires a prescribed standing square or camera alignment.
Sequence 4: return to the first main-shaft control
Return to the same first main-shaft control used for sequence 2 after sweeping whichever open chest cells you can reach. In Detection, use the adjacent Refresh Ball device if its prompt is present, then operate Raise/Lower Ram at the reused control until the last green ball reaches the final mechanism slot. The last lower barred cell becomes accessible after this solve.
Five-chest checklist
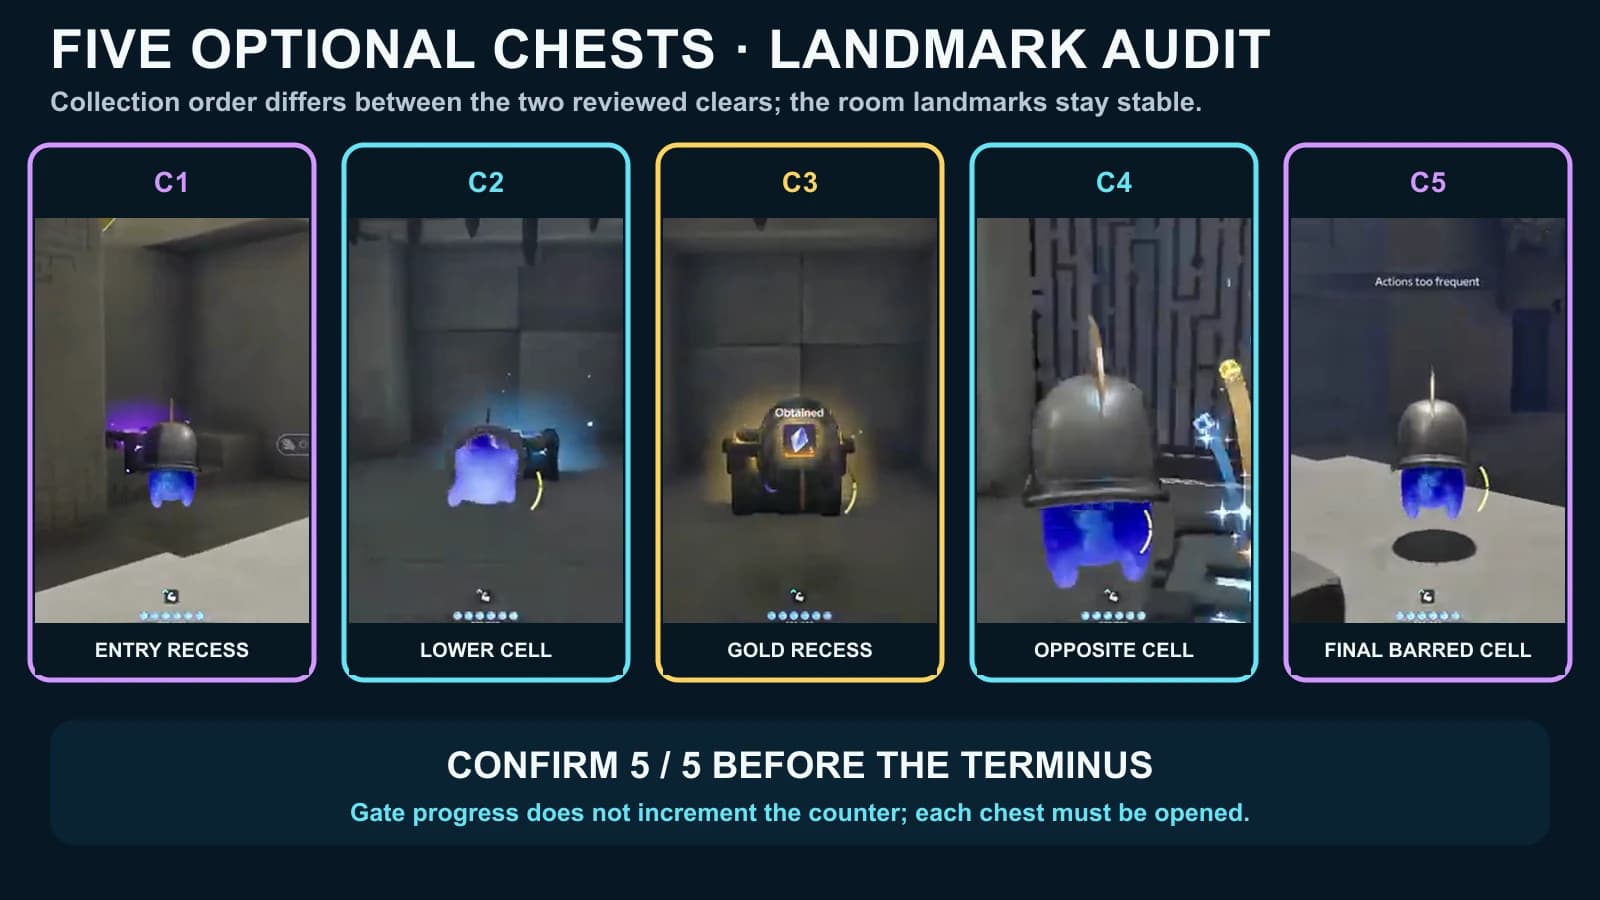
The middle chests come in either order. You can reach 4/5 before sequence 4, or take chest 2, run sequence 4 and sweep chests 3–5 afterwards. Use the landmarks below and the HUD counter rather than one gate animation to track the pickup order.
C1
- Landmark
- Purple chest in the entry-side recess after trial Helmut
- Route check
- Before Detection sequence 1
- Counter
- 1/5
C2
- Landmark
- Lower side cell off the central chamber
- Route check
- After the two middle controls
- Counter
- 2/5
C3
- Landmark
- Gold chest in the right-side recess from the central stairs
- Route check
- Sweep before or after sequence 4 as gates allow
- Counter
- 3/5
C4
- Landmark
- Opposite side cell near the same central stair landing
- Route check
- Sweep before or after sequence 4 as gates allow
- Counter
- 4/5
C5
- Landmark
- Last lower barred cell adjacent to the central chest route
- Route check
- After sequence 4 opens the final cell
- Counter
- 5/5
Troubleshooting
Sanctum Terminus, rewards and next guides
The entrance lists First Clear Reward with one item plus EXP 200. First-time Sanctum clears award Lumin Amber. Optional chest loot is separate from that first-clear award, which is one more reason to reach 5/5 before the Terminus.
Frequently asked
Where is the All in Sight Sanctum?
All in Sight is a solo Sanctum in Russet Highlands. Use the exact atlas pin; the marker sits at 2083, 662 on the AniimoVerse atlas.
Which trial Aniimo and ability does All in Sight use?
The room supplies Helmut. Its Detection action reveals hidden route objects while nearby controls move distant battering rams. It is not a Bilateral camera-alignment puzzle.
How many optional chests are in All in Sight?
There are five. Take C1 beside the entry route, then sweep four central-chamber side cells and recesses as the ram sequences open them. Confirm 5/5 before touching the Sanctum Terminus.
How do I reset the ball, and can I return for missed chests?
Use Refresh Ball when that exact prompt appears; do not substitute Recall. Treat the room as one visit and complete it at 5/5, because a chest left behind is gone once the Vein is restored.