

How the Nurture loop works
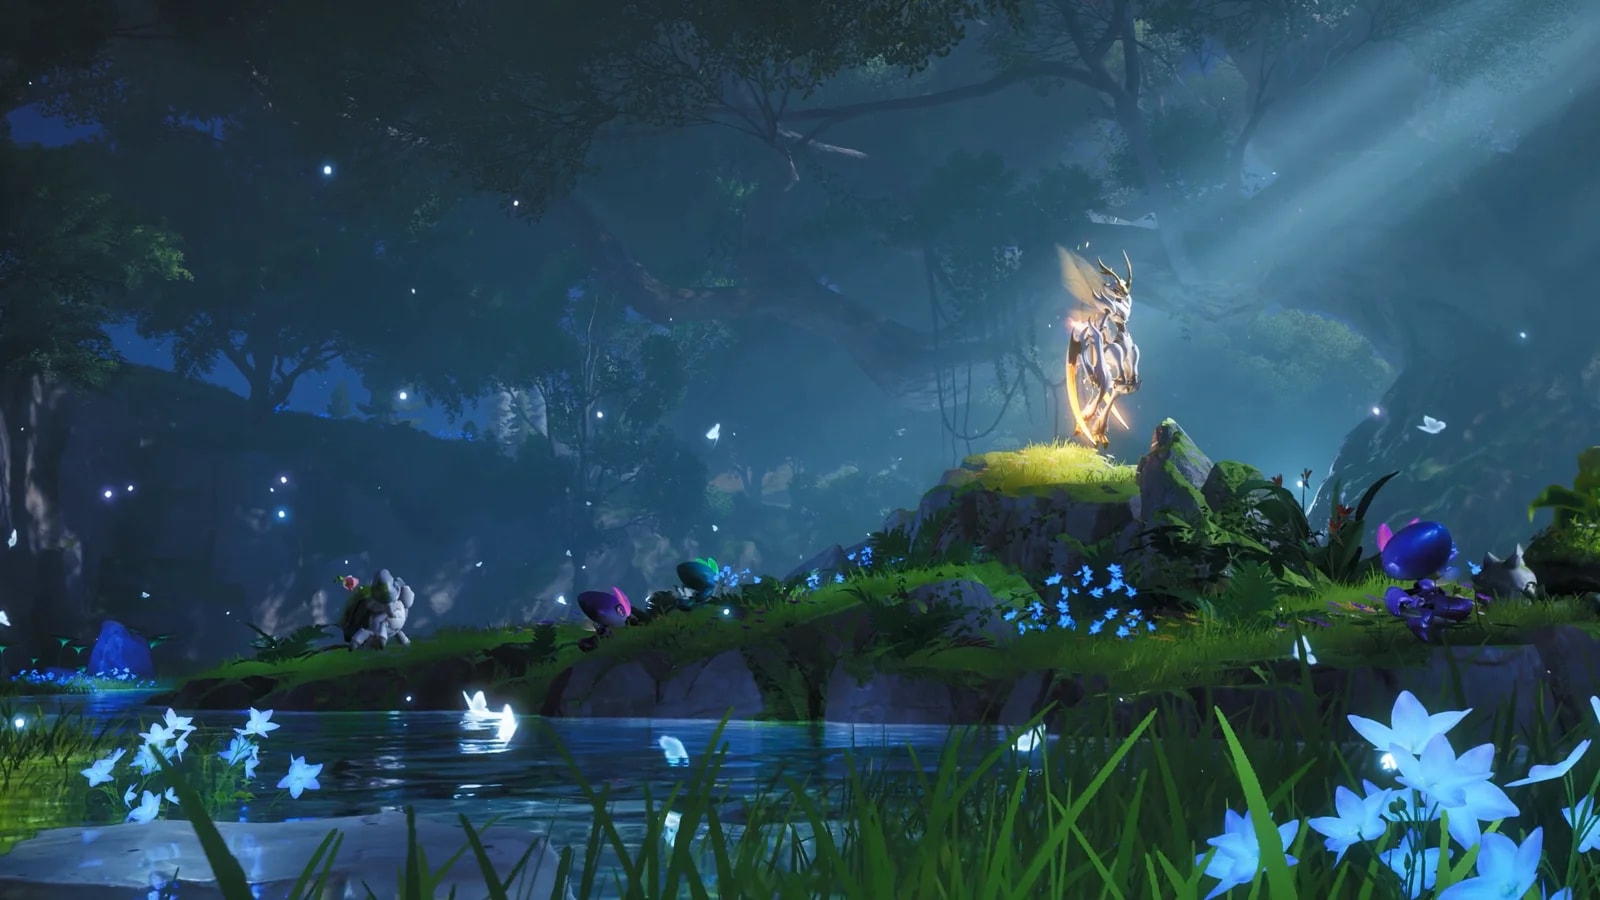
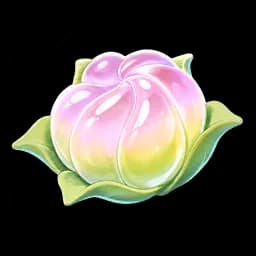
Four objects carry the whole system. A Branch is the Vein tree you infuse Lumin Amber into; there is one in Breezy Plains and one in the Whisperwake Isles. A Bloom is the flower each region carries, and Nurture is what opens it. A Wild Surge is the crowd of Aniimo the open Bloom draws. A Veinfruit is the fruit that swells at the Bloom’s centre while you catch, and picking it banks the region’s Prismatic Energy.
- 1Nurture the region
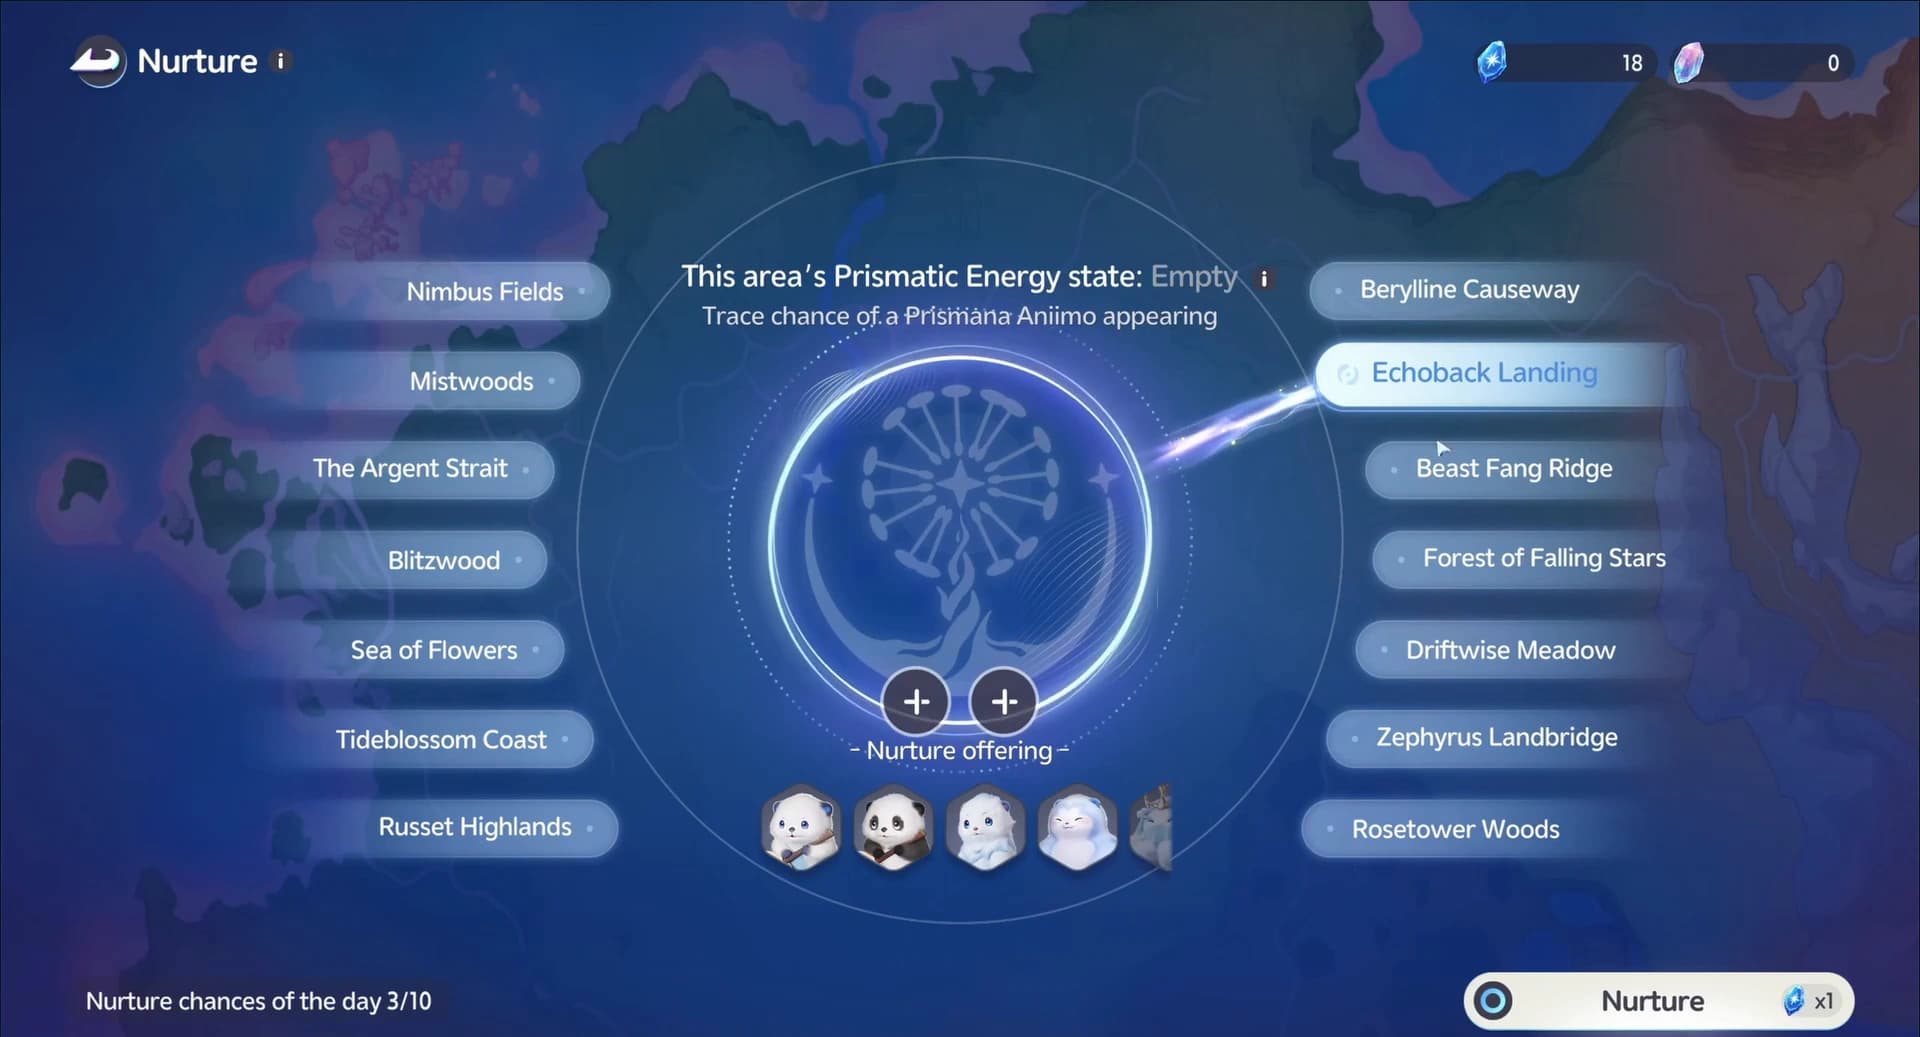
Open the Nurture screen at a Branch, pick the region you want and place an offering. The Bloom in that region moves to its budding state.
- 2Touch the Bloom
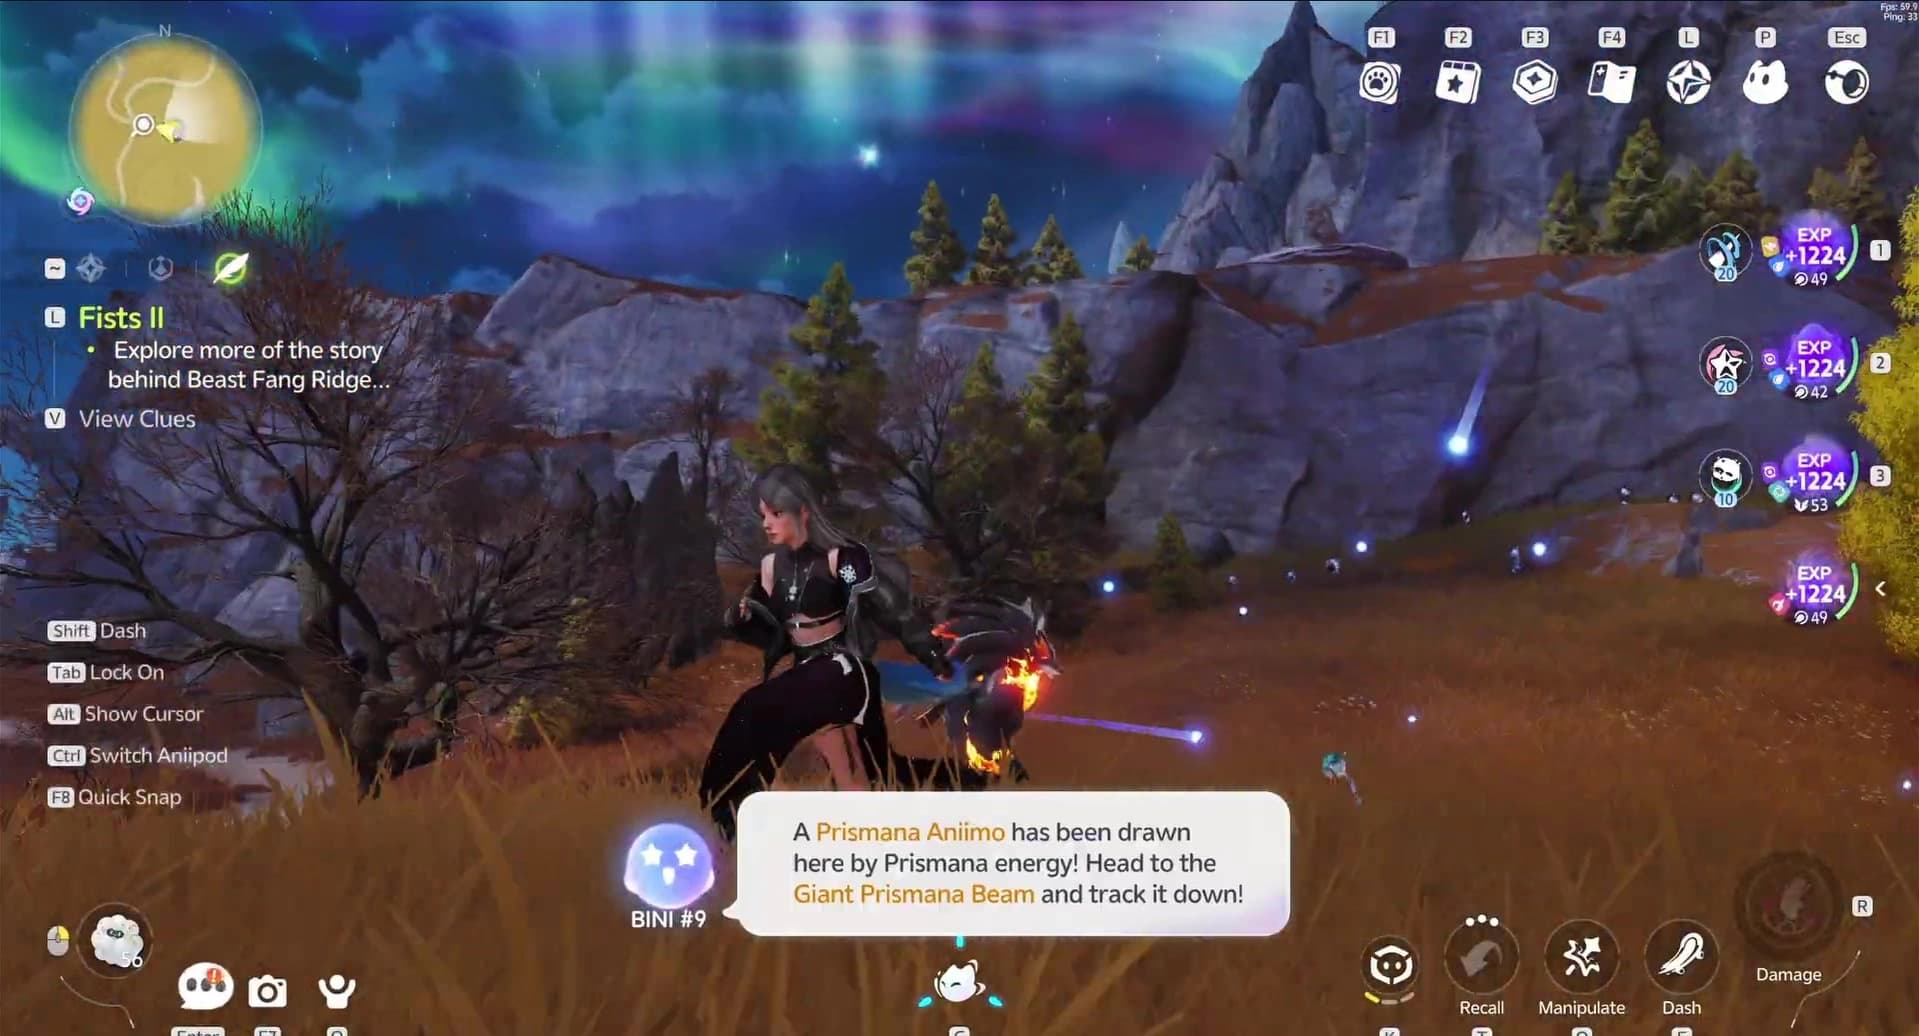
Nurturing puts the Bloom into a budded, ready to bloom state. Move to it and touch it to make it open. The game offers a teleport to the Bloom before the surge starts.
- 3Catch through the Wild Surge
Up to 20 Aniimo gather around the Bloom for a 120-second window. Catch them rather than defeating them: only catches feed the Bloom, and each catch can fire a Lucky Strike.
- 4Pick the Veinfruit
When the gathering ends, pick the Veinfruit. That pays the surge rewards and releases the stored Prismatic Energy into the region.
- 5Read the meter, then repeat
The region’s Prismatic Energy state climbs through six named stages. Every Nurture that raises it rolls 3% to trigger a Prismana Flow on the spot, and the meter itself is the guarantee.
Feed the Branch: what every 10 Lumin Amber buys
A Branch has 15 levels and each one costs 10 more Lumin Amber, so the full climb is 150 Lumin Amber per Branch. Five levels change what you can do; the other ten are stamina. The 30-Lumin-Amber itinerary walks the first three levels as a numbered route.
| Level | Lumin Amber | Unlock | What it does |
|---|---|---|---|
| 1 | 10 | Lucky Encounter | Raises the chance of catching Aniimo in that region by 10%. |
| 3 | 30 | Prospering Clusters | Opens Nurture Ecosystem and raises the daily Nurture cap by 10, which is the paid allowance on top of the free charge. |
| 6 | 60 | Prismana Radiance | Unlocks the weather change. A Prismana Flow you trigger here draws the region’s Prismana Aniimo. |
| 9 | 90 | Sparkling Encounter | The Branch refreshes an Aniimo egg every Monday at 04:00. |
| 12 | 120 | Earthwake Revelation | A surge of Vein energy shakes the ground and opens hidden caves in the region that were previously concealed. It is a Branch gear-level buff, not an evolution material. |
| 15 | 150 | Wanderer’s Might | Moving through the region outside combat costs no stamina. |
Each of the 15 levels also pays a one-time reward the moment the Branch reaches it, on top of the unlock. The Breezy Plains Branch level rewards name every line rung by rung, so you can see what the next 10 Lumin Amber actually buys before you spend it.

Prismatic Energy and the 10,500 guarantee
Each region keeps its own Prismatic Energy meter. Two actions raise it: completing a Nurture, and triggering a Lucky Strike while catching an Aniimo anywhere in that region. Joining a Wild Surge in a friend’s world raises the meter in your own world too, so co-op sessions are not wasted on your own hunt.
- EmptyTrace
The starting state, at 0 Prismatic Energy. Nurture still rolls its flat 3%, so a Flow can fire on the first run of a fresh region.
- Very LowLow
Reached at 501 Prismatic Energy.
- SlightModerate
Reached at 1,501 Prismatic Energy. Higher states also make the Bloom itself better, so more high-tier Aniimo join the surge.
- AbundantHigh
Reached at 3,001 Prismatic Energy.
- Very HighExtremely High
Reached at 6,001 Prismatic Energy.
- FullGuaranteed
Reached at 10,500 Prismatic Energy. The region reads as maxed out and a Prismana Aniimo appears after the next Wild Surge, with no roll involved.
| Trigger | Chance of a Prismana Flow |
|---|---|
| A Nurture that raises the area’s Prismatic Energy | 3% |
| A Lucky Strike on a catch that raises the area’s Prismatic Energy | 0.6% |
A worked example: what 3% really costs
The 3% is a flat roll on every Nurture that raises the meter, so the chance of getting through a run of Nurtures with no Flow at all is 0.97 multiplied by itself once per Nurture. That produces three numbers worth carrying.
- 23 Nurtures is the break-even point. Past it, a direct Prismana Flow is more likely to have fired than not.
- 76 Nurtures takes you to a 90% chance that at least one Flow has fired.
- A 0.6% Lucky Strike needs 116 of them for the same even-odds reading, which is why catching is a bonus on top of Nurture rather than a route of its own.
Now put the daily allowance against it. Every Pathfinder gets 1 free Nurture plus 10 more paid for with Primegy, so 11 runs a day is the ceiling. The free one completes at 04:00, costs no stamina, and a Branch banks up to 3 of them, so two missed days cost you nothing.

| How you play the week | Nurture runs | Chance a Flow has fired |
|---|---|---|
| Free charge only, one a day | 7 | 19% |
| Free charge plus half the Primegy allowance | 42 | 72% |
| Full allowance, 11 a day | 77 | 90% |
What a Wild Surge spawns, and how much of it to catch
An open Bloom draws a crowd for 120 seconds. The pool is capped at 20 Aniimo and the Veinfruit reward is graded in six bands by how many of them you actually take, so the answer to “do I have to catch everything” is no, and the answer to “should I” is yes.
| Aniimo caught | Reward band |
|---|---|
| 0 to 4 | Band 1, the floor |
| 5 to 8 | Band 2 |
| 9 to 12 | Band 3 |
| 13 to 16 | Band 4 |
| 17 to 19 | Band 5 |
| 20 | Band 6, the top |
Higher Prismatic Energy also improves the Bloom itself. As a region’s state climbs, the Bloom you nurture there is of higher quality and draws more high-tier Aniimo, so the late runs of a long hunt are worth more per surge than the first ones.
Offerings: steering which Aniimo the Bloom draws
Every Nurture costs one offering, and the game states the rule plainly: different offerings draw different Aniimo during Wild Surge events. 32 items are accepted, and each names the Aniimo families it pulls toward the Bloom. Element Shards are the cleanest of them, one per element, and they are the ones to keep in the bag when you are hunting a specific species.
| Offering | Families it draws |
|---|---|
 Fire Shard Fire Shard | Emberpup, Sparki, Squarrel |
 Water Shard Water Shard | Skippy, Susuta, Shelly, Fahloo |
 Wind Shard Wind Shard | Jawling, Chirpi, Flutternym, Nimbi |
 Ice Shard Ice Shard | Bonesky |
 Lightning Shard Lightning Shard | Bulbly, Bolty, Fentuft |
 Earth Shard Earth Shard | Budclaw, Pebbling, Baleetle, Cubbo, Cozite |
 Grass Shard Grass Shard | Hummin, Iris, Budsquire, Pomegg |
 Dark Shard Dark Shard | Celestis, Helmut, Wisptis, Dewy |
















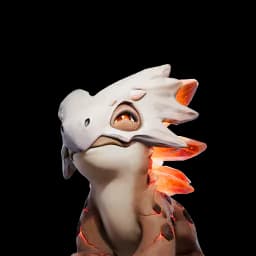











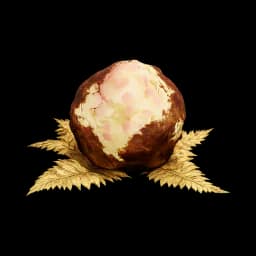
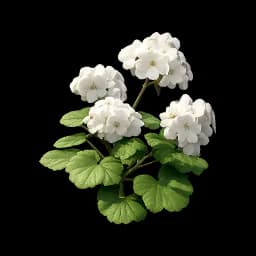
Field pickups work the same way for a fraction of the cost. Starine draws the Celestis family on its own, Sweetfern Nut draws Bolty, Wisptis and Hummin, and Chromaflare Peony draws Fahloo, Budsquire and Cubbo. They drop off the ground across Idyll, so a Nurture run costs nothing you had to buy.

Every source of Vein Essence, with its cap and price
Vein Essence is condensed Vein energy. A Branch absorbs it to draw Aniimo, and it sits on the Nurture panel next to the Prismana Crystal. The runs themselves come out of your daily allowance: 1 free Nurture plus 10 more paid for with Primegy, the Omni-glove energy that recovers 1 every 6 minutes up to a cap of 300. Two shops stock Vein Essence for a price you can plan around, and four systems hand it out.

| Source | Price | Limit |
|---|---|---|
| Badge Shop, Season Hub | 50 Windborn Stamps | 10 per week |
| Mysterious Vendor | 210,000 Credits | 2 per day |
| Elite Training | Free | Programme quest rewards |
| Catch Completion | Free | Area completion milestones |
| Holo-Battle Interlink | Free | Activity rewards |
| Legendary investigations | Free | Chance Encounter Gift, 1 per roll |



 Lumin AmberLevels a Branch
 Vein EssenceAbsorbed by a Branch
 Prismana CrystalTriggers a Flow outright
 Veinlit FruitHigh-value offering
 Growth FruitDefault cheap offering
 Sparkling Crystal1,000 make a Cube
 Sparkling CubeGuarantees the catch
 Prismana OrbConverts an Aniimo you own
The 15 Nurture regions and the Prismana each Bloom draws
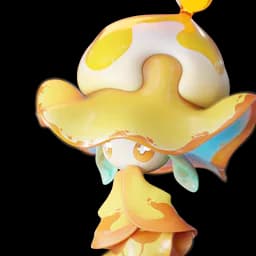
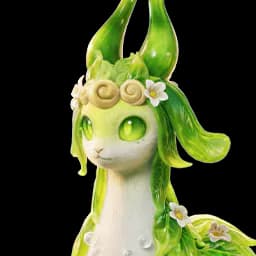
Fourteen regions across Breezy Plains carry a Bloom, and Crescent Bay carries the fifteenth in the Whisperwake Isles. Each one is tied to exactly one Prismana form, so the region you nurture decides the species you can win. The coordinates below are the Wild Surge sites the atlas pins inside each region; the first of each pair opens the map on that pin.
| Region | Level band | Prismana form | Atlas coordinates |
|---|---|---|---|
 Nimbus Fields Nimbus Fields | Lv 5–15 | Turbo | 1190, 1912 · 1170, 1840 |
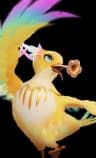 The Argent Strait The Argent Strait | Lv 14–20 | Cornet | 1071, 2287 · 1181, 2223 |
 Forest of Falling Stars Forest of Falling Stars | Lv 16–23 | Stellarys | 614, 1322 · 586, 1656 |
 Sea of Flowers Sea of Flowers | Lv 19–28 | Thornblade | 2461, 1976 · 2523, 1868 |
 Beast Fang Ridge Beast Fang Ridge | Lv 23–30 | Scorchhowl | 1132, 779 · 835, 934 |
 Mistwoods Mistwoods | Lv 24–33 | Hexxin | 1450, 1396 · 1685, 1206 |
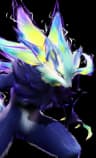 Blitzwood Blitzwood | Lv 28–35 | Blazen | 1962, 2039 · 2017, 2272 |
 Echoback Landing Echoback Landing | Lv 30–38 | Panpanta | 612, 870 · 628, 330 |
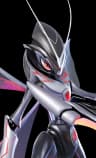 Berylline Vale Berylline Vale | Lv 34–38 | Ignitis | 1657, 756 · 1778, 830 |
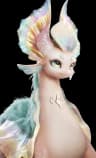 Driftwise Meadow Driftwise Meadow | Lv 38–42 | Glacy | 2148, 1103 · 2185, 979 |
 Rosetower Woods Rosetower Woods | Lv 39–43 | Grizbo | 3268, 1612 · 2852, 1295 |
 Russet Highlands Russet Highlands | Lv 40–45 | Pawney | 2212, 605 · 2055, 864 |
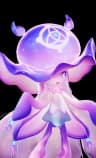 Tideblossom Coast Tideblossom Coast | Lv 45–50 | Luminelle | 2574, 2686 · 2479, 2600 |
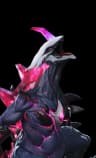 Zephyrus Landbridge Zephyrus Landbridge | Lv 45–48 | Magmarex | 3306, 770 · 3753, 795 |
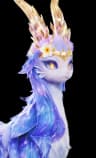 Crescent Bay Crescent Bay | Lv 51–55 | Glameep | 1178, 1356 · 1371, 1226 |





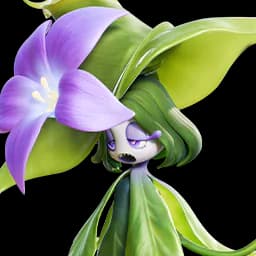








Vein Abundance: what the event actually changes
Vein Abundance runs in weekly phases. Each phase gives one region a featured Prismana for a full week, and lands a mass gathering plus boosted Nurture on that week’s Friday to Sunday. It changes three things and nothing else. Every phase window with its start and end instant sits on the Vein Abundance event page.
- The featured region’s Bloom draws the event Prismana instead of its usual one, for the whole week.
- Your first 3 Nurture runs each weekend in that region get a greatly increased chance of Nova Stage Aniimo appearing. Three per weekend, not three per day.
- Harvesting a Veinfruit in that region banks 50% more Prismatic Energy, a flat 1.5x on the meter.
| Phase window | Region | Featured Prismana | Mass gathering | Boosted weekend |
|---|---|---|---|---|
 Sep 18 to 20 Sep 18 to 20 | Forest of Falling Stars | Its own Stellarys | Celestis | Sep 18 to 20 |
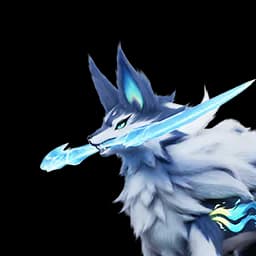
 Sep 21 to 27 Sep 21 to 27 | Beast Fang Ridge | Glynsera | Bonesky | Sep 25 to 27 |
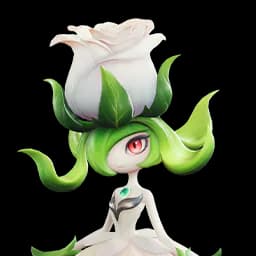
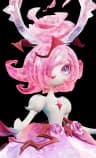 Sep 28 to Oct 4 Sep 28 to Oct 4 | Rosetower Woods | Melloblum | Budsquire | Oct 2 to 4 |
 Oct 5 to 11 Oct 5 to 11 | Berylline Causeway | Waleetle | Baleetle | Oct 9 to 11 |
 Oct 12 to 18 Oct 12 to 18 | Nimbus Fields | Inferlupa | Emberpup | Oct 16 to 18 |
| Oct 19 to 25 | All four regions at once | Prismana Carnival | Every featured species | Oct 23 to 25 |

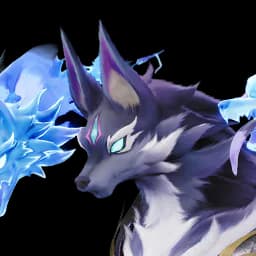
Read those two date columns as different things. The phase window is how long the featured Prismana sits on that region’s Bloom, and it runs Monday to Sunday from the 04:00 reset. The boosted weekend is the Friday to Sunday inside it that carries the mass gathering, the three Nova Stage runs and the 1.5x Veinfruit. A Prismana hunt can run all week; the discount cannot.
The free Sparkling Cube route people talk about during the event is real, and it is slower than the headline suggests. A Cube is exchanged for 1,000 Sparkling Crystals at an outpost vendor, and Sparkling Crystals come from Catch Completion milestones, chests, quests, first Sanctum clears, Elite Training and the Companion Handbook. The event’s mass gathering is simply the fastest way in the game to push one region’s Catch Completion, which is why the two get talked about together.


Prismana Orbs: convert an Aniimo you already raised
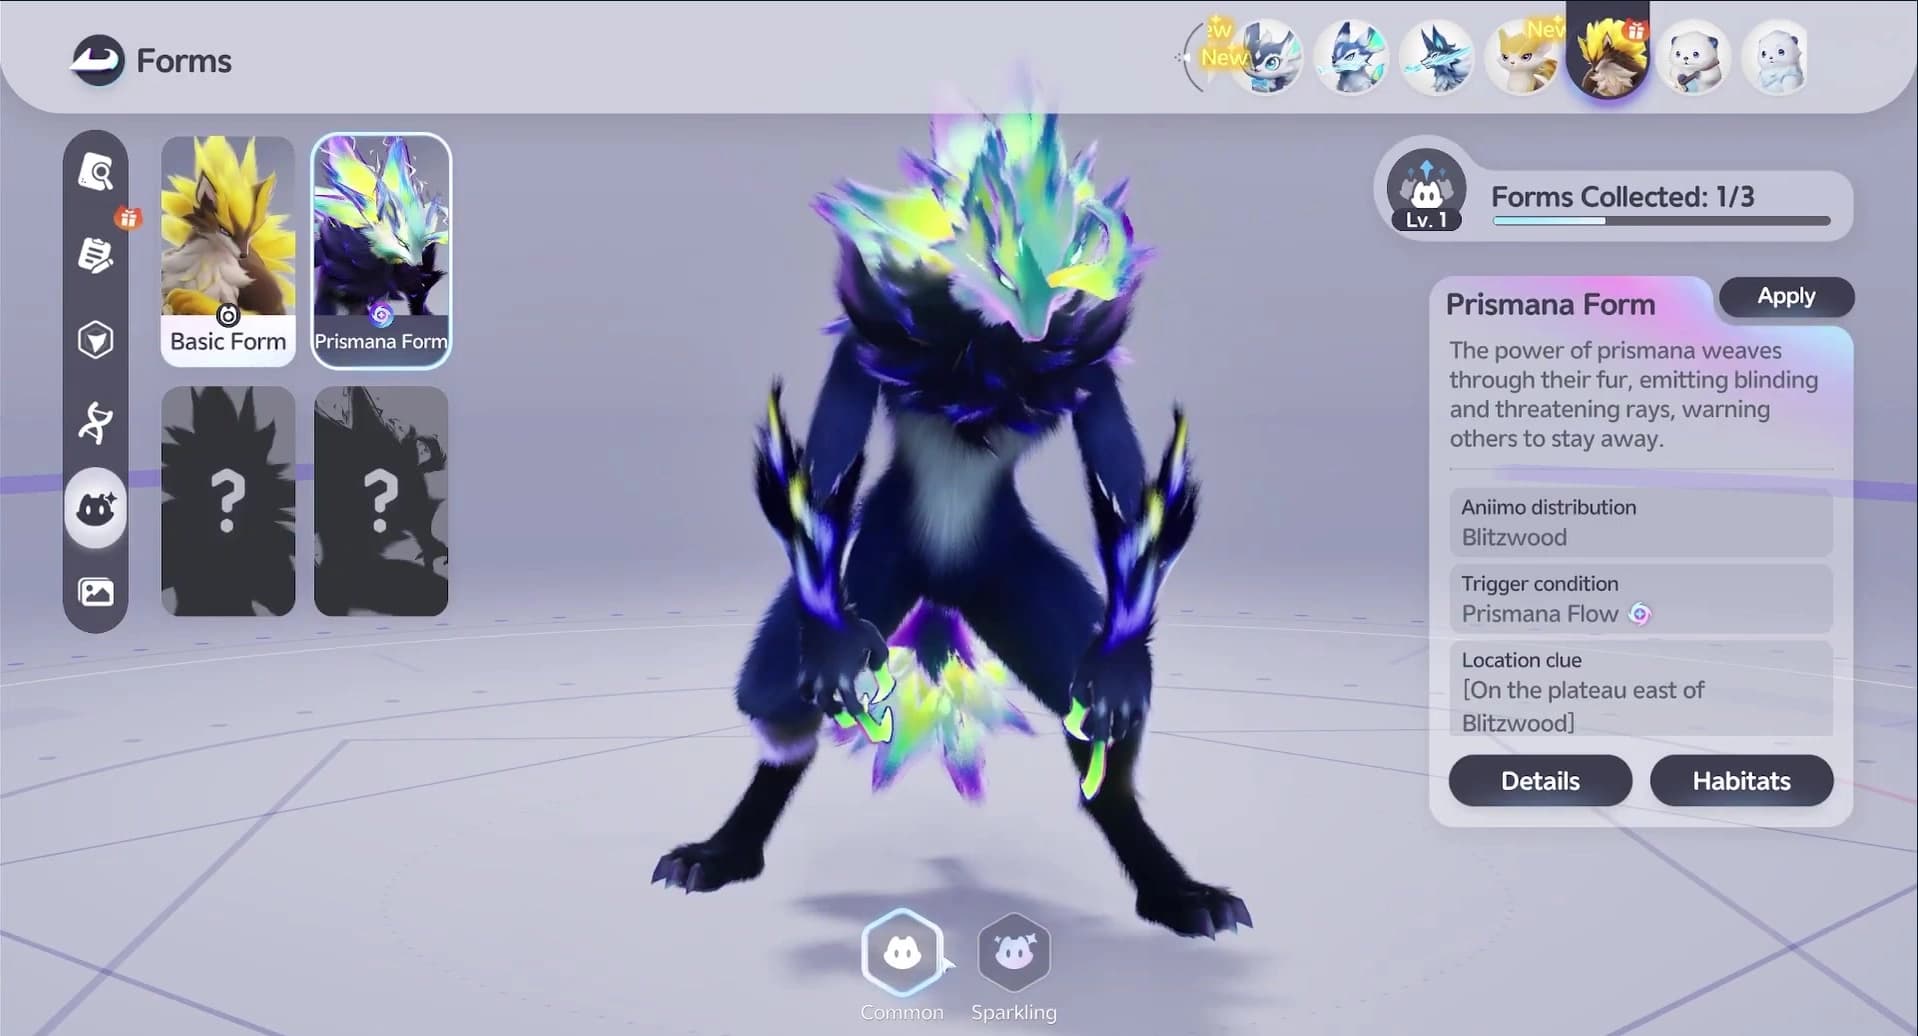
A Prismana Orb flips an Aniimo you already own into its Prismana form and keeps its Innate Potentials, traits and personality. Two Orbs exist, one carrying Breezy Plains energy and one carrying Whisperwake Isles energy, and each only works on Aniimo native to its own region group. You also have to have unlocked that species’ Prismana form first, which usually means the Bloom route got there before the Orb did. Claiming a free Prismana through the Prismana Promise registers that form as well, so the pick is also the cheapest way to make an Orb legal on a species you have not farmed.
| Shop | Price | Limit |
|---|---|---|
| Badge Shop, Season Hub | 900 Windborn Stamps | 1 per account |
| Mysterious Vendor | 7,500,000 Credits | 1 per day it is stocked |
A weekly routine for a free player
One region, one meter, one weekend. This is the whole plan for a player spending no Credits.
- 1Pick the region, not the species
Choose the region whose Prismana you actually want, or the featured Vein Abundance region if its Prismana is one of the four you cannot get any other way. Every charge goes there and nowhere else.
- 2Take that region to 40% and then to Gold
Bronze at 40% Area Catch Completion opens Nurture. Push the same region to its Gold Collection Badge for a permanent +10% on Prismatic Energy growth, which compounds across every surge you will run there.
- 3Feed the Branch to 60 Lumin Amber
Thirty opens Nurture, sixty opens Prismana Radiance. Anything past that is quality of life you can collect while you farm.
- 4Arrive with a full Primegy bar
Primegy pays for the 10 daily Nurture runs beyond the free one, and it refills on its own at 1 every 6 minutes up to 300. Spend it on something else the day before a hunt and you cap the hunt.
- 5Let the free charge bank, up to three
The Branch completes one free infusion at 04:00 daily and holds at most 3. Two missed days cost nothing; a third one does, and the free charge is the run that costs no stamina.
- 6Spend the stack Friday to Sunday
During a Vein Abundance phase the first three Nurture runs of the weekend carry the Nova Stage bonus and every Veinfruit banks 1.5x. Run the allowance down inside that window.
- 7Catch all 20, every time
Twenty catches is the top Veinfruit band and the most Prismatic Energy one surge can bank. Bring pods for twenty before you touch the Bloom.
Mistakes that cost you a Prismana
The Nurture screen will not let you pick a region
You do not hold that area’s Bronze Collection Badge yet.
Catch different species in that region until Area Catch Completion reaches 40%. Day, night and weather changes each reveal species you cannot otherwise find.
“The Branch linked to this Bloom is at a low level”
The Branch has not absorbed enough Lumin Amber.
Infuse Lumin Amber until the Branch reaches level 3 at 30 Lumin Amber. Use the Lumin Amber route if you need the pins.
You spread Nurture across several regions
Each region keeps its own meter, so the 10,500 guarantee never arrives.
Put every charge into one region until its Flow fires, then move. Five half-full meters are worth less than one full one.
You defeated the surge instead of catching it
Only catches feed the Bloom.
Bring twenty pods and treat the surge as a catching run. The Veinfruit band and the Prismatic Energy both come from the catch count.
You used all three boosted weekend runs on Friday morning
The Nova Stage bonus covers the first three Nurture runs of the whole weekend.
Nothing is lost, the bonus simply does not come back on Saturday. Keep nurturing for the 1.5x Veinfruit and the meter.
You threw a Sparkling Cube and kept hunting
The last pod you threw stays equipped.
Put your usual Aniipod back on the wheel straight away so the next wild encounter does not eat another Sparkling Cube. The Sparkling guide covers the rest of that axis.
Frequently asked
Do you have to catch every Aniimo at a Bloom to get a Prismana?
No. A Wild Surge caps at 20 Aniimo and the Veinfruit pays in six bands by how many you catch, so any number works. Catching all 20 is still correct: the top band needs 20, and every catch banks Prismatic Energy toward the 10,500 guarantee.
How many times a day can you Nurture?
Eleven times: 1 free Nurture and 10 more paid for with Primegy. The free one completes at 04:00, costs no stamina, and a Branch banks up to 3 of them, so a missed day is not a lost run until the third.
Is the guaranteed Vein Abundance Prismana real?
The guarantee is the 10,500 Prismatic Energy meter, not the event. Vein Abundance boosts the first 3 Nurture runs of each weekend, adds 50% to the Prismatic Energy a Veinfruit banks, and swaps the featured region’s Bloom to the event Prismana for a week. It hands out no free Prismana.
Why will Prismana Sherro not spawn in my Nurture?
Each Bloom is tied to one Prismana form and Echoback Landing’s is Panpanta. Prismana Sherro comes from completing the Aniilog and from an Echoback Landing level pocket instead, both in the Prismana guide.
Can a Nurture result be Sparkling?
Yes. Sparkling is a separate appearance axis from the Prismana form, so a surge spawn can carry it, a Branch extra effect raises the Sparkling rate in its region, and a Sparkling Cube throw guarantees a Sparkling catch with Perfect Potential.