

Verified stage directory
A mode-wide rule describes the simulator across runs: roles, route decisions, persistent currencies or a Holo-gizmo family. A stage-specific claim names enemies, levels, modifiers, reward thresholds, no-damage conditions or timers for one exact stage and difficulty. The first layer is covered below from the current beta build. The second layer requires a normalized current stage record.
Verified stage directory
Budget
- Definition
- Basic forms only; one verified DPS, BREAK, sustain and support job; no Prismana or regional form dependency
- Required explanation
- Why each low-access slot matches the stage and which role-compatible replacement works
Safe
- Definition
- Verified counter core plus reliable healing or regeneration and a defensive or support layer
- Required explanation
- Which failure state the extra sustain prevents and what damage tradeoff it accepts
Fast
- Definition
- Weakness-matched BREAK and damage core with the smallest verified sustain needed for the stage
- Required explanation
- The exact burst window, timer assumption and replaceable members
0 verified stages shown
No stage detail pages pass the evidence gate yet
The current mirror has Holo-gizmo items, but no authoritative stage IDs, enemy waves, levels, modifiers, reward thresholds, timers or no-damage rules. Filters and routes are ready; a stage appears here only after those records are imported and validated.
Verified Holo-gizmo families
This catalogue layer is independent of the unavailable stage layer. All 77 normalized gizmos resolve into seven equal families of 11 items, each with one Core Gizmo.







Before you queue
Enter Holo-Battle Sim from its menu shortcut or the Institute Hall in Astra. Basic Training is the starting ladder; clearing its trials opens Advanced Training. The important preparation is not a recommended-level number, because those numbers changed between test builds. Bring a functional roster and use the difficulty preview in your own client as the final check.
The run ends
Inside the run
Run coins
- What it does
- Buy or reroll help inside the simulation
- When it matters
- Reset when the run ends
Across runs
Training EXP
- What it does
- Activates Training Mastery progression
- When it matters
- Persists between runs; harder simulations award more
Across runs
Training Points
- What it does
- Buy stock in the Holo-Shop
- When it matters
- Persist between runs
On the line
Primegy
- What it does
- Redeems the boss item you are carrying
- When it matters
- Spend it at the post-boss exchange before settling


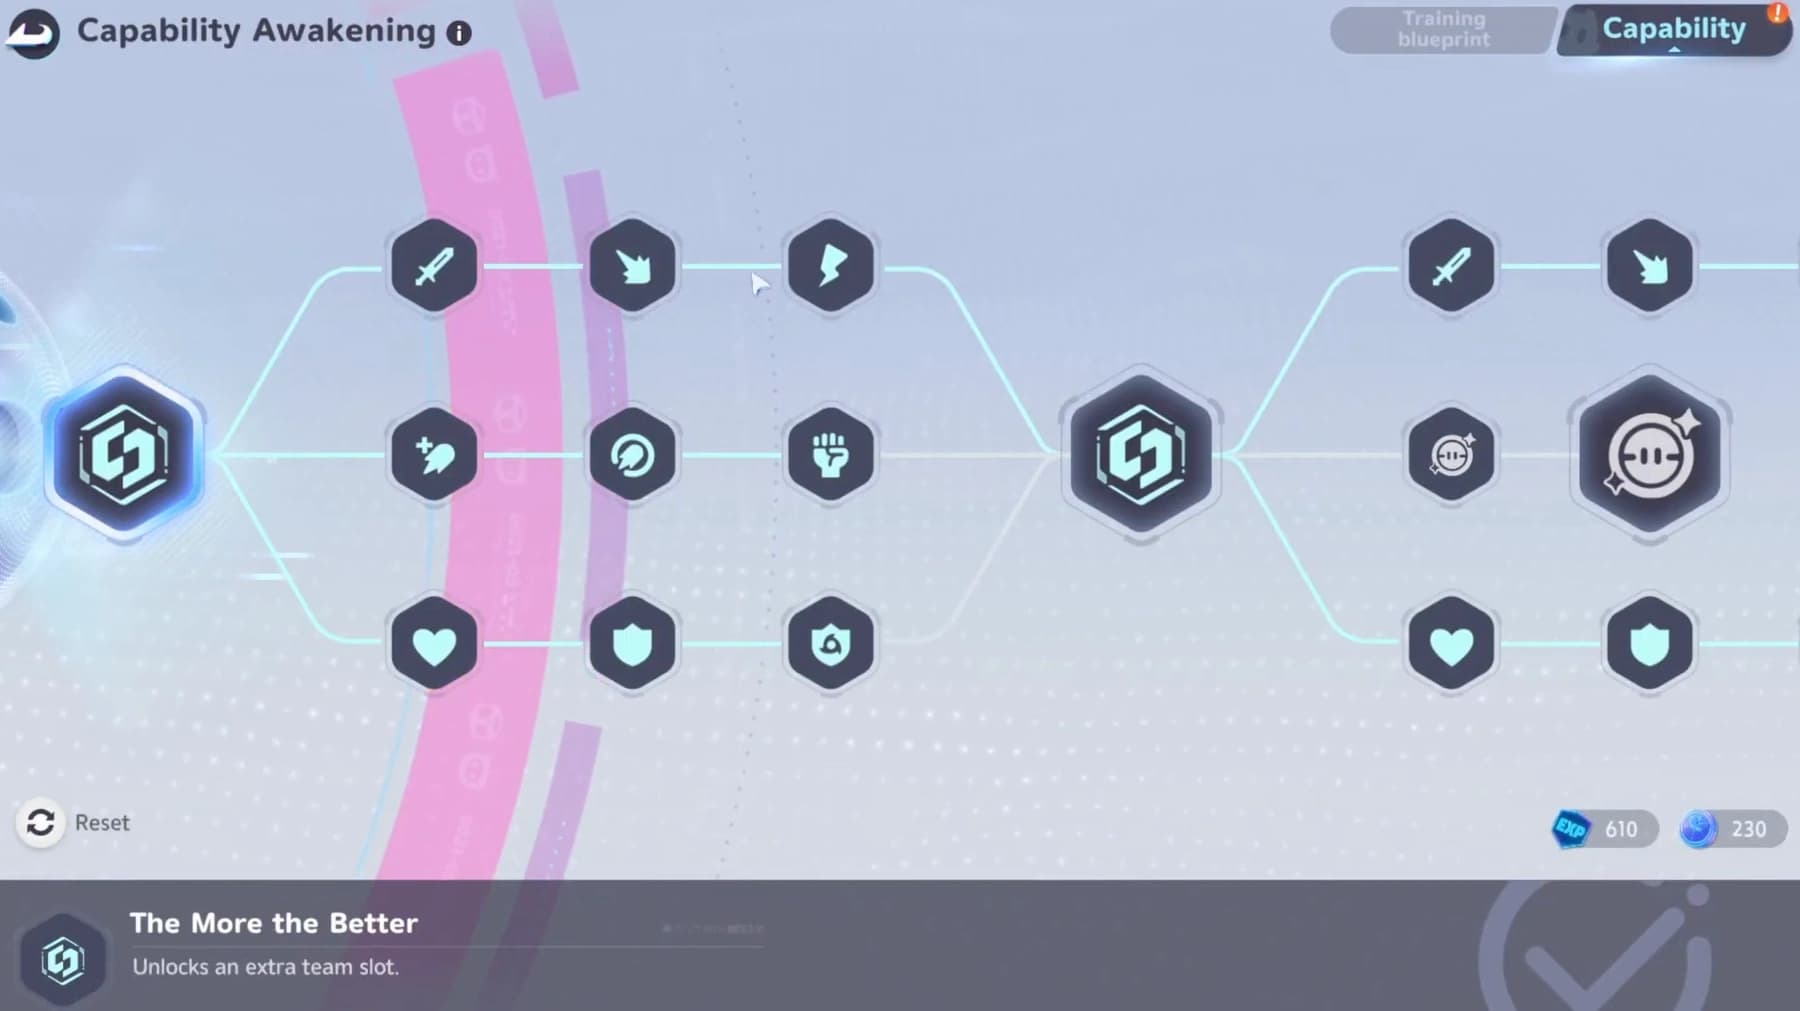
Treat mastery like the rest of your long-term account route: claim the permanent gain, then return with a stronger baseline. The progression guide covers the account systems that sit outside this mode.
- EasyA routing lesson. Build one clear win condition: a damage dealer and breaker that hit the trial weakness, a healer, and one support or flex slot.10 floors
- NormalKeeps the 10-floor shell but removes Easy’s slack; the same four jobs now need stricter thresholds before taking a risk.10 floors
- HardRuns the whole distance: counter DPS, counter BREAK, reliable healing, and a support or second damage slot, ending on an Omega boss.16 floors + Omega
Easy: learn the 10-floor route
Easy is a routing lesson. Build one clear win condition before entering: a damage dealer and breaker that hit the trial weakness, a healer, and one support or flex slot. The team planner is the quickest place to check that those four jobs are actually covered.
- 1Choose the counter team first
The trial element decides your damage and BREAK pair. Do not choose a favorite combat style and then force a team around it.
- 2Commit to one family
Your first useful gizmo sets the lane. Three matching family pieces advance that family’s transformation, so scattered good cards can still make a weak build.
- 3Take clean fights
Use ordinary combat rooms to establish the build. Read the room timer and finish before the displayed attack escalation turns a safe floor into a damage race.
- 4Protect the boss attempt
A health portal is worth more than a speculative event when the healer is already cycling on cooldown. Spend run coins on survival before chasing a perfect roll.
- 5Redeem before settling
After the boss, exchange the Primegy you earned for the carried reward and only then settle the result. A clear is not the moment to rush through menus.
Normal: spend a risk budget
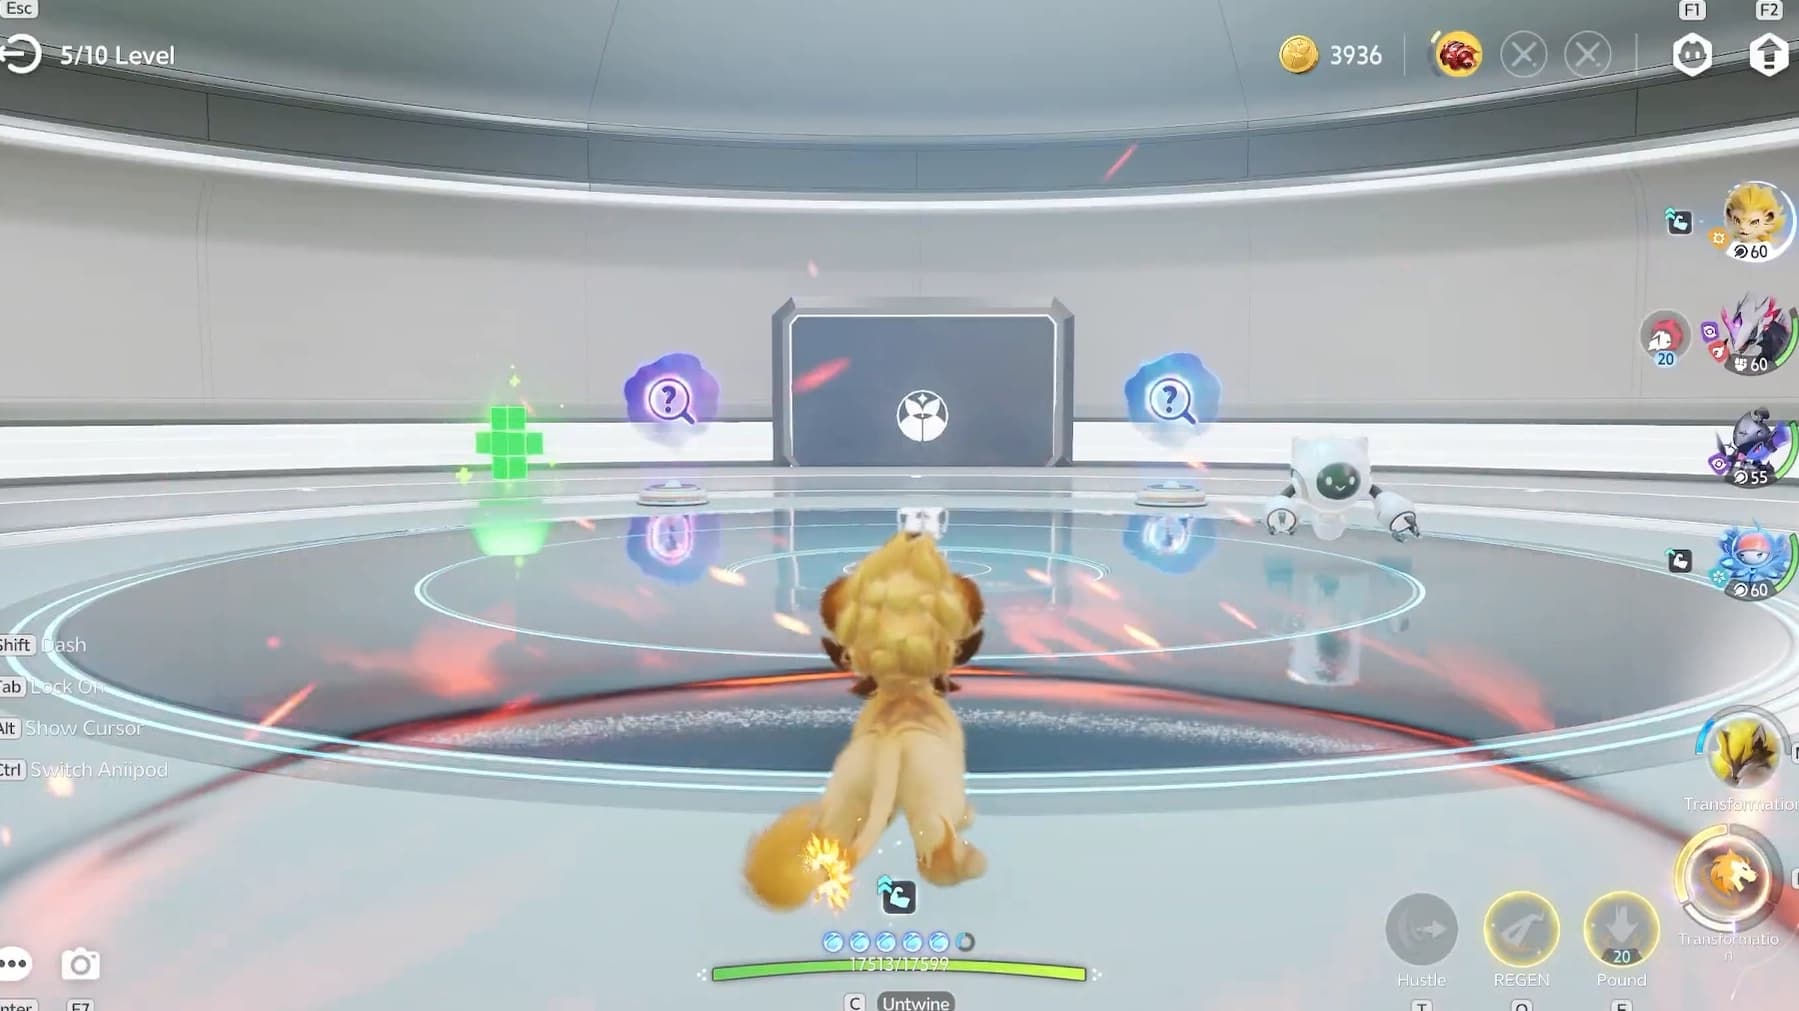
Normal keeps the 10-floor shell and removes some of Easy’s slack. The route does not need a new philosophy; it needs stricter thresholds. Enter an Alpha or controllable event when the team is healthy, the breaker can force a window, and the current family is close to its next transformation step. Otherwise, take the ordinary fight or heal.
Ahead of curve
The counter pair is deleting ordinary rooms and sustain ends fights near full health.
Take the higher-risk portal.
On curve
Prefer the room that guarantees useful run power, then preserve enough coins for the last shop or reroll.
Behind curve
Heal first.
A mystery portal cannot repair a run that reaches the boss without cooldowns or a coherent family bonus.
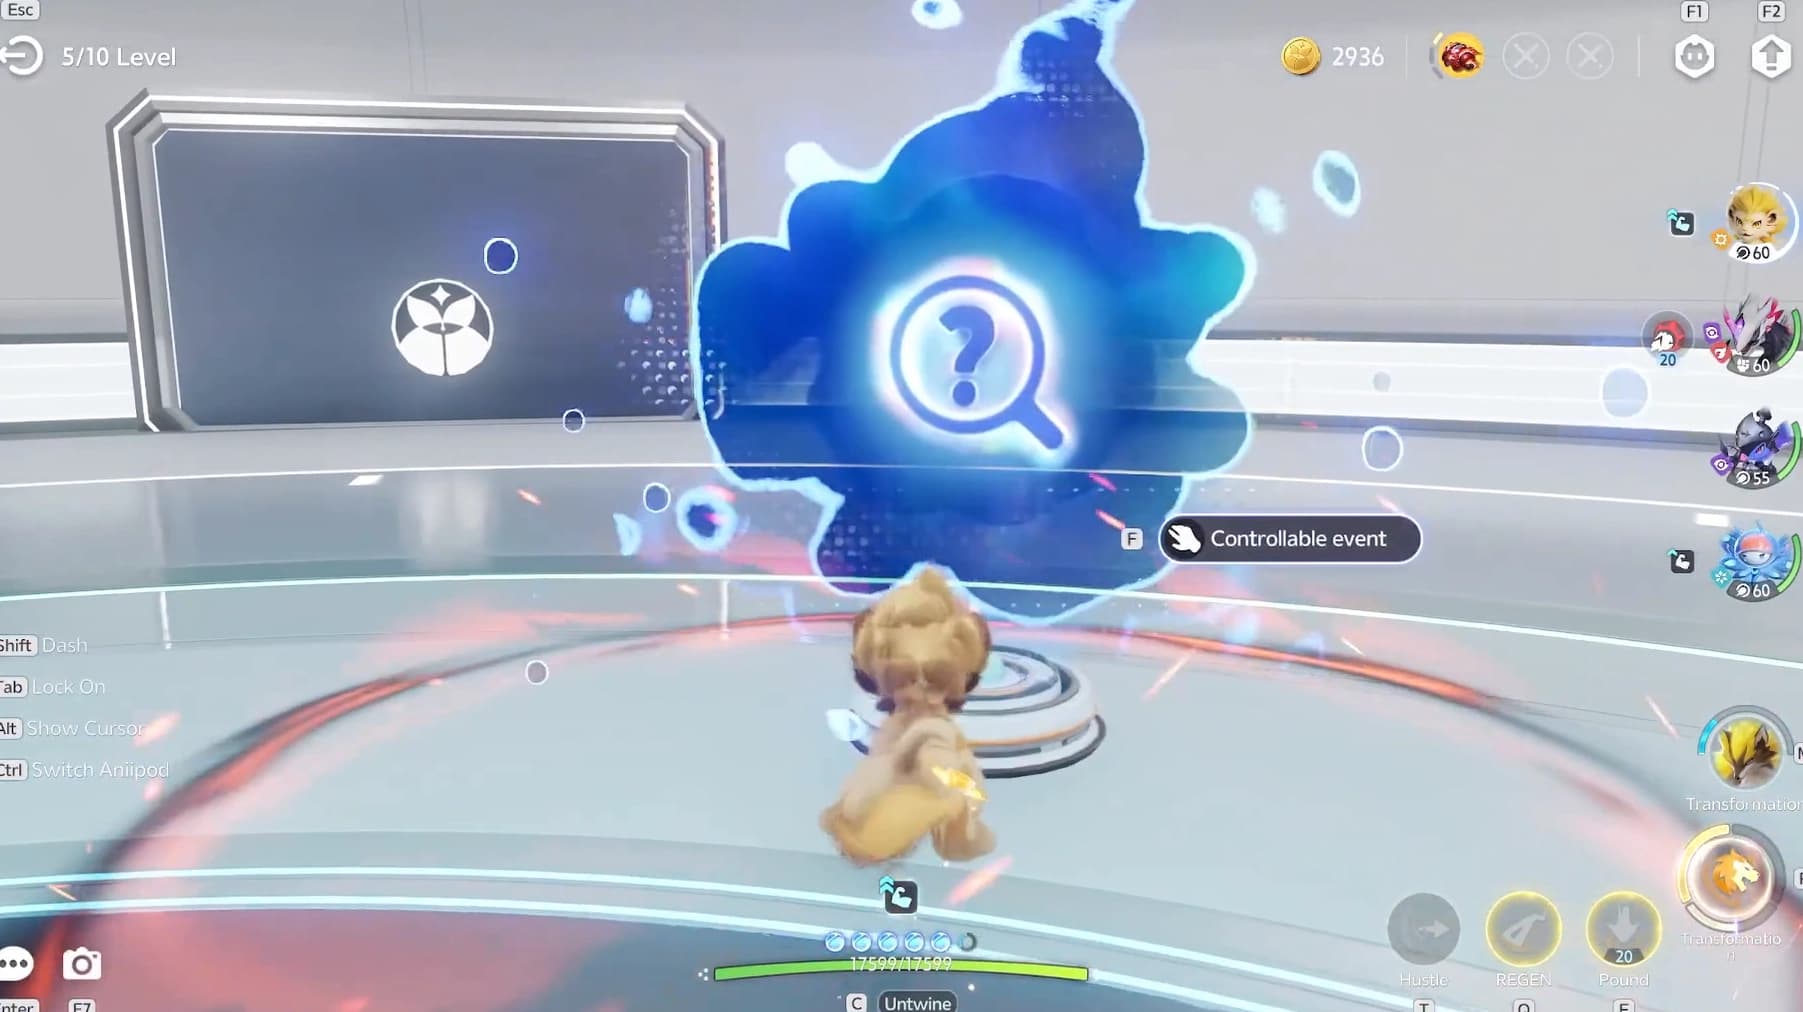
Normal is also the best place to learn the boss exchange without Hard’s 16-floor cost. Repeat the route until you can identify the family plan, health state, and next priority at a glance. That decision speed is what Hard tests.
Hard: composition and counterplay
Hard runs for 16 floors and ends on an Omega. Build for the whole distance: counter DPS, counter BREAK, reliable healing, and a support or second damage slot. The boss interface shows when its attack begins escalating, and the displayed timer is the number to play around because it varies by room.
| Trial | Bring these elements | Hard win condition |
|---|---|---|
| Grass | Fire, Wind, Dark | Break quickly, then burst before the next pressure cycle |
| Water | Grass, Electric, Ice | Keep Electric or Ice pressure active while the breaker creates the window |
| Fire | Water, Earth | Use Water BREAK or Earth damage and save healing for the Omega phase |


These are element and role templates, not a claim that four named Aniimo are the only answer. Use the live type chart to replace a slot with a creature you have built better.
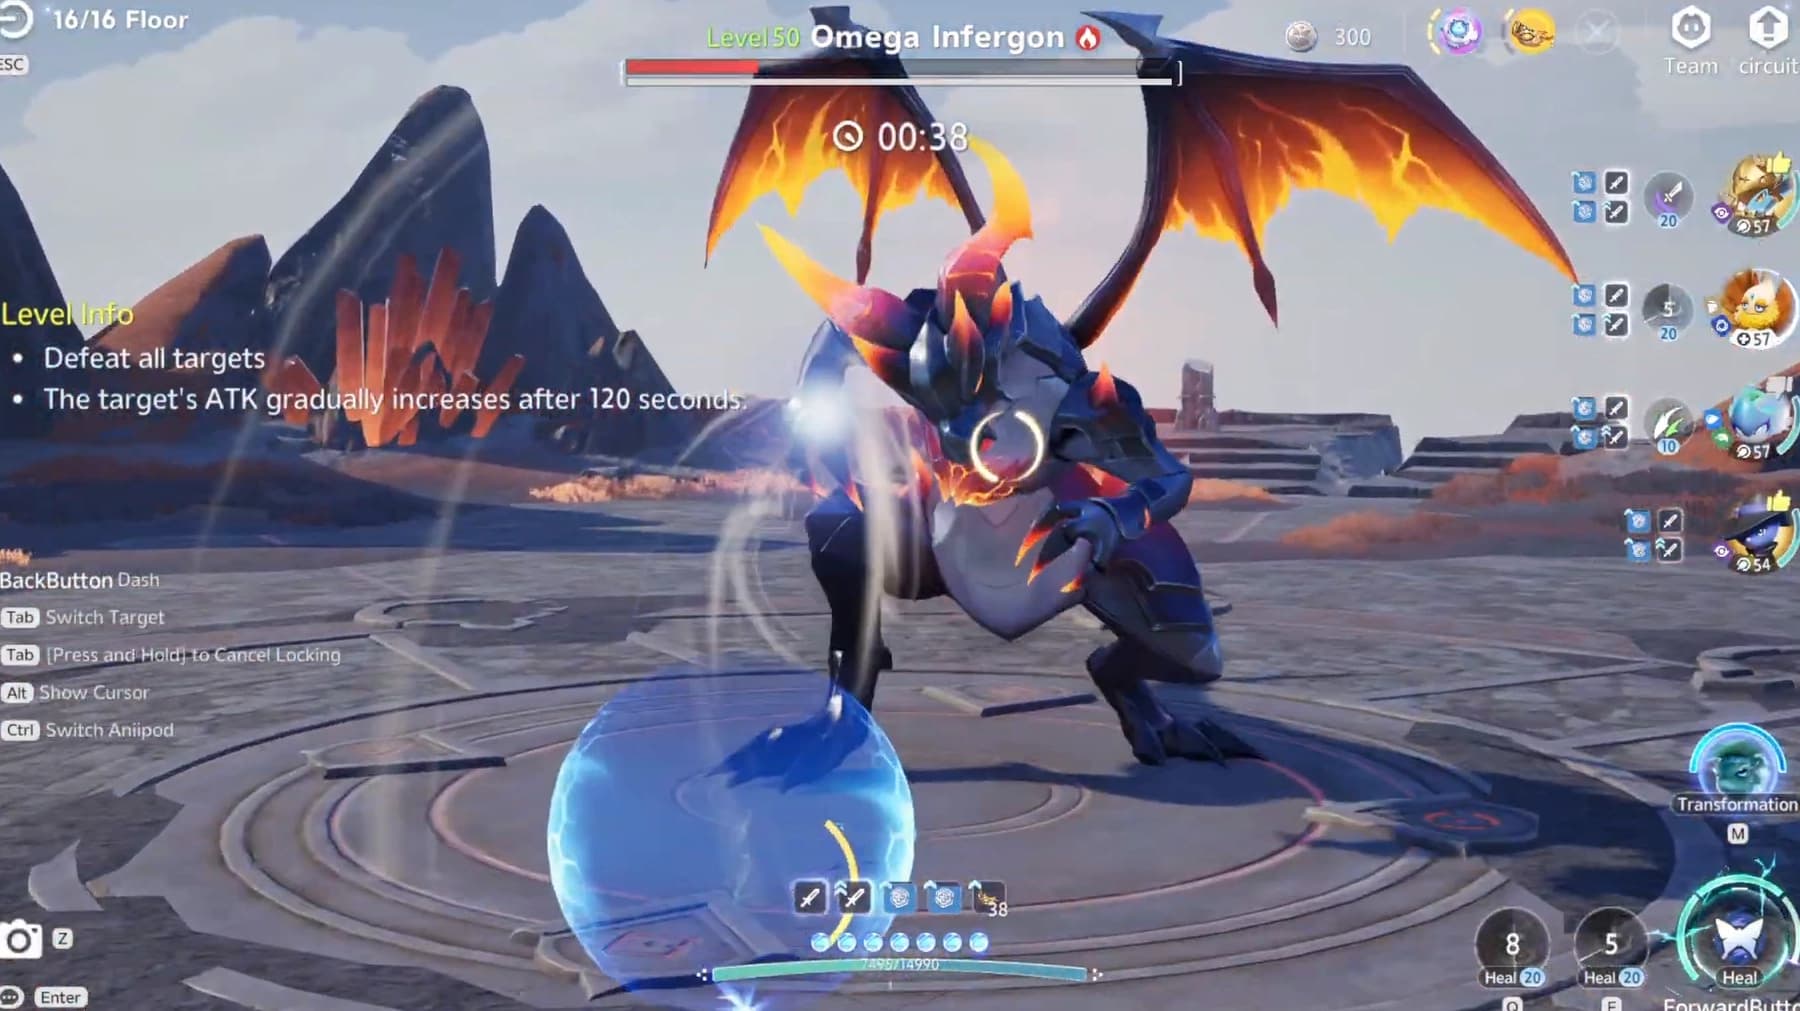
Grass Hard team shell







Water Hard team shell












Build one gizmo engine
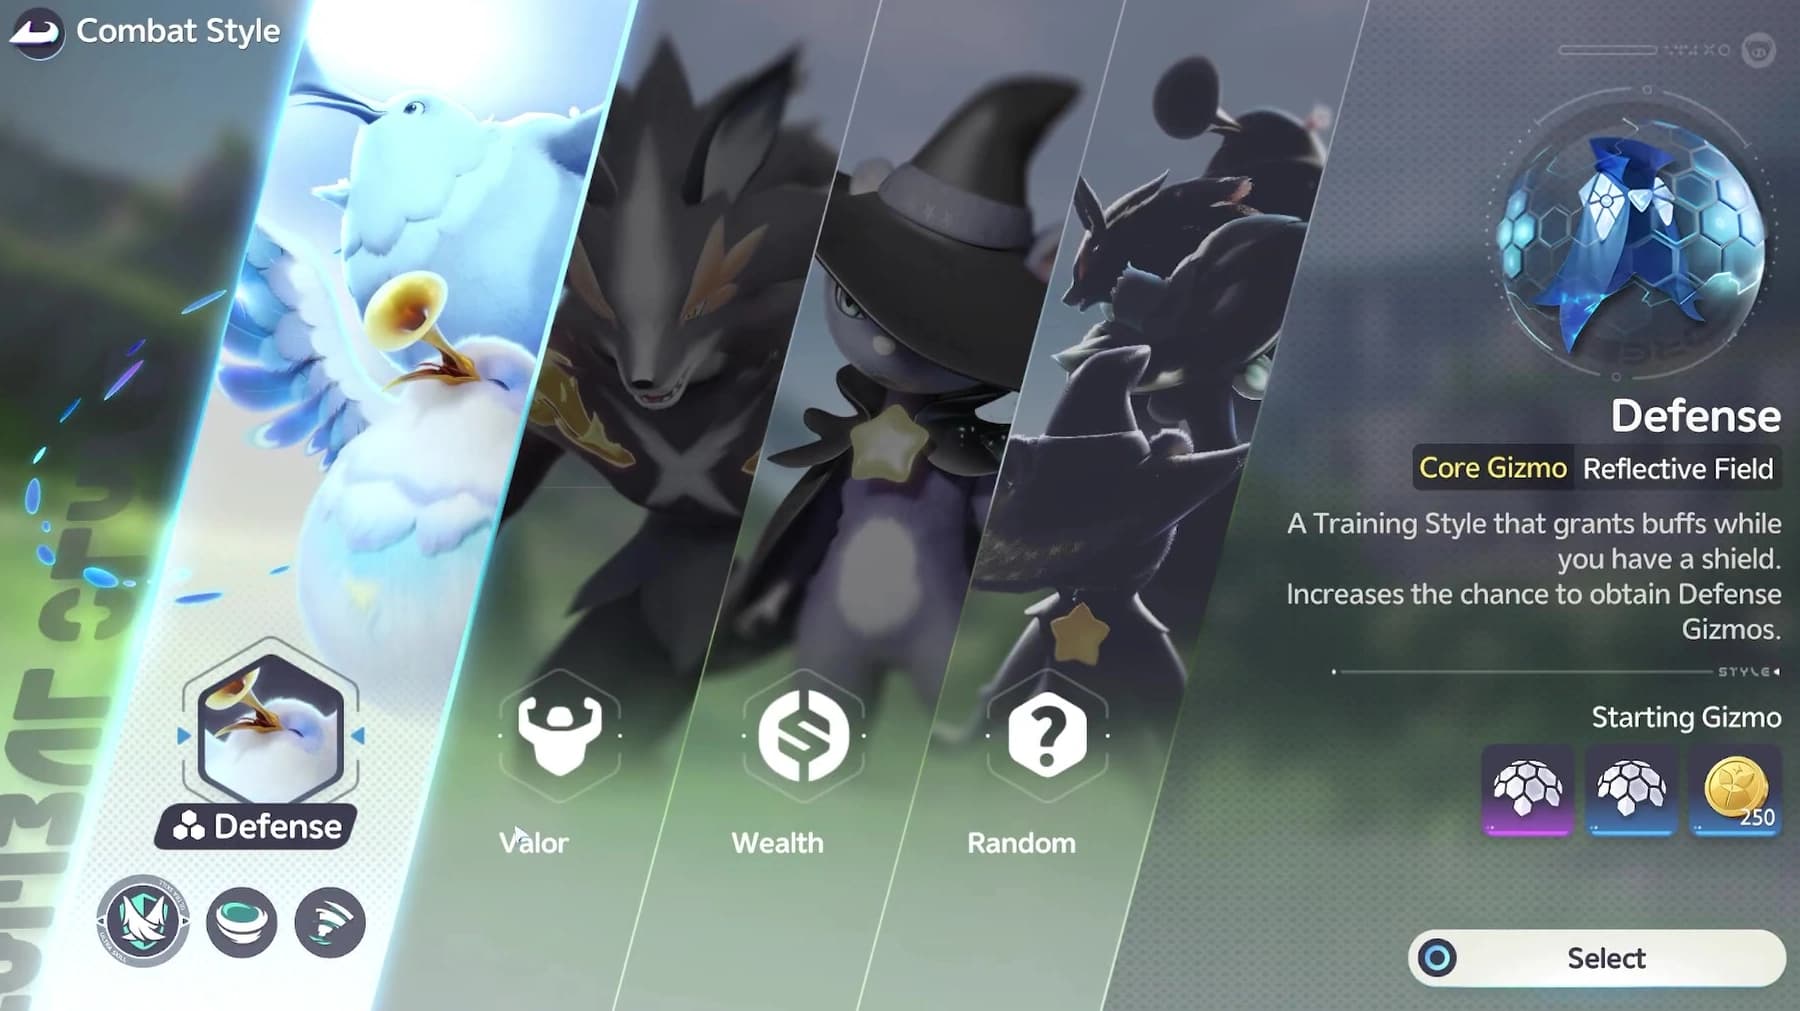
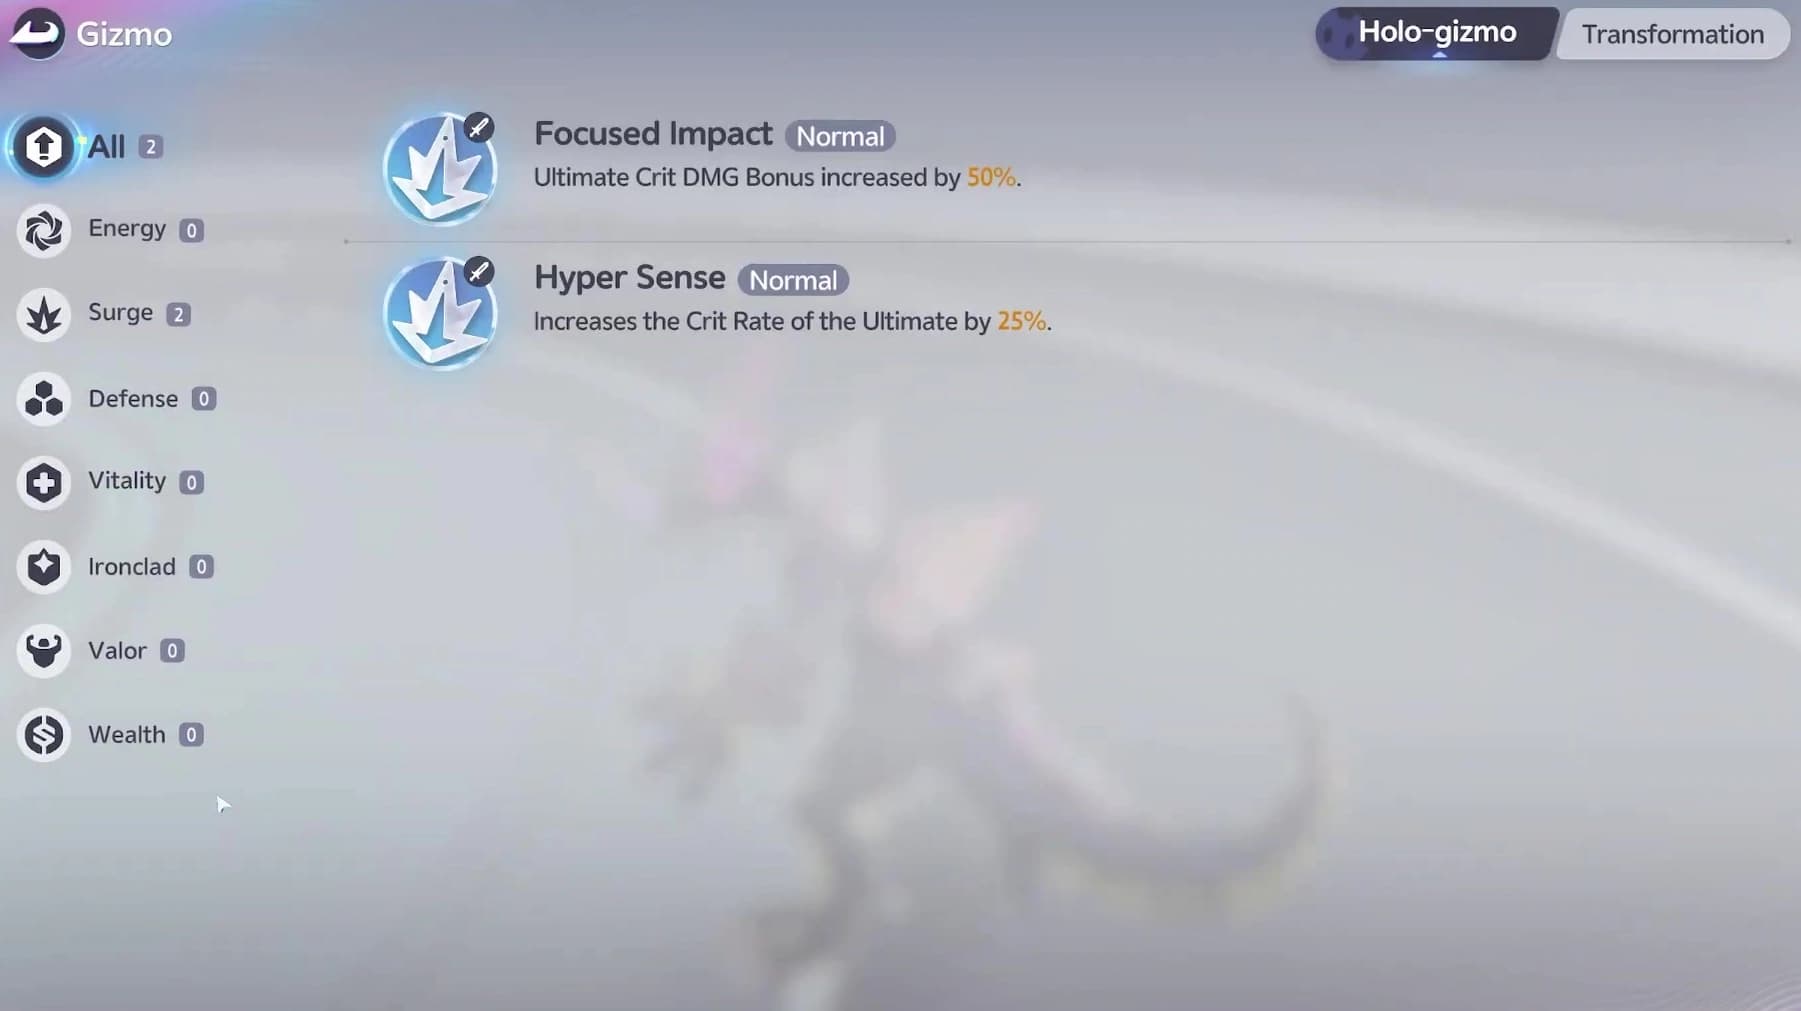
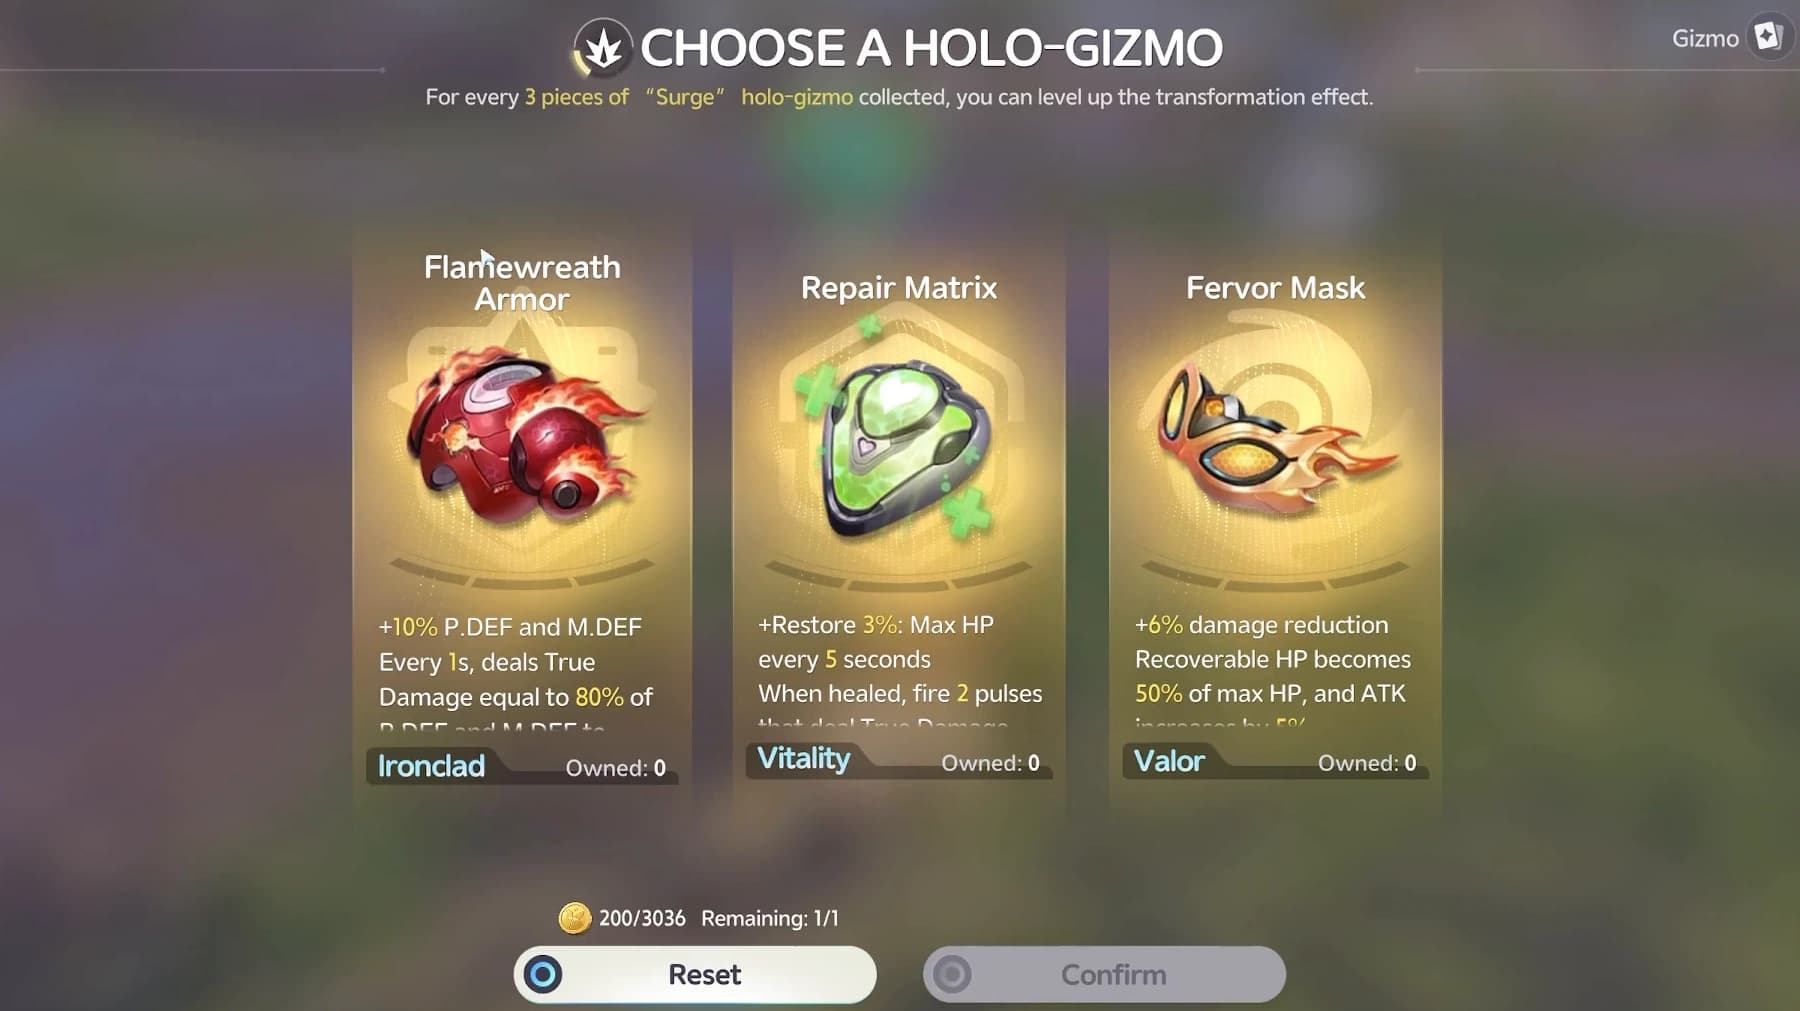
The current build has seven Holo-gizmo families. A combat style raises the chance of seeing its family, and every three matching pieces advances the associated transformation. Random is a style choice with bonus starting coins, not an eighth family.
| Family | Core gizmo | Choose it when |
|---|---|---|
 Energy Energy | [Mk III] Energizing Bracer | The team casts ordinary skills frequently |
 Surge Surge | [Mk III] Surge Engine | The damage plan is centered on ultimates |
 Defense Defense | [Mk III] Reflective Barrier | The team can maintain shields |
 Vitality Vitality | [Mk III] Repair Matrix | Steady healing and long-run sustain are the priority |
 Ironclad Ironclad | [Mk III] Flamewreath Armor | Defense and close-range pressure both matter |
 Valor Valor | [Mk III] Fervor Mask | Damage reduction and recoverable HP stabilize the route |
 Wealth Wealth | [Mk III] Predictive Dice | A safe run can convert extra coins into more choices |
Boss exchange and permanent rewards
- 1Enter with cooldowns ready
The boss is a timed damage check. Open with BREAK setup, then spend the transformation and ultimate in the window rather than on the approach.
- 2Read the displayed escalation
The encounter tells you when enemy attack will begin rising. Play to the on-screen value in front of you, and plan the kill window before it lands.
- 3Redeem the Held Item
Alpha and Omega victories let you exchange the Primegy you are carrying. Confirm the exchange before settling the simulation.
- 4Audit the summary
The result screen records the final team, transformation, core items, and family counts. Use it to diagnose the run before changing the roster.
Alpha and Omega runs here also pay Trial Points toward item rewards, and the Omega Challenge that pays them refreshes every Monday at 04:00 on your server clock. That is one of three separate weekly boundaries a Pathfinder tracks, so convert it with the reset timers tool before planning a weekend of runs.
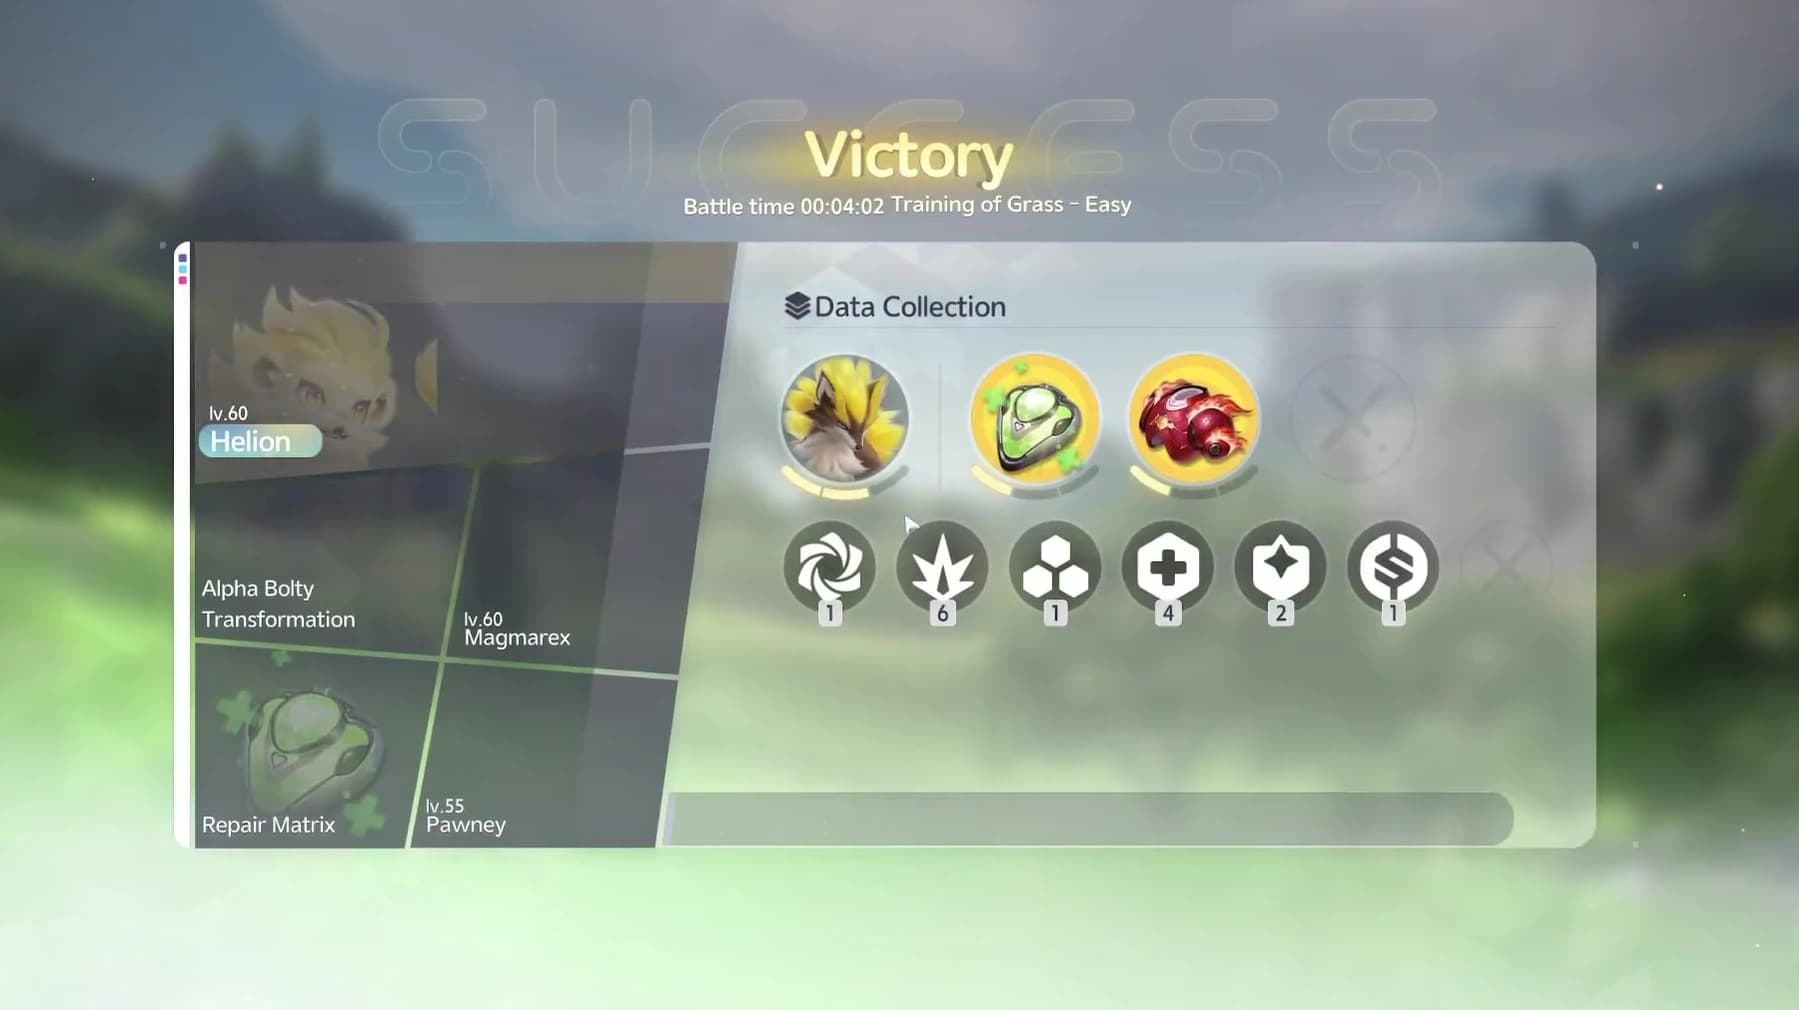
The permanent haul can include first-clear rewards, Training EXP, Training Points and redeemed Held Items or cores. First-clear rewards pay once; repeat clears still feed the regular reward and mastery loops. For another late-game target after the simulator, use the world boss route.
Holo-Battle Interlink is a separate mode with its own seasons, routes, star grades and leaderboard, and AI teammates can fill its team; the Holo-Battle Interlink guide covers it. The co-op guide covers activities played with other Pathfinders.
Review the loss by layer.
A floor loss
Usually route or sustain.
A boss loss with time remaining
Usually BREAK timing or counter damage.
A boss loss after escalation
Usually a damage check.
Frequently asked
How do you unlock Advanced Training in Holo-Battle Sim?
Clear the Basic Training trials first. Basic Training contains the Grass, Water and Fire routes across Easy, Normal and Hard; completing that ladder opens the Advanced Training sequence.
What team should you use for Holo-Battle Hard?
Use a counter-element DPS, a counter-element breaker, a reliable healer, and a support or second damage slot. Grass is weak to Fire, Wind and Dark; Water is weak to Grass, Electric and Ice; Fire is weak to Water and Earth. Build the exact four in the team planner around the Aniimo you have invested in.
What resets after a Holo-Battle run?
Run coins and the Holo-gizmos assembled inside the simulation reset. Training EXP, Training Points, mastery progress, first-clear rewards and properly redeemed carried rewards belong to the persistent progression layer.
Which Holo-gizmo family is best?
There is no universal best family. Energy rewards frequent skill casts, Surge rewards ultimate damage, Defense rewards shields, Vitality rewards healing, Ironclad rewards defense and close pressure, Valor stabilizes damage taken, and Wealth improves the run economy. Pick the family your team can trigger consistently, then collect three matching pieces to advance its transformation.