


Prerequisites and location
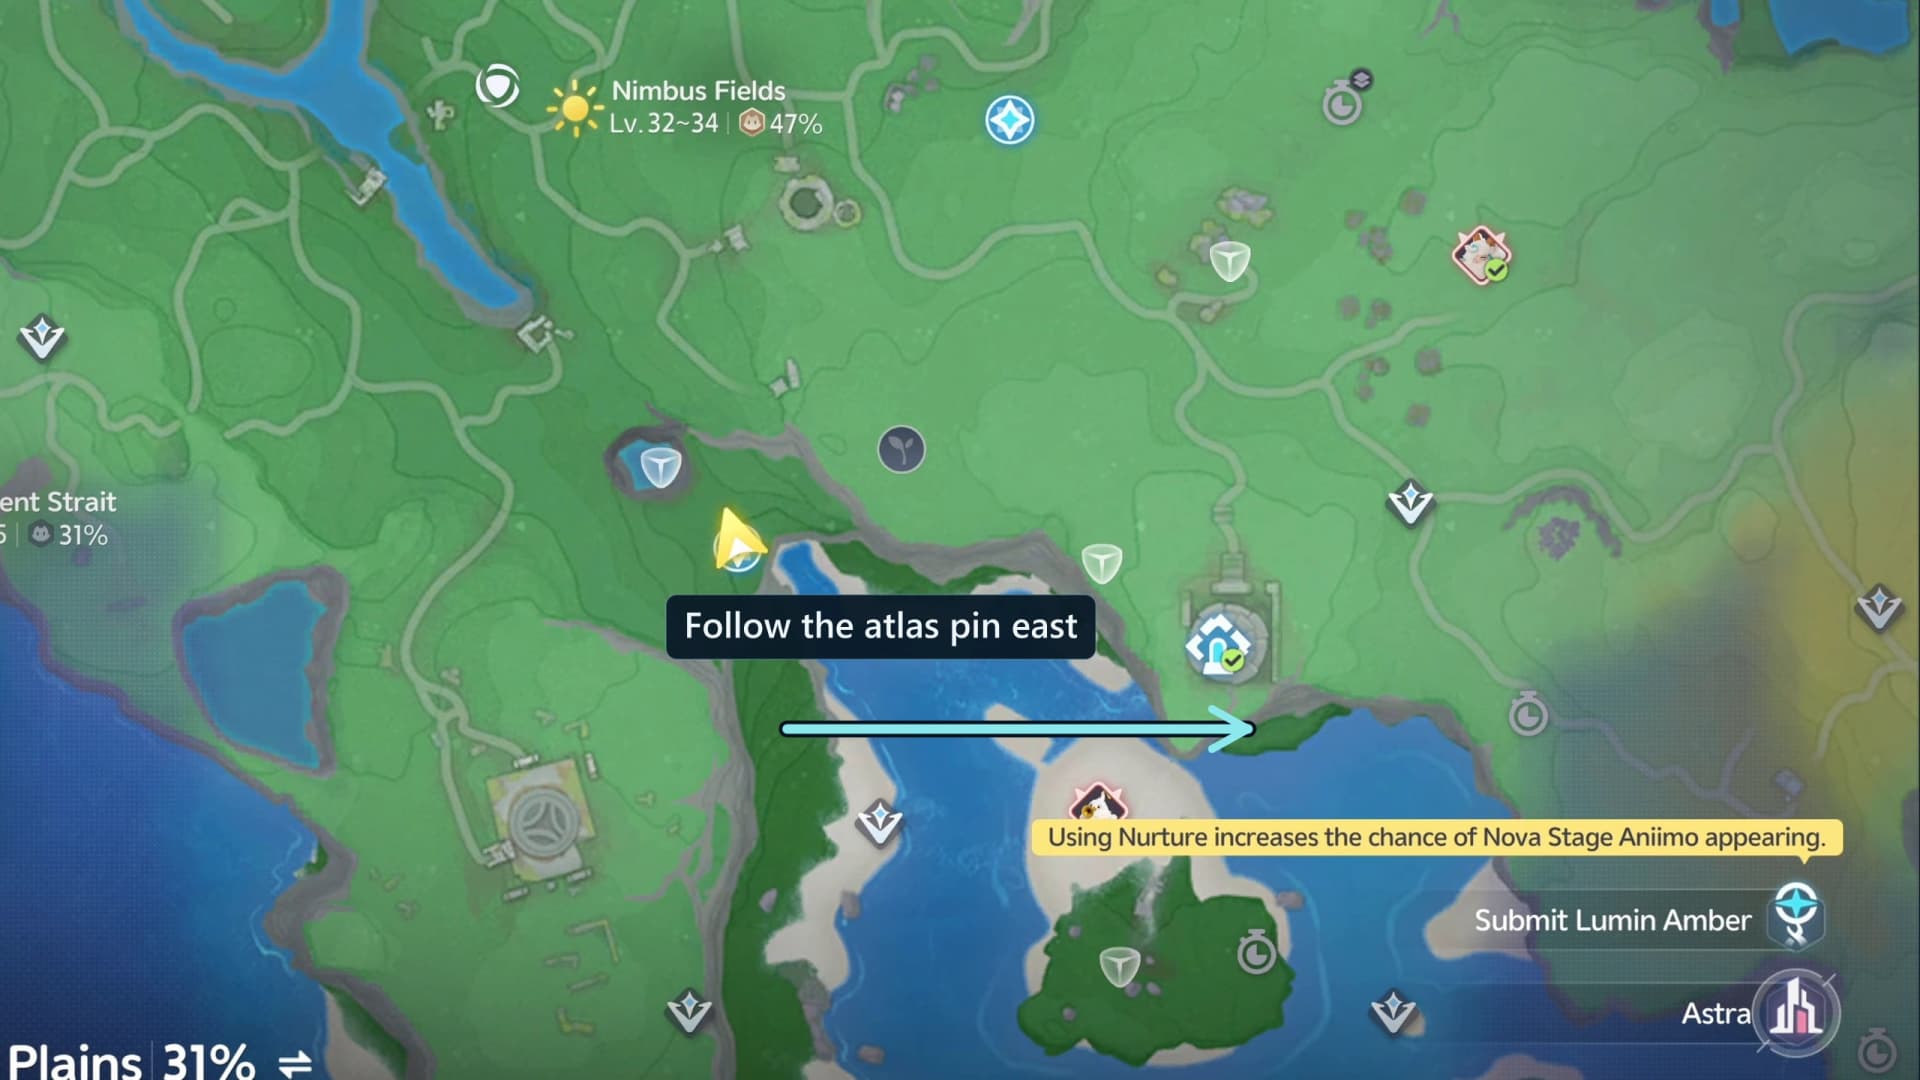
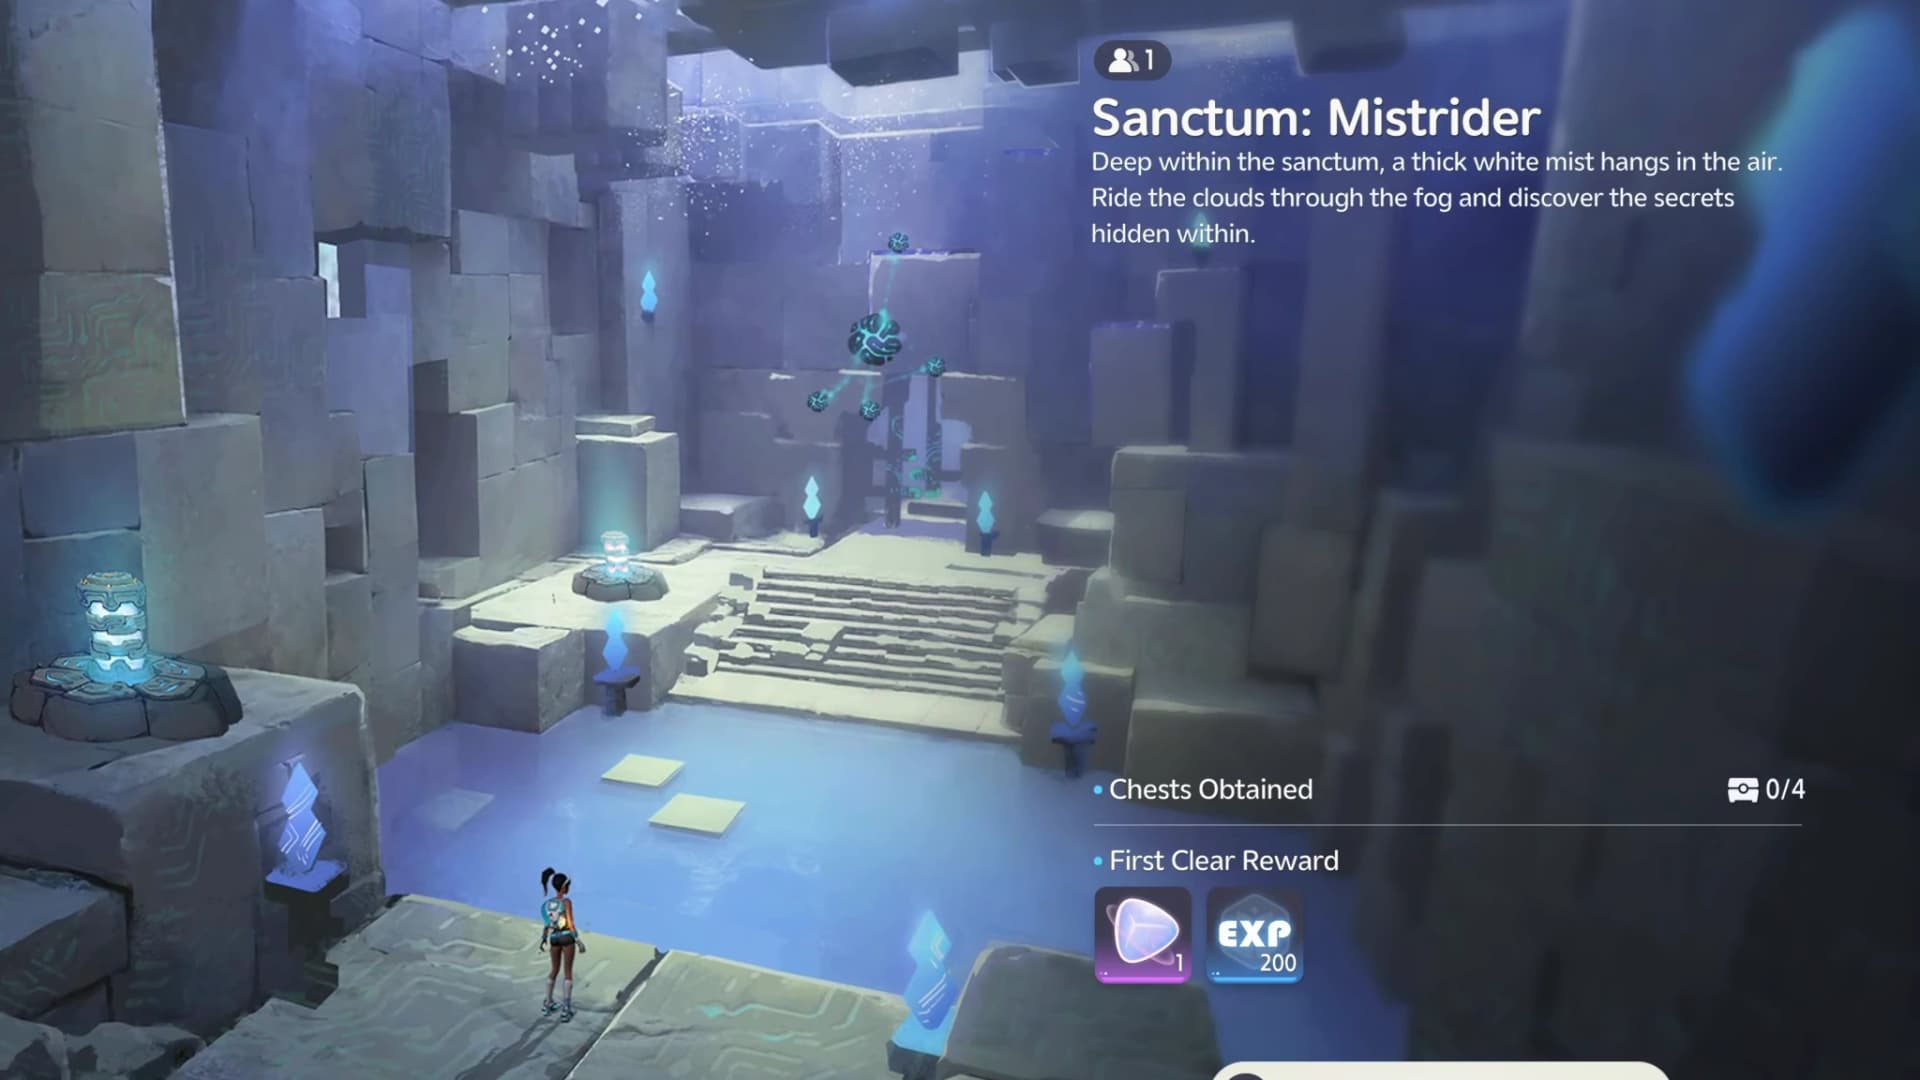
Open the exact Chasing Clouds atlas pin. The marker sits at 1339, 1986 on the AniimoVerse atlas. The map label is Nimbus Fields; older checklists use the singular Nimbus Field for the same entrance. A fresh run takes one player and starts at four optional chests.
Nimbus Fields
Older checklist label
- Value
- Nimbus Field
Atlas coordinates
- Value
- 1339, 1986
Players
- Value
- 1 · Solo
Fresh-run chest counter
- Value
- 0/4
First-clear reward
- Value
- Lumin Amber: Breezy Plains ×1 · 500 EXP
Trial movement

Quick solution
- Read the Grab card on the way in, Awaken the statue for trial Turbo and take the Cloudwalk card that follows.
- Fly up through the hall cloud, attach the first Ancient Battery, drop it on the round charging plate and pass the first large gate.
- Glide down to the first checkpoint, slip between the two banks of flame jets for chest 1, then take chest 2 on the shelf beside the crosswind vents.
- Ride the heavy vents up the shaft to the switch chamber and use both Open Passage controls, one on each flank.
- Drop into the east pit for the premium chest 3, take the second Ancient Battery off the west shelf and open chest 4 on the west ledge for 4/4.
- Set that battery on the empty charging plate. Both circuits turn gold, the gate face closes into one rosette and the shutter lifts; fly the last span and Touch the Terminus.
Trial Aniimo and Cloudwalk controls
The trial is Turbo, and the visible ability label is Cloudwalk, not a generic Wind attack. On the default PC layout, enter a cloud and press T for Flight Mode, Space to ascend, Ctrl to descend and X to exit. While flying, move close to an Ancient Battery to attach it. If you have rebound these keys, follow the on-screen prompt instead.
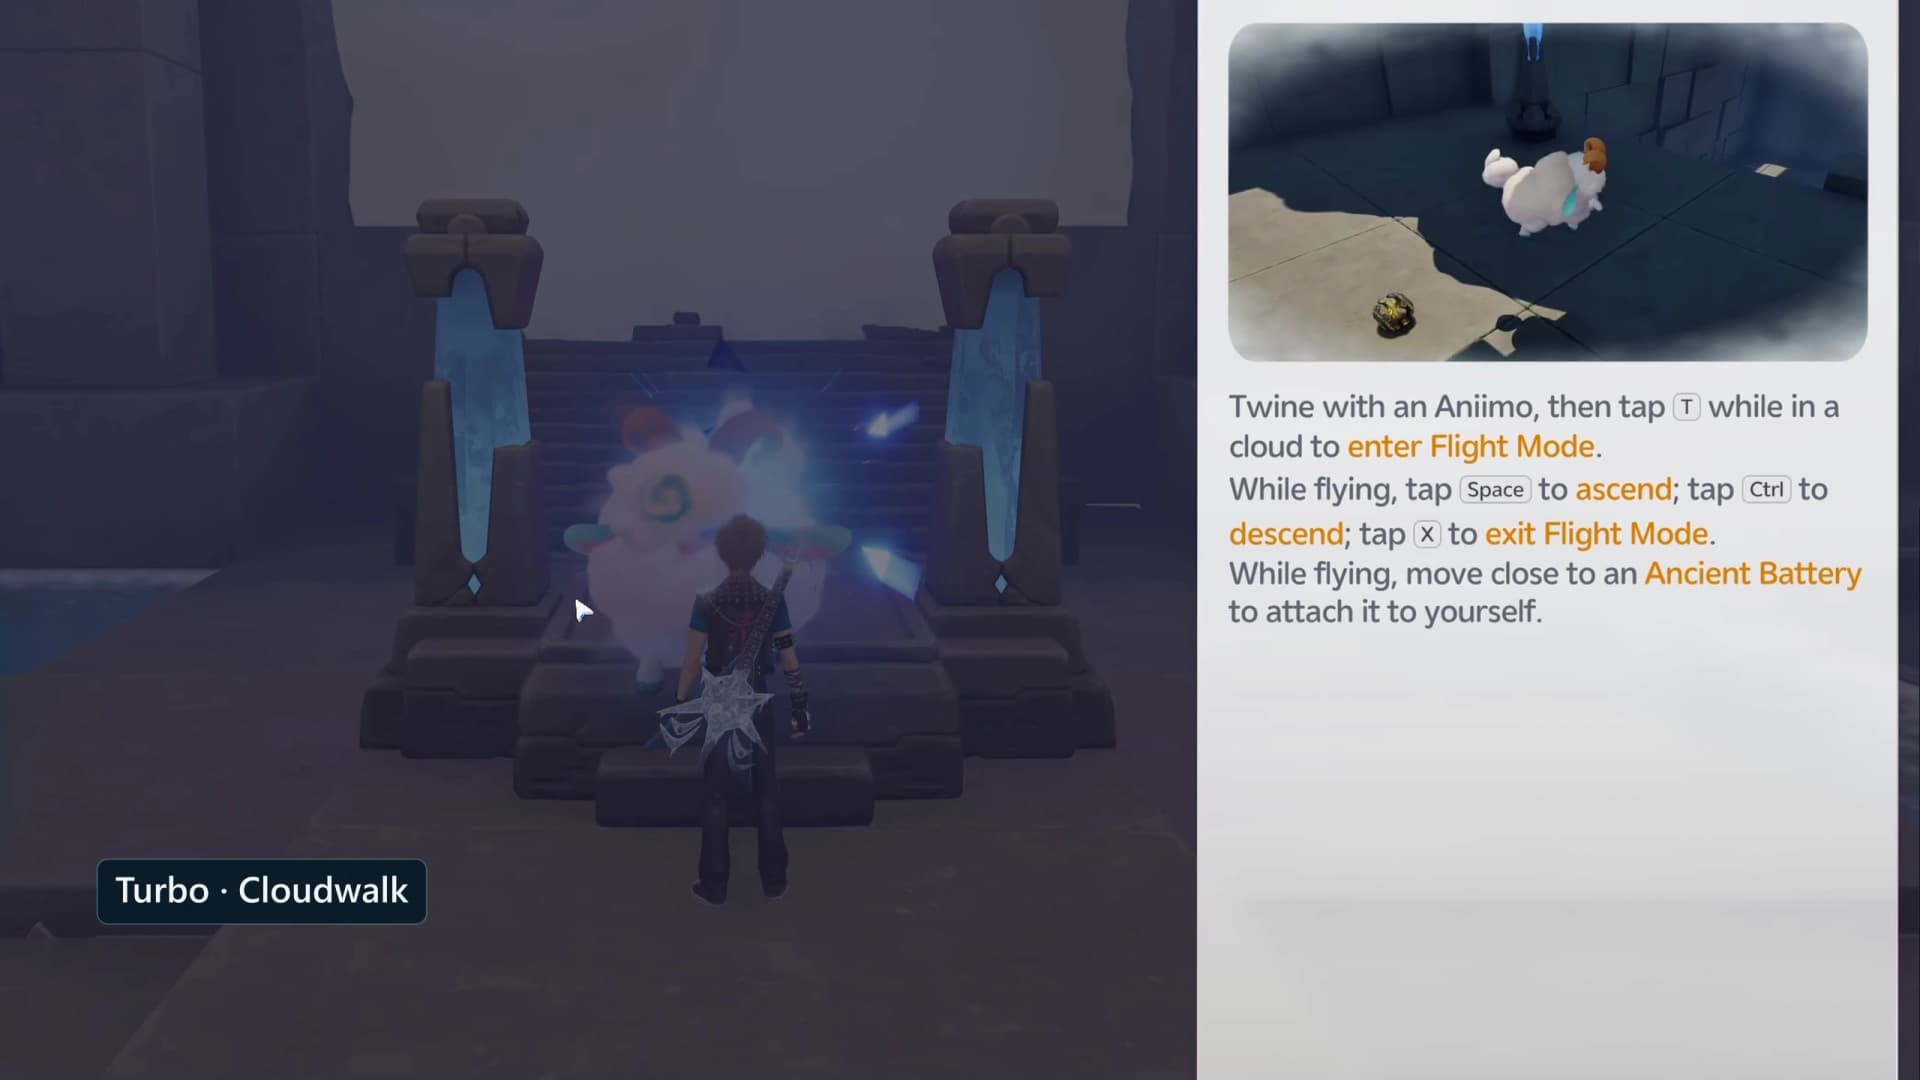
The room teaches its two verbs in that order. The Grab card fires between the entrance pad and the statue, before you have an Aniimo at all, and Grab is the verb that seats a battery on a plate. The Cloudwalk card follows a second after you Awaken the statue. If the controls are unfamiliar, review Twining and mobility before the opening ascent. The puzzle expects deliberate vertical corrections rather than a continuous sprint through the room.
Route, step by step
The room climbs the whole way: a misted entrance hall, a drop past the first gate into a flame corridor, a tall vent shaft, the switch chamber, the battery chamber with a flank on each side, then the powered gate and a span of open air. Follow the plan in order and read each gate and counter rather than the height you have gained.
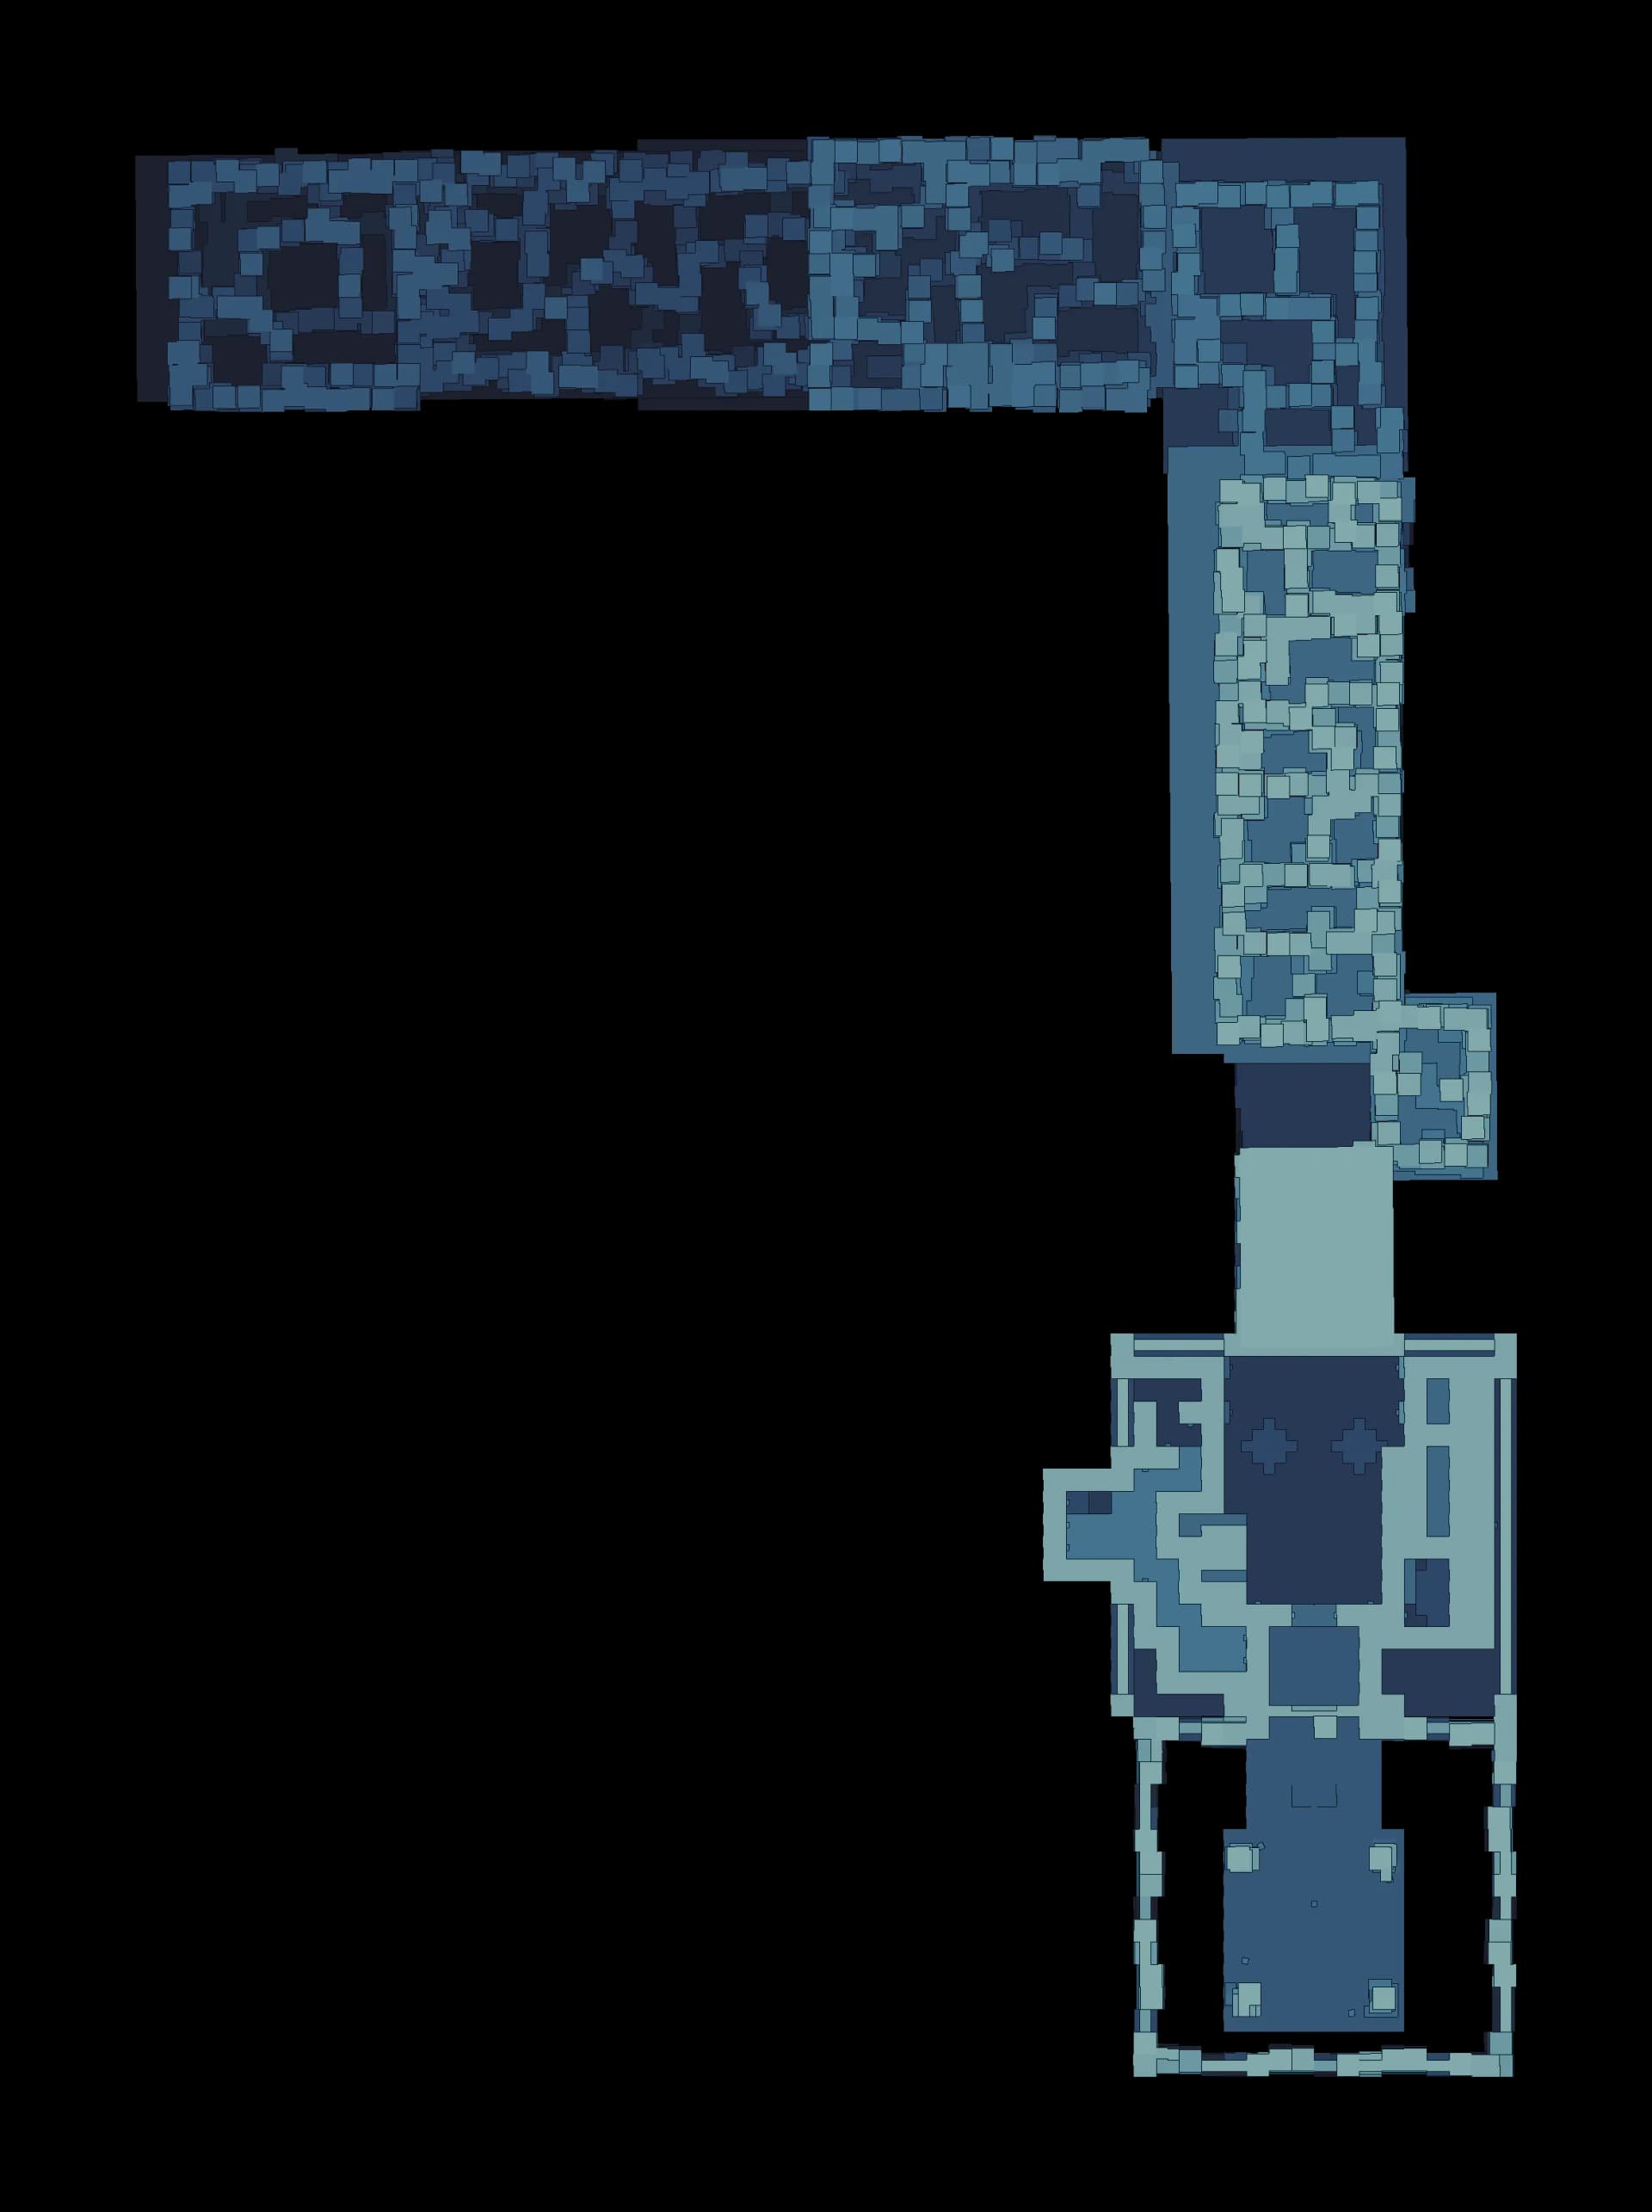 TX3421ACCCC
- Entrance
- Checkpoint
- Trial statue
- Terminus
- Chest
- Control
- Mechanism
- Element device
- Hazard
- 1Land on the entrance pad in the mist hallRoom 0
You arrive on the entrance pad at the west end of a long misted hall. This is the only respawn point the room starts with. A few paces east the room hands you the Grab card, which covers aiming at an object, carrying it and setting it down again.
- 2Awaken the trial statue and Twine with TurboRoom 0
Carry on east along the hall floor to the stone statue and use Awaken to claim the trial Turbo, then Twine with it. One second later the Cloudwalk card appears, which is the room telling you the whole plan: enter a cloud, switch to Flight Mode, and while flying move close to an Ancient Battery to attach it.
- 3Fly up through the hall cloud to the first Ancient BatteryRoom 0
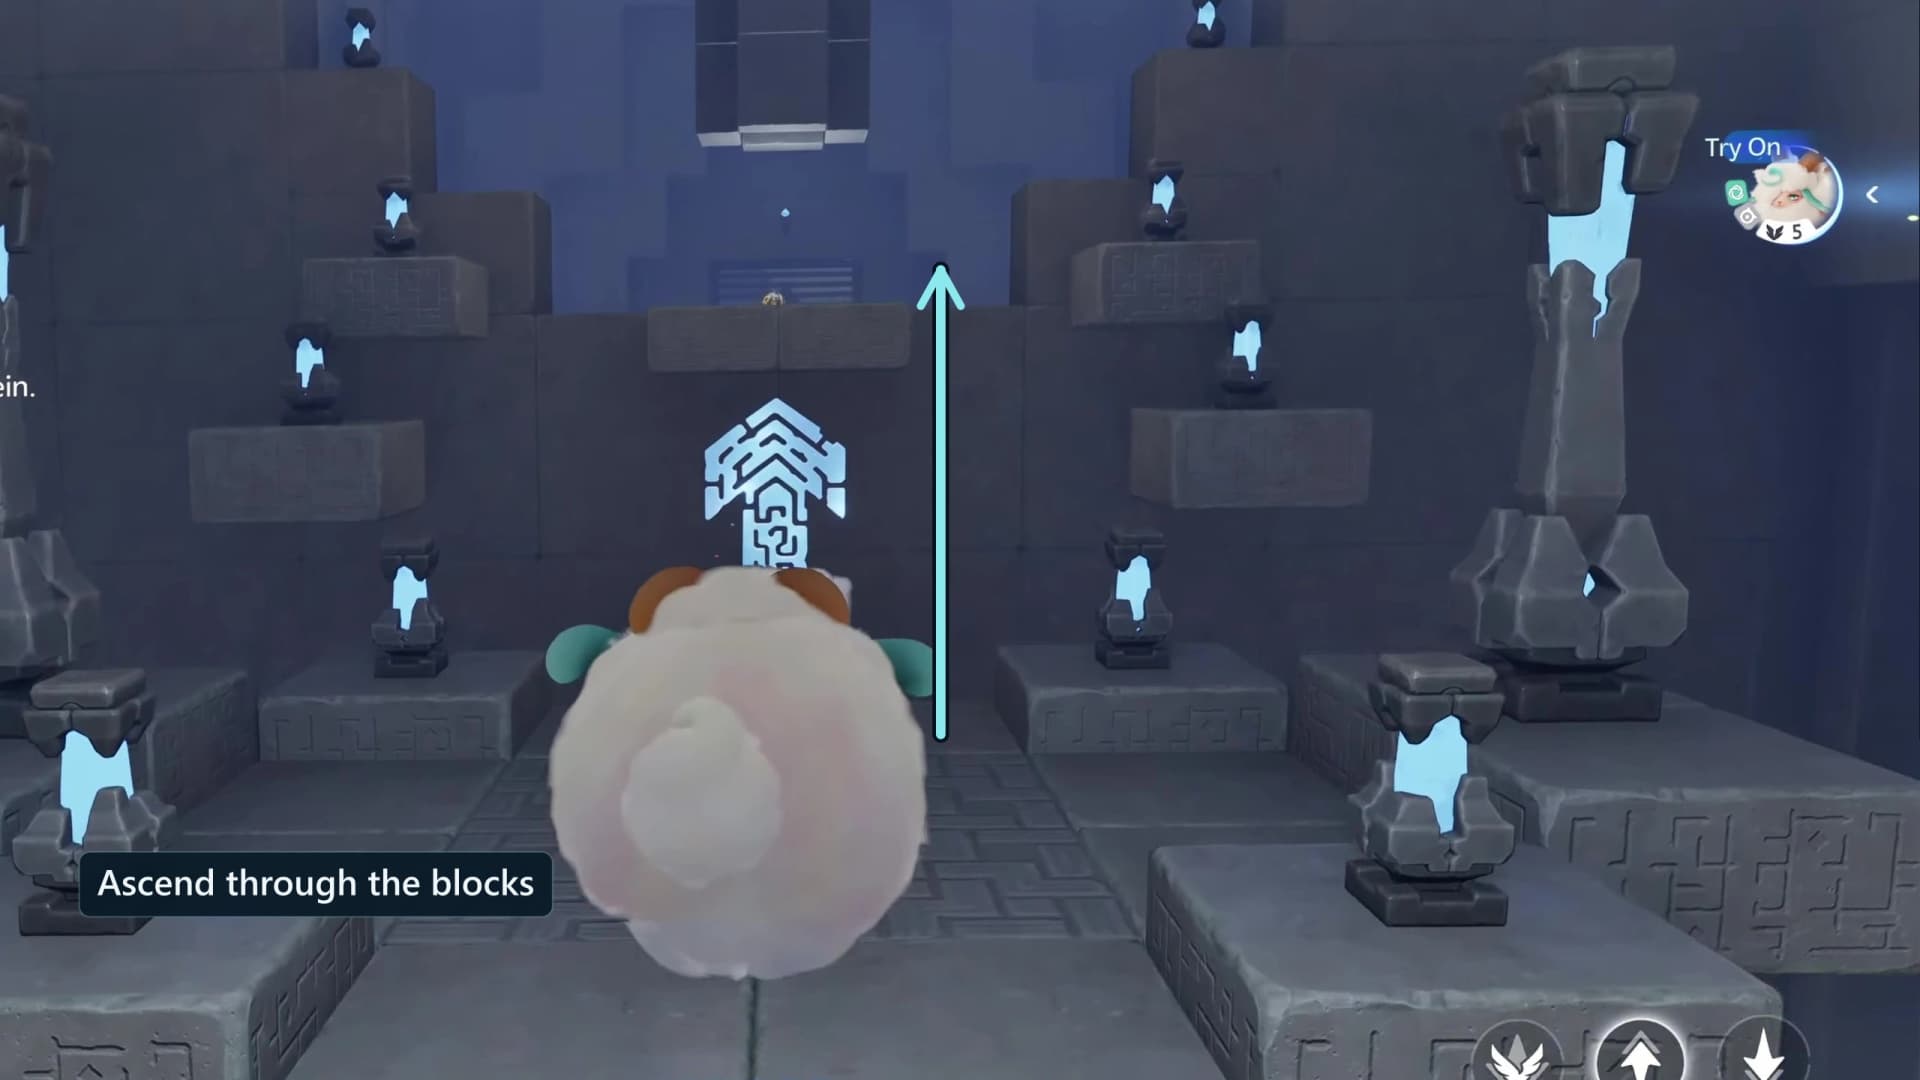
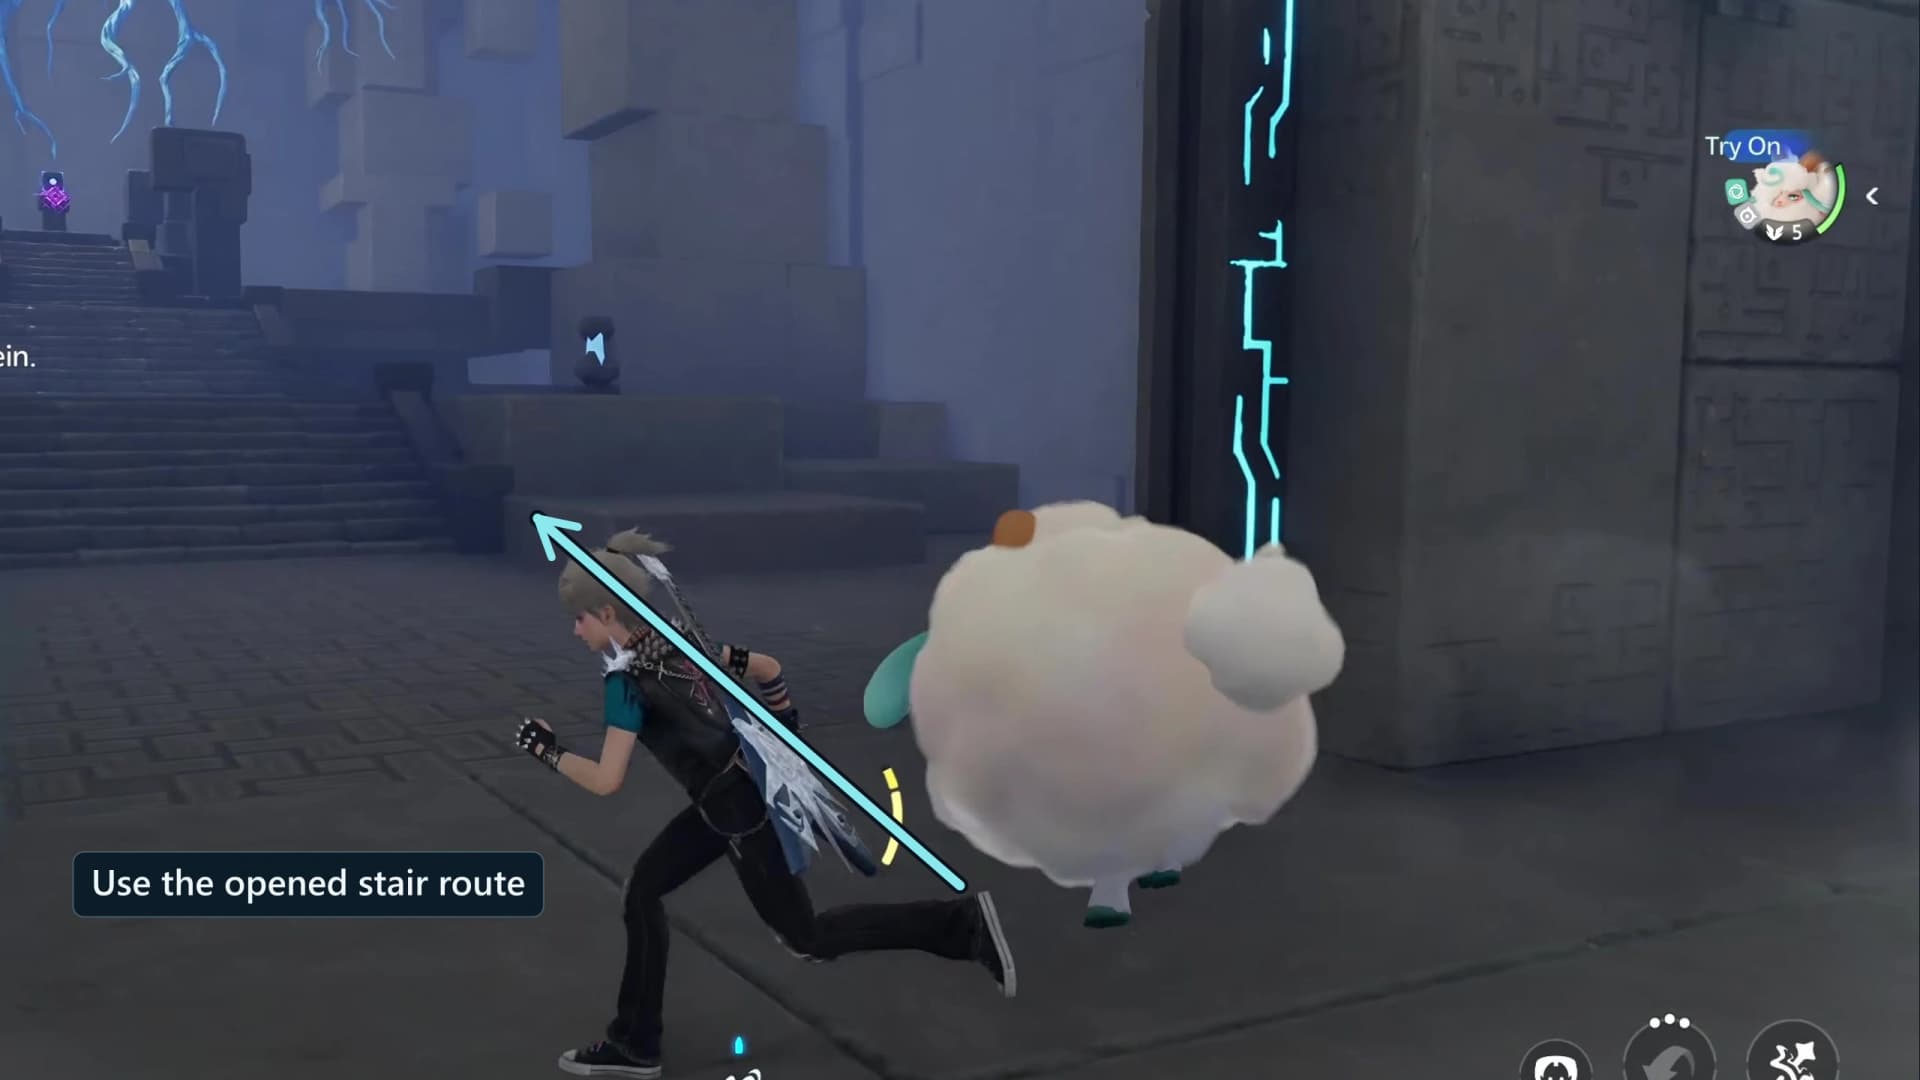
The white cloud fills the low ground just east of the statue. Enter Flight Mode inside it and climb about twelve metres to the Ancient Battery hanging over the ledge, then drift close so it attaches. The lever on the ledge below is Refresh Battery, which puts the battery back at its start if it ends up somewhere you cannot reach.
- 4Seat the battery on the plate and pass the first gateRoom 0
Carry the battery east to the round charging plate set into the floor beside the far wall and drop it on the plate. The buried line runs north and south from there and lights the bulb above each end, and the large mechanism gate between them opens.
- 5Drop through the gate to the first checkpointRoom 1
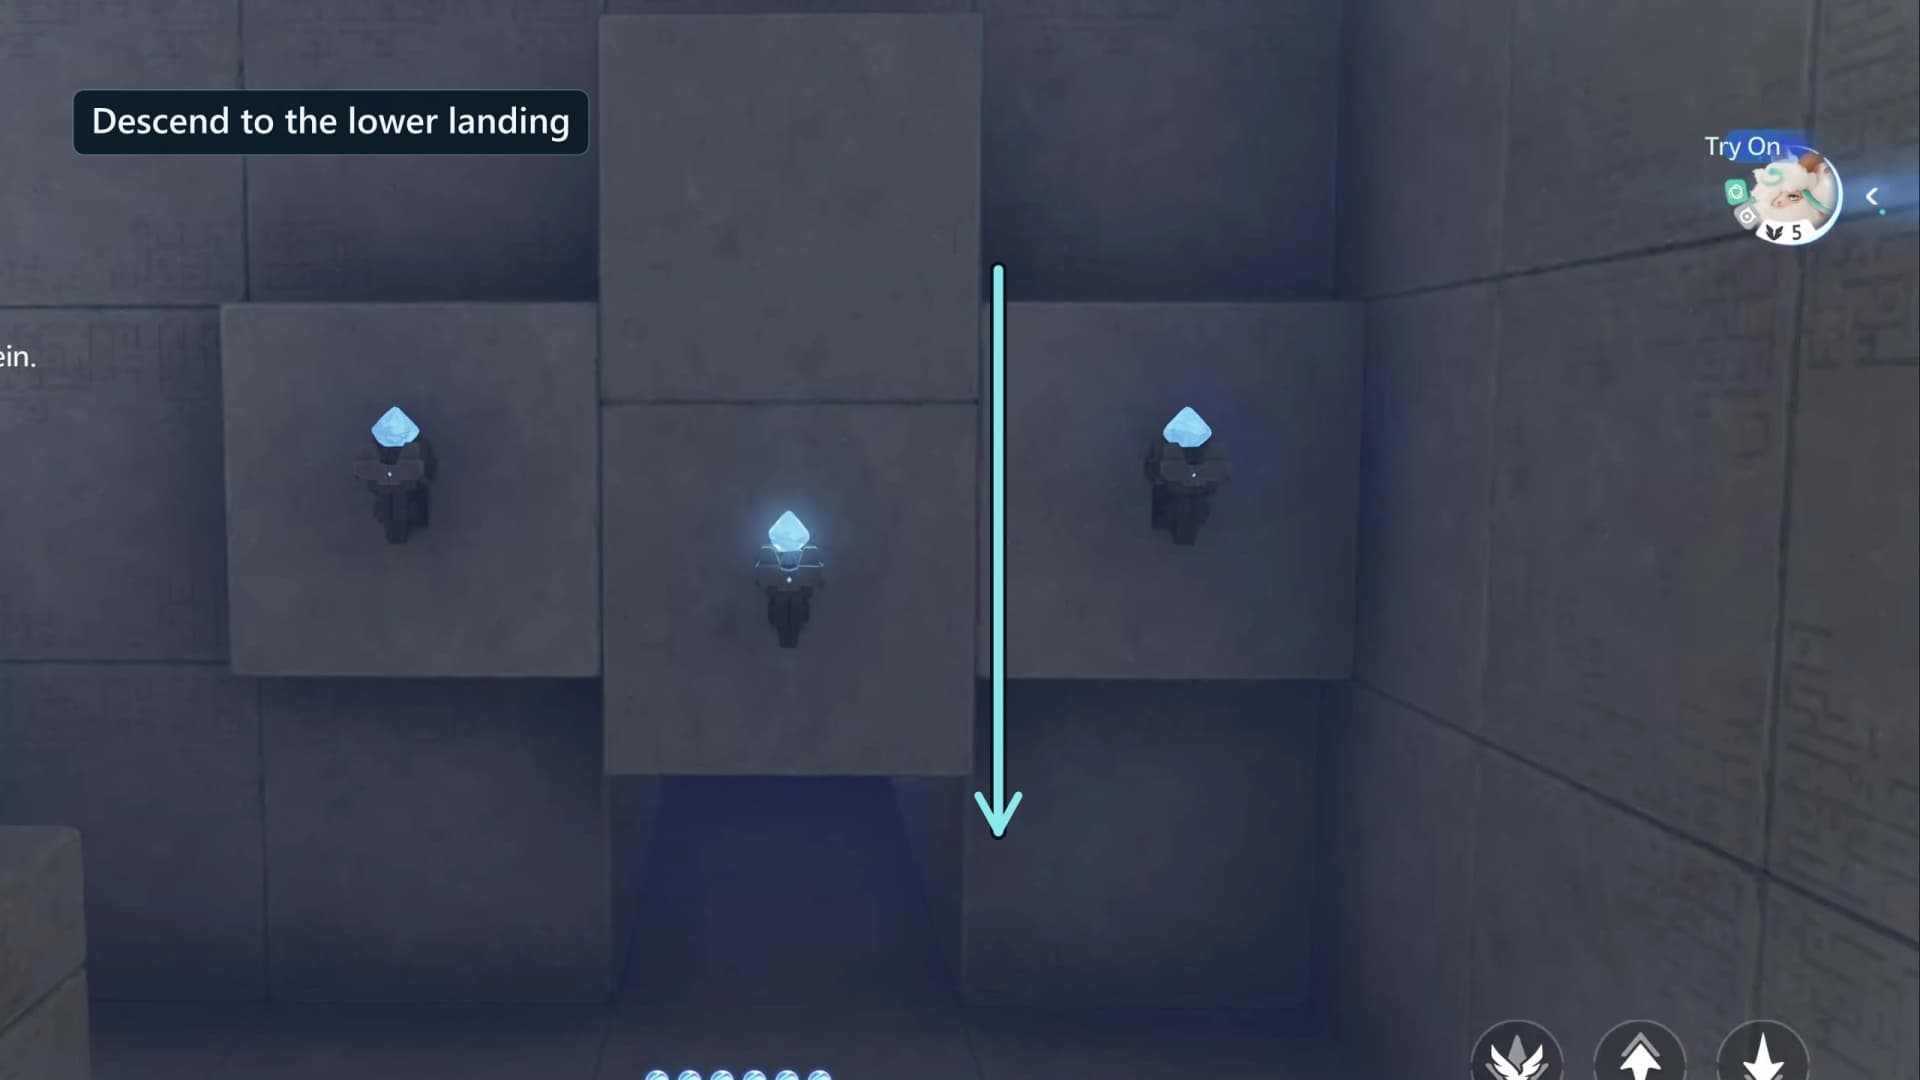
Past the gate the floor falls away into a shaft. Glide down and forward to the ledge that lights the first checkpoint, about twelve metres below the gate, so a fall restarts you here instead of at the entrance.
- 6Chest 1: the ledge between the flame jetsOptionalChest 1Room 2
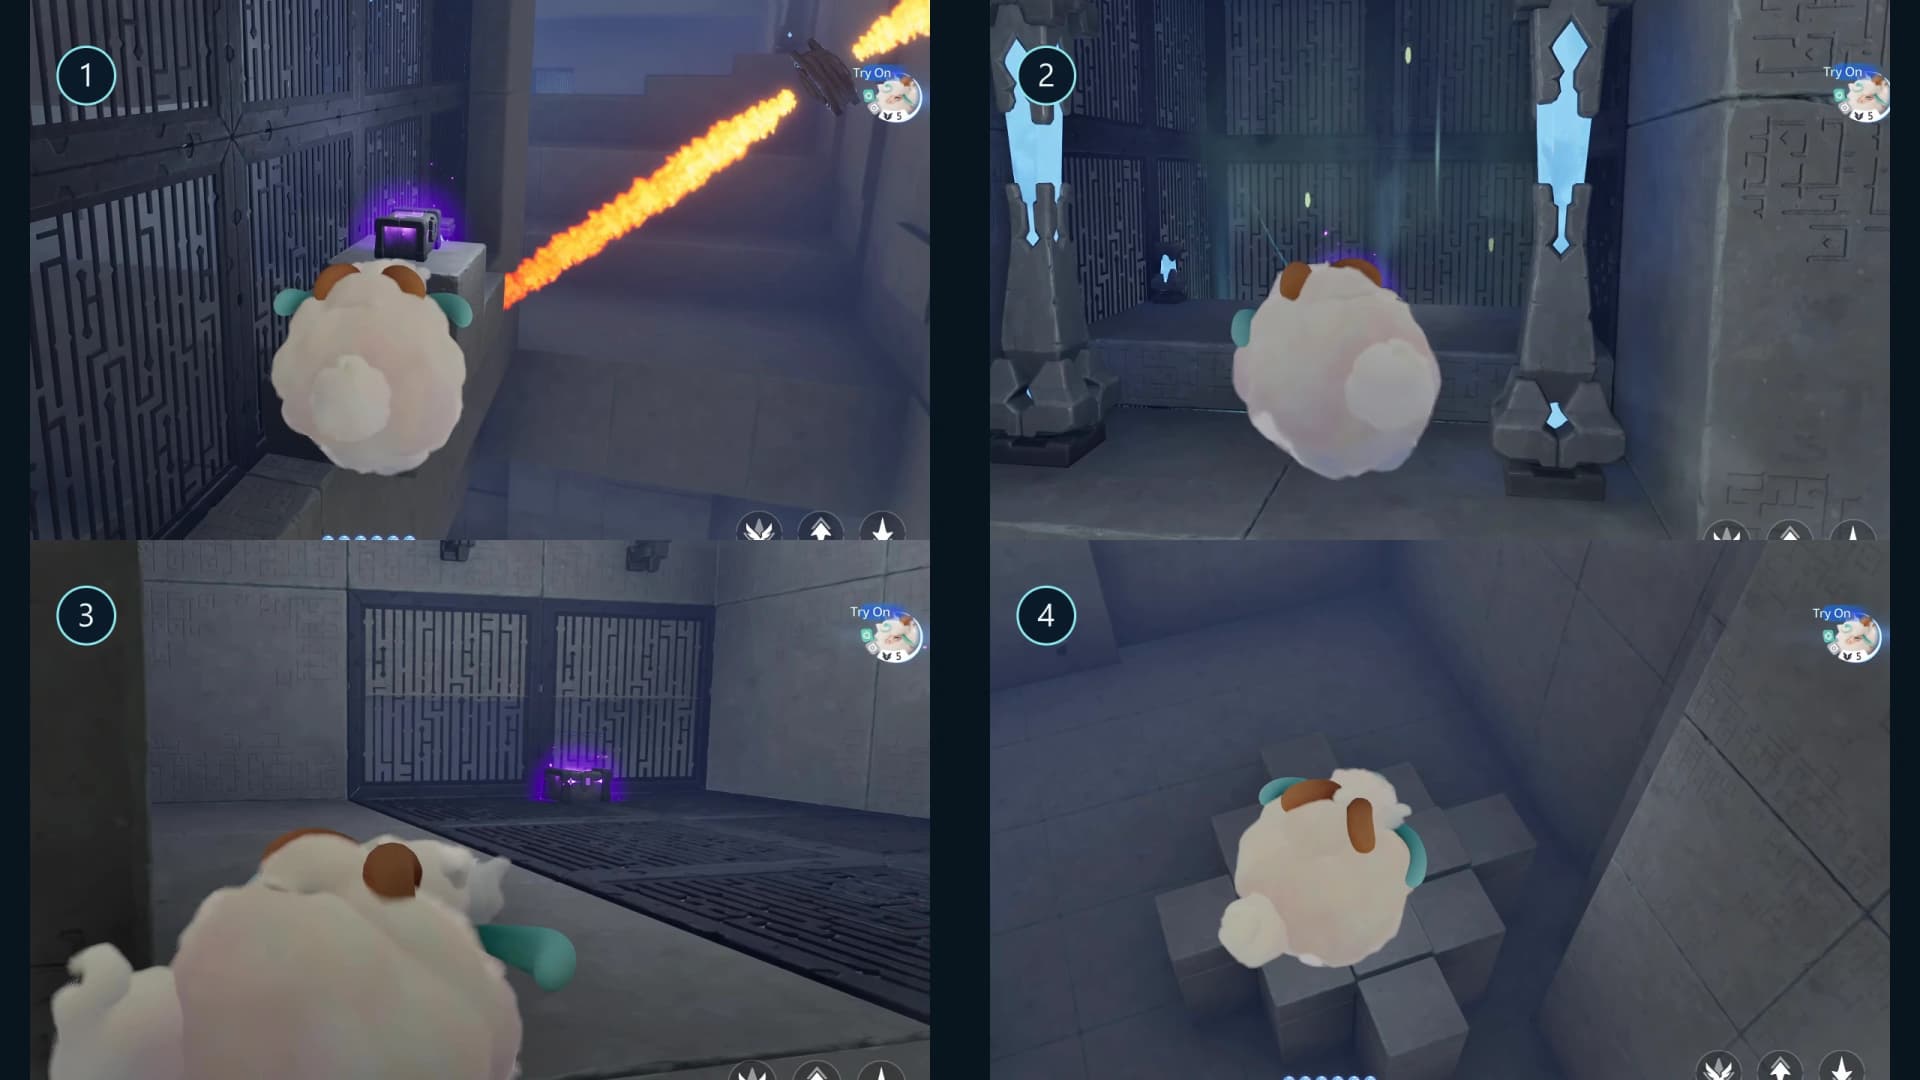
The next corridor is crossed by two banks of flame jets firing both ways off the west wall, ten metres apart. The first standard chest sits on the ledge midway between the two banks, a couple of metres below the jet line, so slip in on the gap and open it. The pit under this stretch is lethal and drops you back at the checkpoint you just lit.
- 7Chest 2: the shelf beside the crosswind ventsOptionalChest 2Room 3
Beyond the corridor the route opens into a tall shaft with a pair of vents blowing across it. The second standard chest sits on the low shelf beside them, seven metres under the wind band, so drop out of the gust before you line up on it.
- 8Ride the strong vents up to the second checkpointRoom 3
Two heavier vents sit at the foot of the shaft and push a much wider band of air than the pair above them. Ride the shaft up roughly thirty metres and cross the landing line to light the second checkpoint.
- 9Light the third checkpoint in the switch chamberRoom 4
The route flattens into a wide chamber with a closed wall on each flank. Step onto the pad near its centre to light the third checkpoint before you touch anything, because this is the last safe restart before the battery work.
- 10Use the west Open Passage switchRoom 4
Against the west side of the chamber stands a switch labelled Open Passage. Use it once, at chest height, and the wall on that flank retracts. It is a one-shot control, so there is nothing to toggle back.
- 11Use the east Open Passage switchRoom 4
The matching Open Passage switch stands against the east side at the same height. Use it as well, in either order with the west one, and both flanks of the chamber are open.
- 12Chest 3: the premium chest in the east pitOptionalChest 3Room 5
Take the east flank down past the bonfire into the sunken pit, dropping about ten metres from the chamber floor. The premium chest waits on the pit floor, and a pair of updraughts on the rim lifts you straight back out.
- 13Take the second Ancient Battery on the west shelfRoom 5
Cross to the west flank, where the second Ancient Battery rests on a shelf seven metres above the walkway. Enter Flight Mode and move close so it attaches. The lever on the walkway below is the Refresh Battery reset for this half of the room.
- 14Chest 4: the last standard chest on the west ledgeOptionalChest 4Room 5
Follow the west ledge on south and five metres up to the last standard chest. Confirm the chest counter reads four of four here, because the Terminus ends the run.
- 15Load the empty charging plateRoom 5
Two round charging plates sit side by side in the middle of the chamber. The east plate already carries an Ancient Battery, so set the one you are holding on the empty west plate. If the circuit stays dull, the battery is beside the plate rather than on it.
- 16Both circuits close and the large gate opensRoom 6
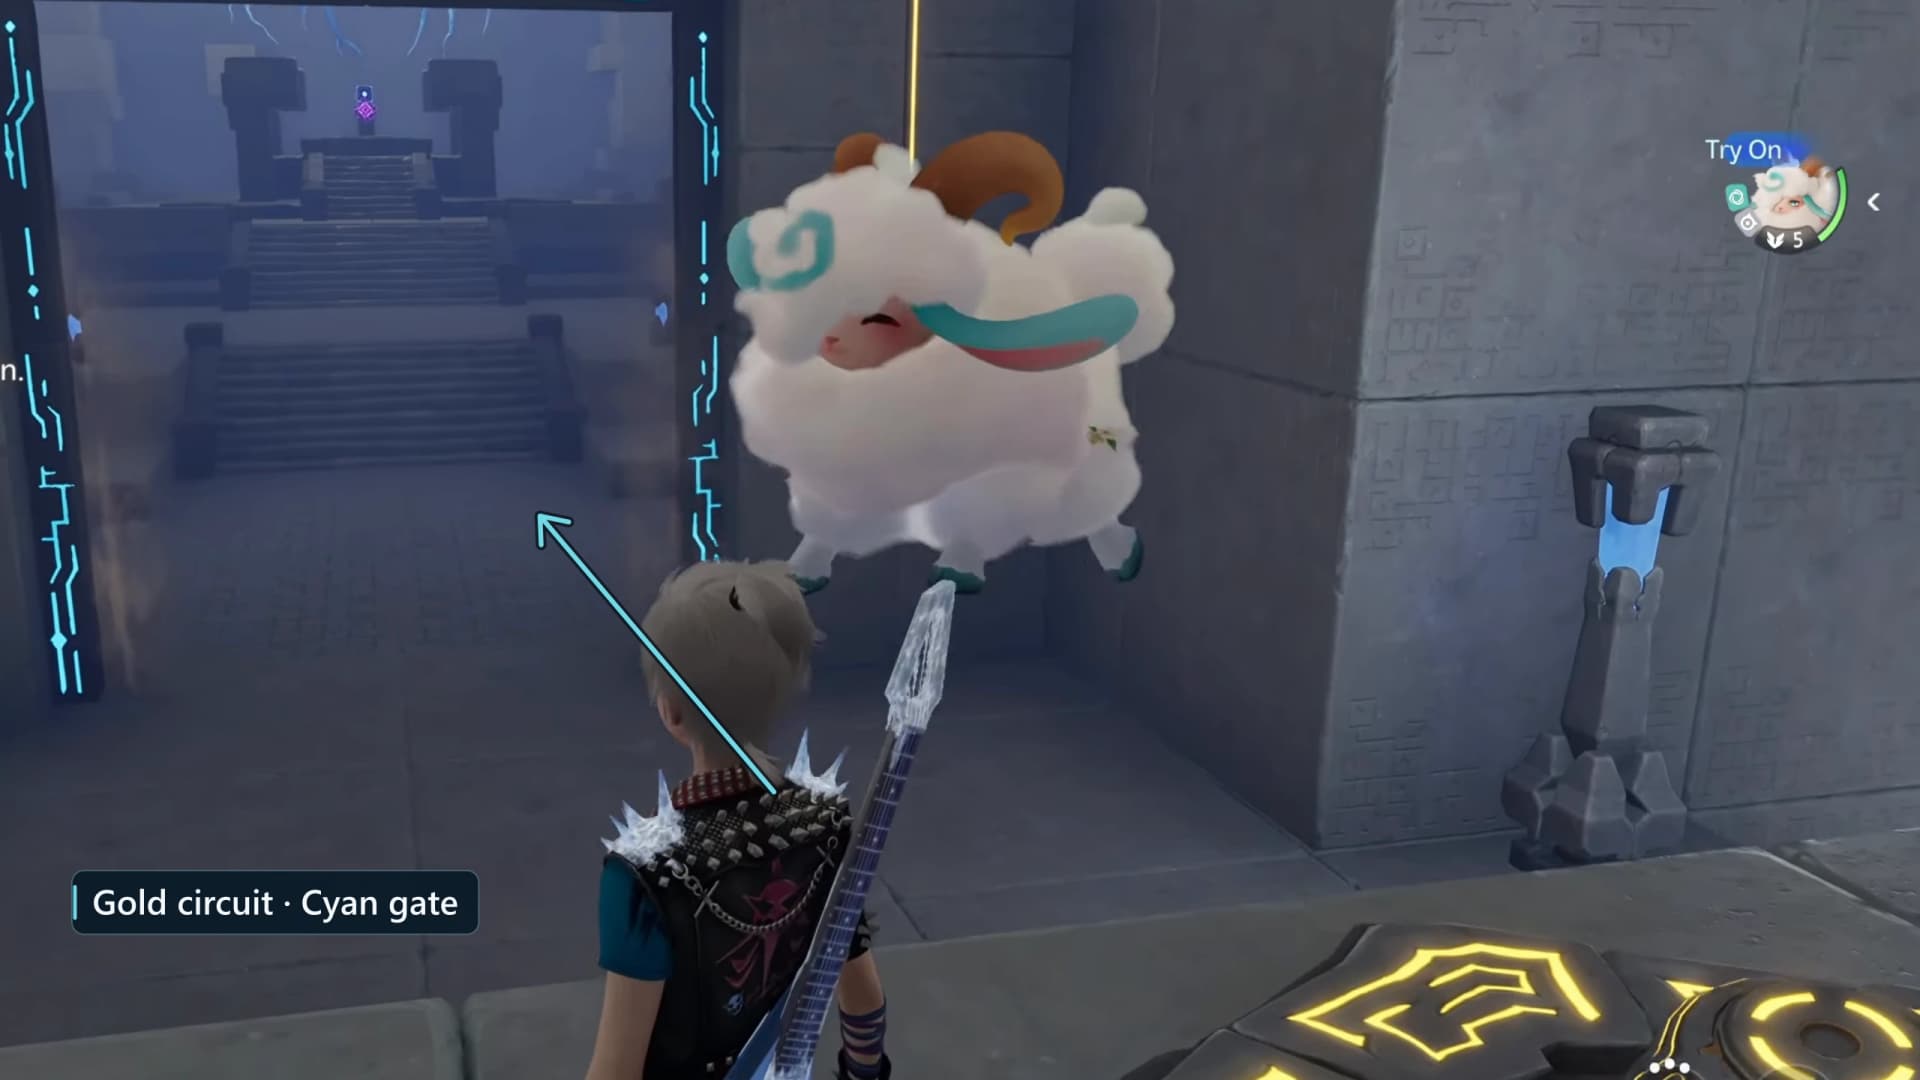
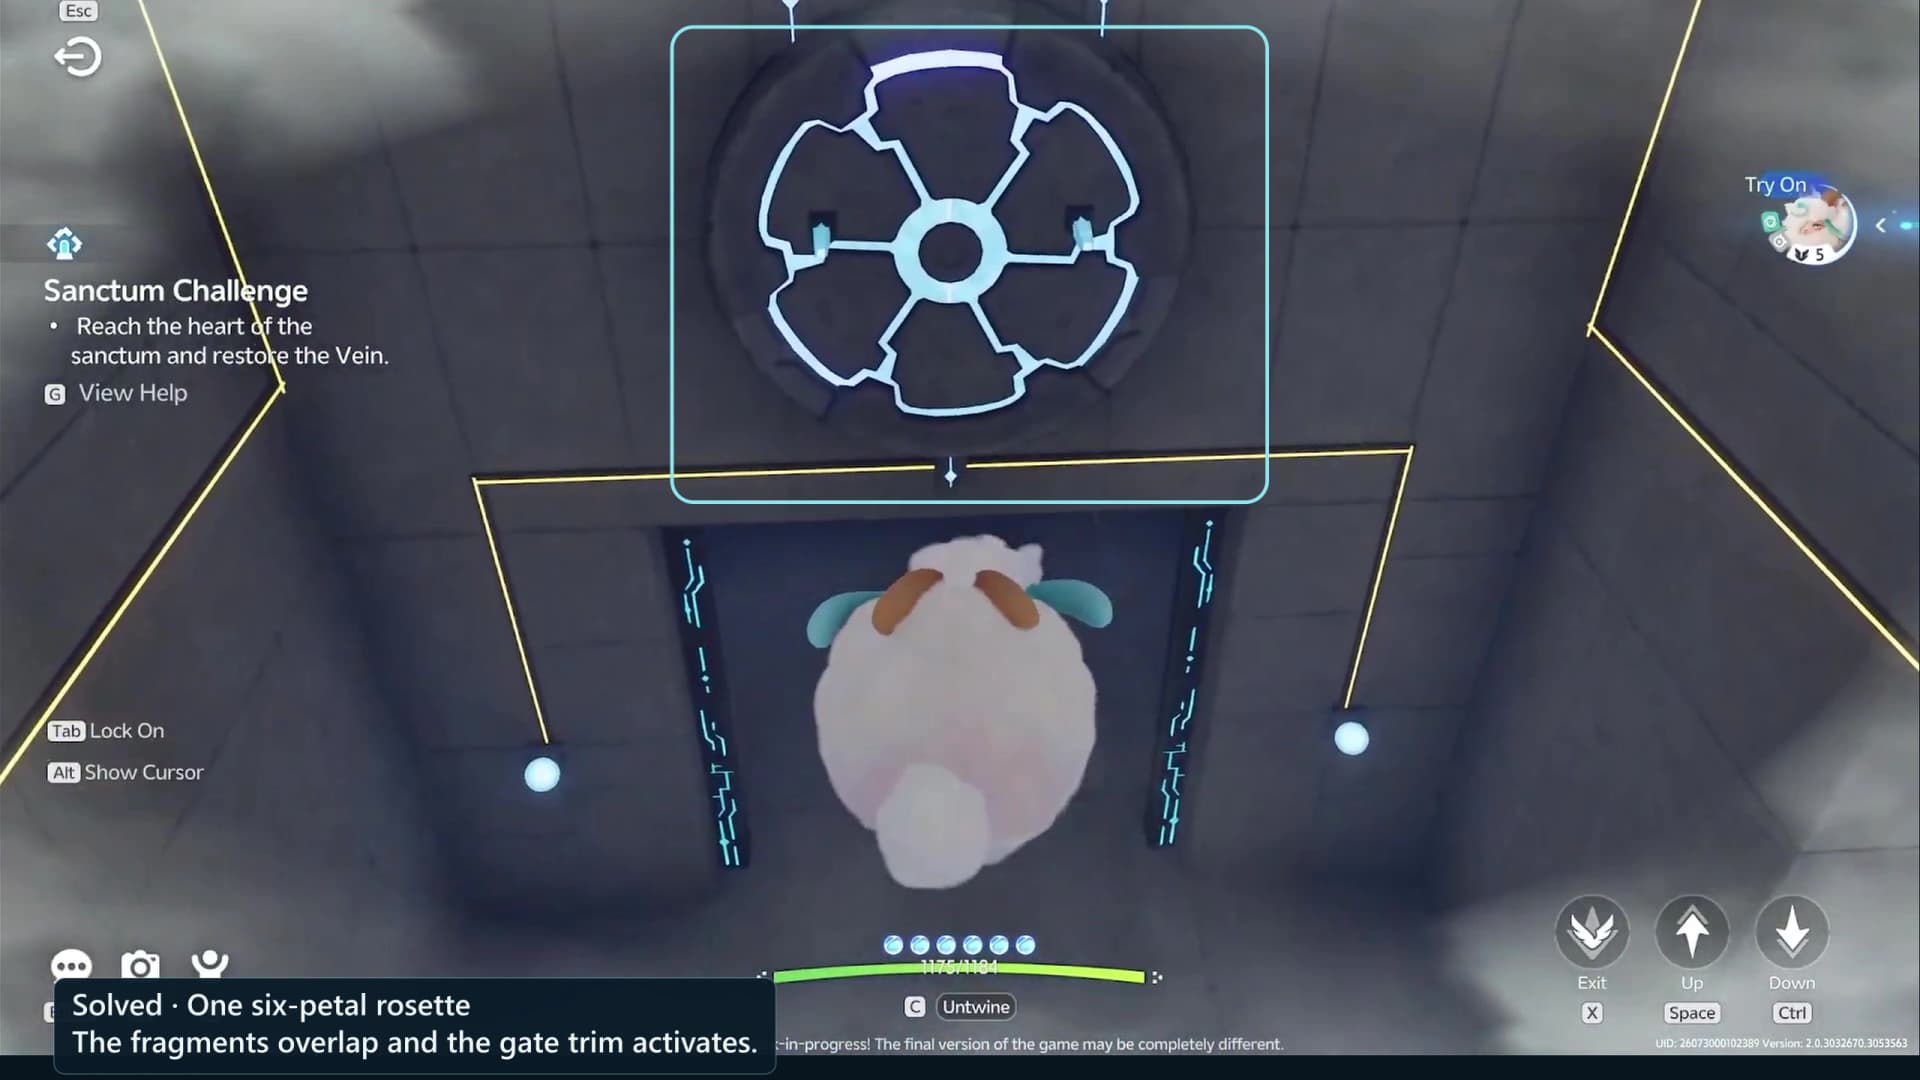
With both plates loaded, the two lines run south along the flanking walls and meet at the junction above the far gate. Both bulbs turn gold, the split pattern on the gate face closes into one rosette and the shutter lifts, with a pair of updraughts rising over its crown.
- 17Light the final checkpoint past the gateRoom 6
Step through the gate and cross the line a few metres beyond it to light the last checkpoint. Everything after this point is open air, so take it before you launch.
- 18Fly the last span and Touch the TerminusRoom 6
The final stretch is a thirty metre span of open air with a lethal drop under it, so stay in Flight Mode and hold the centreline the whole way across. Land at the square Sanctum Terminus, use Touch to restore the Vein, and the Sanctum clears.
Four-chest checklist
Three of the four are Standard and one is Premium, and the Premium is chest 3 in the east pit rather than anything past the final gate. Chests 3 and 4 share the battery chamber, one on each flank, so sweep both before you load the plate. The ledger lists them in the order the route opens them.
| Chest | Tier | Contents |
|---|---|---|
| Chest 1 | Standard | Glimmer x10, Credits x10000, Sparkling Crystal x10, one Rare held item |
| Chest 2 | Standard | Glimmer x10, Credits x10000, Sparkling Crystal x10, one Rare held item |
| Chest 3 | Premium | Glimmer x20, Credits x20000, Sparkling Crystal x15, one Epic held item |
| Chest 4 | Standard | Glimmer x10, Credits x10000, Sparkling Crystal x10, one Rare held item |
| First clear | Reward | Lumin Amber: Breezy Plains, EXP x500 |
Every held item: Spirited Feather, Fission Needles, Echoing Grimoire, Ferocious Fang, Miraculous Fleece, Lightning Needle, Gargantuan Horn, Marching Flask, Capacitous Battery, Heartseeker Pendant, Avenging Gear, Heritage Amulet, Explosive Gloves, Giant Tortoise Shell, Auspicious Bell.
Checkpoints and hazards
Chasing Clouds is a vertical room with two lethal drops in it, so the four interior checkpoints matter more here than the height does. Each one lights when you cross a line, not when you use anything, and the entrance pad at the west end of the misted hall is your only respawn until the first one lights.
- Ledge below the first gate. Glide down and forward after the first battery gate opens; this checkpoint covers the whole flame corridor beneath it.
- Landing at the top of the vent shaft. Ride the two heavy vents up roughly thirty metres and cross the landing line. Everything below, including the chest 2 shelf, is now covered.
- Pad in the switch chamber. Step on it before you touch either Open Passage control, because it is the last safe restart before the battery work.
- A few metres past the powered gate. The last checkpoint, and the one to take before you launch across the final span.
Reading the rosette on the gate face
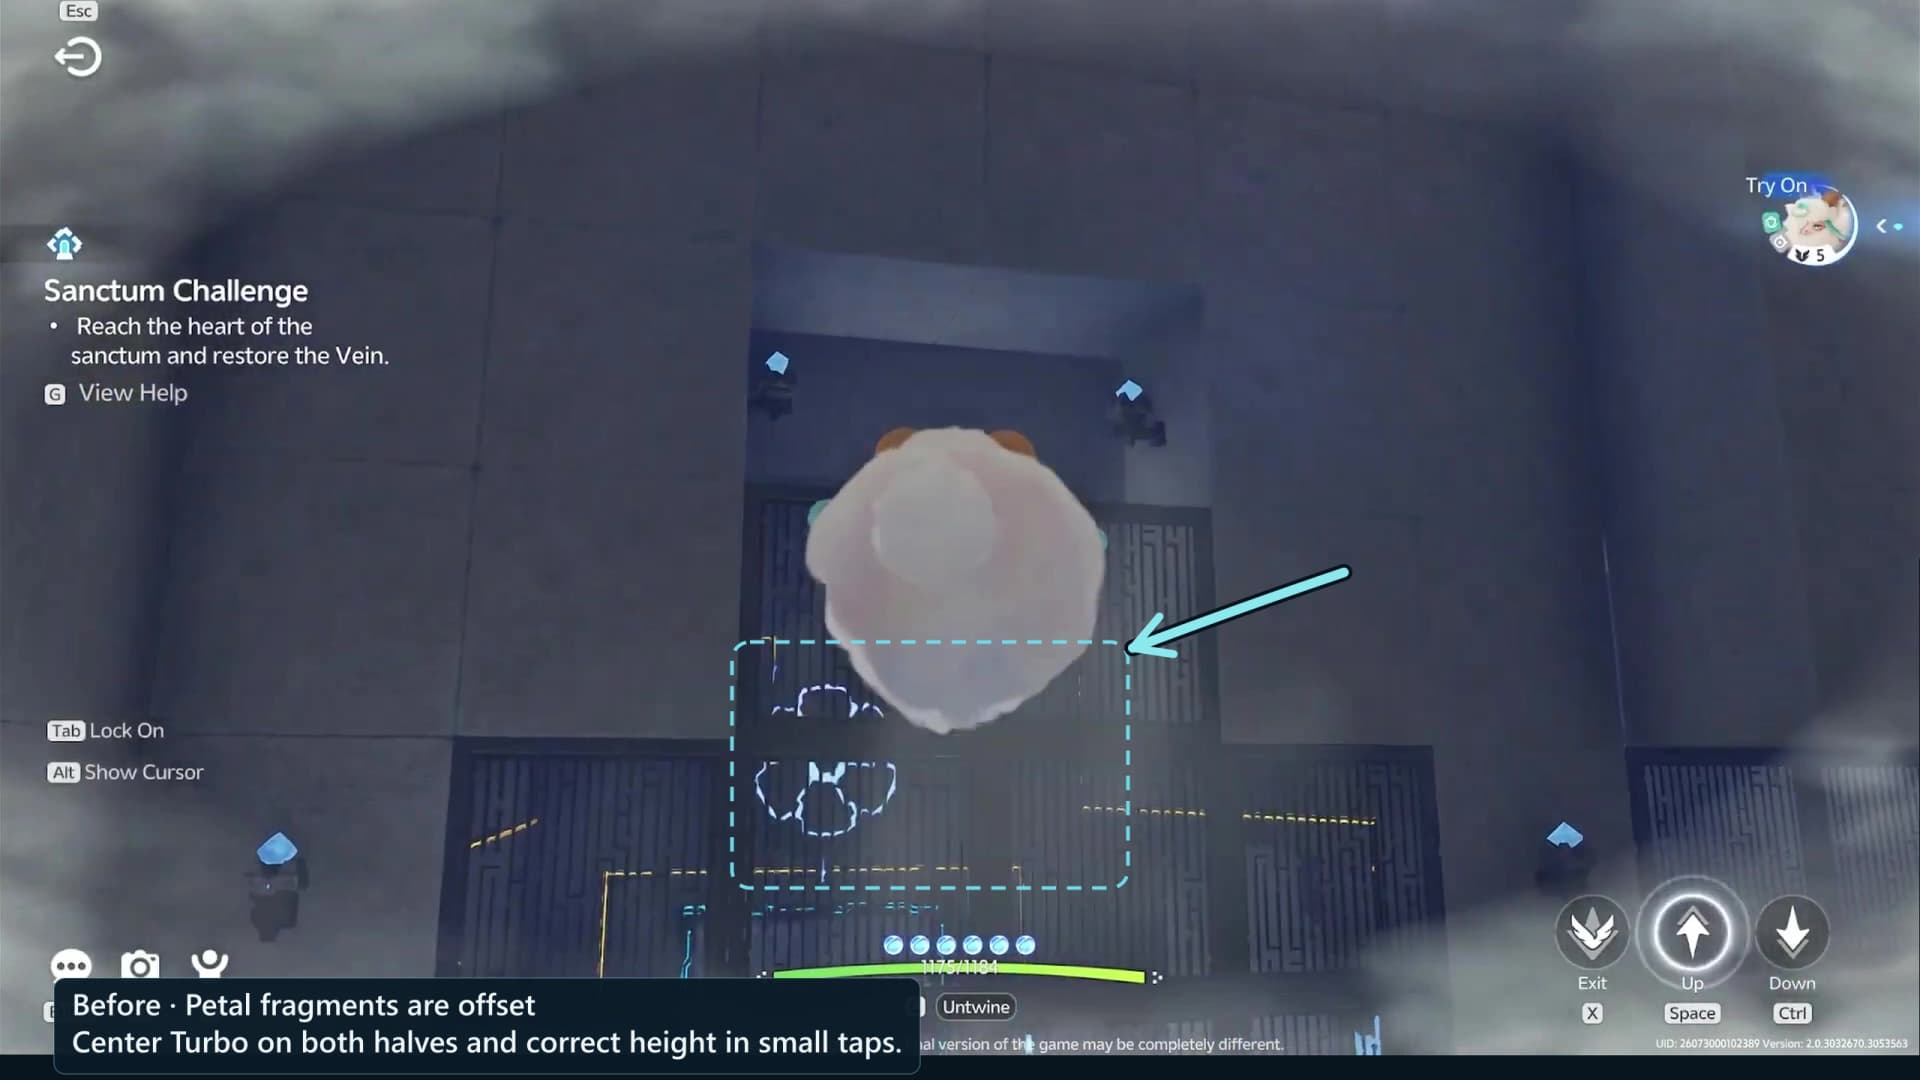
The rosette is the face of the second large gate, not a separate puzzle after it. While one circuit is still dull the pattern sits in split arcs; when both charging plates are loaded and both lines run gold, the arcs close into one cyan six-petal rosette and the shutter lifts. So the rosette is a success cue you read, not an alignment you fly. If it stays split, a battery is beside its plate rather than on it.
Wrong-turn recovery
Completion and rewards
The square purple core at the end of the last span is the Sanctum Terminus, also called the Tesseract. Touch it to restore the Vein; the device itself is not the Vein.
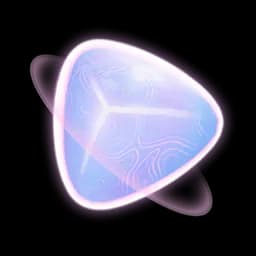
A first clear pays Lumin Amber: Breezy Plains ×1 plus 500 EXP. It also lights this room’s node on the Leyline Tree and counts toward the Sanctum Delver badges at 3, 5, 10 and 15 clears. Repeat clears pay nothing, so use the chest counter as your completion check rather than the drops.
Frequently asked
Where is the Chasing Clouds Sanctum?
Chasing Clouds is in Nimbus Fields at 1339, 1986 on the AniimoVerse atlas. Older checklists use the singular Nimbus Field. Open the exact Chasing Clouds atlas pin.
How many players and optional chests does Chasing Clouds have?
Chasing Clouds is a one-player solo Sanctum and a fresh run starts at 0/4 optional chests.
Which trial Aniimo and movement does Chasing Clouds use?
The trial is Turbo, and its visible ability label is Cloudwalk. Flight Mode handles the vertical route and lets Turbo attach nearby Ancient Batteries.
What shows that both battery circuits are live?
Both buried lines run gold, the split petal segments on the gate face close into one complete cyan six-petal rosette and the shutter lifts. A dull line means its battery is beside the charging plate rather than on it.