


Location and requirements
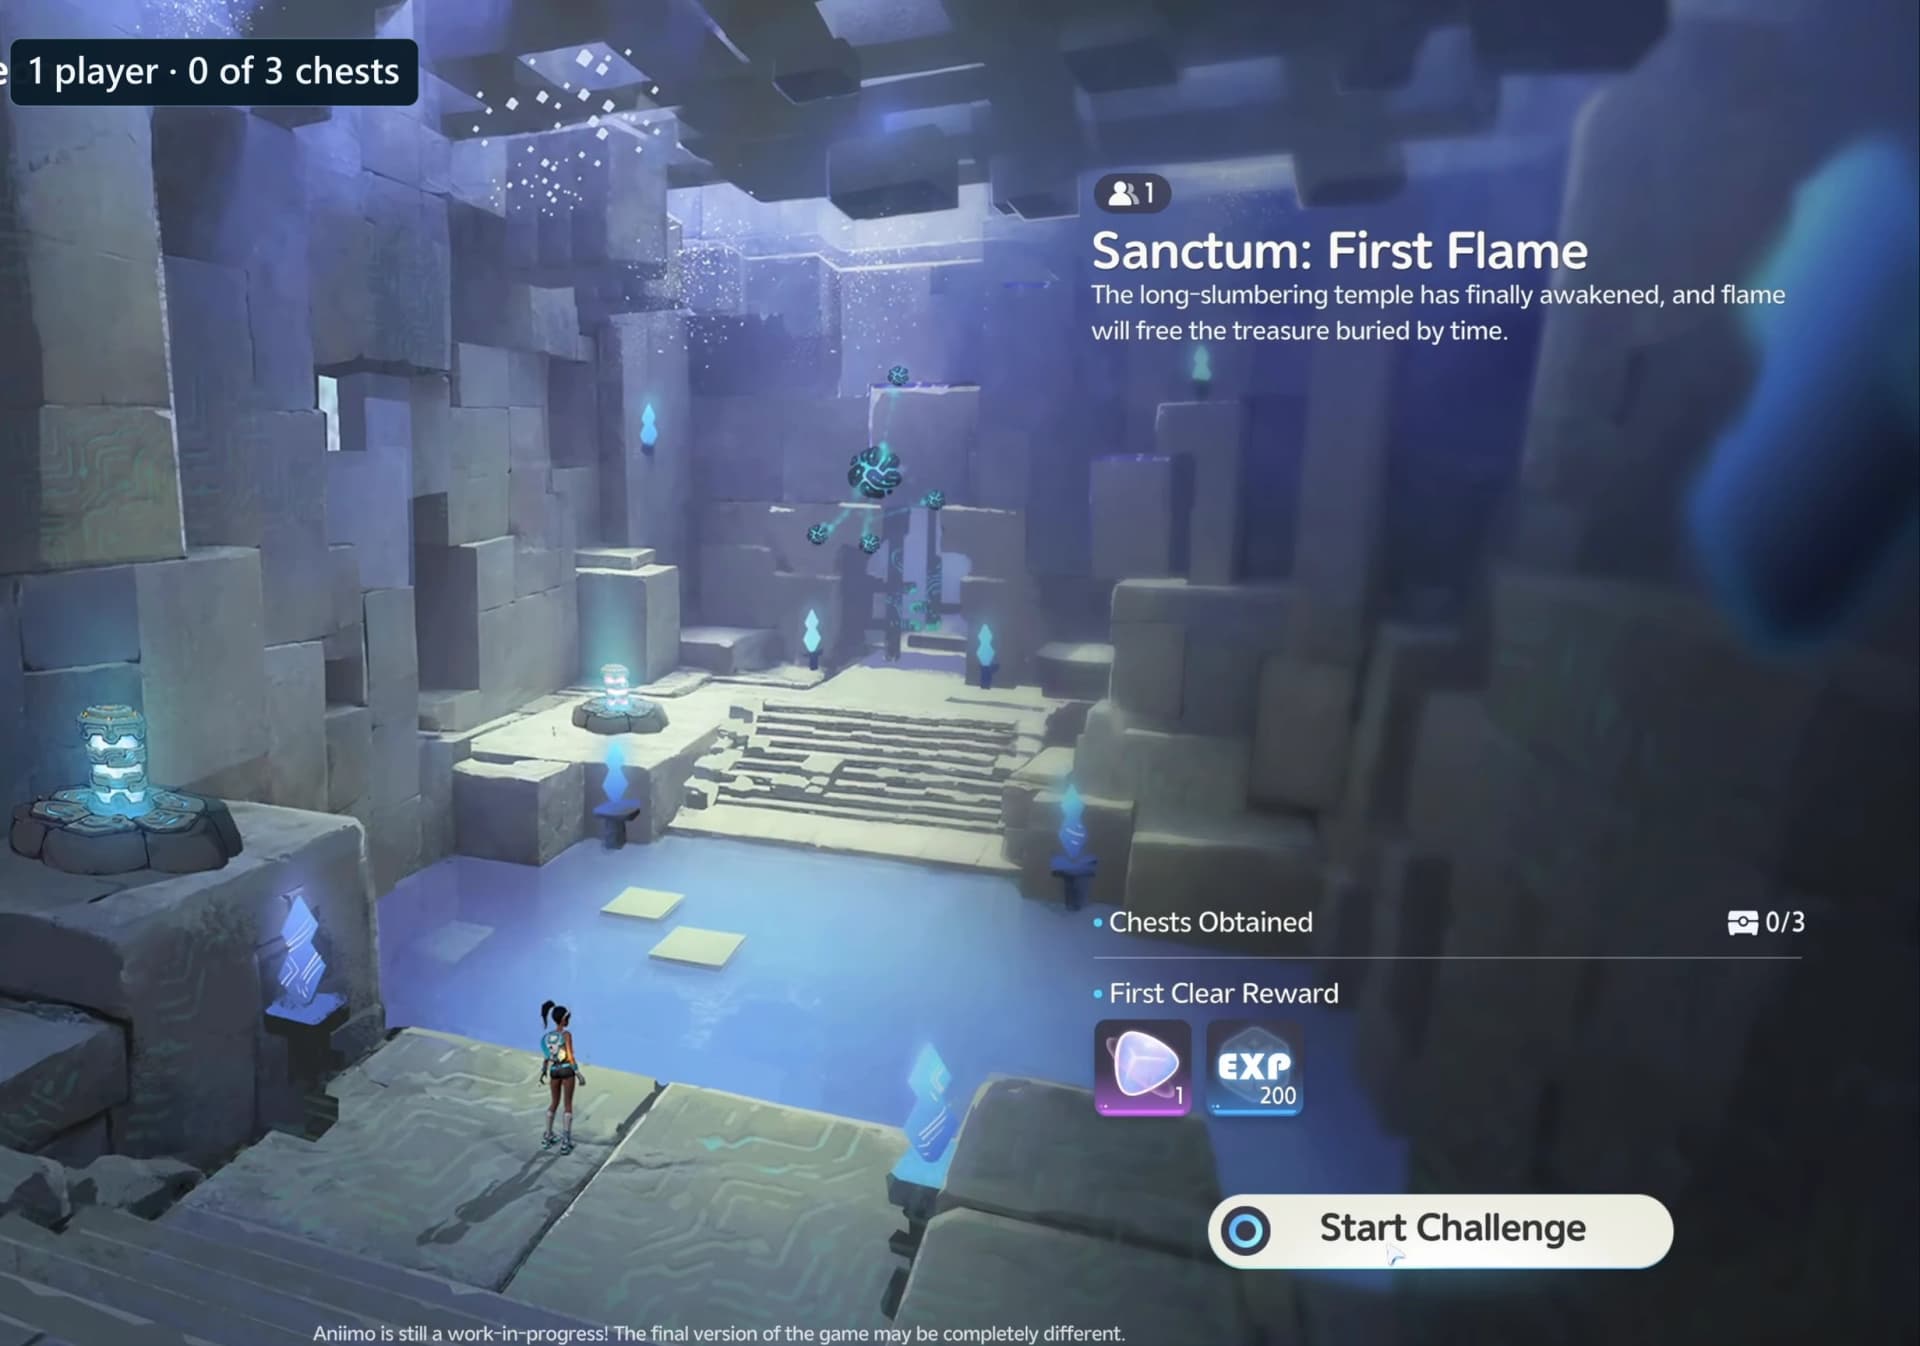
Open the First Spark atlas pin in Nimbus Fields. The marker sits at 1335, 2002 on the AniimoVerse atlas. The entrance card requires one player and shows four optional chests, all of them Standard tier. First Spark and Chasing Clouds nearly overlap here, so confirm the title before entering. You need no co-op partner and no prebuilt Fire roster.
Nimbus Fields
Atlas coordinate
- Value
- 1335, 2002
Players
- Value
- 1 · Solo
Optional chests
- Value
- 4
First-clear reward
- Value
- Lumin Amber: Breezy Plains ×1 · EXP 500
Room tool

Requirements and one-minute solution
- Claim and Twine with the trial Emberpup at the opening statue.
- Burn the crate wall that plugs the corridor, then the vine gate behind it.
- Keep burning the tangle above the gate until chest 1 falls, and open it for 1/4.
- Turn west at the three-way crossing and light the bonfire under the ice block. The thaw drops chest 2 for 2/4.
- Take the east opening and light the bonfire at the base of the chimney. The rising column frees chest 3 for 3/4.
- Back at the crossing, go straight up the middle and hit the barrel behind the raised chest for 4/4.
- Climb the final rise and interact with the Sanctum Terminus to restore the Vein.
Route, step by step
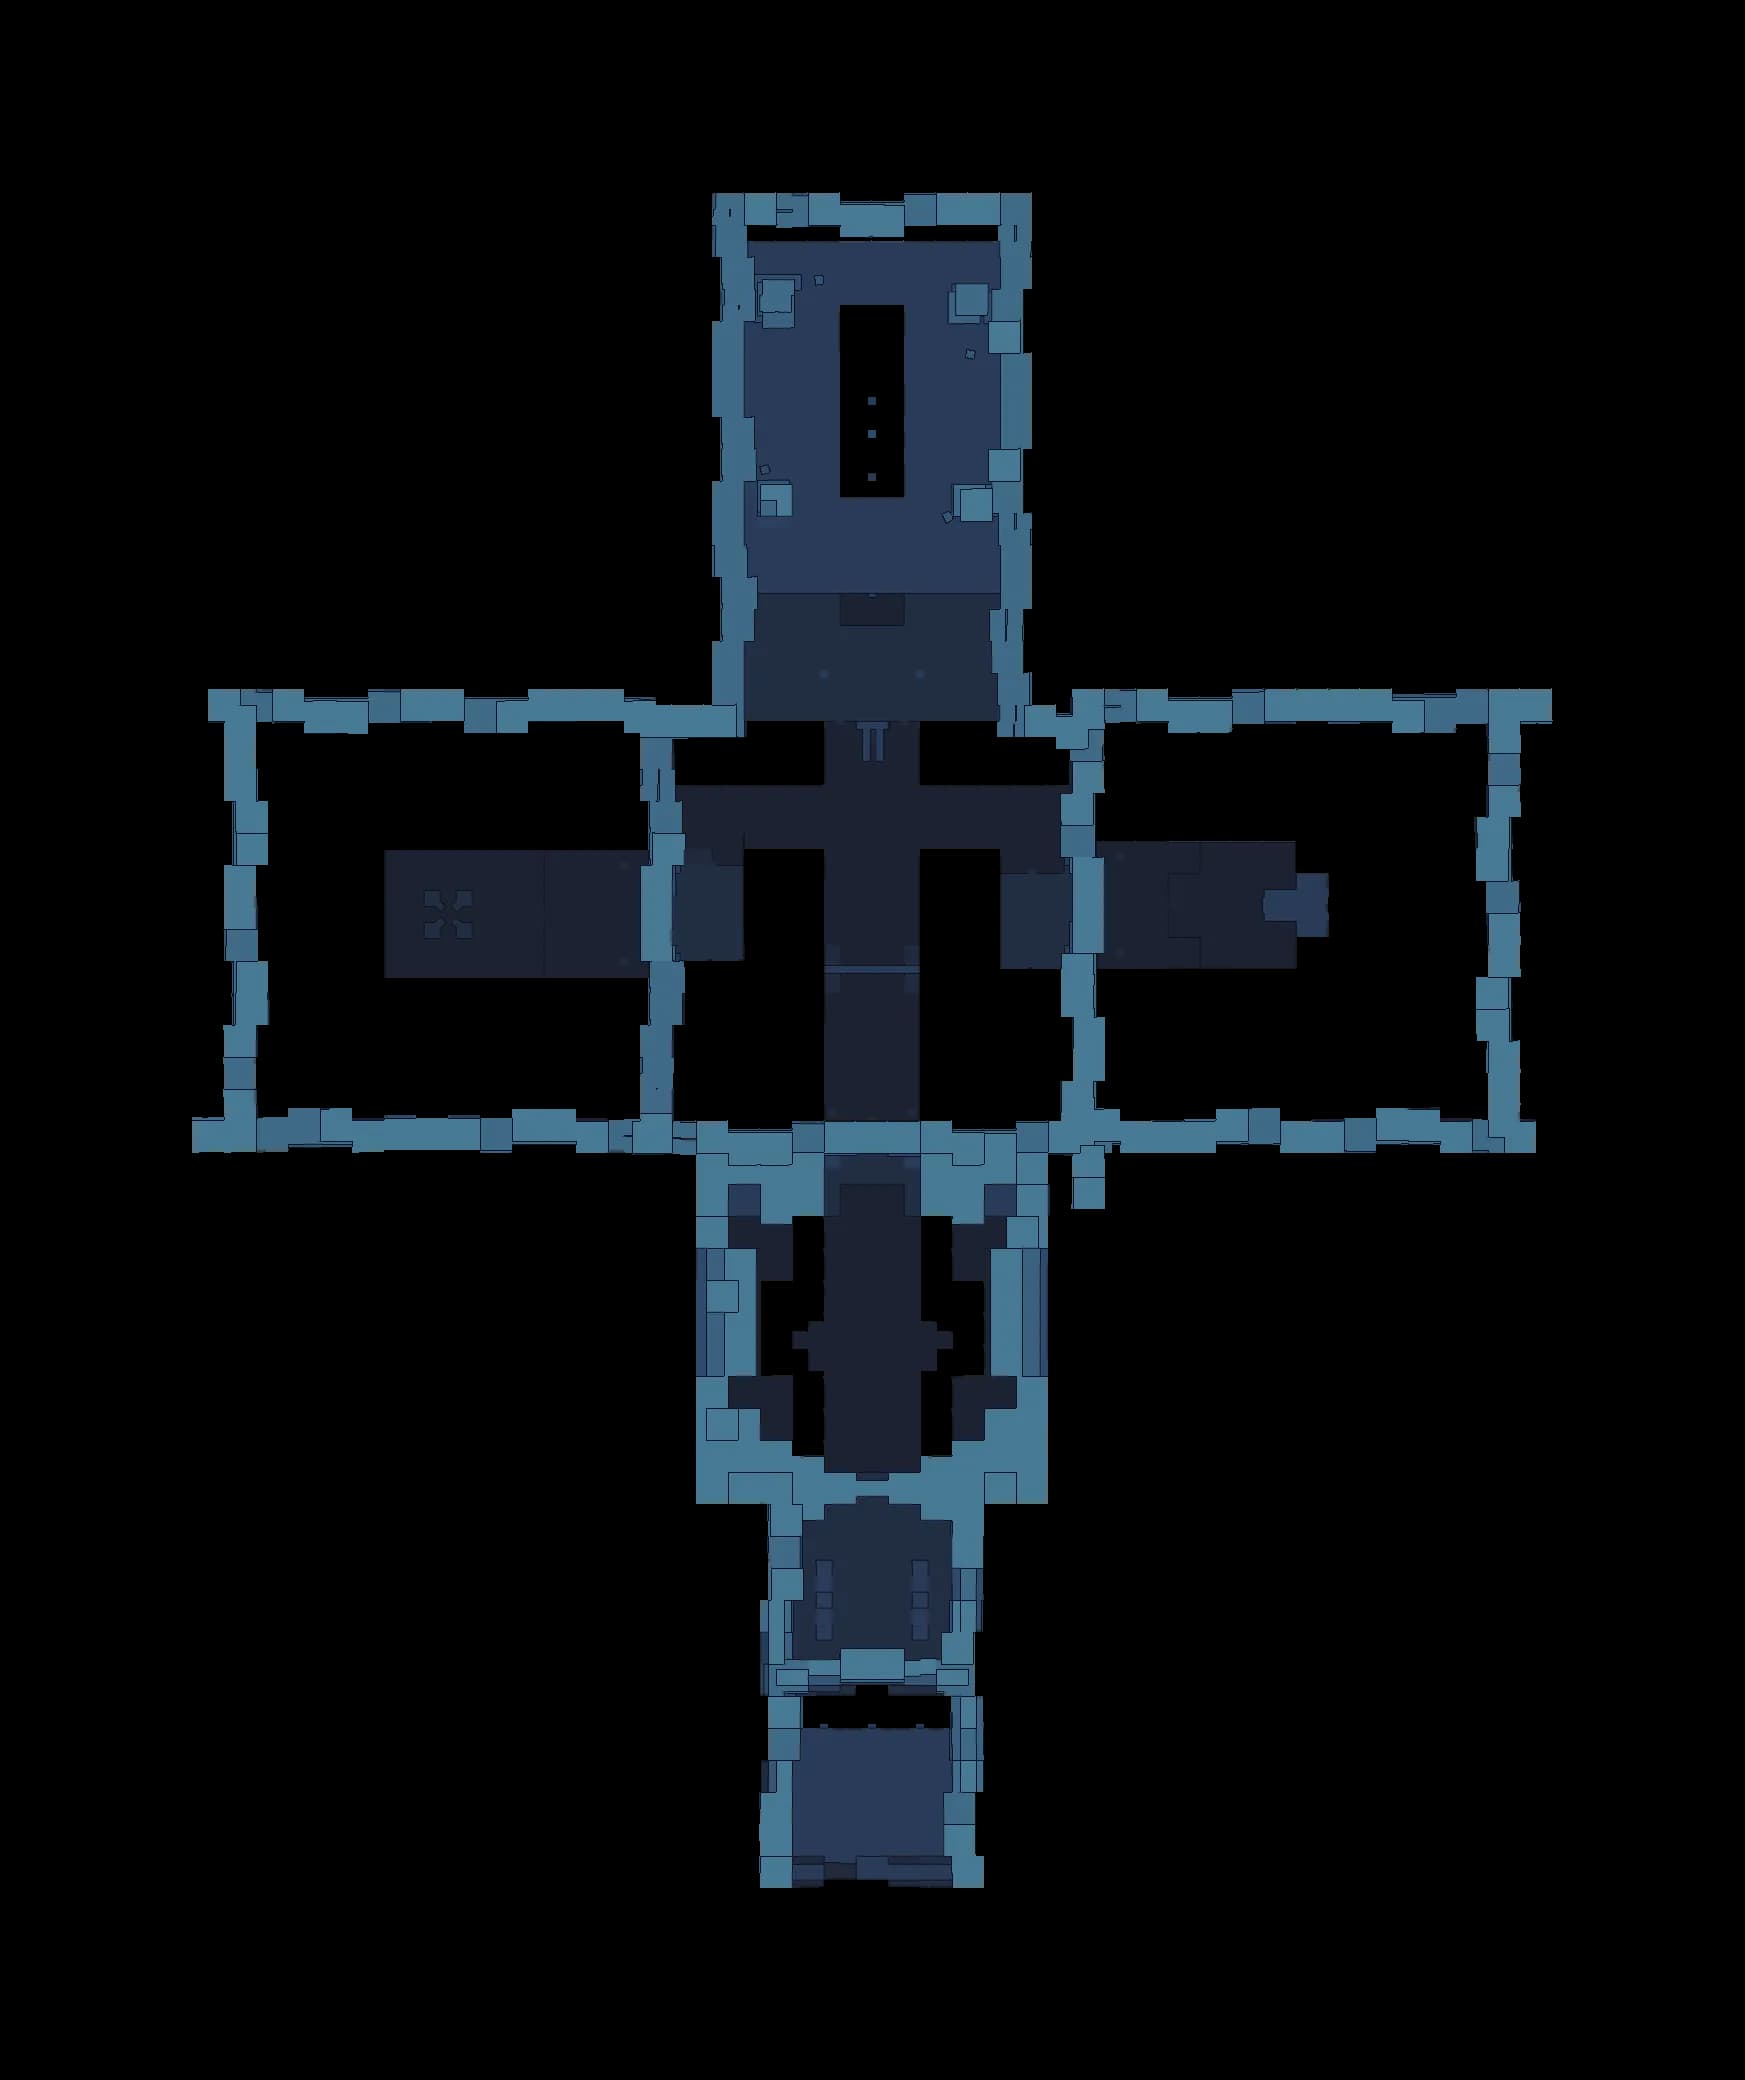
First Spark is one straight axis with a three-way crossing two thirds of the way along it. Everything burns with the same skill, and the room tracks two extra objectives on top of the clear: take the Sanctum-exclusive trial Aniimo from the statue, and Twine with it. The tutorial cards below are first-clear only, so a return run is silent.
 TXCC1234AA
- Entrance
- Checkpoint
- Trial statue
- Terminus
- Chest
- Mechanism
- Element device
- Hazard
- 1Drop in at the Sanctum entranceRoom 0
You arrive on the entrance pad at the south end of a single straight axis that runs the whole length of First Spark. A second respawn pad sits at the foot of the ramp and lights up as you walk past it, so the opening stretch is safe to retry.
- 2Cross the statue approachRoom 0
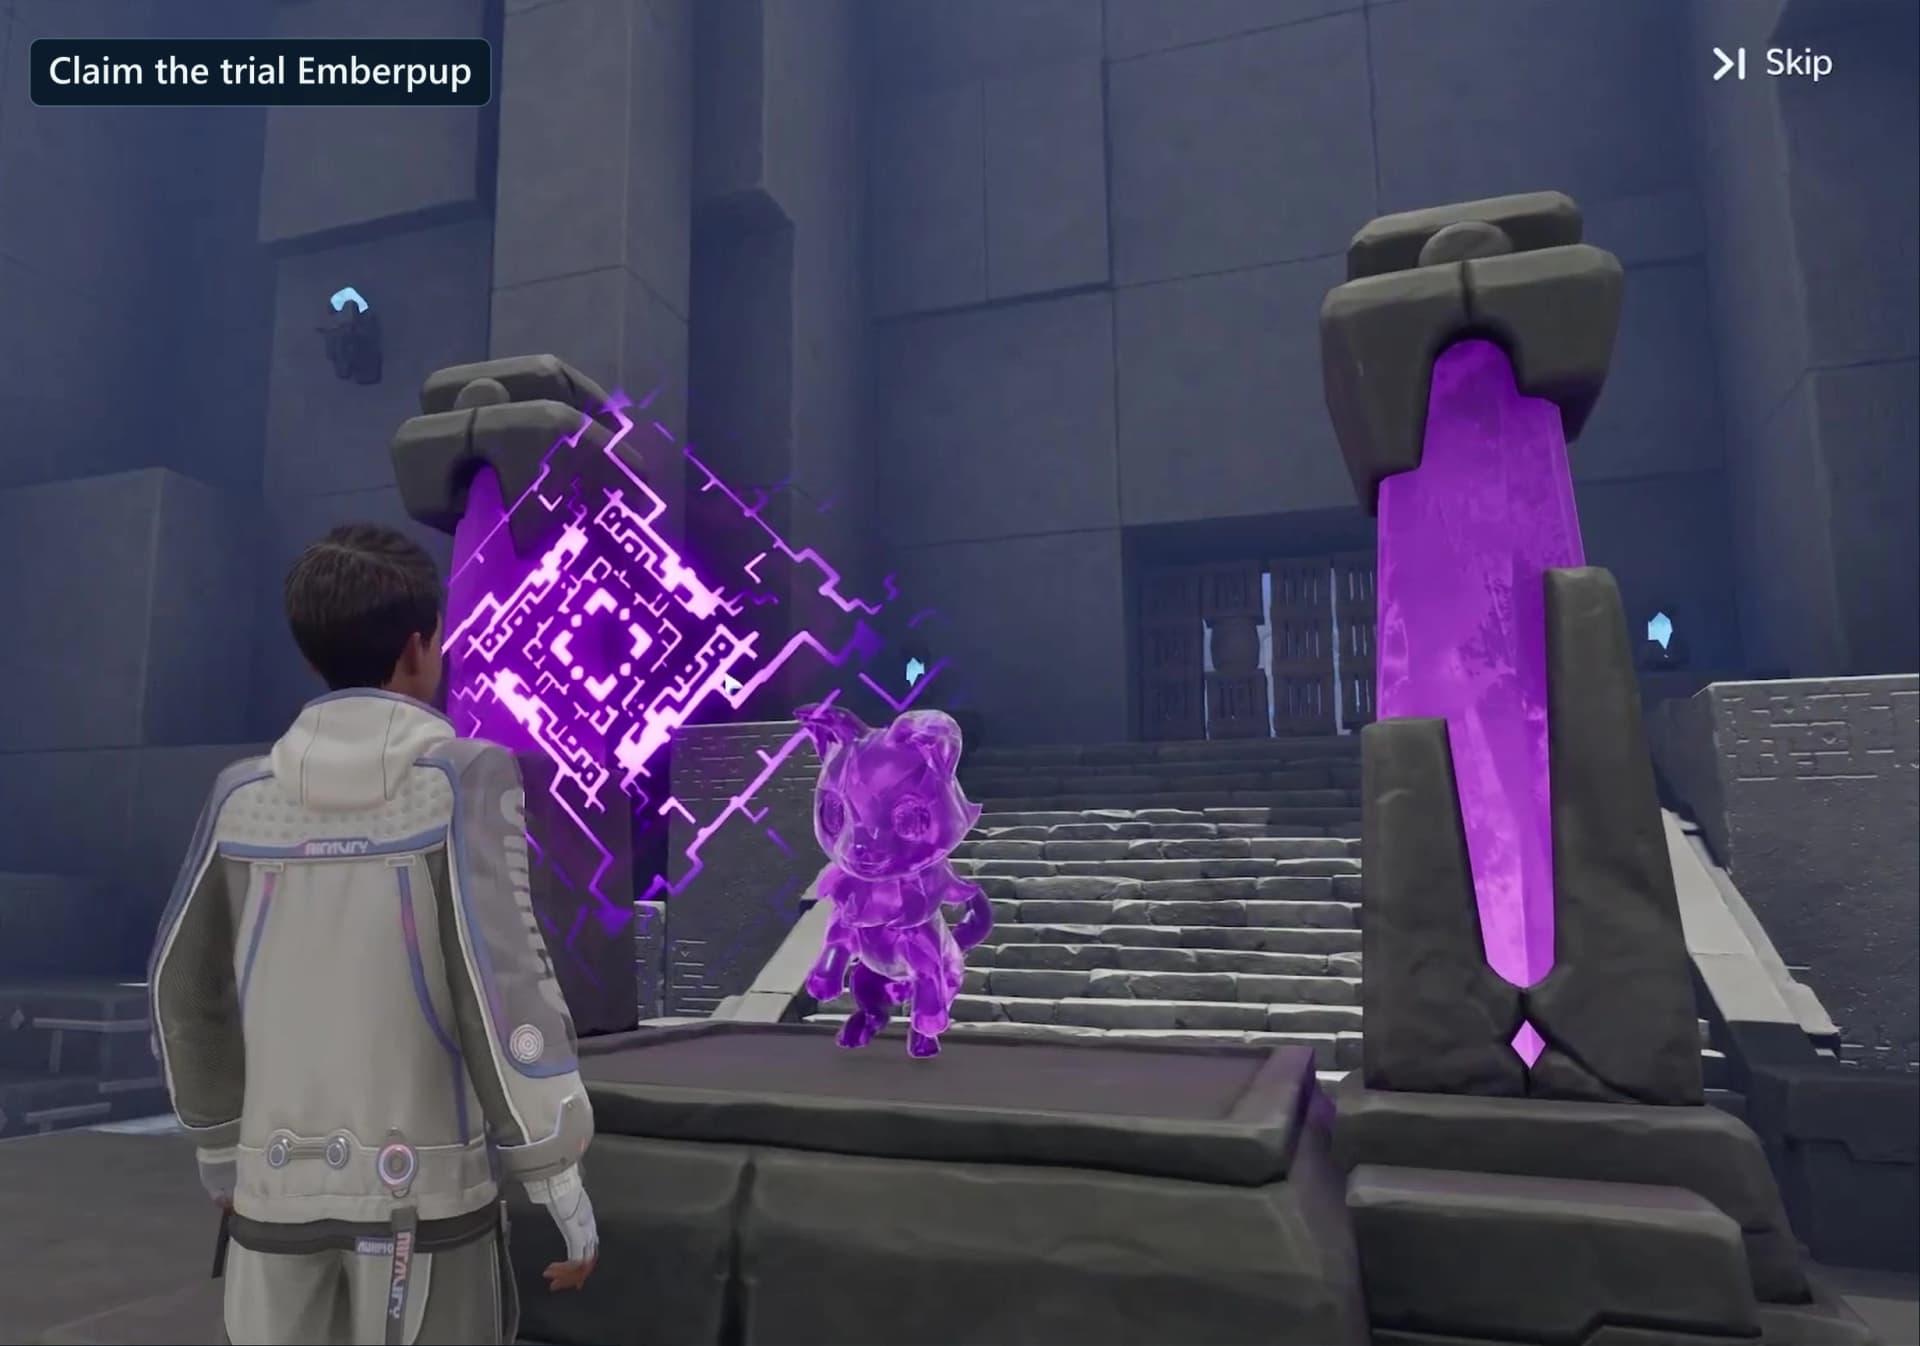
Walk north down the ramp into the shallow hall. A card explains that you cannot bring your own Aniimo into a Sanctum and points you at the statue ahead, and the first waypoint marker arms as you cross.
- 3Claim the trial Emberpup at the Aniimo StatueRoom 0
Interact with the Aniimo Statue to take the Sanctum-exclusive trial Emberpup. This is one of the two extra objectives First Spark tracks, and it is the only source of Fire Bolt in the room, so nothing past this point works without it.
- 4Watch the Fire Bolt card and TwineRoom 0
Taking the statue plays the Aniimo ability card: hold the skill button to aim, release to launch a fire ball, and flammable things burn away completely. When it ends the room asks you to Twine with Emberpup, which is the second tracked objective.
- 5Burn the crate wallRoom 1
The corridor north is plugged by a stack of sixteen containers, fourteen small wooden crates and two barrels, four wide and four tall. Aim Fire Bolt at the stack and burn straight through it. Nothing else in First Spark can clear this.
- 6Burn the vine gateRoom 2
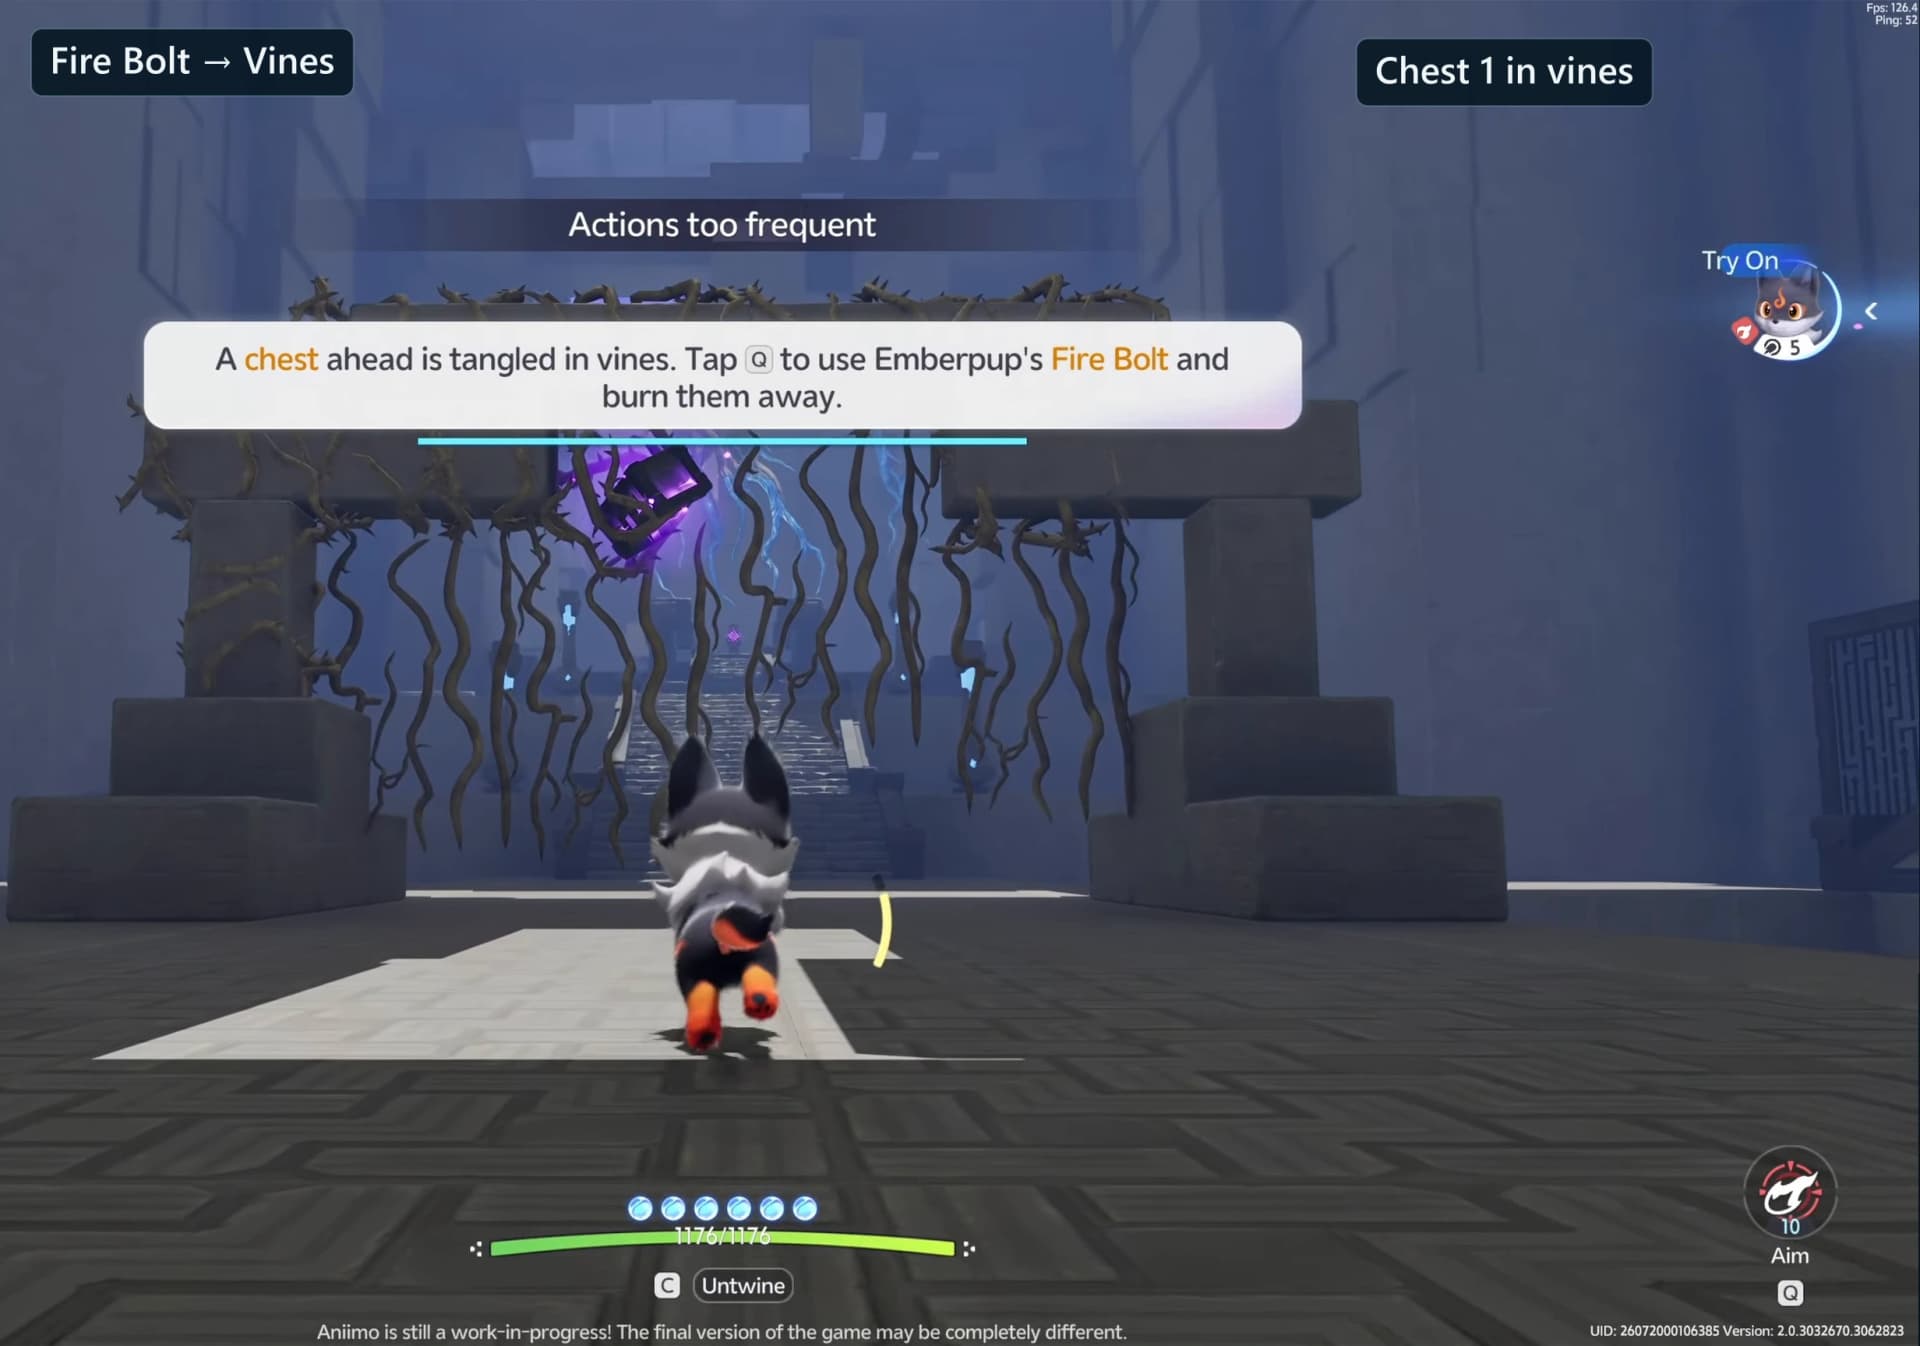
Four flammable wall vines grow across the opening at floor height, six units wide. Burn them to reopen the route north. The same Fire Bolt sweep will start the tangle hanging above them alight, so expect both to go together.
- 7Chest 1: cut the tangle looseOptionalChest 1Room 2
Eleven entangle vines hang above the gate and one of them is knotted around the first chest. Keep burning until the tangle is gone, then open the chest where it lands for 1/4.
- 8Read the crossingRoom 5
Past the gate the room opens into a three-way crossing with an open pit under each of the three chambers. Straight ahead the corridor climbs toward the exit, and side openings lead west and east. The card here names the explosive barrel waiting up the middle.
- 9Chest 2: melt the ice in the west chamberOptionalChest 2Room 3
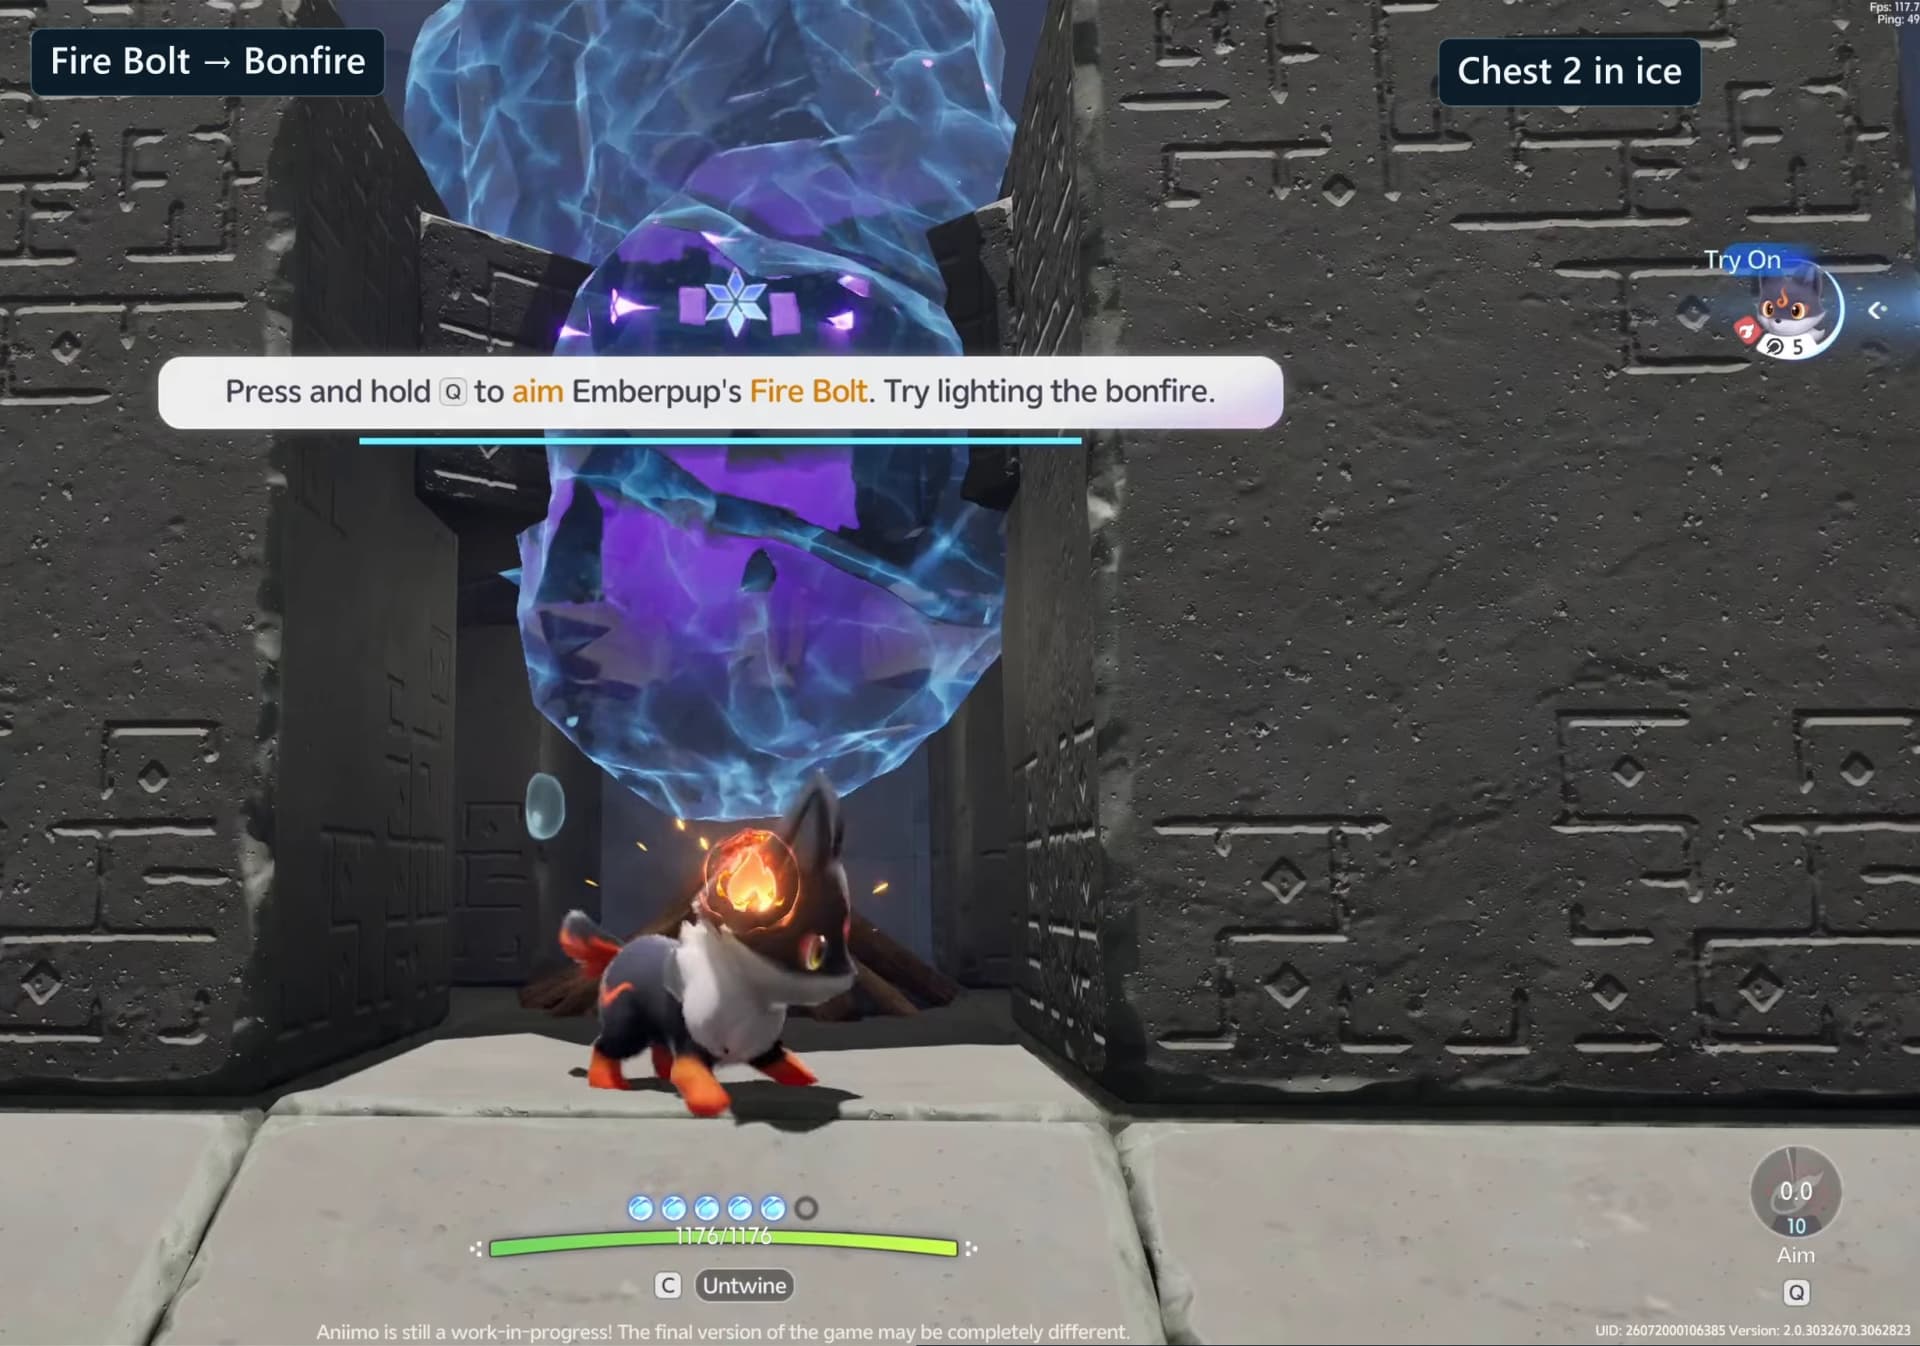
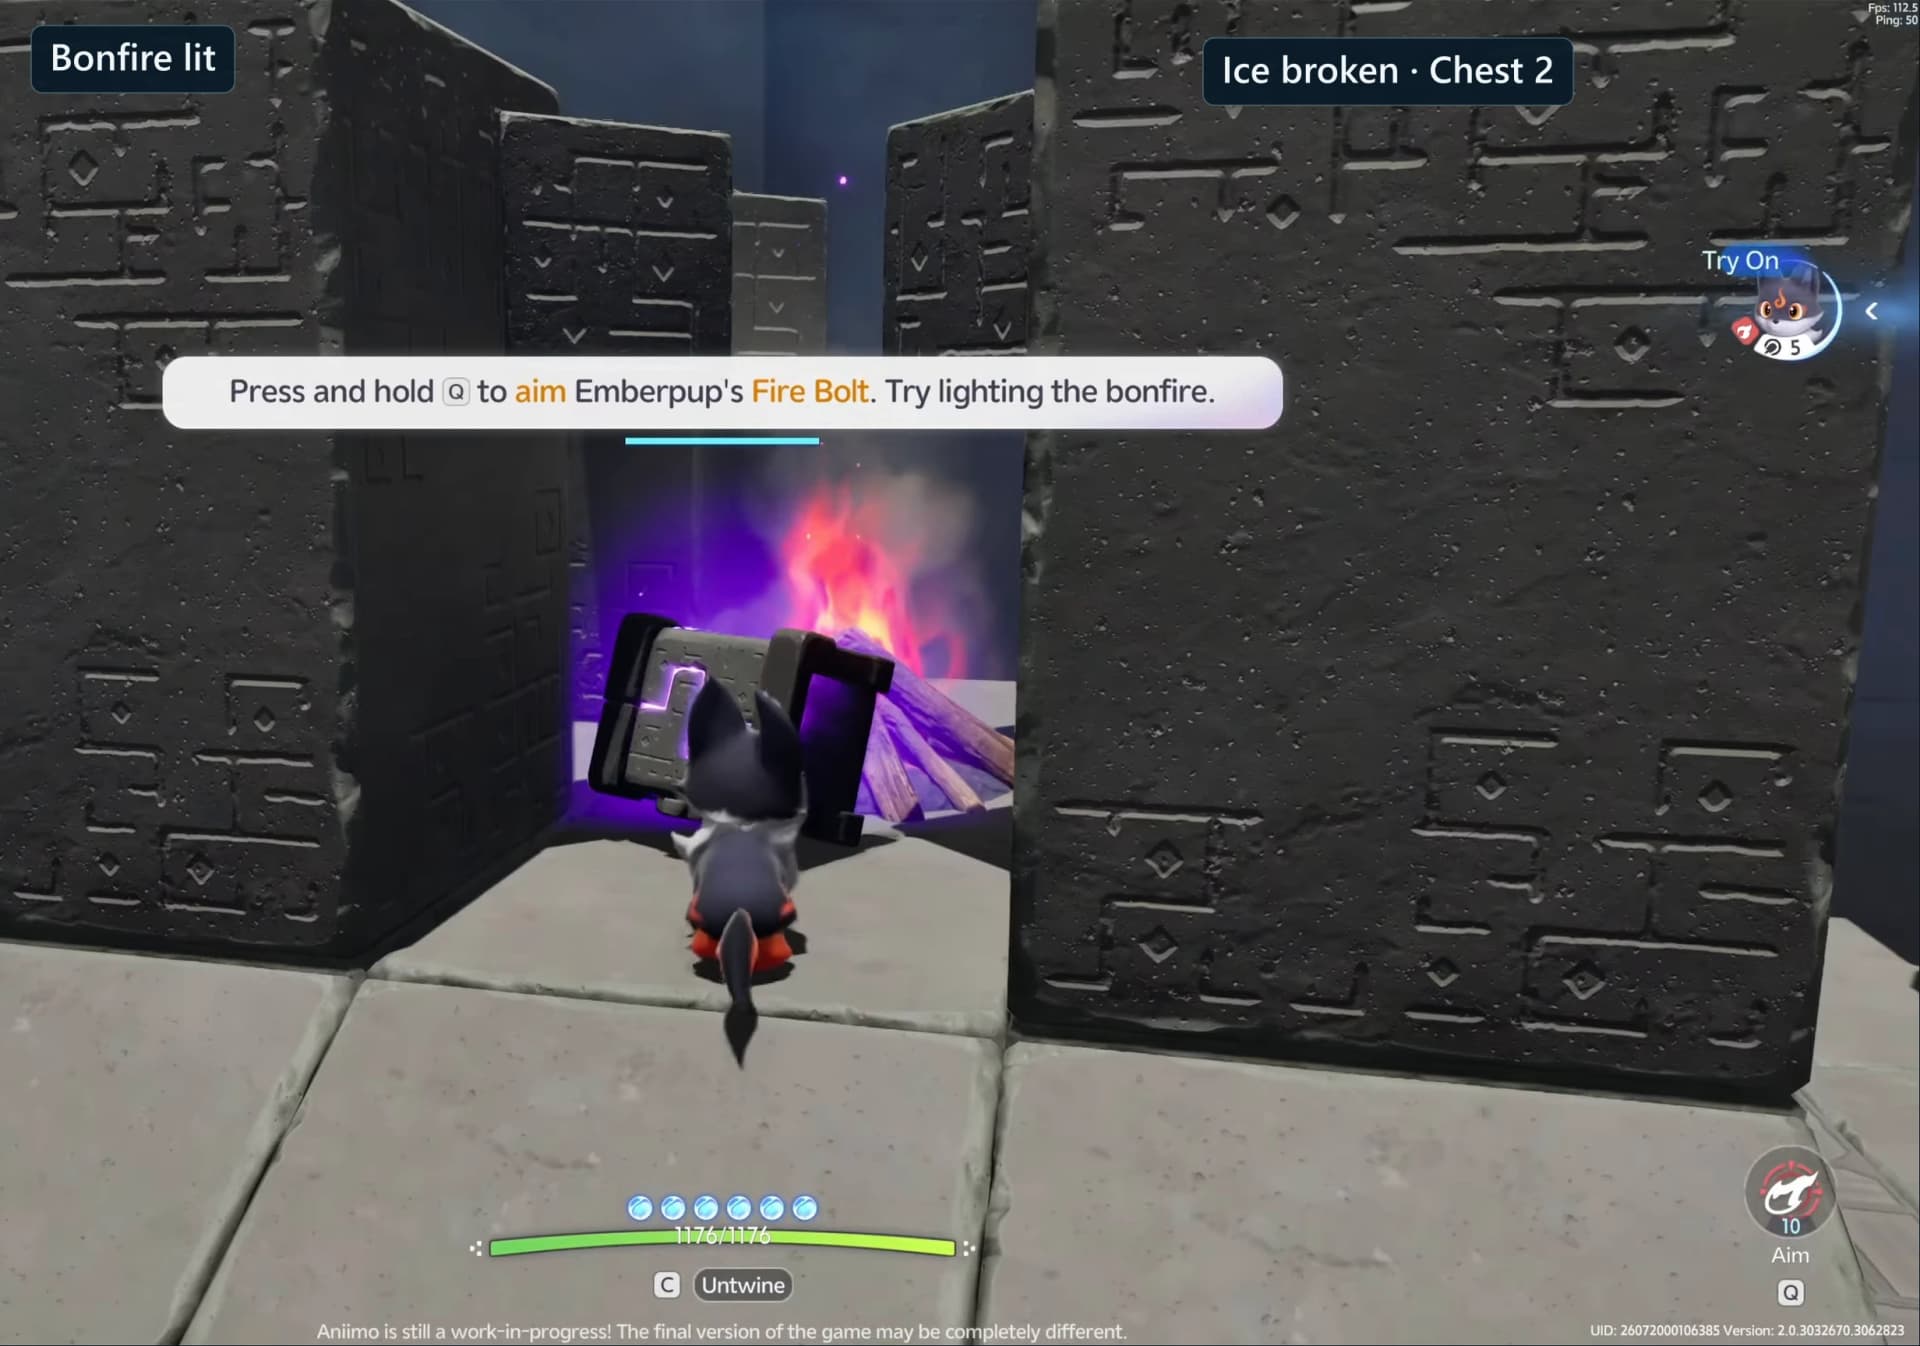
Turn west. A chest sits on a small ice cube with an unlit bonfire directly beneath it. Aim Fire Bolt at the bonfire, not at the ice; lighting it thaws the block and drops the chest beside the fire for 2/4.
- 10Chest 3: light the chimney in the east chamberOptionalChest 3Room 4
Cross back through the crossing and take the east opening. A chest sits in a narrow chimney with a second unlit bonfire at its base and a bladeless fan and an assist wind stacked above it. Light the bonfire and the rising column frees the chest for 3/4.
- 11The spare barrel beside the chimneyOptionalRoom 4
An Ancient Explosive Barrel also sits three units east of the chimney chest, low against the wall. Older routes through First Spark blew this chest down with the barrel instead of lighting the fire, so if the chimney is not cooperating, try the barrel.
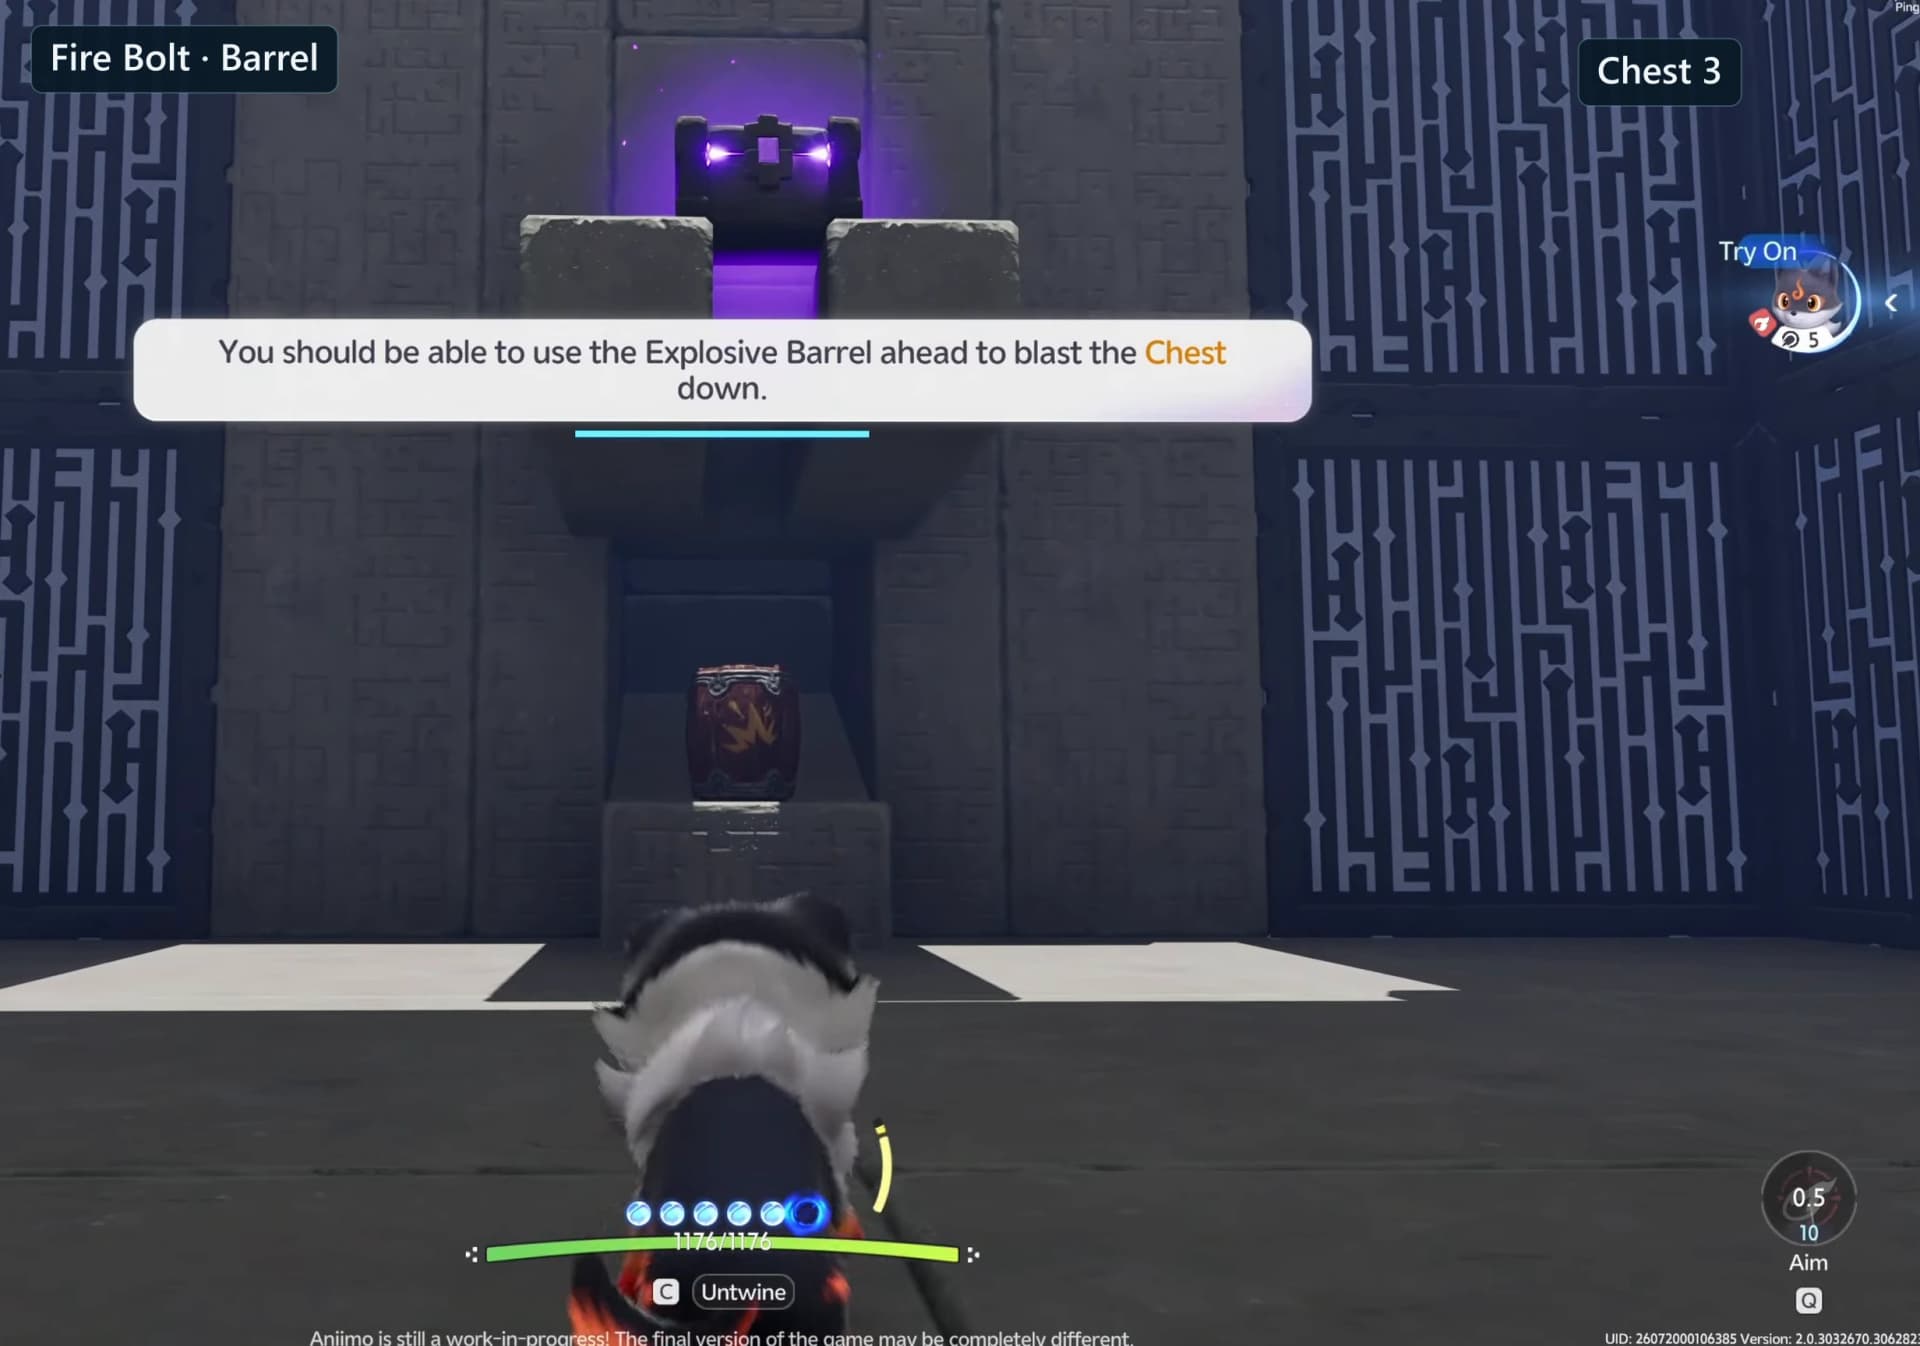
- 12Chest 4: blast the raised chest off its ledgeOptionalChest 4Room 5
Head back to the crossing and go straight up the central corridor. The fourth chest sits on a ledge just under three units above the floor with an Ancient Explosive Barrel behind it. Hit the barrel, not the chest, and open it where it falls for 4/4.
- 13Confirm four of four before you climbOptionalRoom 5
With all four chests open the room swaps its card to the exit prompt and points at the high point of the central room. Check the counter here, because the Terminus ends the run whether or not the chests are done.
- 14Climb to the high exitRoom 6
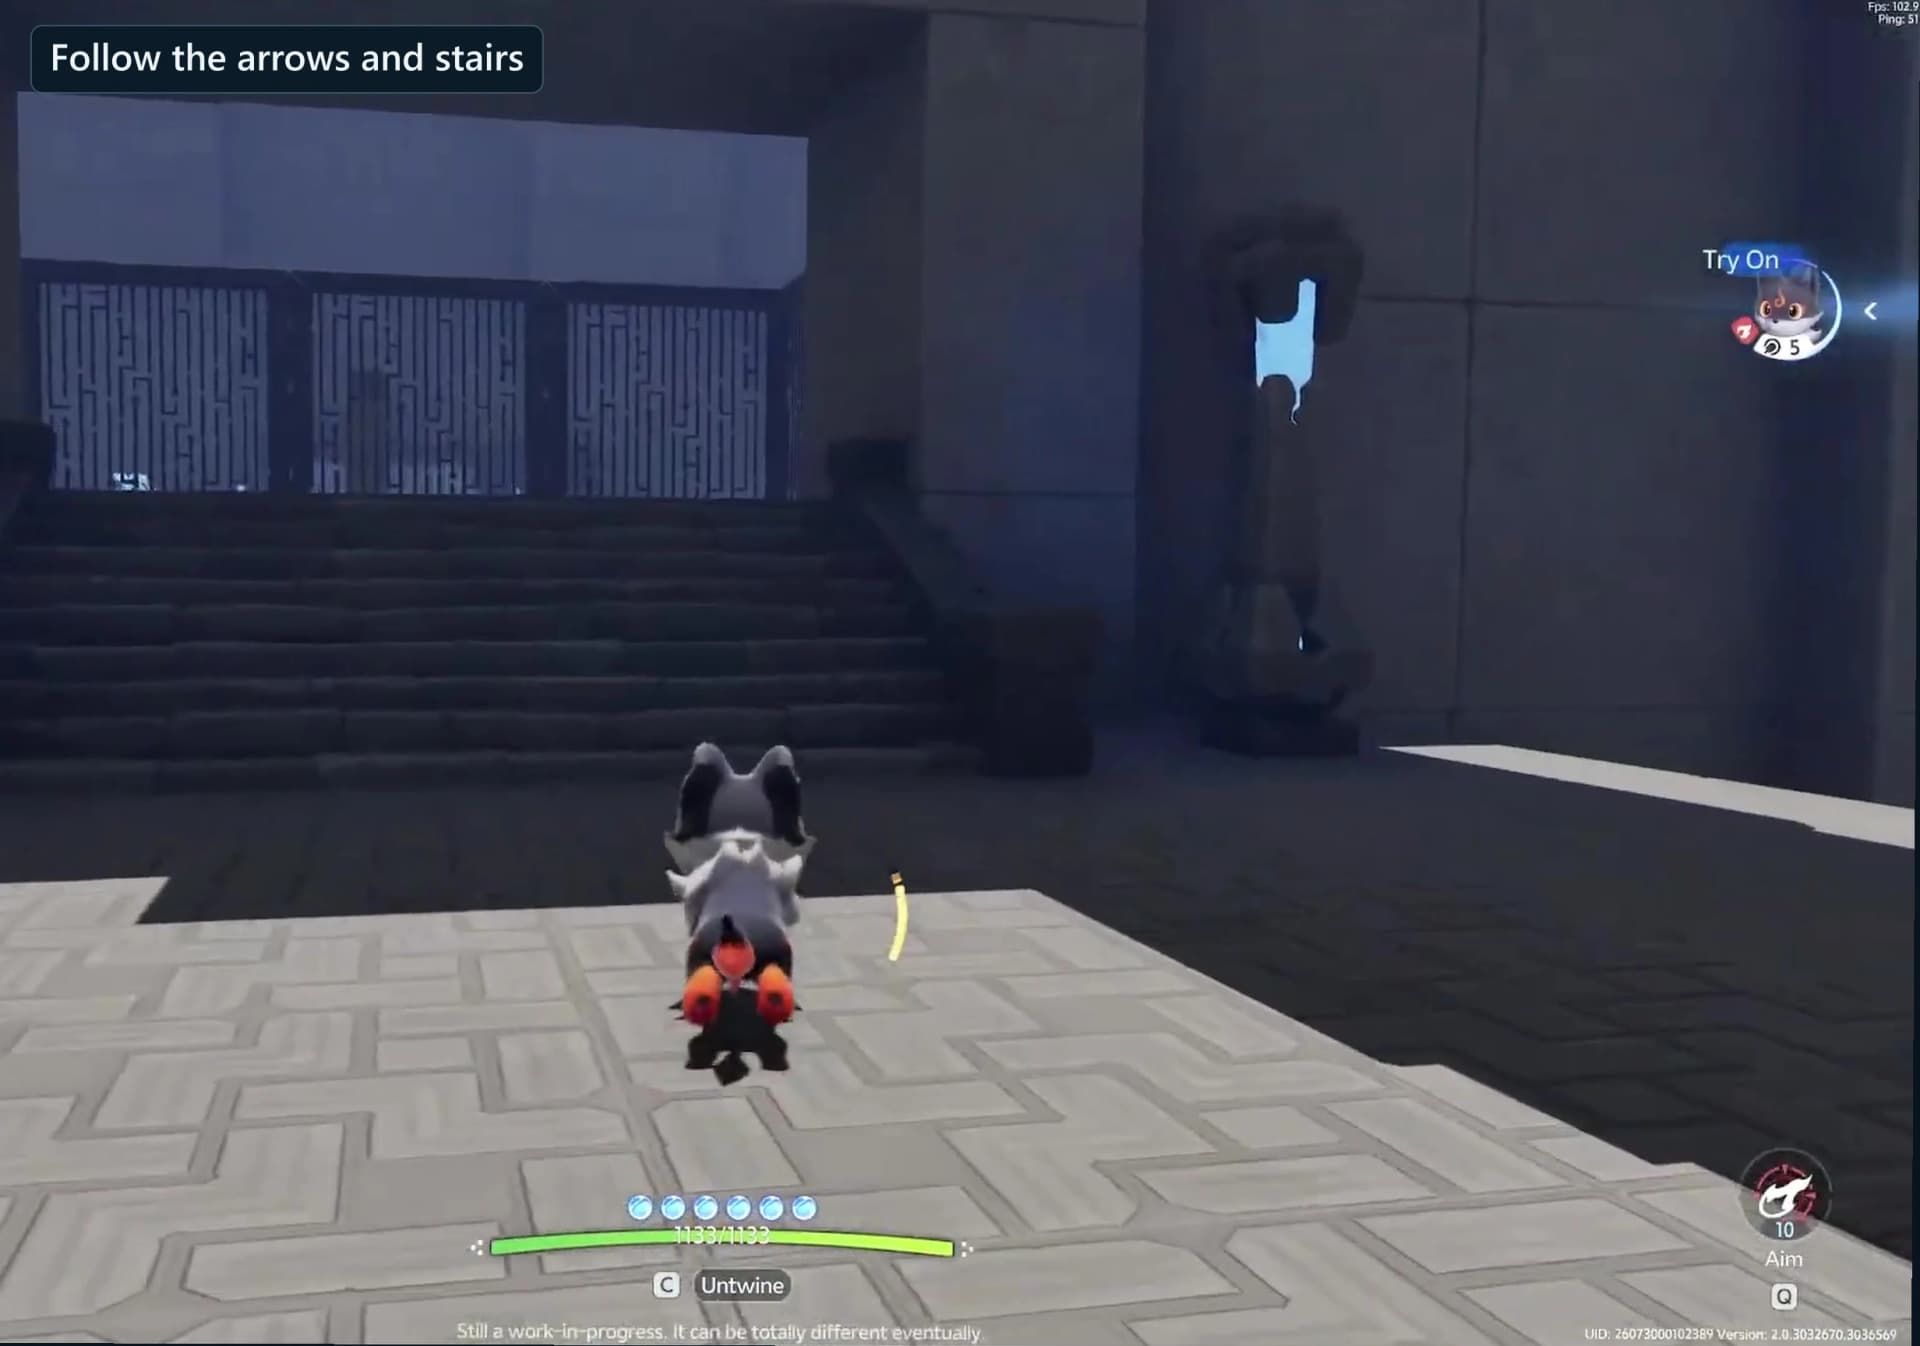
Follow the corridor north as it rises about five units above the floor. The last waypoint marker sits at the top of the climb, just short of the end of the axis.
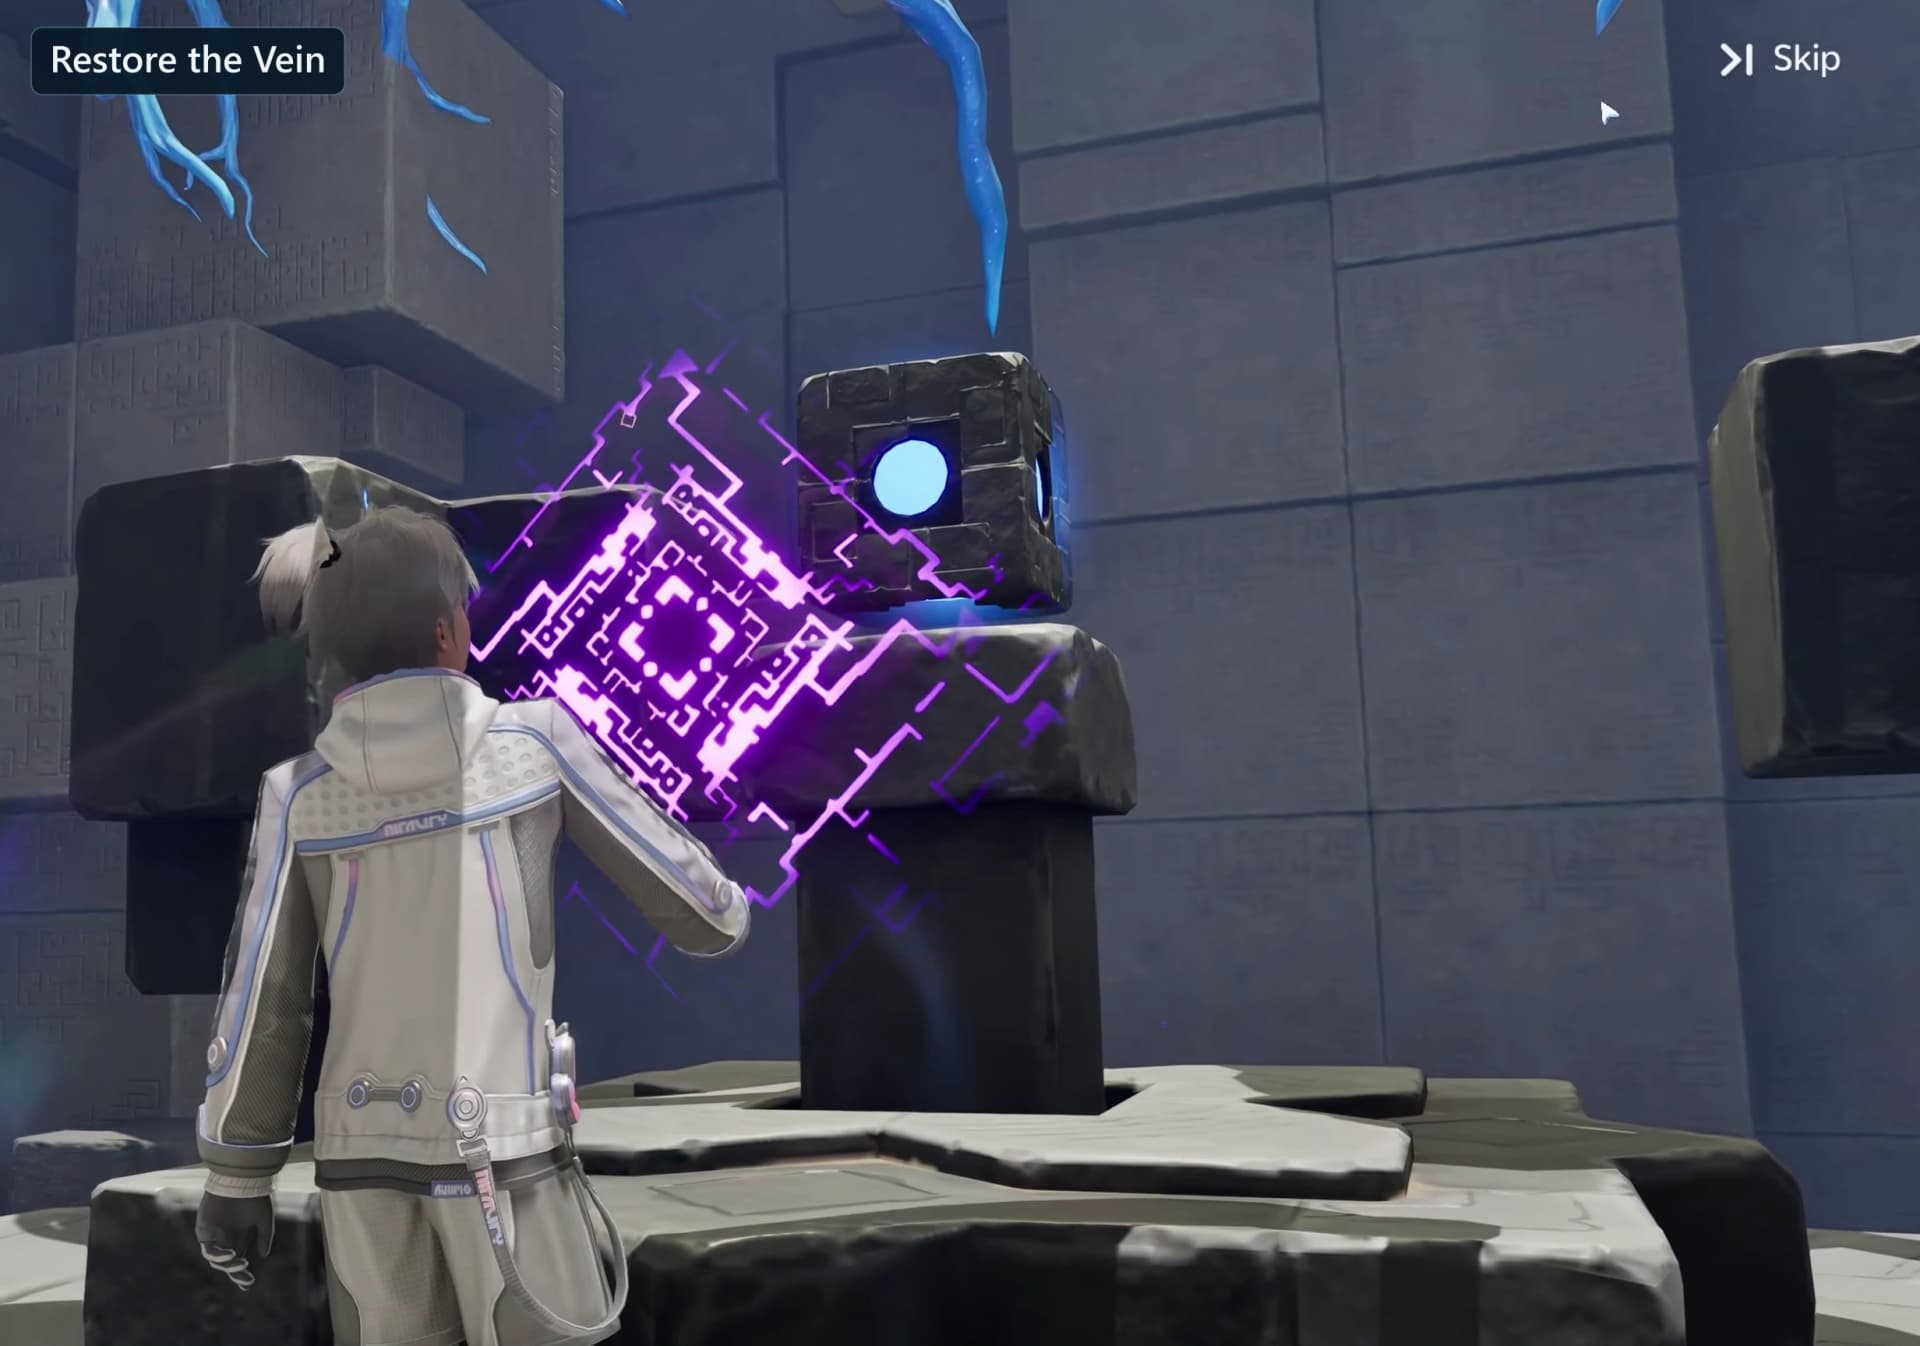
- 15Touch the Terminus and restore the VeinRoom 6
The Sanctum Terminus, also called the Tesseract, stands at the very end of the axis, turned to face back the way you came. Interact with it to restore the Vein and clear First Spark. This is the single condition the room checks.
Four-chest missable checklist
All four chests are Standard tier and all four are missable. Two sit in the side chambers off the crossing, one hangs in the tangle above the vine gate and one waits on a ledge in the central corridor.
| Chest | Tier | Contents |
|---|---|---|
| Chest 1 | Standard | Glimmer x10, Credits x10000, Sparkling Crystal x10, one Rare held item |
| Chest 2 | Standard | Glimmer x10, Credits x10000, Sparkling Crystal x10, one Rare held item |
| Chest 3 | Standard | Glimmer x10, Credits x10000, Sparkling Crystal x10, one Rare held item |
| Chest 4 | Standard | Glimmer x10, Credits x10000, Sparkling Crystal x10, one Rare held item |
| First clear | Reward | Lumin Amber: Breezy Plains, EXP x500 |
Every held item: Spirited Feather, Fission Needles, Echoing Grimoire, Ferocious Fang, Miraculous Fleece, Lightning Needle, Gargantuan Horn, Marching Flask, Capacitous Battery, Heartseeker Pendant, Avenging Gear, Heritage Amulet, Explosive Gloves, Giant Tortoise Shell, Auspicious Bell.
Checkpoints and hazards
First Spark has no checkpoints to unlock: the only respawn pads are the two at the entrance, both live from the moment you load in, and there is nothing to light along the way. What the room does have is three open pits, one under each of the three chambers at the crossing, and every one of them kills instantly. Nothing here is on a timer.
Troubleshooting Fire Bolt targets and the route
Reward and where to go next
The first clear pays one Lumin Amber: Breezy Plains plus 500 EXP, once. It also lights this room’s node on the Leyline Tree and counts toward the Sanctum Delver badges at 3, 5, 10 and 15 clears. Repeat runs pay nothing, and the tutorial cards do not play again, so the four chests are the only reason to come back.

Frequently asked
Where is First Spark?
First Spark is in Nimbus Fields, and its marker sits at 1335, 2002 on the AniimoVerse atlas. Open the exact First Spark atlas pin and distinguish it from nearby Chasing Clouds.
How many optional chests are in First Spark?
There are four, all Standard tier. Chest 1 falls when the tangle above the vine gate burns, chest 2 drops when Fire Bolt lights the bonfire under its ice block, chest 3 comes free when the chimney bonfire in the east chamber is lit, and chest 4 drops when the barrel behind the raised ledge goes off.
What should I do if the vines or ice will not burn?
Claim and Twine with the trial Emberpup. Aim Fire Bolt at the vines for chest 1, but aim at the unlit bonfire below the ice, not the ice shell, for chest 2.
What reward does First Spark give?
The first clear pays Lumin Amber: Breezy Plains ×1 plus 500 EXP, lights a Leyline Tree node and counts toward the Sanctum Delver badges at 3, 5, 10 and 15 clears. Repeat clears pay nothing.