

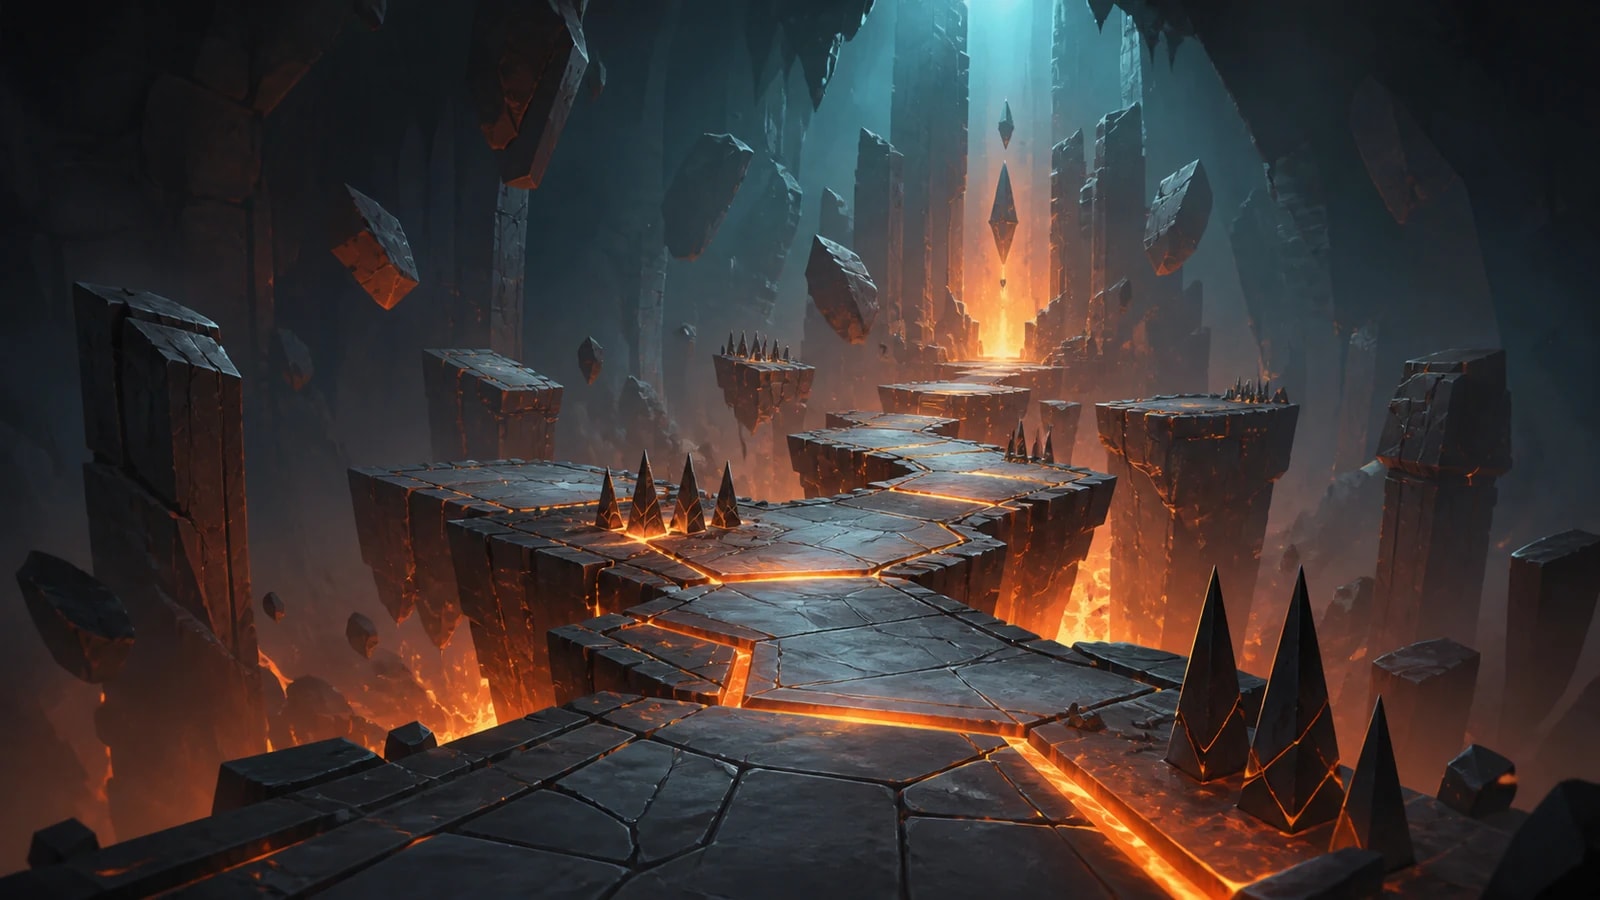
Location and requirements
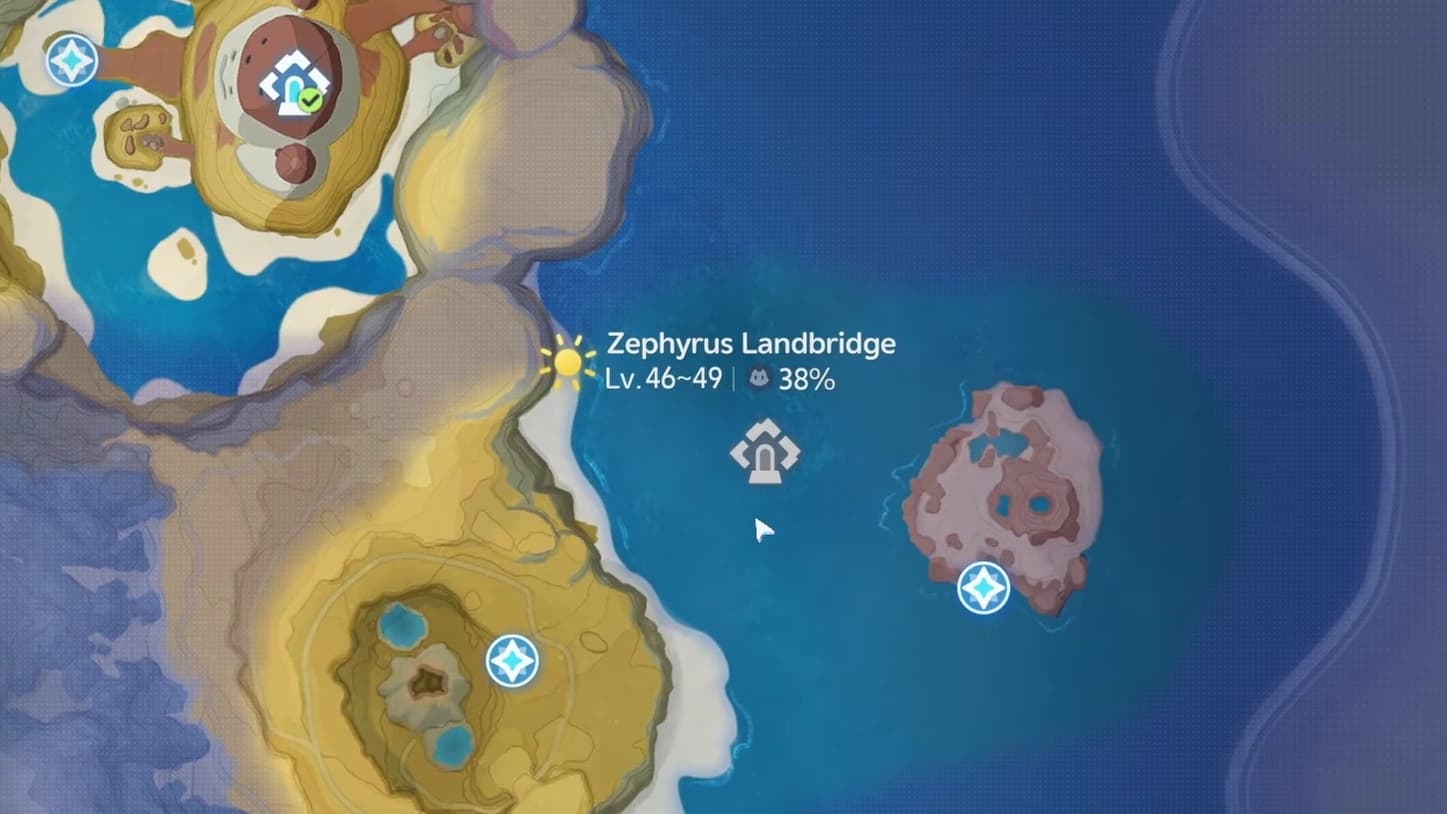
Zephyrus Landbridge
Atlas coordinate
- Value
- 3595, 744
Players
- Value
- Solo
Optional chests
- Value
- 3
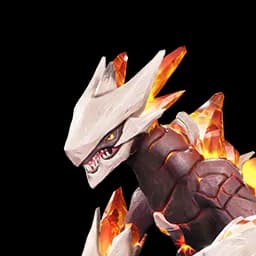
Trial Aniimo
- Value
- Magmarex
First-clear reward
- Value
- Lumin Amber: Breezy Plains ×1 · EXP 500
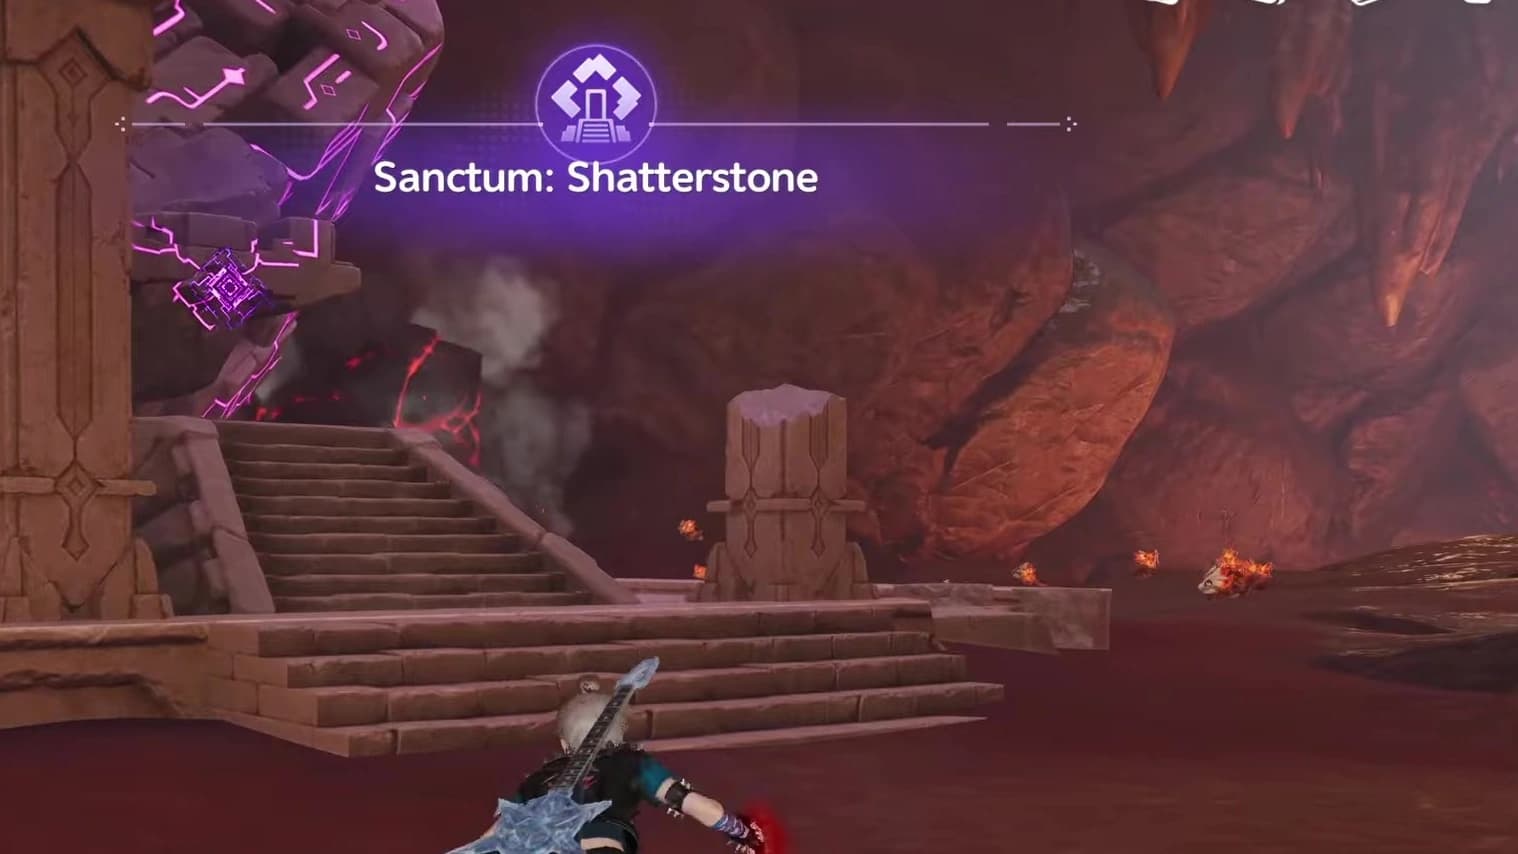
To find the room, open the exact Shattering Stone atlas pin. The marker sits at 3595, 744 on the AniimoVerse atlas. The entrance is underground in the red-lit cavern beneath Zephyrus Landbridge, not on the open surface. Follow the cave until the path widens around a huge stone mass traced with purple glyphs; the Sanctum stairs sit directly in front of it.
Route, step by step
Everything before the start line is untimed: take trial Magmarex, learn Hustle and clear the first chest at your own pace. The clock starts on GO, after the three count, and runs seven legs across five rooms before the finish flat.
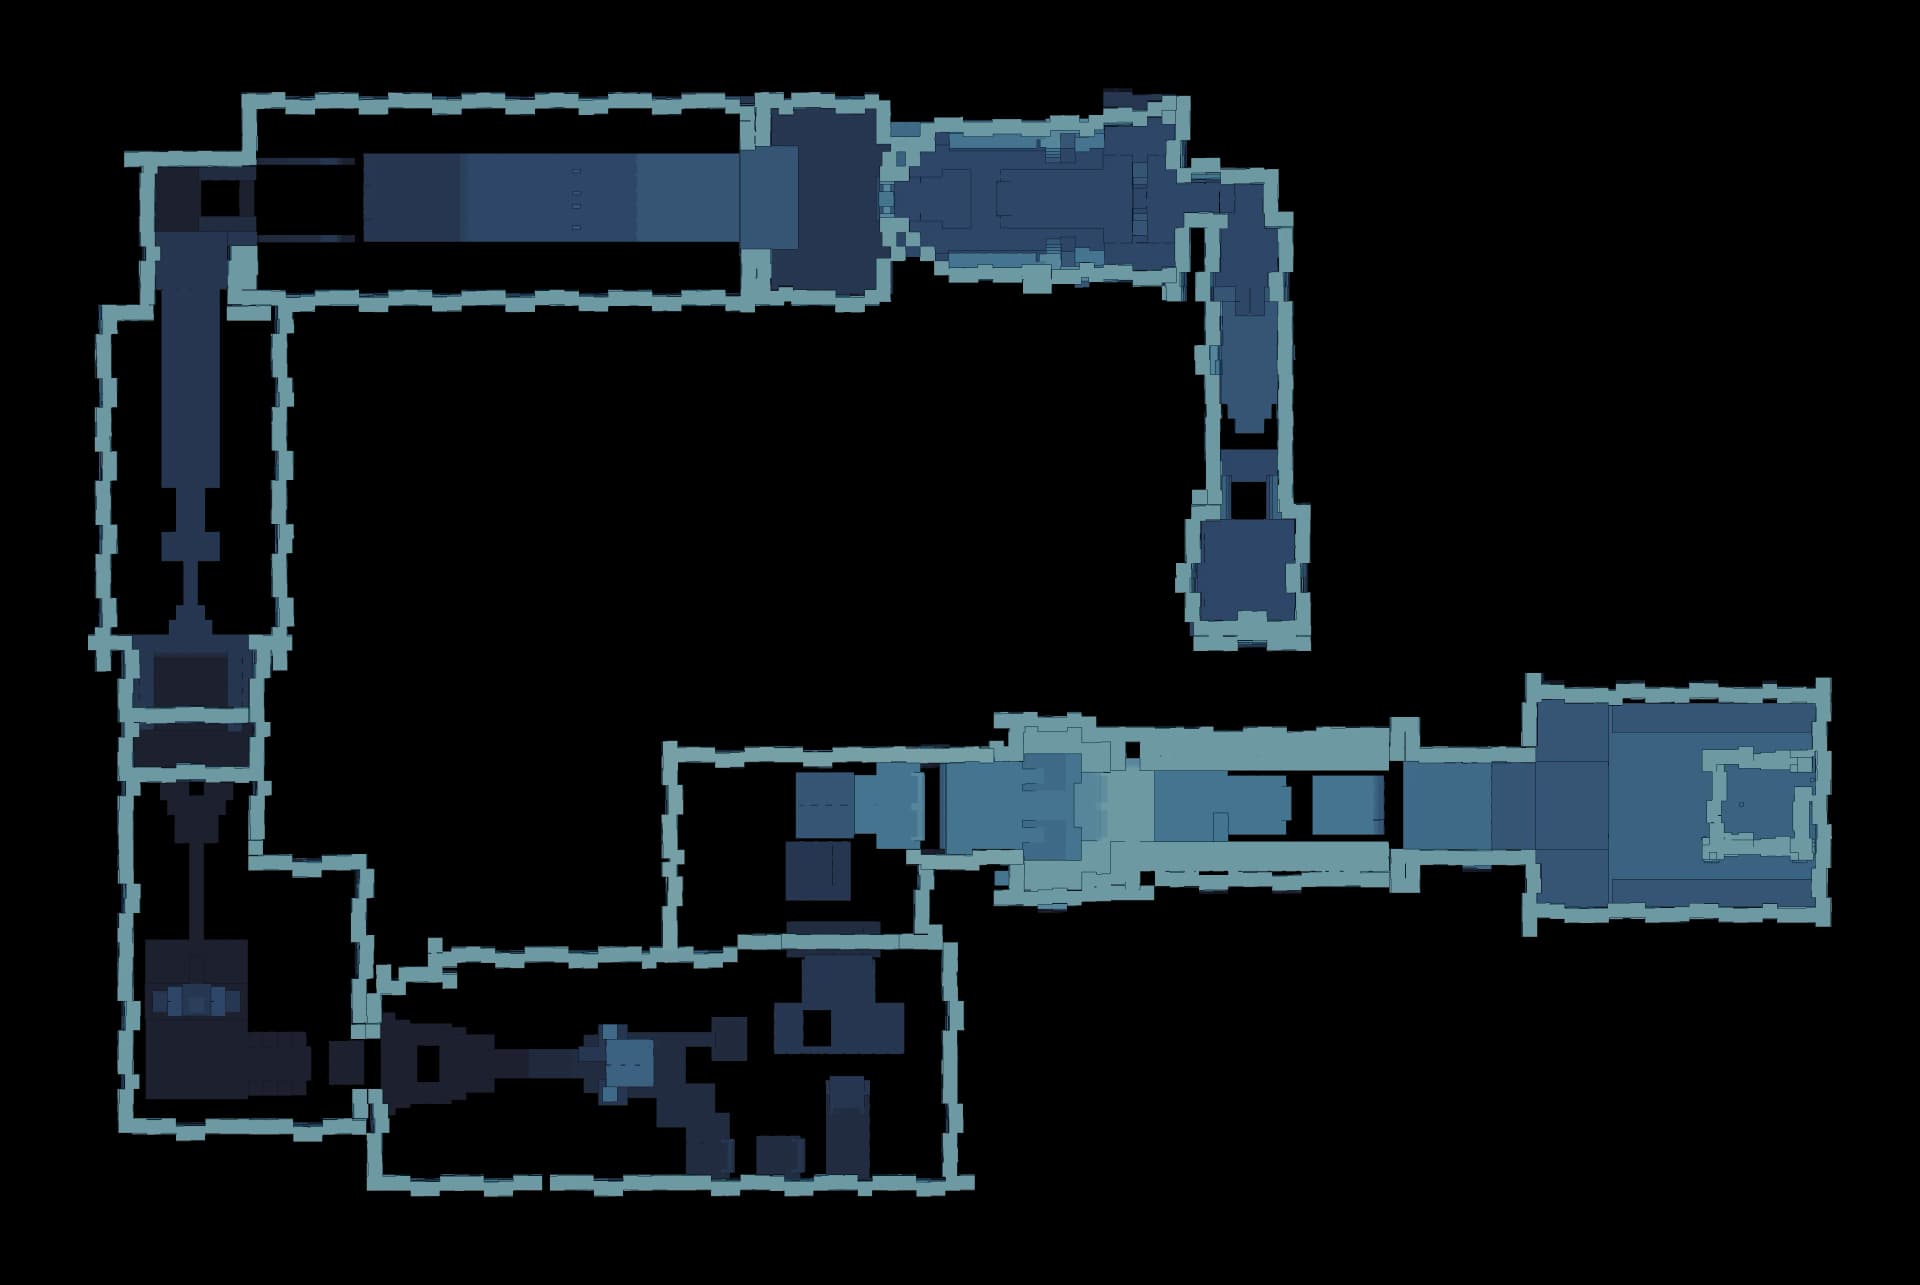 TXXXXCCCCCCC132CACCCCCCCCCCCCCCC
- Entrance
- Checkpoint
- Trial statue
- Terminus
- Chest
- Control
- Mechanism
- Element device
- Hazard
- 1Enter and cross the first bridgesRoom 1
You drop onto the entrance pad at the south end of a long rising corridor. Run north over the trap bridges, which drop away behind you, and ride the Hot Fountain at the top of the run to reach the upper ledge. The pit under the fountain is lethal, so take the launch rather than the edge.
- 2Thread the spike field into the trial hallRoom 1
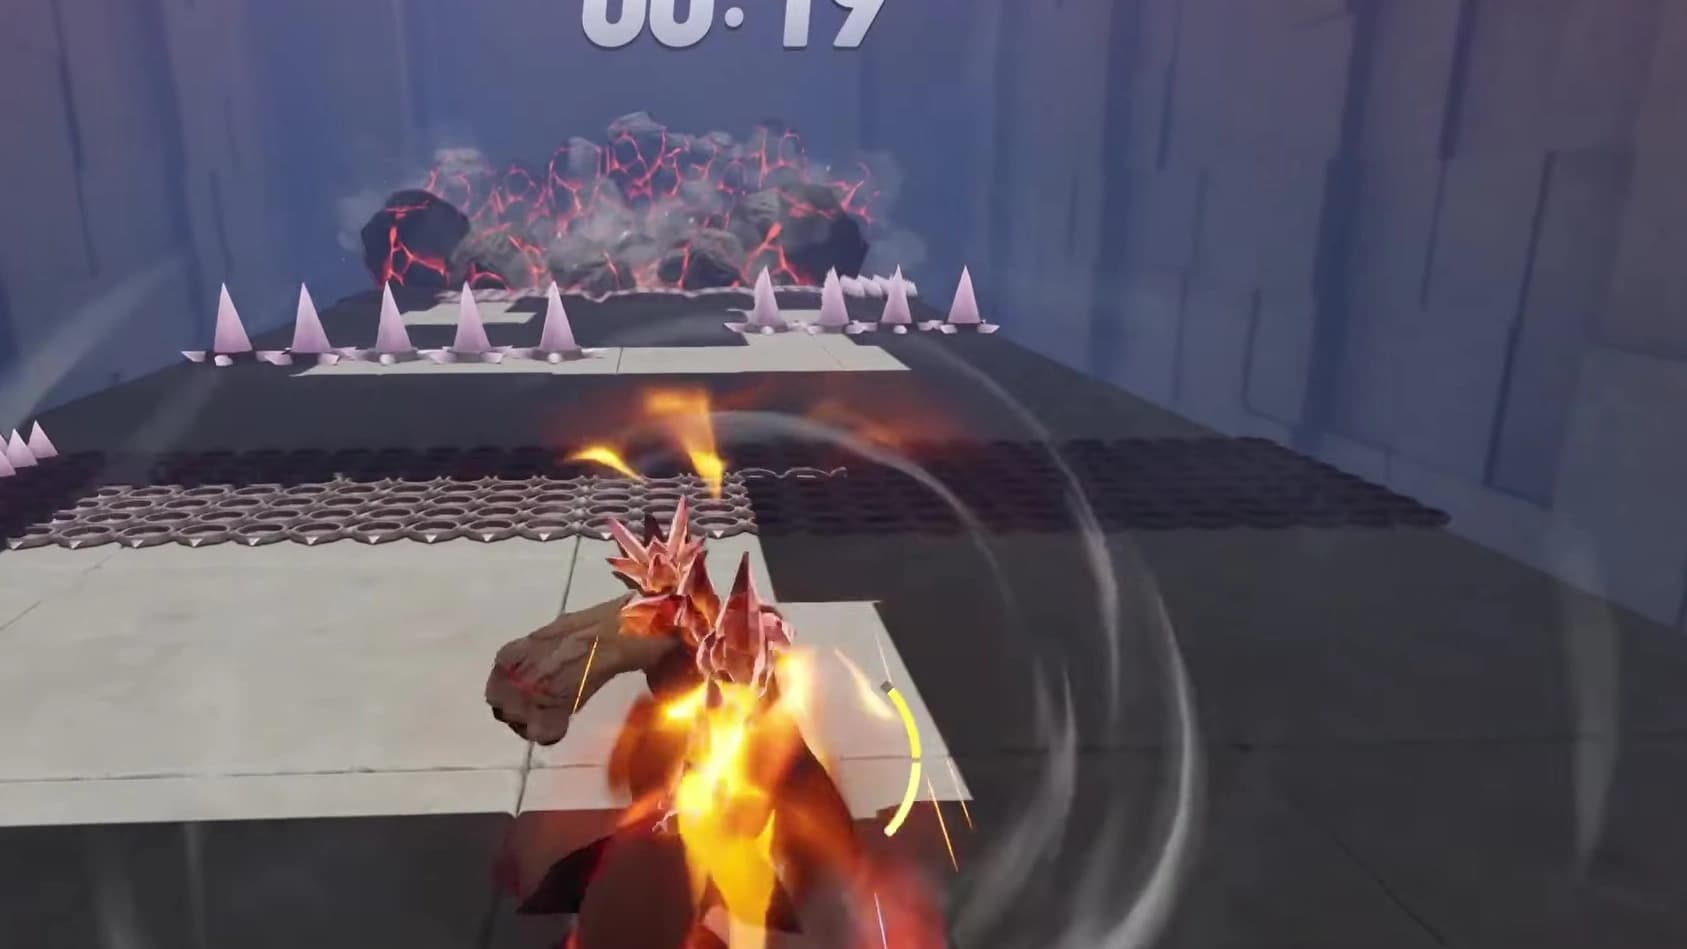
Past the fountain the floor fills with raised spike cones in two staggered bands, then a solid spike wall with gaps at the corridor mouth. Weave the openings and step into the wide hall beyond, where the first save pillar stands on your right.
- 3Twine with trial Magmarex at the statueRoom 1
Follow the hall west, drop to the lower terrace and use the stone statue base to Twine with trial Magmarex. Fast and Furious puts you into Hustle, which is the only thing in this Sanctum that breaks Lava Crystals and Lava Spheres, and every smash gives back a little Stamina.
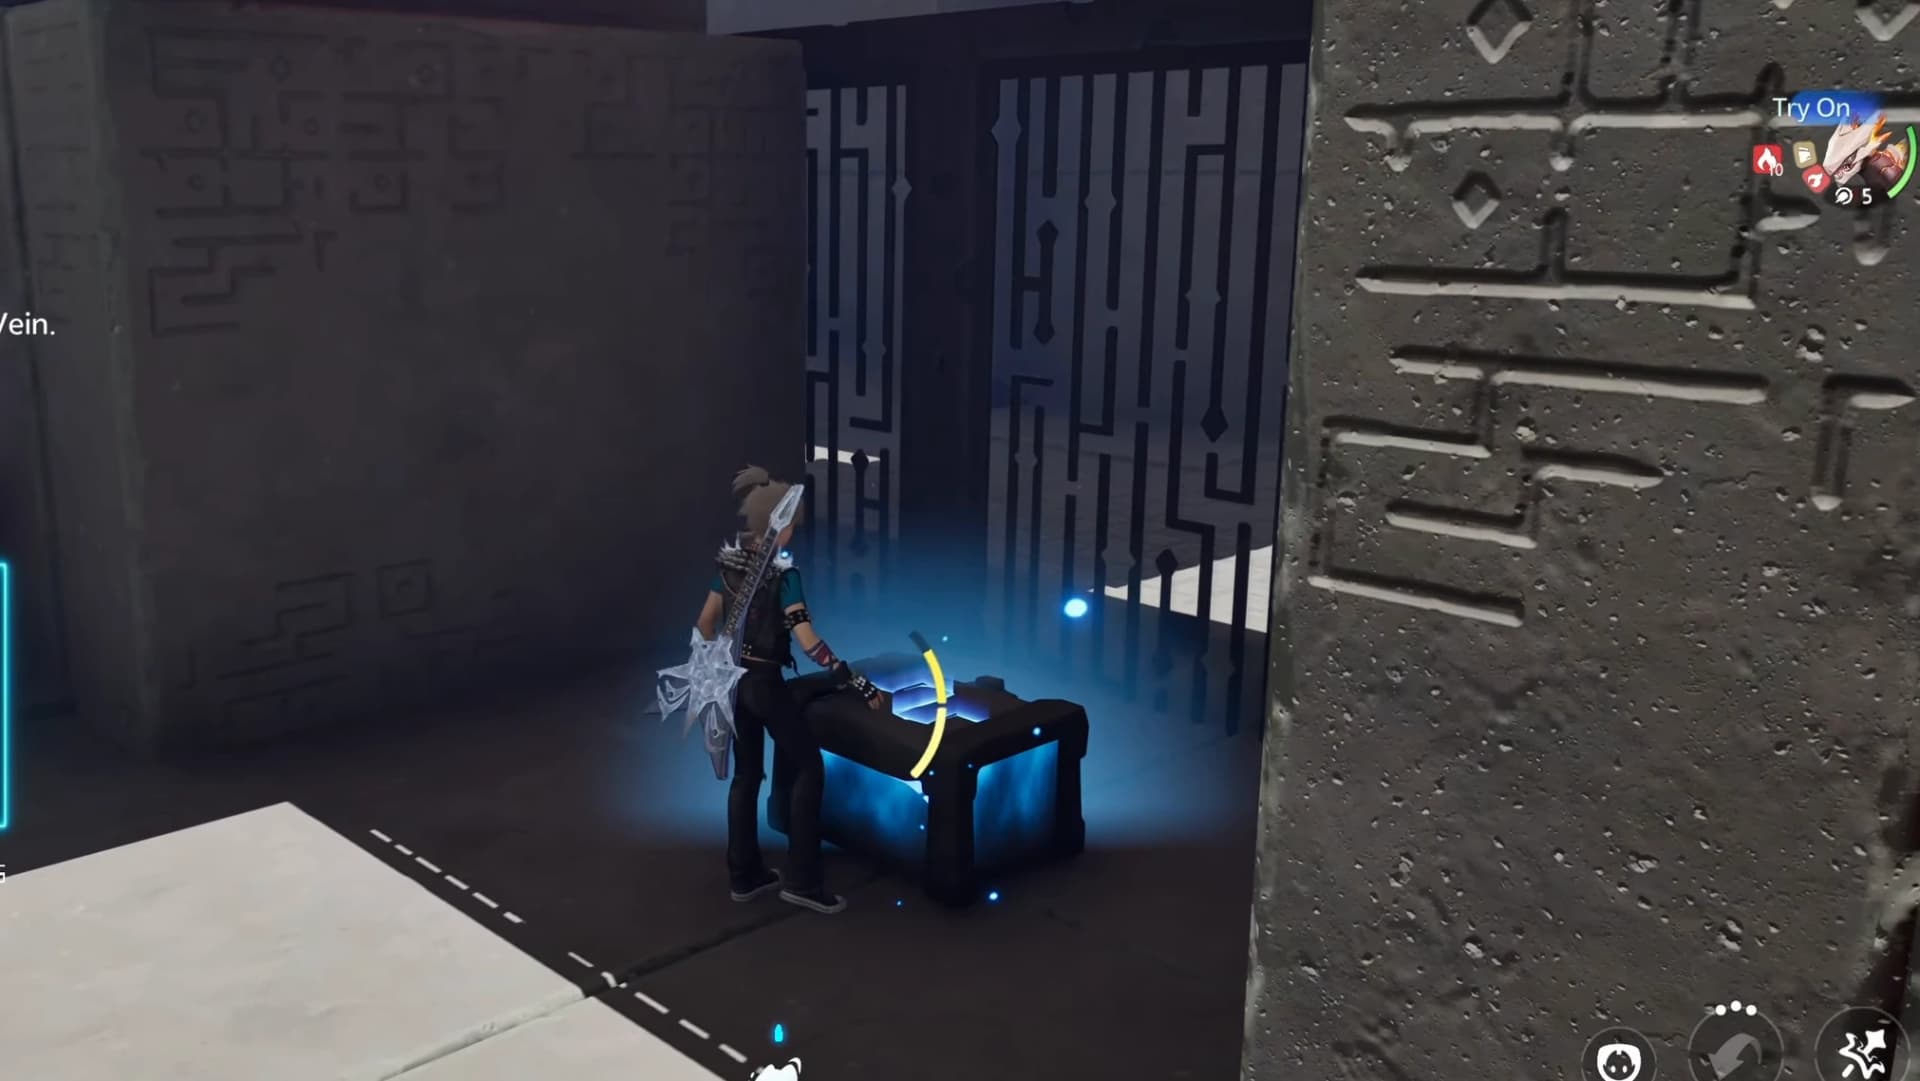
- 4Chest 1: smash the seamed rock faceOptionalChest 1Room 1
Turn back east to the dark rock face laced with glowing red seams that you walked past on the way in. Enter Hustle, line up square and drive through it; the Basic chest is tucked inside the stack. Two Explosive Barrels sit in the same face, so aim at the crystals and not at the drums. The counter should read 1/3 before you go any further.
- 5Practise on the second wall and take the fountain liftRoom 2
Head west through the open pen, where the Hustle prompt appears, and break the second crystal cluster on the move. Three Hot Fountains stand in a row just past it and throw you up onto the gate terrace. Remember that a fountain interrupts Hustle, so tap the ability again the moment you land.
- 6Hit the switch and take the start lineRoom 3
Touch the save pillar on the terrace, then use the one-shot switch beside the big mechanism gate. The gate opens, a short intro pans over the two finish-room chests and sets you down on the start line, and a three count runs before GO. From that moment the clock is live, with the first chest deadline at ninety five seconds and the second at one hundred twenty five.
- 7Leg one: crates, barrels and the first crystal bankRoom 3
Hold Hustle and run straight west down the wide lane. A block of small wooden crates comes first and shatters harmlessly, but three Explosive Barrels are mixed into it and will knock you backwards. Keep to the clear side of the stack, then smash the crystal bank that follows.
- 8Leg one: spike banks and the mid checkpointRoom 3
The lane narrows into scattered spike cones with a drop on the left that kills outright. Stay centre, take the automatic checkpoint as you pass it, and keep your speed for the bridge run ahead.
- 9Leg one: the bridge run and the west fountainRoom 3
Twelve trap bridges carry you over the western void and fall as you cross, so do not stop on one. At the far wall a Hot Fountain lifts you to the next save pillar. Take the launch facing south, because the course turns that way.
- 10Leg two: the south descentRoom 4
Turn south along the outer wall and keep breaking through the long crystal bank that lines it. Two broad spike walls cross the lane here with a single opening each, and a drop on the outside edge ends the run. The second checkpoint sits partway down.
- 11Leg two: drop through the breaking floorsRoom 4
Three stone slabs span the shaft at the bottom of the descent and a second set sits below them. They give way under you, so run straight across rather than pausing to look down. You land beside the vault save pillar.
- 12Leg three: the lava sphere vaultRoom 4
The vault floor is the lowest ground in the Sanctum and Lava Spheres roll down into it in a steady stream, refreshing about every three quarters of a second. Smash straight through them for Stamina, keep off both lethal pits, and cross to the checkpoint at the south wall.
- 13Leg four: turn east along the lower galleryRoom 5
Swing east into the long lower gallery. A Hot Fountain and a short crystal bank mark the start of it, then a full wall of spike cones with one gap. The save pillar here is the last easy breather before the hardest stretch.
- 14Leg four: run the falling explosive corridorRoom 5
Two dispensers overhead pour Lava Spheres and Ancient Explosive Balls into this corridor on a continuous cycle. The spheres are free Stamina, the balls detonate and throw you back into the pit on your right, and you cannot tell them apart at speed. Pick a lane, keep Hustle up and do not chase anything sideways.
- 15Leg four: the last crystal fieldRoom 5
The corridor opens into a field of Lava Crystals with two Explosive Barrels on its far side and four more trap bridges past them. A Hot Fountain on the left is the fastest way up, so line up with it, accept the interrupt and re-enter Hustle on landing.
- 16Leg five: climb the fountain ladderRoom 6
Four Hot Fountains stack up the north wall in a ladder and carry you from the gallery floor to the high shelf in one chain. Each one cancels Hustle, so ignore the ability until the top and just steer toward the next spout. The shelf save pillar and a short crystal bank sit at the exit.
- 17Leg six: the sky gauntletRoom 6
The high lane runs east between two more Hot Fountains and under three dispensers that drop Lava Spheres and Explosive Balls onto it without pause. Two invisible force fields push sideways across the lane near the end and there is nothing under the edge, so hold the centre line and break the crystals you meet head on.
- 18Leg seven: the two spike wallsRoom 7
The finish flat opens with two eight-wide spike walls set one behind the other, each with a single clean opening and a spike cluster guarding it. Scattered Lava Crystals sit between them and are worth taking for Stamina. Do not cut a corner across the cones; the lost time is smaller than the recovery.
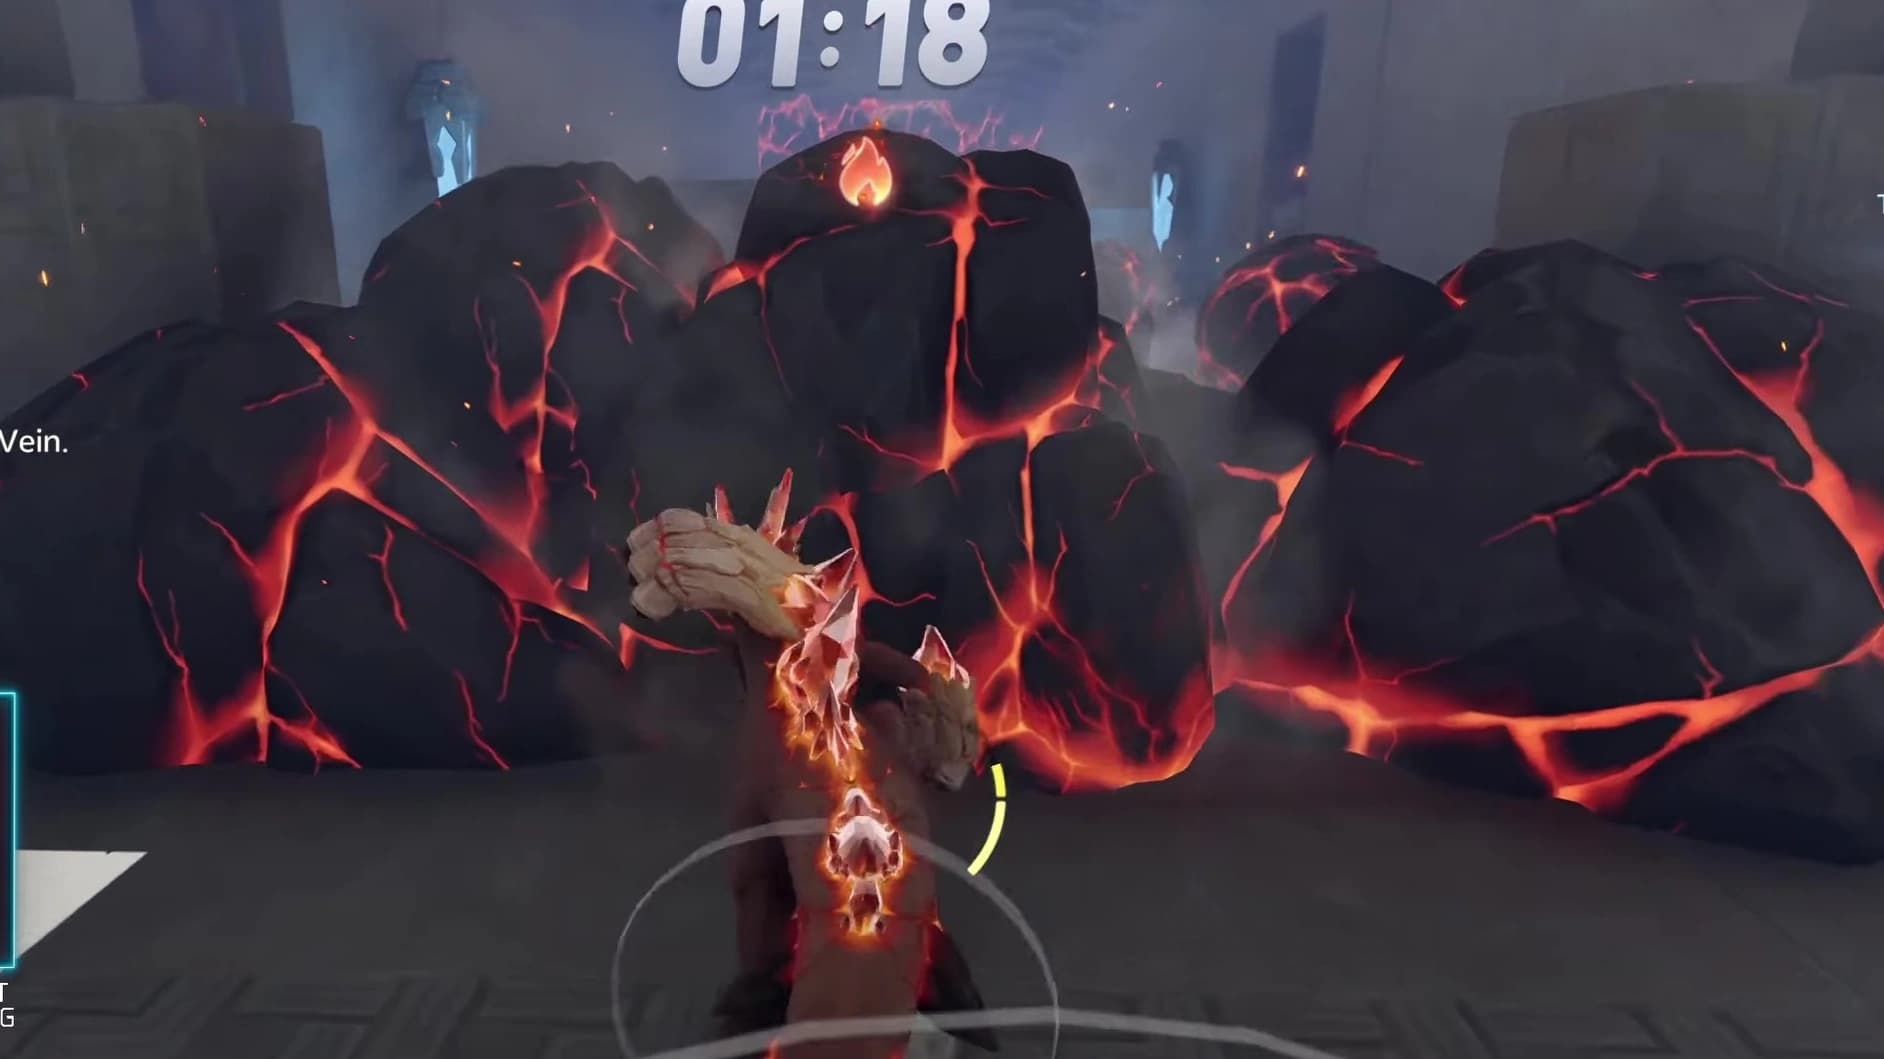
- 19Leg seven: break the last wall and cross the lineRoom 7
The final barrier is a dense wall of Lava Crystals stacked several levels deep. Hit it centred and straight and push all the way through without turning. Two Hot Fountains behind it lift you onto the finish shelf, and the checkered marker is a few strides further east.
- 20Read the result and the two barriersRoom 7
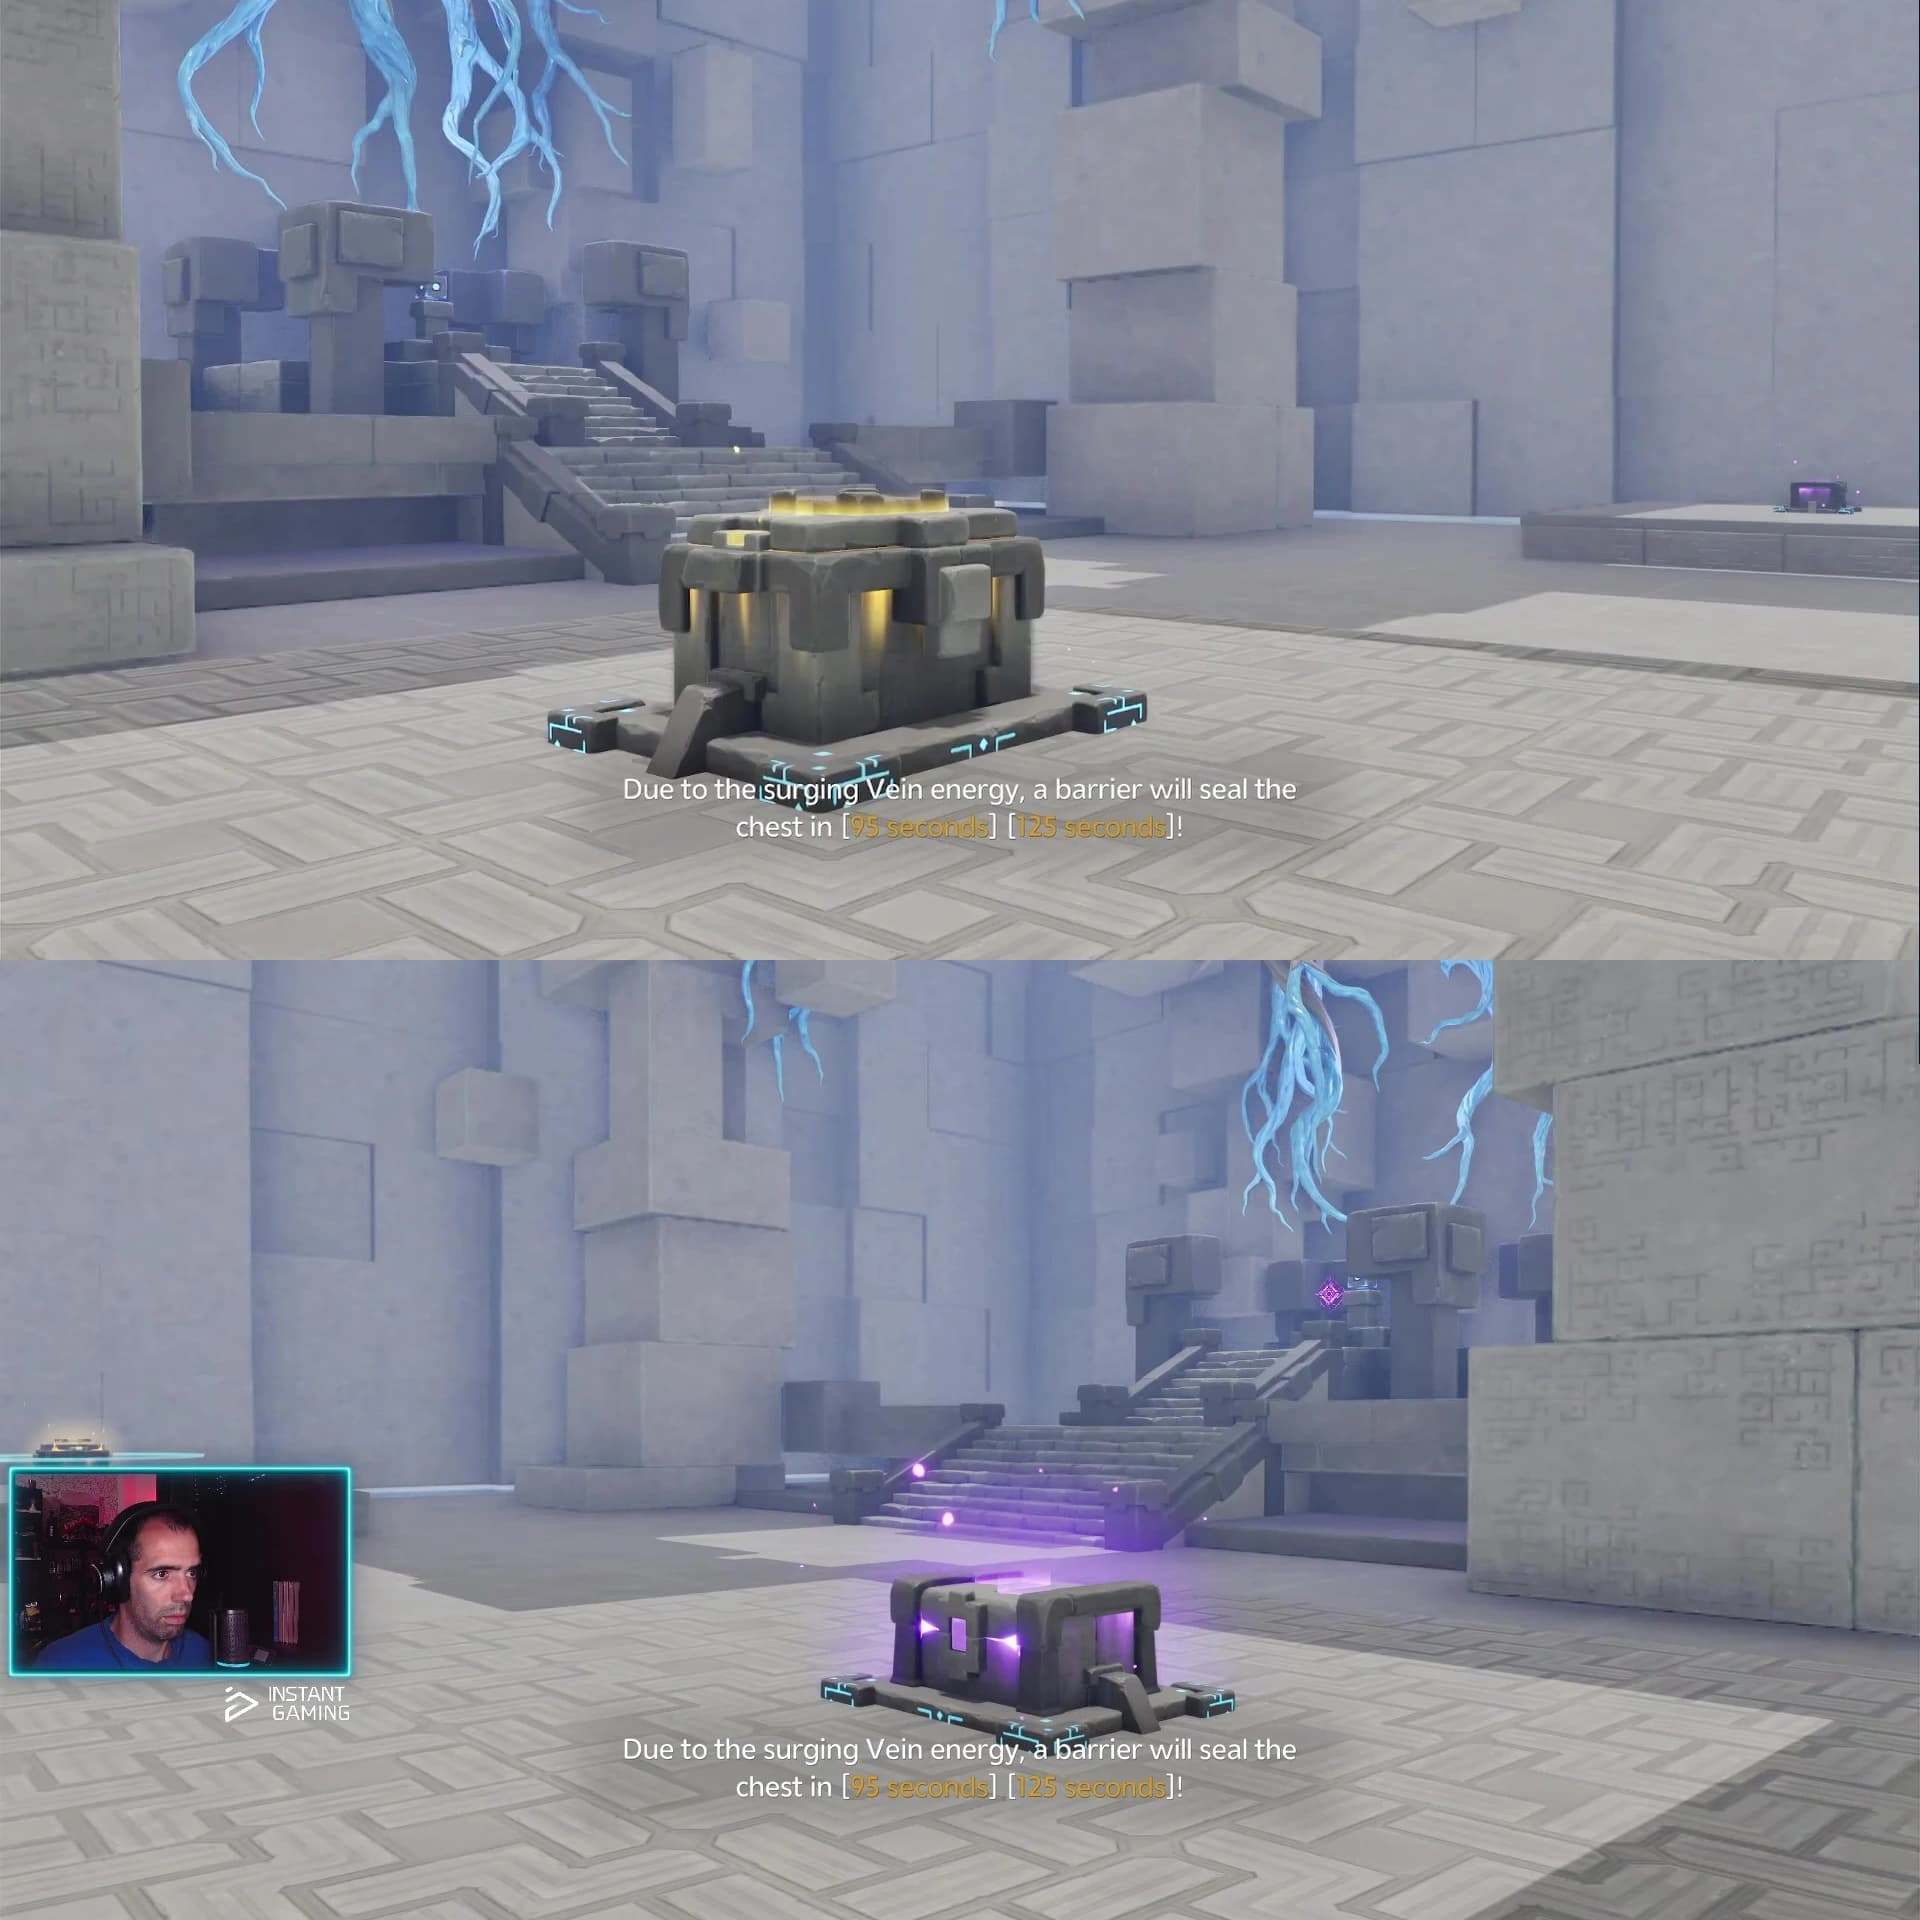
Crossing the line stops the clock but does not clear the Sanctum. The two finish-room chests start open and a barrier slams over each one as its deadline passes, the first at ninety five seconds and the second at one hundred twenty five, so the result tells you which alcoves are still live. Reset Gameplay restores both barriers and rebuilds every obstacle if you want the faster split.
- 21Chest 2: the Premium alcove on the north sideOptionalChest 2Room 7
Walk east past the line and take the north alcove first, because its barrier is the one on the tighter deadline. The Premium chest inside pays the largest Glimmer and Credits split plus a held item. The counter should move to 2/3.
- 22Chest 3: the Standard alcove on the south sideOptionalChest 3Room 7
The matching alcove on the south side of the approach holds the Standard chest behind the smaller barrier, which survives to the later deadline. Take it and confirm the counter reads 3/3 before you move on.
- 23Touch the Terminus to clear the SanctumRoom 7
The Sanctum Terminus stands at the far east end of the finish room, well past both alcoves. Use it to restore the Vein and complete the run. This is the only action the room actually requires, and it ends the instance, so settle the chest count first.
Breakable-rock tutorial
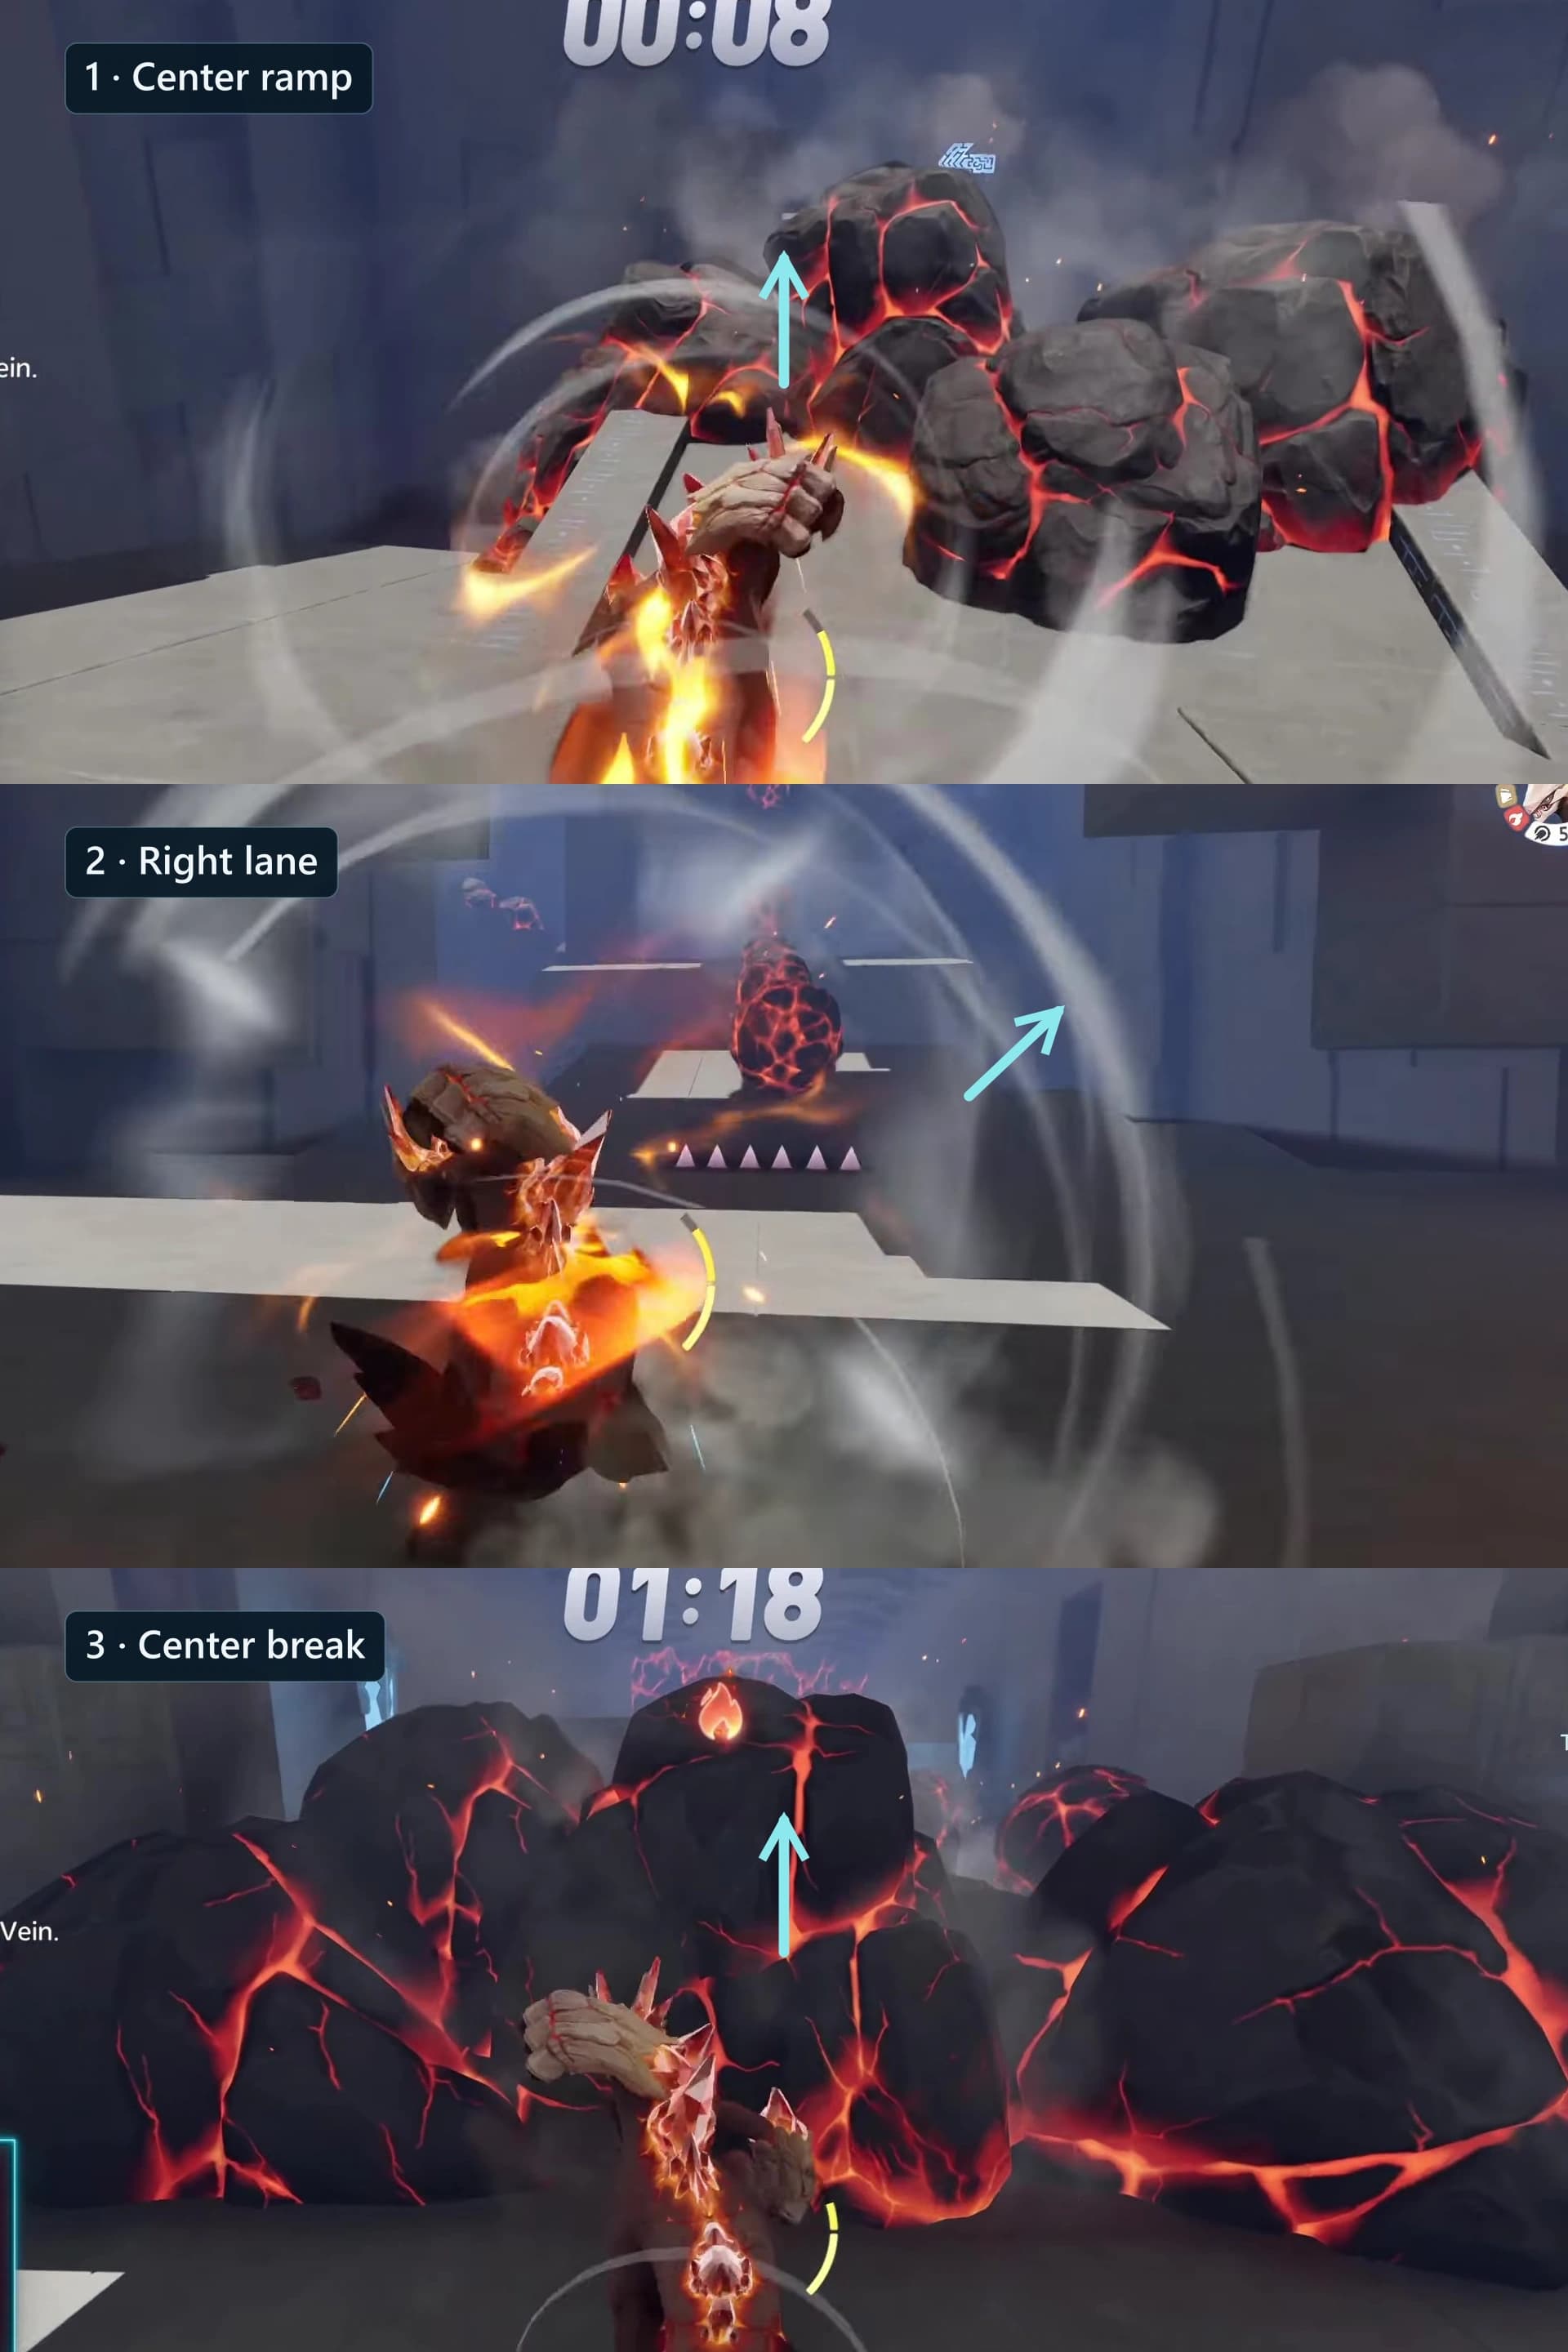
The trial station supplies Magmarex. Tap the displayed Fast and Furious input to enter Hustle. The in-game tutorial says Hustle smashes Lava Crystals and Lava Spheres, and breaking either restores some stamina. Hustle is the barrier method the room is built around, so keep it available for every wall.
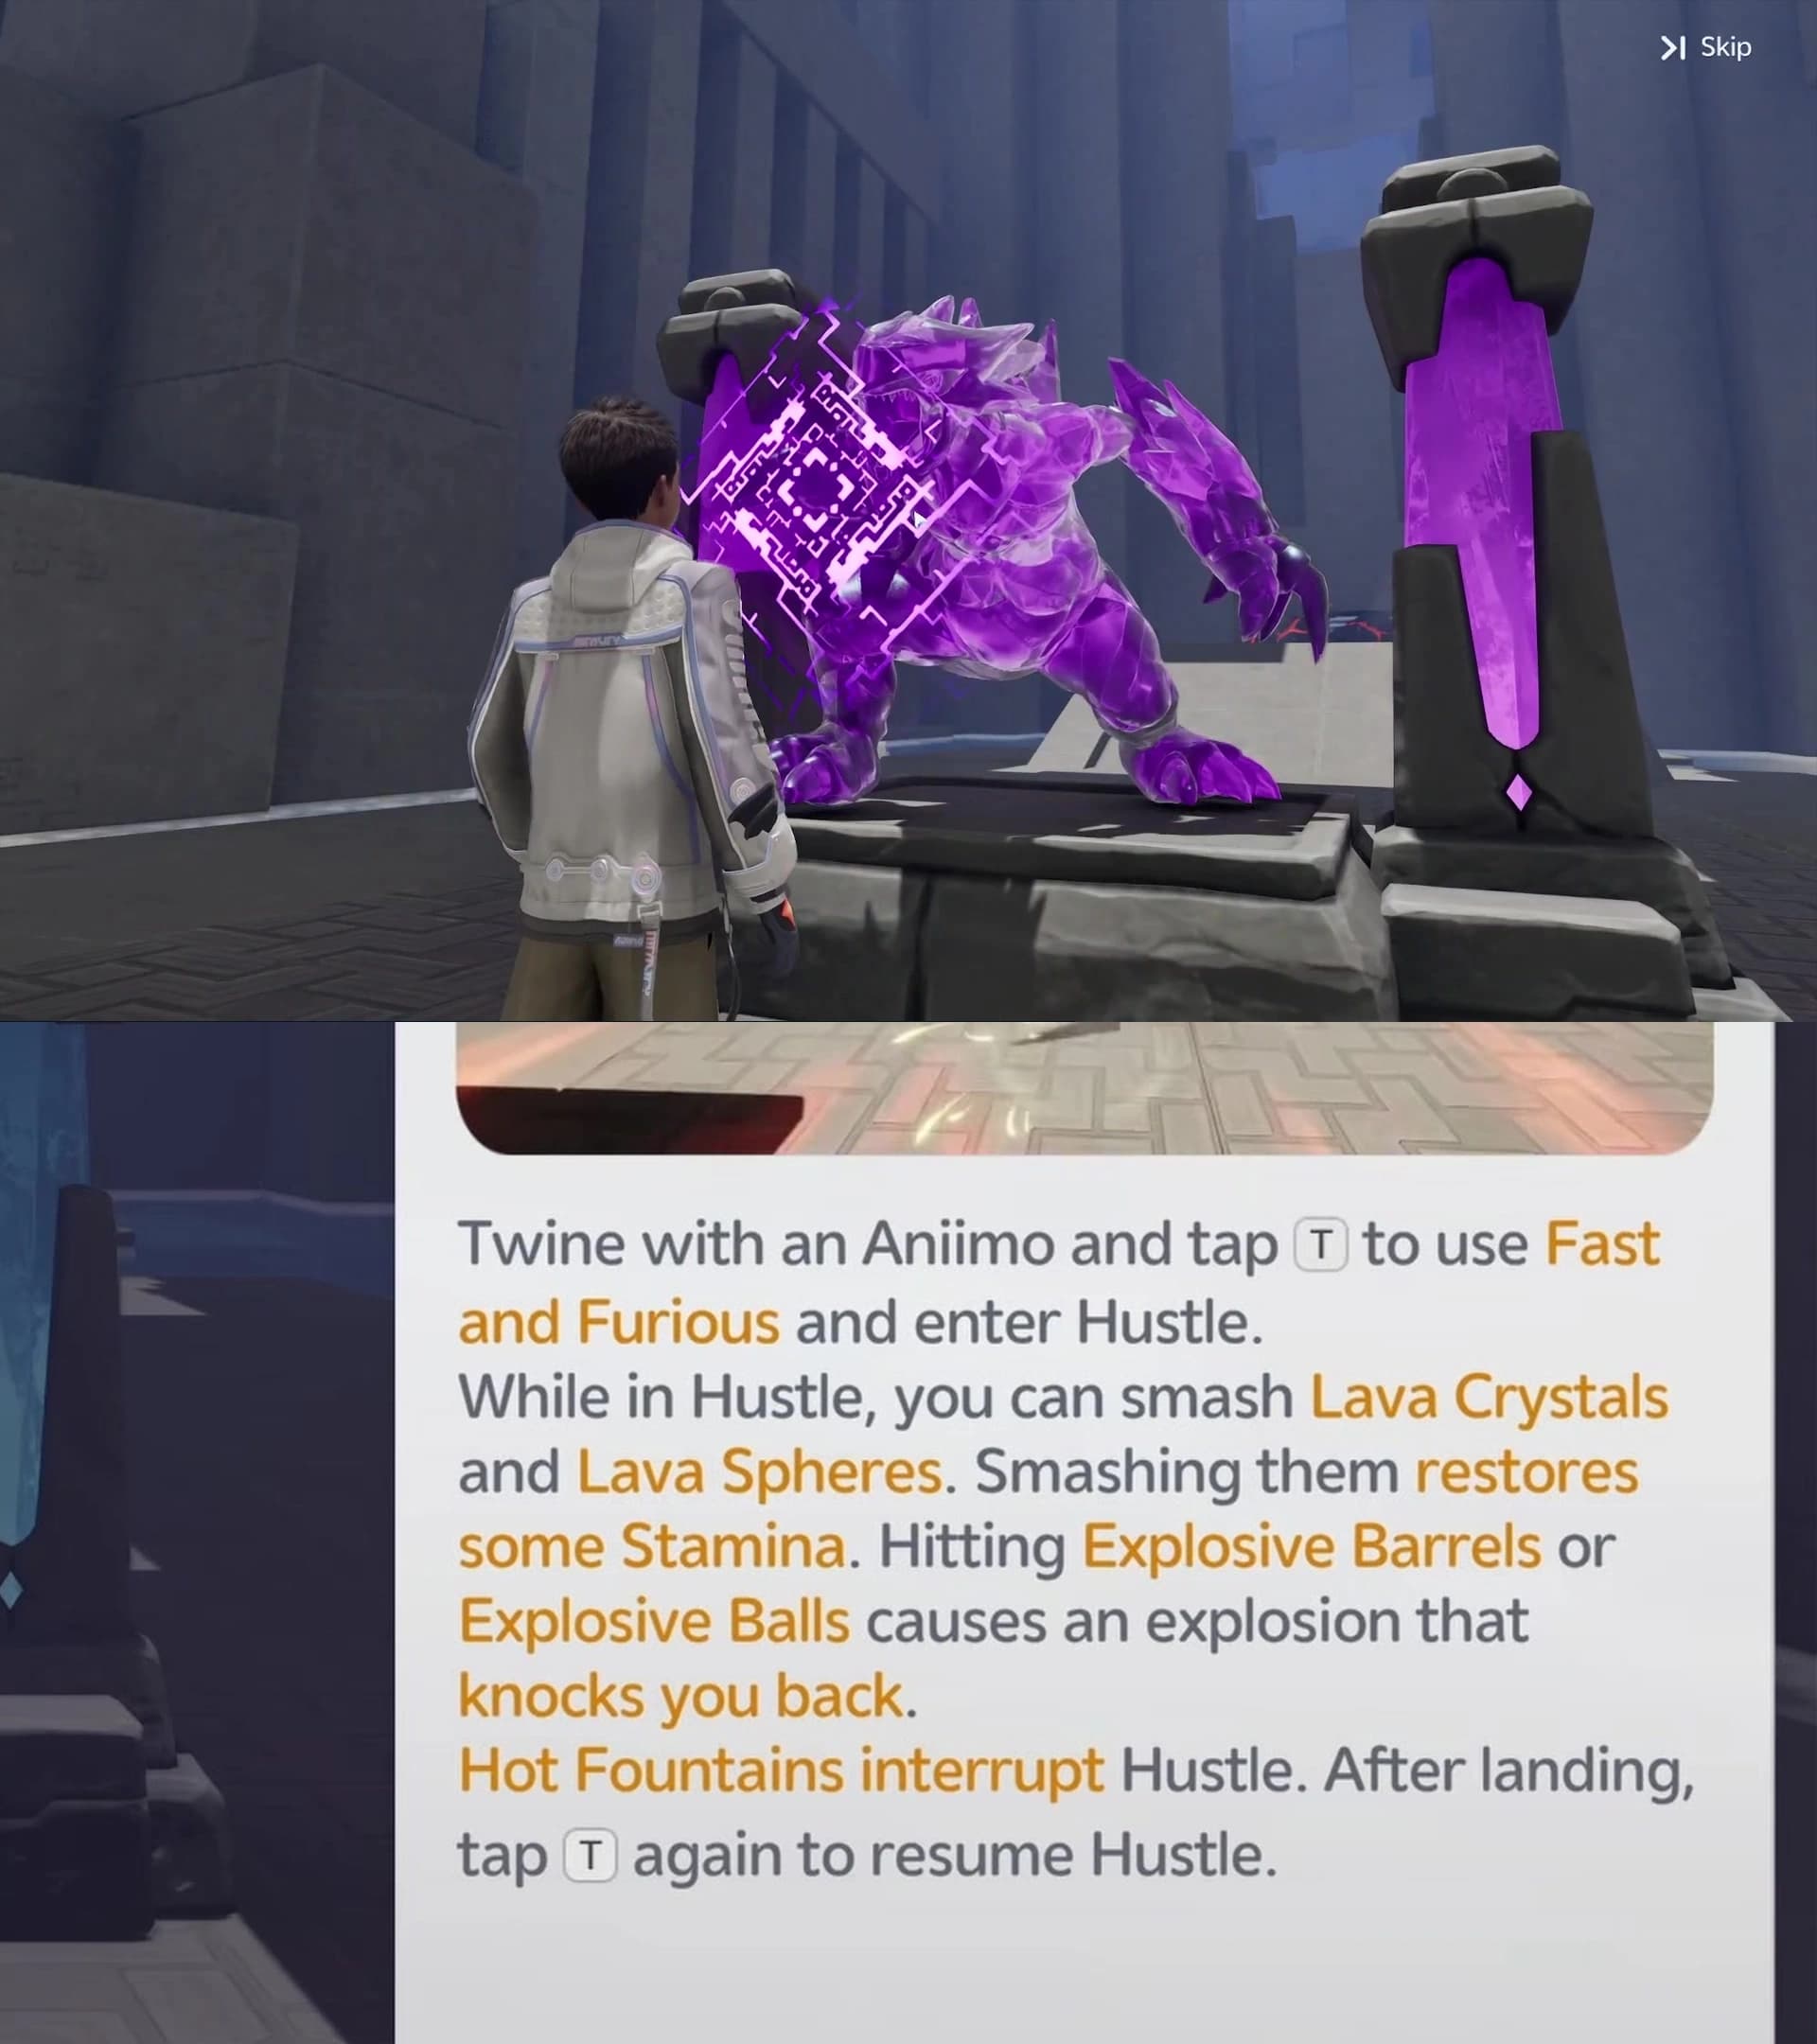
Use the first room as practice. Line Magmarex up squarely with the dark rock face that carries glowing red seams, start Hustle before contact, and keep moving through it. The hit clears the middle of the barrier and opens the lane beyond.
Course objects and the two deadlines
Collect the early chest before touching the course start. It is tucked inside the stacked rock face east of the trial statue, so you walk past it on the way in and come back for it once you hold Magmarex. The left HUD is the check: it moves from 0/3 to 1/3 when you smash the face open, and it stays there through the ranked section.
Lava Crystal or Lava Sphere
Breaks during Hustle and restores some stamina.
Aim through the glowing center and keep moving.
Raised spike rows
A course obstacle that breaks your line if you clip it.
Thread the open gaps around the raised cones. Do not use floor color as a safety rule: the cones cross both light and dark flooring.
Explosive Barrel or Explosive Ball
Explodes on contact and knocks Magmarex back.
Use the open gap instead of treating it as a stamina target.
Hot Fountain
Launches Magmarex and interrupts Hustle.
Accept the launch, land facing forward, then activate Fast and Furious again.
The start intro pans over both finish-room chests, and both of them start open. The clock begins after the three count, and each barrier slams shut as its deadline passes: 95 seconds seals the Premium chest in the north alcove, 125 seconds seals the Standard chest in the south alcove. Under 95 you keep all three chests, between 95 and 125 you keep two, and past 125 only the early Basic chest is yours. Reset Gameplay reopens both barriers and rebuilds the course. That is the clock you are racing, not the grade.
Grade and reward
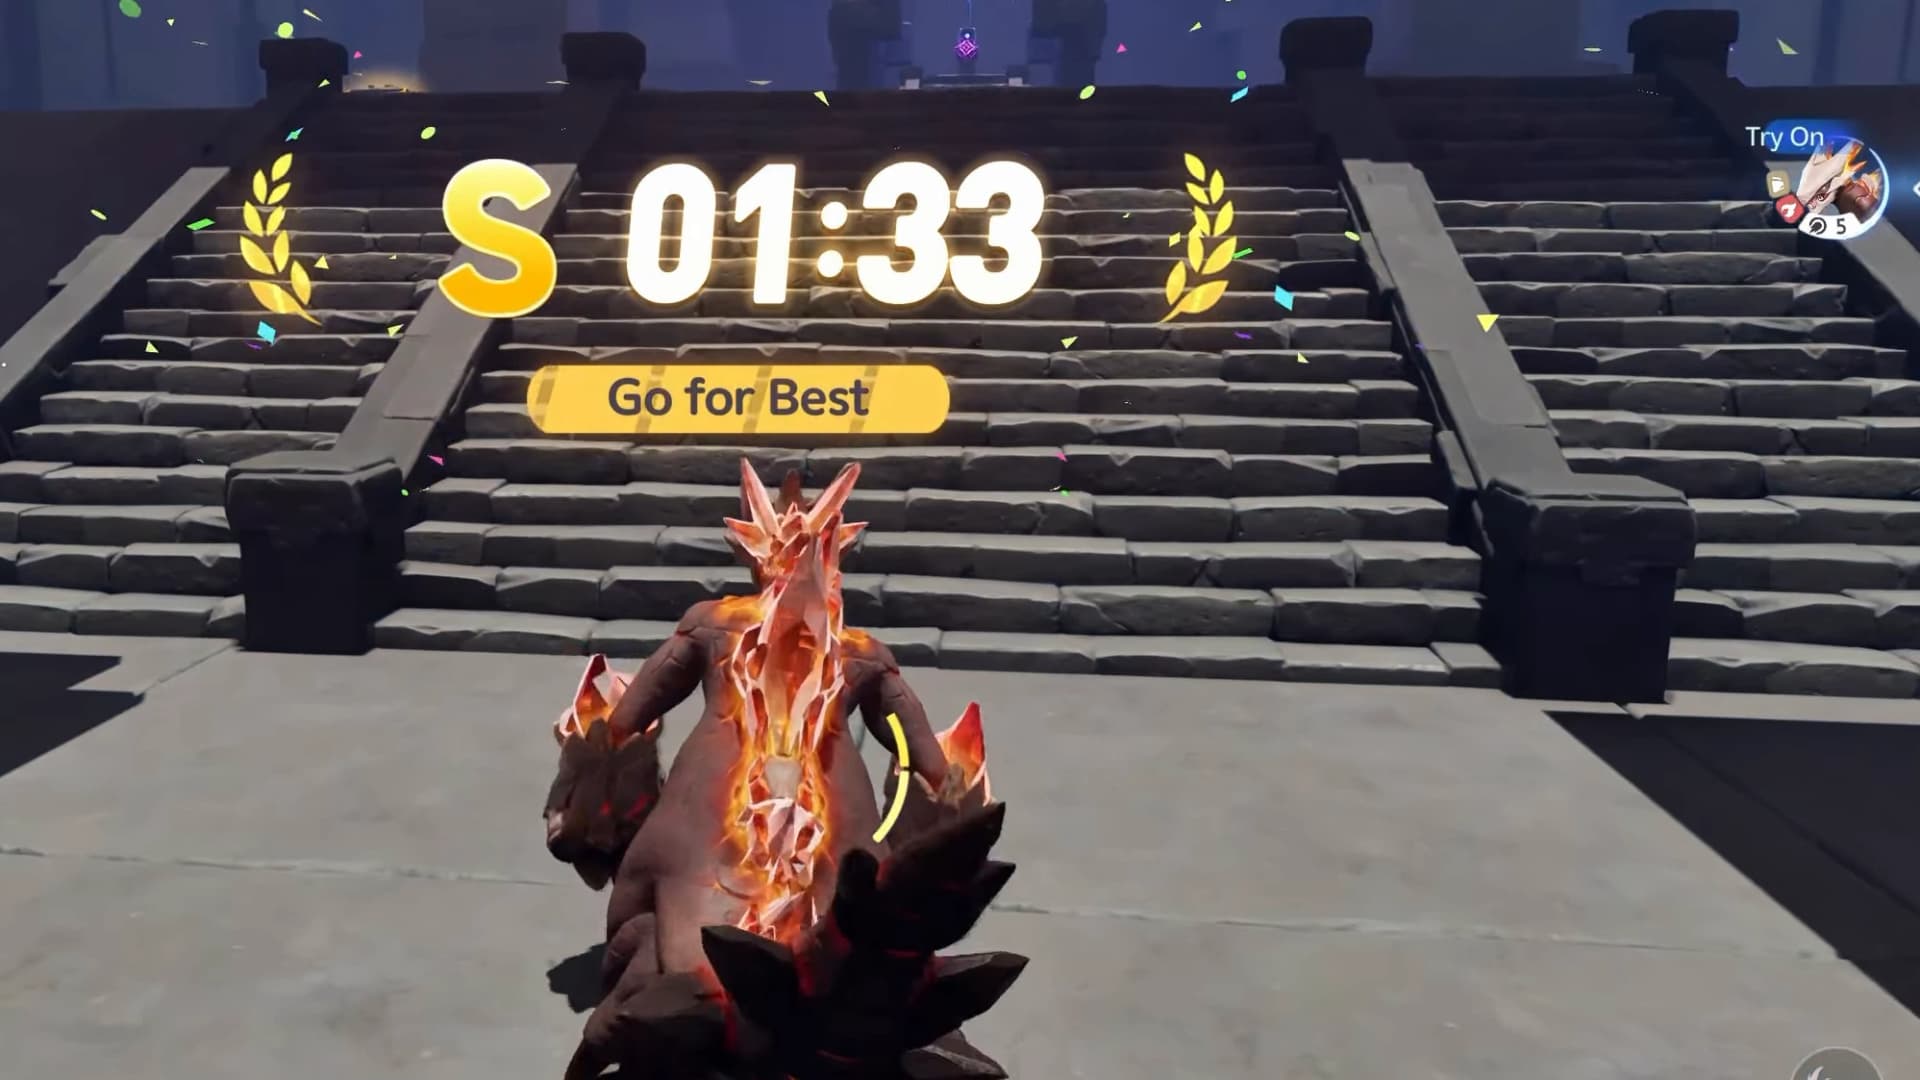
The course HUD displays a live grade that changes between A and S. A clean run finishes at S in about 1:32 to 1:33 with the chest counter still at 1/3, because the two finish-room chests come after the line. The grade does not gate the clear and it does not change the chest count.
Three-chest checklist
The Basic chest is the untimed one, inside the seamed rock face east of the statue, and the counter stays at 1/3 for the whole course. The other two sit in facing alcoves on the north and south sides of the finish approach, and their barriers close on the clock rather than on your arrival, so whichever alcoves are open when you cross stay open while you loot. Take them in either order.
| Chest | Tier | Contents |
|---|---|---|
| Chest 1 | Basic | Glimmer x5, Credits x5000, Sparkling Crystal x5 |
| Chest 2 | Premium | Glimmer x20, Credits x20000, Sparkling Crystal x15, one Epic held item |
| Chest 3 | Standard | Glimmer x10, Credits x10000, Sparkling Crystal x10, one Rare held item |
| First clear | Reward | Lumin Amber: Breezy Plains, EXP x500 |
Every held item: Spirited Feather, Fission Needles, Echoing Grimoire, Ferocious Fang, Miraculous Fleece, Lightning Needle, Gargantuan Horn, Marching Flask, Capacitous Battery, Heartseeker Pendant, Avenging Gear, Heritage Amulet, Explosive Gloves, Giant Tortoise Shell, Auspicious Bell.
Checkpoints and hazards
Shattering Stone is the most heavily checkpointed room in the family. Sixteen interior respawn points sit along the route on top of the entrance pad, and seven of them stand beside save pillars you touch by hand while the rest arm automatically as you cross them. That generosity is deliberate: nine instant-death pits line the course, and every one of them is a fall rather than a hazard you can tank.
- Sixteen interior respawn points, one entrance pad. Crossing a checkpoint line or touching a save pillar moves your respawn forward, so a fall costs a leg rather than the run.
- Nine instant-death pits. The drops sit beside the entry fountain, the west bridge run, both sides of the south descent, the lava sphere vault, the explosive corridor and the sky gauntlet.
- Two timed seals. The Premium chest barrier closes at 95 seconds and the Standard chest barrier at 125 seconds. Nothing else in the room is on a clock.
- Reset Gameplay is a full restart. It reopens both barriers and rebuilds every obstacle, so it is the way to retry a split you missed.
- A death does not stop the clock. Respawning puts you back on the course with the timer still running, so a bad leg is worth restarting outright if you are chasing the 95-second split.
Retry and recovery tips
- The challenge HUD offers a Reset Gameplay control. Treat it as a restart of the attempt and check the chest counter afterwards before you commit to the course again.
- If a Hot Fountain interrupts Hustle, wait for the landing and tap Fast and Furious again. Holding the stick forward without reactivating the ability will not break the next wall.
- If an explosive ball knocks you sideways, recover into the nearest visible opening before accelerating. A short correction costs less time than clipping a second hazard.
- If stamina is low, aim at the next Lava Crystal or Lava Sphere instead of weaving toward an explosive object. The tutorial explicitly assigns stamina recovery only to the smashable lava objects.
- If the course grade falls from S to A, keep running. The grade can climb back, and neither letter replaces the separate chest counter.
Complete the Sanctum and continue
With the HUD at 3/3, untwine if needed, climb the central steps, and touch the purple Sanctum Terminus/Tesseract. That device restores the Vein and completes the Sanctum; it is the final device, not the Vein itself. Collecting the chests alone does not clear the room.
For the next room, return to the complete Sanctum directory, compare mechanics in the Puzzle Tutorials hub, or refresh the trial controls in the Twining guide.
To revisit the entrance directly, open the exact Shattering Stone atlas pin.
Frequently asked
Is S rank required to clear Shattering Stone?
No. S is possible at about 1:32 to 1:33, but no grade gates the clear. The deadlines that matter are the two barriers: 95 seconds seals the Premium chest and 125 seconds seals the Standard chest, and an S-paced run comes in under both.
Which trial Aniimo and ability does Shattering Stone use?
Shattering Stone supplies Magmarex. Fast and Furious enters Hustle, letting it smash Lava Crystals and Lava Spheres while those successful smashes restore some stamina.
Where are the three Shattering Stone chests?
The Basic chest is inside the seamed rock face east of the trial statue, before the timed course. The other two are in facing alcoves past the finish line, Premium on the north side and Standard on the south. Confirm 3/3 before touching the Sanctum Terminus/Tesseract.
What is the Shattering Stone first-clear reward?
The first clear pays Lumin Amber: Breezy Plains ×1 plus 500 EXP, lights a Leyline Tree node and counts toward the Sanctum Delver badges at 3, 5, 10 and 15 clears. Repeat clears pay nothing.