


What counts as a shiny in Aniimo
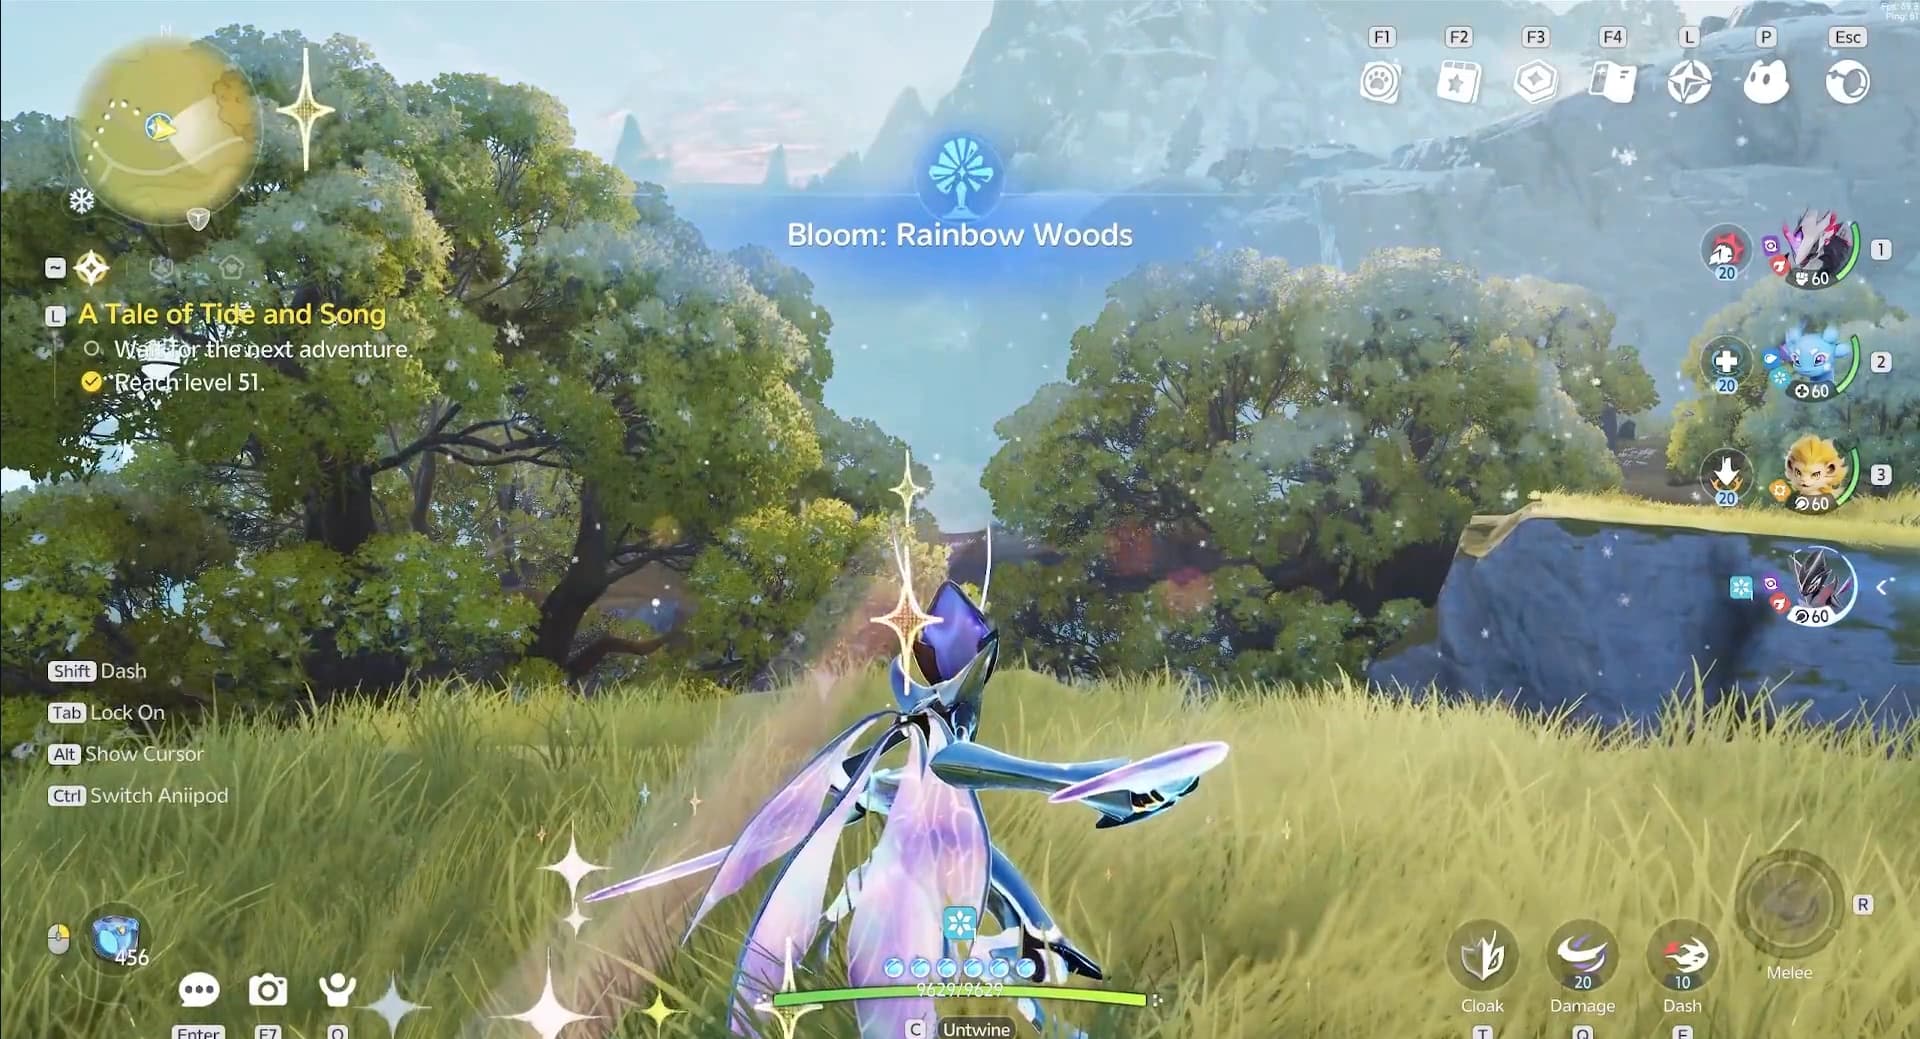
Aniimo tracks rarity on several separate axes, and only two of them are what players call a shiny. Sparkling is a mutation the client rolls on top of whatever form an Aniimo already has, so a Sparkling copy keeps its species, its region or weather form, its elements and its skill kit and simply glitters. Umbral is different: it is a Vein-energy appearance, it always carries Perfect Innate Potential, and it disappears the moment that Aniimo evolves or changes form. Everything else the community calls rare, including Prismana, Alpha and Dazzling, is a different axis, and the rare variants glossary separates all of them. Prismana is the one of those axes with a free route that needs no roll at all: the Prismana Promise pick hands you one Prismana Aniimo out of 14 once your title reaches Wayfarer I.
Sparkling itself comes in 12 styles. Ten of them are the ordinary ones, named Sparkling Type I through Sparkling Type X, and the client marks only two as rare: Dazzling Sparkling, a bright-toned effect, and Shadow Sparkling, a dark-toned one. Your Aniilog groups the ten common types into a single Sparkling entry, which is why the collection screen shows four variant slots per form while the style table holds twelve.
Every route, ranked by reliability
Seven routes produce a Sparkling or Umbral Aniimo and six of them are guarantees rather than odds. Reliability is the only sane way to rank them, because a guarantee you can afford beats a rate you cannot influence. Read down until you reach a row whose cost you can actually pay this week.
- 1Guaranteed
Throw a Sparkling Cube
- What it gives
- A guaranteed catch that is Sparkling with Perfect Potential. Thrown at an Aniimo that is already Perfect it also raises the chance its Innate Potential for recommended attributes passes 8.
- Cost and cap
- 1,000 Sparkling Crystals per Cube at an outpost vendor, or claim one from Elite Training, the Season Hub Stamp Shop, the Companion Handbook Advanced Edition or the shop. No cap, only your Crystal income.
Sparkling and Perfect in one throw
- 2Guaranteed
Hatch with a Sparkling Cube
- What it gives
- An Aniimo hatched using a Sparkling Cube is guaranteed Perfect Potential and Sparkling. The egg still decides which species you get.
- Cost and cap
- The same 1,000 Crystals. Aim it at an egg whose species you actually want, because the Cube cannot change the hatch pool.
- 3Guaranteed
Use a Sparkling Sigil on an Aniimo you own
- What it gives
- Turns a copy you already trained into a Sparkling Aniimo. No catch, no reroll of anything else.
- Cost and cap
- One Sigil per Sparkling Aniimo reported at the outpost, which is its only source. Sigils also exchange at the Outpost Vendor for Sparkling Pigment.
- 4Guaranteed
Hatch a named Sparkling egg
- What it gives
- Departure Sparkling Egg and Sparkling Egg both guarantee the Sparkling mutation on hatch with no Cube spent.
- Cost and cap
- The Departure egg is the Institute gift every Pathfinder starts with, so it is one copy. Track the rest through the Egg and Incubation Almanac.
- 5Guaranteed
Dig an Umbral egg in Operation: Egg Heist
- What it gives
- Umbral Aniimo Egg and its Large and Fragrant versions each guarantee an Umbral Aniimo with Perfect Potential. Shadow Sparkling Egg guarantees a Prismana Form Aniimo with the Shadow Sparkling mutation.
- Cost and cap
- Field pickups and shop trades on the Lost Isles, so the cost is Egg Heist runs rather than currency. See the Egg Heist guide.
The only reliable Umbral source
- 6Guaranteed
Breed with a Sparkling Stone
- What it gives
- Ensures 100% inheritance of the named parent’s Sparkling during breeding, so one Sparkling parent becomes a line of them.
- Cost and cap
- One Stone per breed. It carries the appearance only; Innate Potential is rolled separately, so read the inheritance guide before you plan a pair.
- 7OddsLong odds
Catch one in the field
- What it gives
- The wild roll: 1 in 20,000 for Sparkling, 1 in 3,000 for Umbral, on the species that carry a rate at all.
- Cost and cap
- Free, and the only route with no ceiling. Raise it with the badge below and farm it during a Wild Surge, where the spawns arrive in bulk.
Volume is the only lever






The odds, and everything that changes them
Both rates are per-species fields, not one global number. Sparkling sits at 1 in 20,000 on 365 of the 547 Aniimo prototypes in the game and at zero on 180 more, so some species can never turn up Sparkling in the wild at all. Umbral sits at 1 in 3,000 on 334 of them and at zero on the other 213. Only one thing in the game moves either number, and it moves both by the same amount.
Sparkling
- Species base rate1 in 20,000
Nothing. This is the rolled rate wherever the species carries one.
- Gale-Chasing title1 in 13,333
Catch every basic form Aniimo species in Breezy Plains for the Windchaser Badge. The badge unlocks the Gale-Chasing title, whose Aniimo Encounter passive makes Sparkling and Umbral Aniimo appear 50% more often in Breezy Plains.
- Sparkelf, the one exception1 in 2,500
Hunt Sparkelf. Its own rate is eight times the standard one, the highest wild Sparkling rate in the game.
- Cube, Sigil or named eggGuaranteed
Pay the Crystal or Sigil cost from the ranked board above and the roll stops mattering.

Umbral
- Species base rate1 in 3,000
Nothing. Umbral spawns in the open world and in Operation: Egg Heist.
- Gale-Chasing title1 in 2,000
The same Windchaser Badge. The passive names Sparkling and Umbral together, so one completion run pays for both hunts.
- Umbral egg from Egg HeistGuaranteed
Pick up or trade for an Umbral Aniimo Egg on the Lost Isles.
Breezy Plains is the whole starting continent, not one meadow: 14 named regions from Nimbus Fields to Tideblossom Coast sit inside it, and the passive covers 16 areas at once. That makes the Windchaser Badge the single best investment a shiny hunter can make, because it is permanent, it applies everywhere you already play, and it lifts the Umbral rate to a flat 1 in 2,000.
| Modifier | What it does | What must already be true |
|---|---|---|
| Sparkling Essence | Added while Nurturing a Branch, it increases the chance of Sparkling Aniimo appearing in that Wild Surge. | You are nurturing a Branch. Buy it from the Home Shop, Holo-Battle Sim rewards or the Operation: Egg Heist Shop. |
| Branch level 9 | The Sparkling Encounter rung nurtures an Aniimo egg that spawns on Branches every Monday at 04:00. | That region’s Branch is at level 9. Level 1 already gives +10% catch chance in the region and level 6 changes the weather to draw Prismana. |
| Ecological research | Completing a research project raises the appearance rate of Sparkling Aniimo while searching for the duration of the event. The search window itself runs 10 minutes. | An active research project. This is a separate rate from the field roll and is not a permanent boost. |
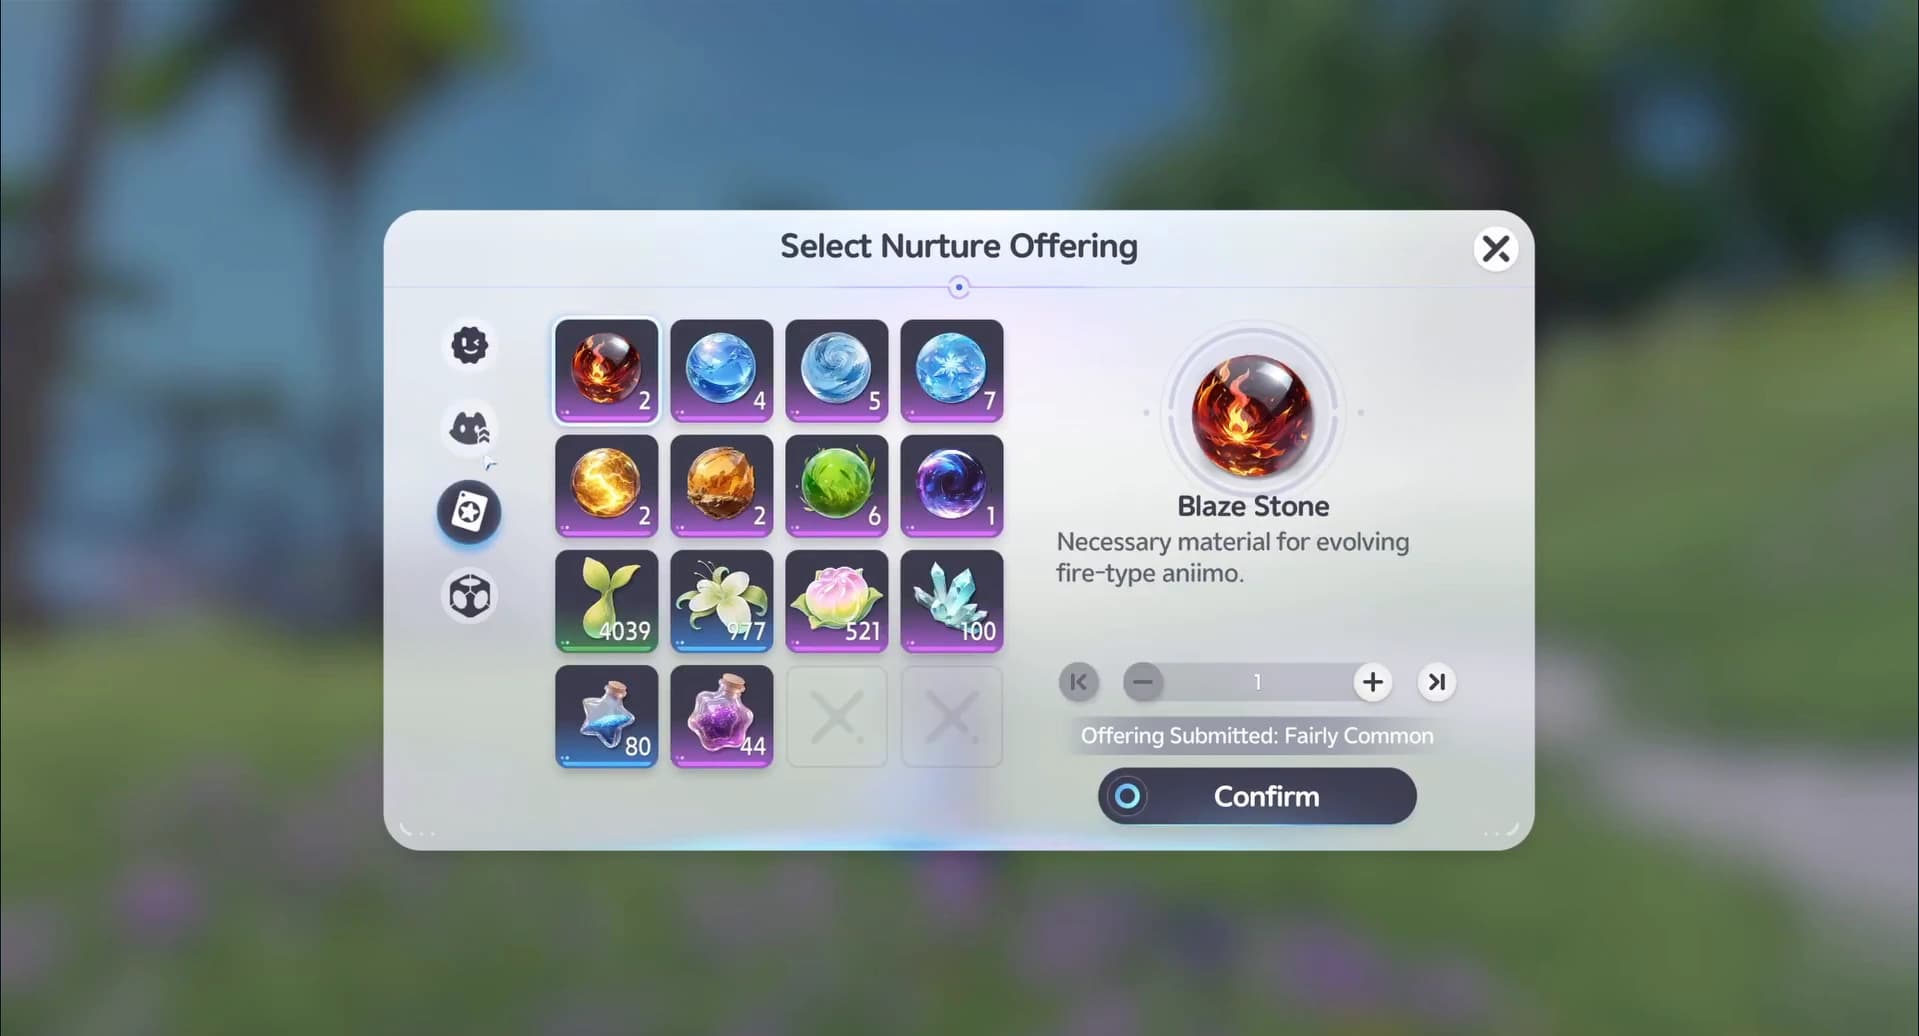
| Wild Surge volume | Nurturing a Bloom spawns Aniimo in bulk for a three-minute window, which multiplies the number of rolls rather than the rate of each one. | A Branch is activated and you have Vein Essence to nurture with. |
| Co-op Wild Surges | Joining a Wild Surge in a friend’s world grows your own world’s Prismatic Energy as well, so one session advances two hunts. | A friend running a surge. See the co-op guide for how to join one. |
| Lucky Strike | A chance proc while catching that adds Prismatic Energy to the region and can draw out a Prismana Aniimo. | Nothing. It fires on its own during ordinary catching, and it feeds Prismana rather than Sparkling. |

Securing the catch once you see one
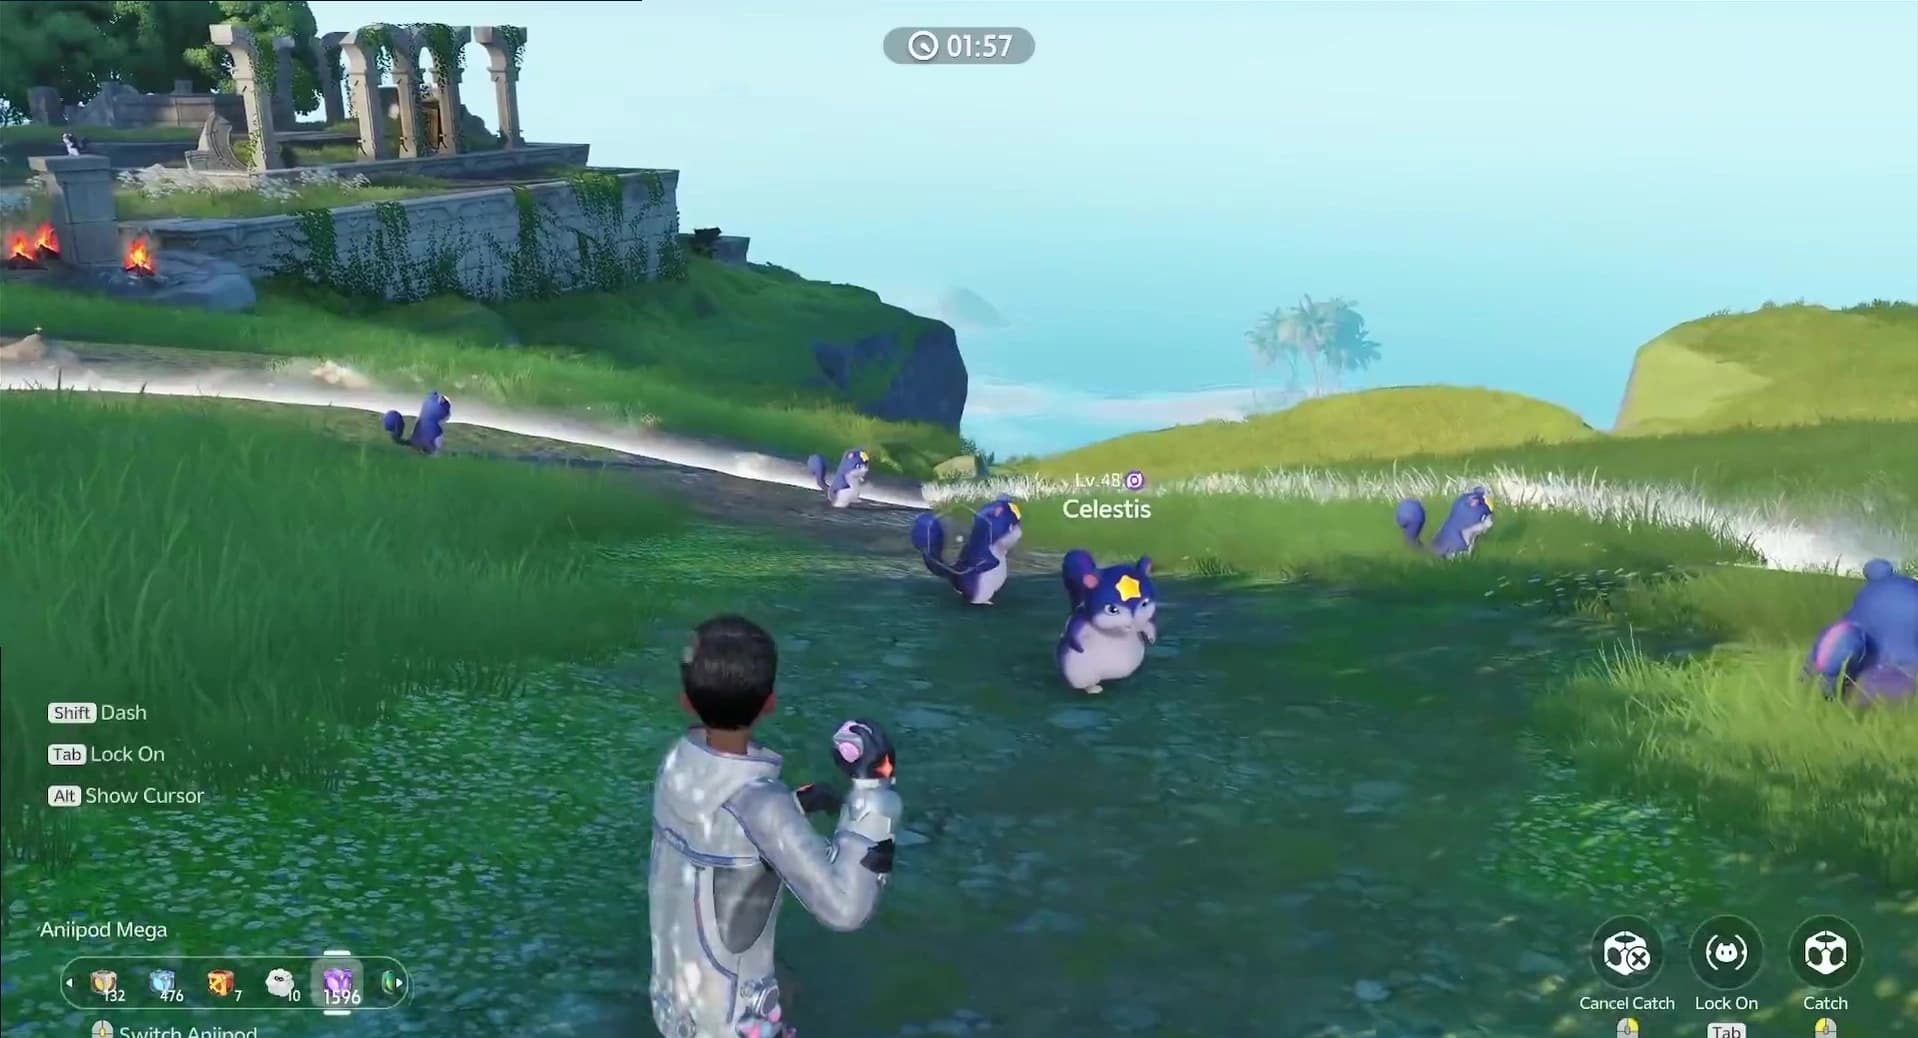
Most Sparkling copies that get away are lost to a bad first throw. Your Aniipod choice is a straight multiplier on the displayed chance, and two models remove the chance entirely. Pick the pod before you get within range, because the last one you threw stays selected.
- AniipodRare
 1x
The baseline device, no added multiplier.
Use it whenNever on a Sparkling. Keep it for filling the Aniilog.
- Aniipod ProEpic
 1.5x
1.5× capture chance.
Use it whenA Sparkling you are happy to risk, on a target already broken or asleep.
- Aniipod MegaEpic
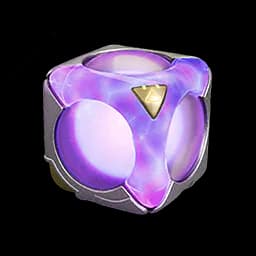 2x
2× capture chance, the plain version.
Use it whenThe best odds you can throw without spending a guarantee.
- Aniipod HyperEpic
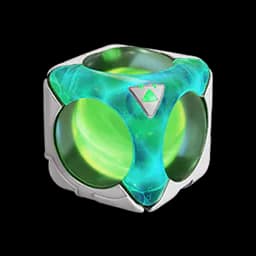 2x
2× capture chance, with faster toss speed and longer range.
Use it whenThe Sparkling is about to move out of throwing range.
- Aniipod TrackEpic
 2x
2× capture chance, and it tracks a moving target after release.
Use it whenThe Sparkling is circling or fleeing and you cannot lead the throw.
- TumblerEpic
 2x / 6x
2× normally, and 6× on Aniimo drawn together by nurturing. It rolls through a group and catches everything it passes.
Use it whenA Wild Surge. It is the largest conditional multiplier in the catalogue and it is wasted on a lone target.
- Aniipod UltraLegendary
 Guaranteed
Guarantees the catch. The caught Aniimo lands at Elite Potential or better.
Use it whenA wild Sparkling or Umbral you cannot afford to lose. This is the correct pod for a field find.
- Sparkling CubePrismatic
 Guaranteed
Guarantees the catch, Perfect Potential and the Sparkling mutation.
Use it whenA species you want turned Sparkling on purpose, or a Perfect Aniimo you want pushed past 8 on its recommended attributes.
Three statuses are worth setting up on purpose instead: Break is 1.5× and rises to 3× while the break catch bonus is live, ordinary Sleep, Stun, Eating, Woozy and Lured are all 2×, and Deep Sleep or Collecting Nectar are 100×. A confirmed back attack adds 1.5× outside combat, but only with a standard Aniipod in hand, and a Tumbler never collects it. The full multiplier chain, including the level and HP tables, lives in the catching guide.
Sparkling Crystal and Sparkling Cube economy
Every guarantee on this page is really a question about two currencies. Sparkling Crystal is the crafting material behind the Cube, and Sparkling Sigil is the reward for reporting a Sparkling you already caught. Both are one-way: once converted you do not get them back.
You spend
You receive
- Rate
- 1,000 Crystals for 1 Cube.
- Where
- An outpost vendor. This is the only conversion in the game that manufactures a guaranteed Sparkling.
You spend
You receive
- Rate
- Set by the Outpost Vendor.
- Where
- The Outpost Vendor. Pigment only works on a Sparkling Prismana Aniimo and rerolls its style.
You spend
You receive
- Sparkling Aniimo
- Rate
- 1 Sigil for 1 Aniimo.
- Where
- Used directly from your bag on any Aniimo you own.
| Currency | Sources | What it buys |
|---|---|---|
| Sparkling Crystal | Elite Training quests, Catch Completion progress, the Companion Handbook Standard Edition, Holo-Battle Sim, Holo-Battle Interlink, quest completion, Sanctum clears, chests, and a Glimmer purchase. | Sparkling Cubes at 1,000 each. Nine separate income streams means the Cube is a patience problem rather than a paywall. |
| Sparkling Sigil | Reporting a Sparkling-mutation Aniimo at the outpost. That is the only source. | A Sparkling mutation on any Aniimo you own, or Sparkling Pigment. |

The daily and weekly hunting routine
Shiny hunting rewards volume, and two fixed clocks decide how much volume a day holds. Both turn over at 04:00. Clear the clocks at the start of a session and spend the rest of it on surges.
- 1Clear the 04:00 vendor and shop pass
Check the outpost vendor for Sparkling Cube stock and your Crystal total. Daily stock resets at 04:00, and the reset timers tool tracks it.
- 2Nurture a Branch and open a Wild Surge
Spend Vein Essence at a Bloom to trigger a three-minute surge. Add Sparkling Essence when you have it, because it raises the Sparkling chance for that surge specifically.
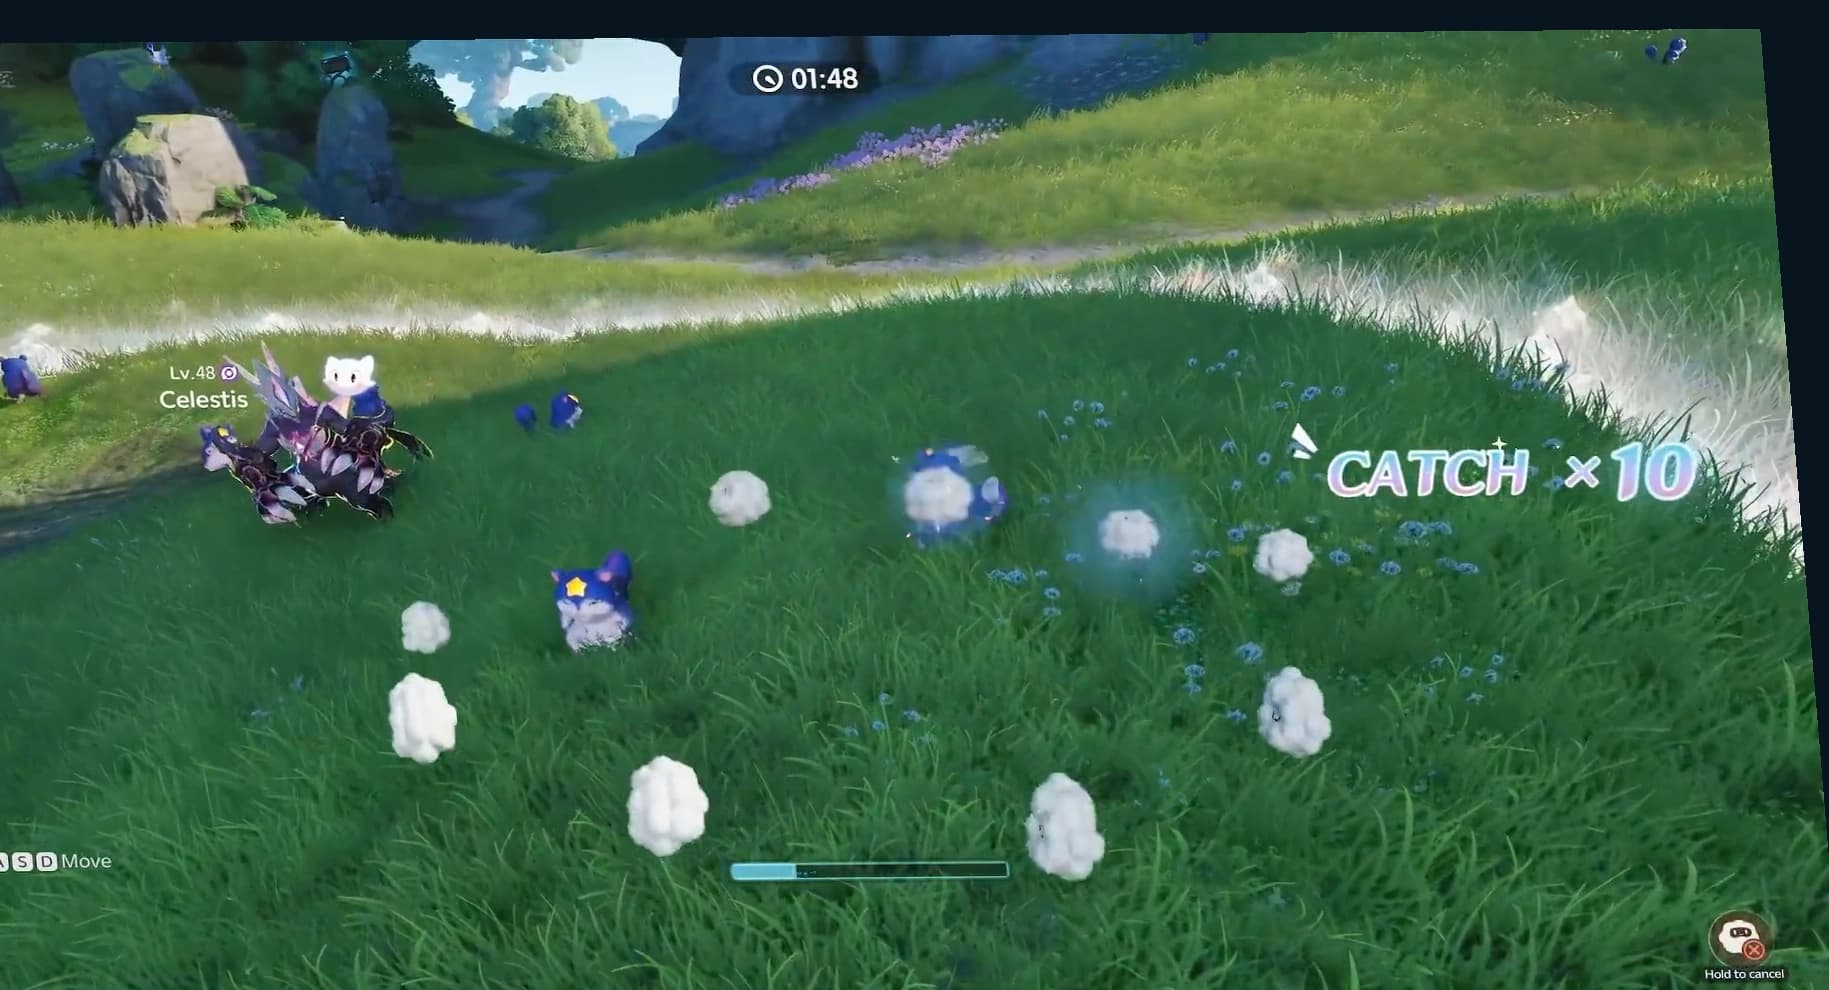
- 3Clear the surge with a Tumbler
Roll a Tumbler through the group for its 6× rate. Every catch also feeds the region’s Prismatic Energy, so the surge advances your Prismana hunt at the same time.
- 4Report everything at the outpost
Report the haul. Sparkling copies pay a Sigil and the largest report weight in the game, and reporting is what advances Catch Completion for Crystals.
- 5Run a friend’s surge before you log off
Joining a Wild Surge in a friend’s world raises your own world’s Prismatic Energy too, which is the cheapest progress available on a day you are out of Essence.
The weekly layer is shorter. Every Monday at 04:00, a Branch at level 9 spawns an Aniimo egg through its Sparkling Encounter rung, so a Monday circuit of your levelled Branches is free egg income. Push one region’s Branch to level 9 before spreading investment: level 1 already gives +10% catch chance there, level 3 raises the daily Nurture Ecosystem cap by 10, and level 6 changes the weather to draw Prismana.
Where to hunt
Wild Surges only happen at Blooms on an activated Branch, so those pins are the hunting grounds. Open every Nurture Bloom on the atlas to plan a circuit. The Nimbus Fields Bloom sits at 1190, 1912 on the AniimoVerse atlas, which makes it the usual first stop, and the Mistwoods Bloom at 1450, 1396 is the second because the two are close enough to run back to back.
| Bloom | Atlas coordinate | Why start here |
|---|---|---|
| Nimbus Fields Bloom | 1190, 1912 | Grassland spawns, open sightlines for a Tumbler roll, and the region most new Pathfinders have already unlocked. |
| Mistwoods Bloom | 1450, 1396 | Close enough to Nimbus Fields to pair in one session, with a different species pool to roll against. |
For a species hunt rather than a volume hunt, start from the exact form. The spawn locations guide gives the region, time of day and weather each form needs, and Sparkelf is the one species worth targeting purely for its rate. Umbral hunting splits differently: the wild roll applies everywhere, but the only route you can plan around is an Umbral egg from Operation: Egg Heist on the Lost Isles.
Mistakes that waste a shiny
A wild Sparkling, and an ordinary Aniipod is selected
The base pod adds no multiplier, so you are throwing at the raw area chance.
Switch to Aniipod Ultra before the first throw. It guarantees the catch and floors the Potential at Elite.
A missed throw can push the target into Leaving, which sets the chance to zero.
You just caught something with a Sparkling Cube still selected
The last pod thrown stays selected, and the Cube costs 1,000 Crystals.
Switch off the Cube the instant the catch resolves, every single time. Make it a reflex rather than a check.
The same trap applies to Aniipod Ultra and to the Tumbler.
An Umbral Aniimo, and the evolution prompt is open
Evolving or changing form dissipates the Vein energy and the Umbral appearance vanishes for good.
Cancel. Keep the Umbral copy unevolved for the collection and raise a separate copy for combat.
A form change does the same thing, so switching to Prismana Form also removes it.
You are saving a Tumbler for a rare field target
A Tumbler is 2× on a lone target, the same as an Aniipod Mega, and only reaches 6× on Aniimo drawn together by nurturing.
Throw an Aniipod Mega at the lone target and keep the Tumbler for the next Wild Surge.
A Tumbler also never collects the 1.5× back attack bonus.
You hunted an Alpha expecting to catch it alive
A common Alpha cannot be caught while it is standing: its chance is 0% alive and 6% once defeated. A common Omega can never be caught.
Defeat the Alpha first, then throw. The world bosses guide covers which ones are which.
You caught a Sparkling and went straight back out
Reporting is the only source of a Sparkling Sigil and the only thing that advances Catch Completion.
Report at the outpost first. One Sigil is one guaranteed Sparkling later, and the Sparkling report weight is the largest in the game.
One more that costs nothing to avoid: a Cube thrown at an egg cannot change which species hatches. Check the egg in the Egg and Incubation Almanac first, because a guaranteed Perfect Sparkling of a species you did not want is still 1,000 Crystals spent.
Frequently asked
What are the odds of a shiny Aniimo?
A wild Sparkling is 1 in 20,000 and a wild Umbral is 1 in 3,000, on the species that carry a rate at all. The Gale-Chasing title from the Windchaser Badge raises both by 50% across Breezy Plains, which is 1 in 13,333 for Sparkling and a flat 1 in 2,000 for Umbral. Sparkelf is the exception at 1 in 2,500.
What is the fastest guaranteed way to get a Sparkling Aniimo?
A Sparkling Cube, which guarantees the catch, Perfect Potential and the Sparkling mutation in one throw. It costs 1,000 Sparkling Crystals at an outpost vendor, and Crystals come from Elite Training, Catch Completion, the Companion Handbook, Holo-Battle Sim, quests, Sanctum clears and chests.
Does an Aniipod Ultra guarantee a Sparkling?
No. An Aniipod Ultra guarantees the catch and puts the Potential at Elite or better, and it has no effect on appearance. Only the Sparkling Cube forces the Sparkling mutation.
How do you get an Umbral Aniimo?
Two ways. The wild roll at 1 in 3,000 in the open world and in Operation: Egg Heist, or a guaranteed Umbral Aniimo Egg from the Lost Isles, which always hatches an Umbral with Perfect Potential. Do not evolve it: evolution and form changes remove the Umbral appearance permanently.
How many Sparkling styles are there?
Twelve. Ten ordinary ones named Sparkling Type I through X, plus two the client marks as rare: Dazzling Sparkling and Shadow Sparkling. The Aniilog groups the ten common types into one Sparkling entry, so the collection screen shows four slots per form.