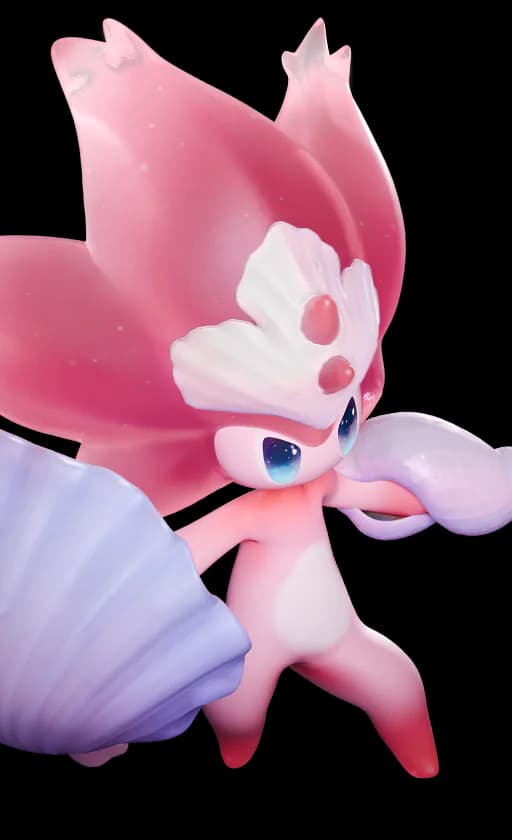
Support Water skill turns
Load in Team Planner Sherro RecoveryRecommended
Use Water casts within the field. Helmut handles BREAK and Glacy supplies healing.


Place the field where Water teammates can cast, then collect the recovery before resetting.
By AniimoVerse ·
 WaterA Tier
Start playing
Check Bathing and place Bubbles where Water teammates can cast safely.
Use useful Water skill casts inside the field, then return to detonate the generated bubbles.
Check the recovered EP and puddle condition before planning another spend.
EP is your skill resource. BREAK is the vulnerable phase after the enemy’s break bar is depleted. An ultimate is the charged special skill. Read the full rotation and entry requirements.
Start with the first priority and work down. These are practical build goals, not simulated stat weights.
Have resources for the next useful support action rather than staying on field to refill.
Survive the handoff and protect the time already spent preparing the team.
Improve damaging skills after the enabling job is consistent.
Start with the recommended four, then use the alternatives to cover survival or resource problems. These are kit-based starting teams; compare performance at your own investment. Core slots define this blueprint. Replace a flex member only if its replacement still covers the job described on the card.
Use Water casts within the field. Helmut handles BREAK and Glacy supplies healing.
Keep Gachapus in the useful area. A multi-projectile attack is not automatically several skill casts.
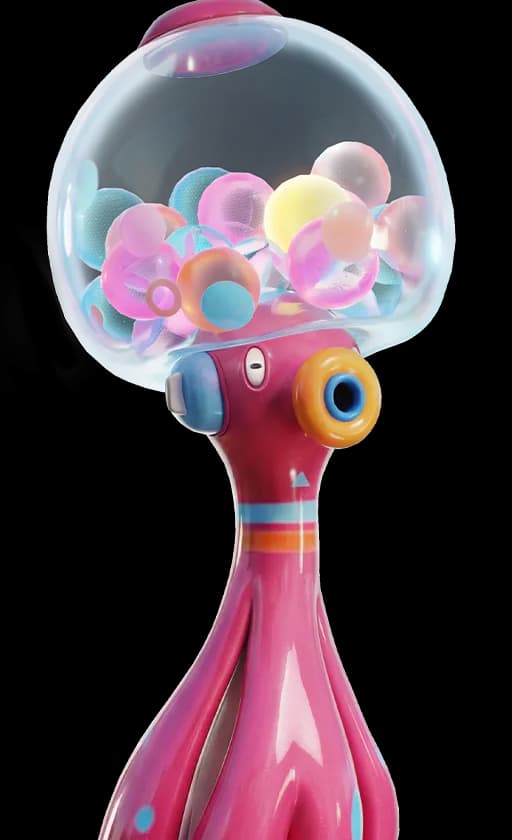 GachapusBasic
Flex
Spend Water casts purposefully; do not assume each projectile creates another field bubble.
Trade the specialist breaker for another Water attacker only when the encounter allows it.
GachapusBasicFlex
Spend Water casts purposefully; do not assume each projectile creates another field bubble.
The loadout uses the stated elemental skills. Owning another form can change which skills you can equip; check the two slots before spending upgrade materials.

Use the numbered slots together. Slot 2 choice: keep the recommended skill for the main plan or replace it with the listed alternative for the stated job. Each loadout labels its equipped skills. An optional swap, where shown, replaces slot 2.
Bubbles is the recovery field. Bubble Blast supplies a short offensive action; its small bubble is not automatically the same object as a Bathing puddle.
 Crazy BubblesUltimate
 ATKBasic attack
 BubblesSkill slot 1
 Bubble BlastSkill slot 2
 Here Comes the BubbleSlot 2 swap
Slot 2 choice: Replace Bubble Blast with Here Comes the Bubble when movement control is useful.
Choose from these item options after checking their current level effects. Reliable turns and survival matter before an extra offensive upgrade.
 Spirited FeatherRecovery optionREGEN +10%. Equipped Aniimo gain 0.7 additional REGEN per levelUse recovery when the next useful skill is delayed by EP.
 Giant Tortoise ShellSurvival optionHP +10%. Equipped Aniimo gain 0.7 additional P.DEF and M.DEF per levelUse HP and defense to survive the setup turn.
 Ferocious FangOffensive optionDamage Amp +10%. Equipped Aniimo gain 0.7 additional ATK per levelAdd ATK after the support action and resource cycle are reliable.
The shopping list covers the full Resonance ladder. Fund the next unlocked stage first; form unlocks and Core Skill upgrades are separate.
View stage-by-stage costsFollow the visible resource and target cues. Reposition or switch when the opening closes instead of finishing a sequence into danger.
Prepare the puddle condition and place Bubbles near the next Water turn.
Switch to the Water teammate and cast inside the field. Do not waste EP just to fill the counter.
Return to Erlath and use the skill again to detonate the generated bubbles before the field expires. Check the recovered amount rather than assuming the maximum.
Use the charged ultimate when its bubbles and Water support help the team. Heal through Glacy when HP, rather than EP, is the problem.
Use these encounter rules to preserve the rotation instead of forcing the same sequence into every target.
Check field position, number of Water skill casts, field expiry and whether a puddle was absorbed.
EP recovery does not replace a dedicated answer to incoming HP damage.
Reposition the field after a phase change. A stationary resource plan loses value when the fight leaves it behind.