


Location and party requirements
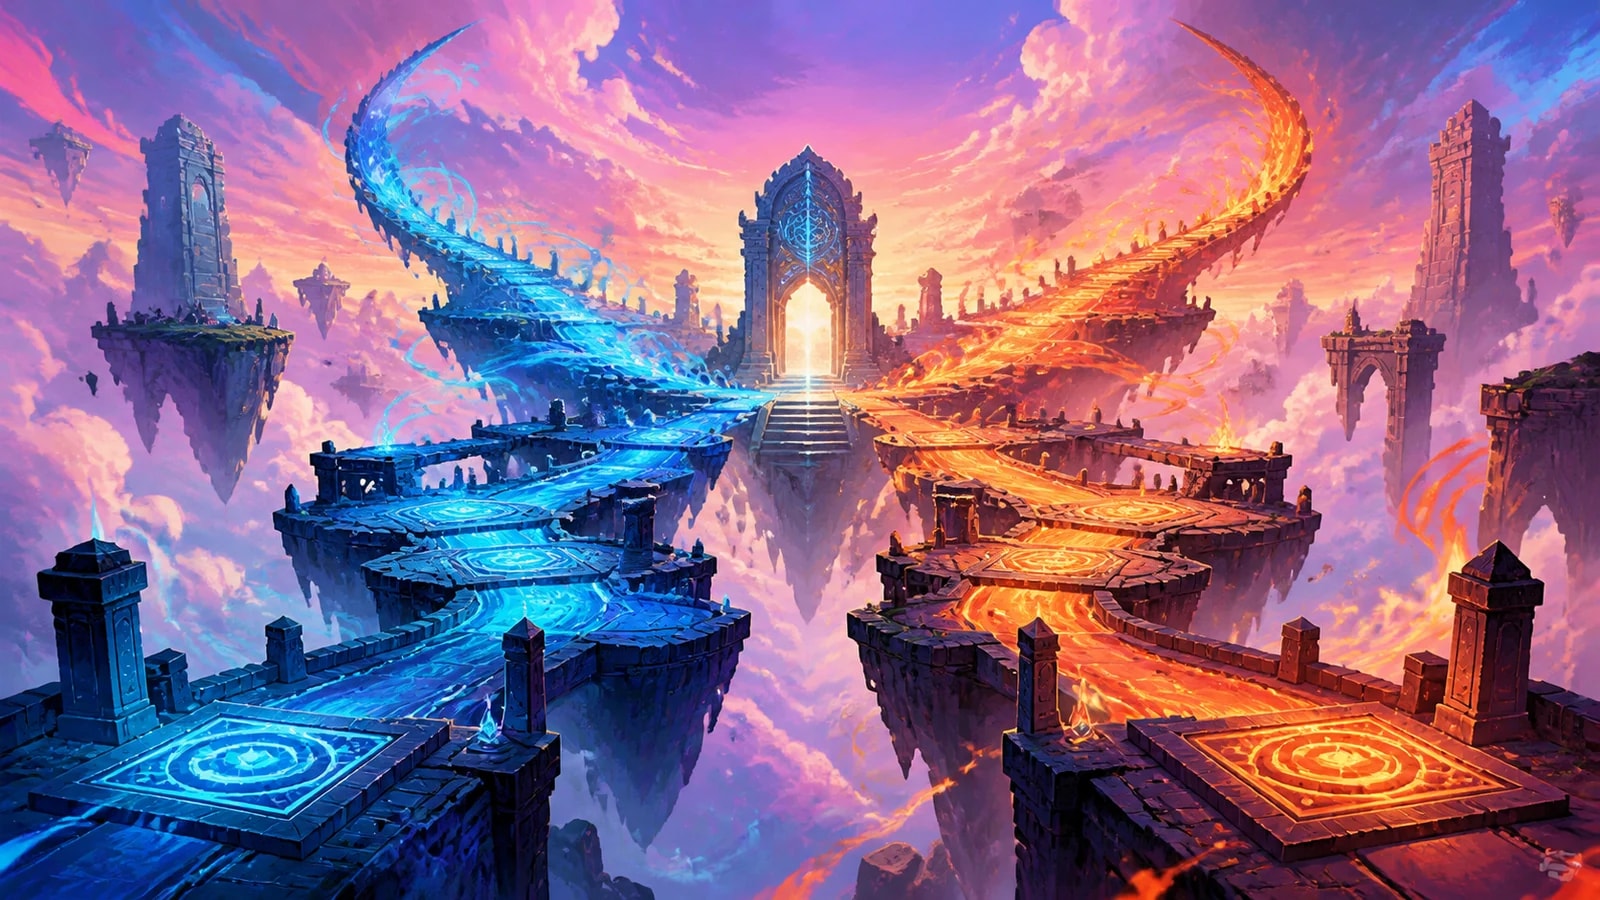
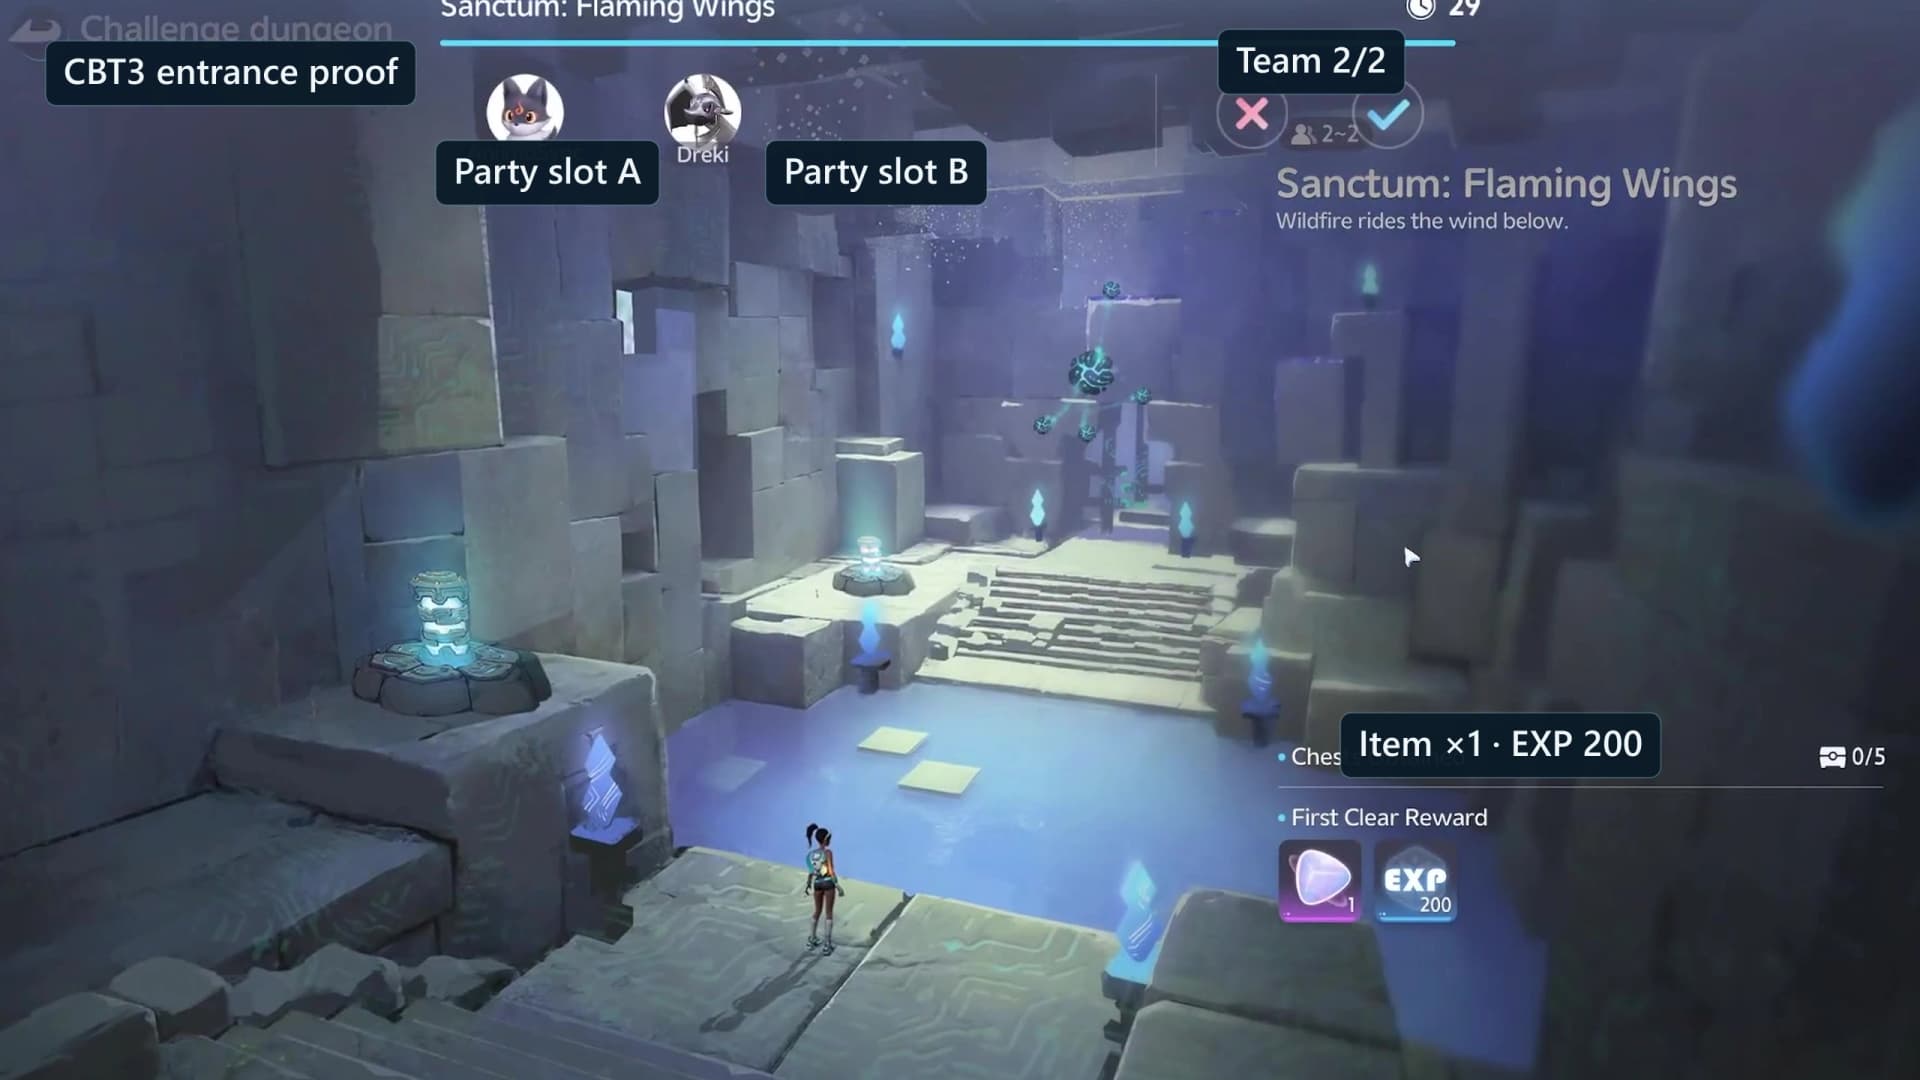
Open the exact Blazing Wings atlas pin in Sea of Flowers. The marker sits at 2521, 1524 on the AniimoVerse atlas. The entrance requires two players and tracks five optional chests with one shared counter.
| Check | Value |
|---|---|
| Area | Sea of Flowers |
| Atlas coordinate | 2521, 1524 |
| Party | 2 players · entrance card shows Team 2/2 when ready |
| Optional chests | 5 · shared counter |
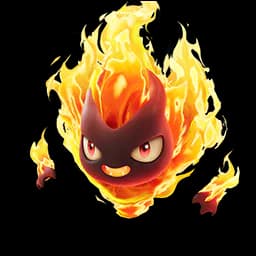
| Sealed trial Aniimo | Gracewing and Sparki |
| First clear | Lumin Amber: Breezy Plains ×1 and 500 EXP |
| Checkpoints | 8 interior save points · 2 paired gates |
Assign stable Player A and Player B roles
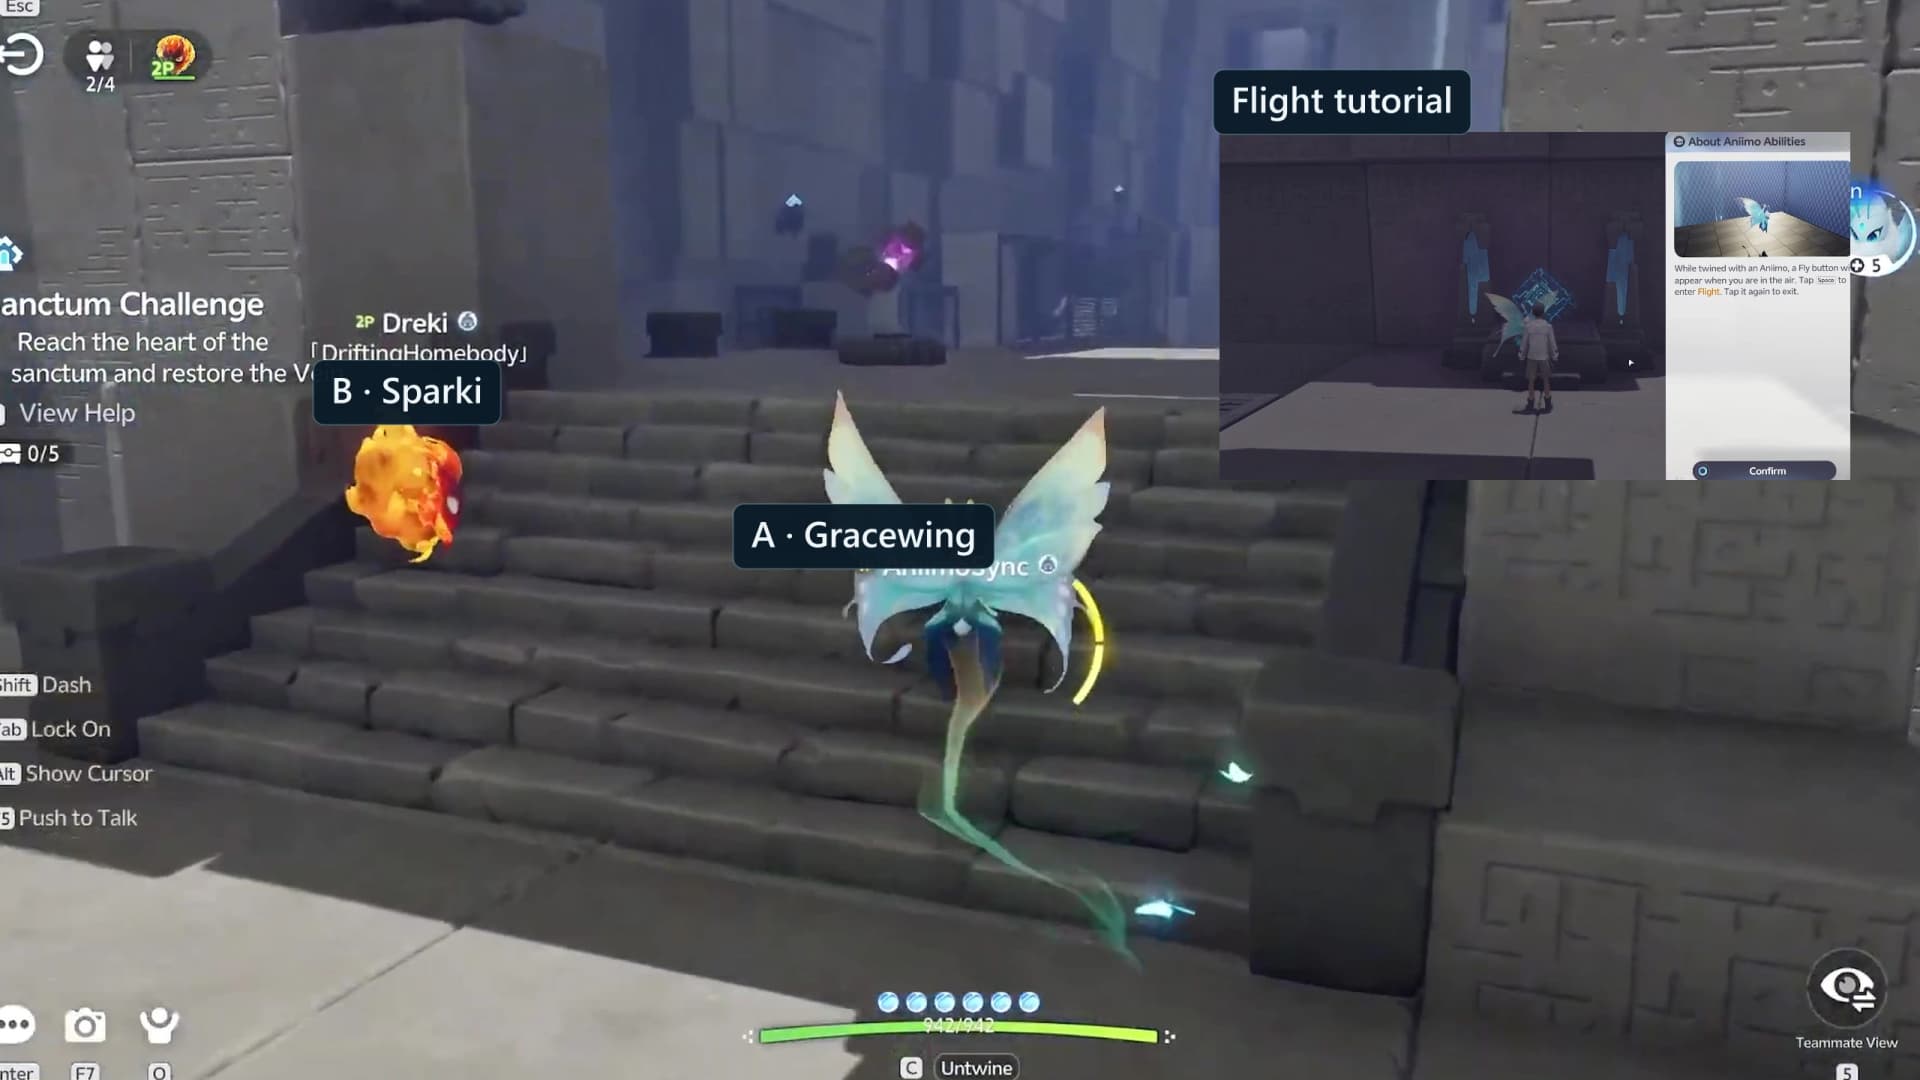
The game does not assign blue Player A or orange Player B labels. They are this guide’s shorthand. Either human may choose either sealed trial, but once the statues are claimed, call the Gracewing player A and the Sparki player B for the rest of the run. The in-room help panel says each player can Twine with one trial Aniimo and can interact with the statue again to seal it back inside.
| Guide label | Trial and control | Primary jobs | Suggested chests |
|---|---|---|---|
| Player A · blue | Gracewing · Flight / official Pathfinding Fly Lv.2 | Hold the circular pads, follow by Flight, ride the updrafts, take the chest detours | All five in this route |
| Player B · orange | Sparki · aimed Fire Orb | Burn thorn barriers and fan covers, cross A’s cyan bridges, aim the swivel fans on A’s calls | None in this route |
Route, step by step
The run is one long descent down the west wall, a turn east through the stepping-bridge lanes, a climb back north and then the arena. Three circular pads each extend one cyan bridge on the way down and a fourth pad extends the last run into the Terminus, so plan on four relays, not two. Two separate stelae open two large mechanism doors, and both need one player on each side.
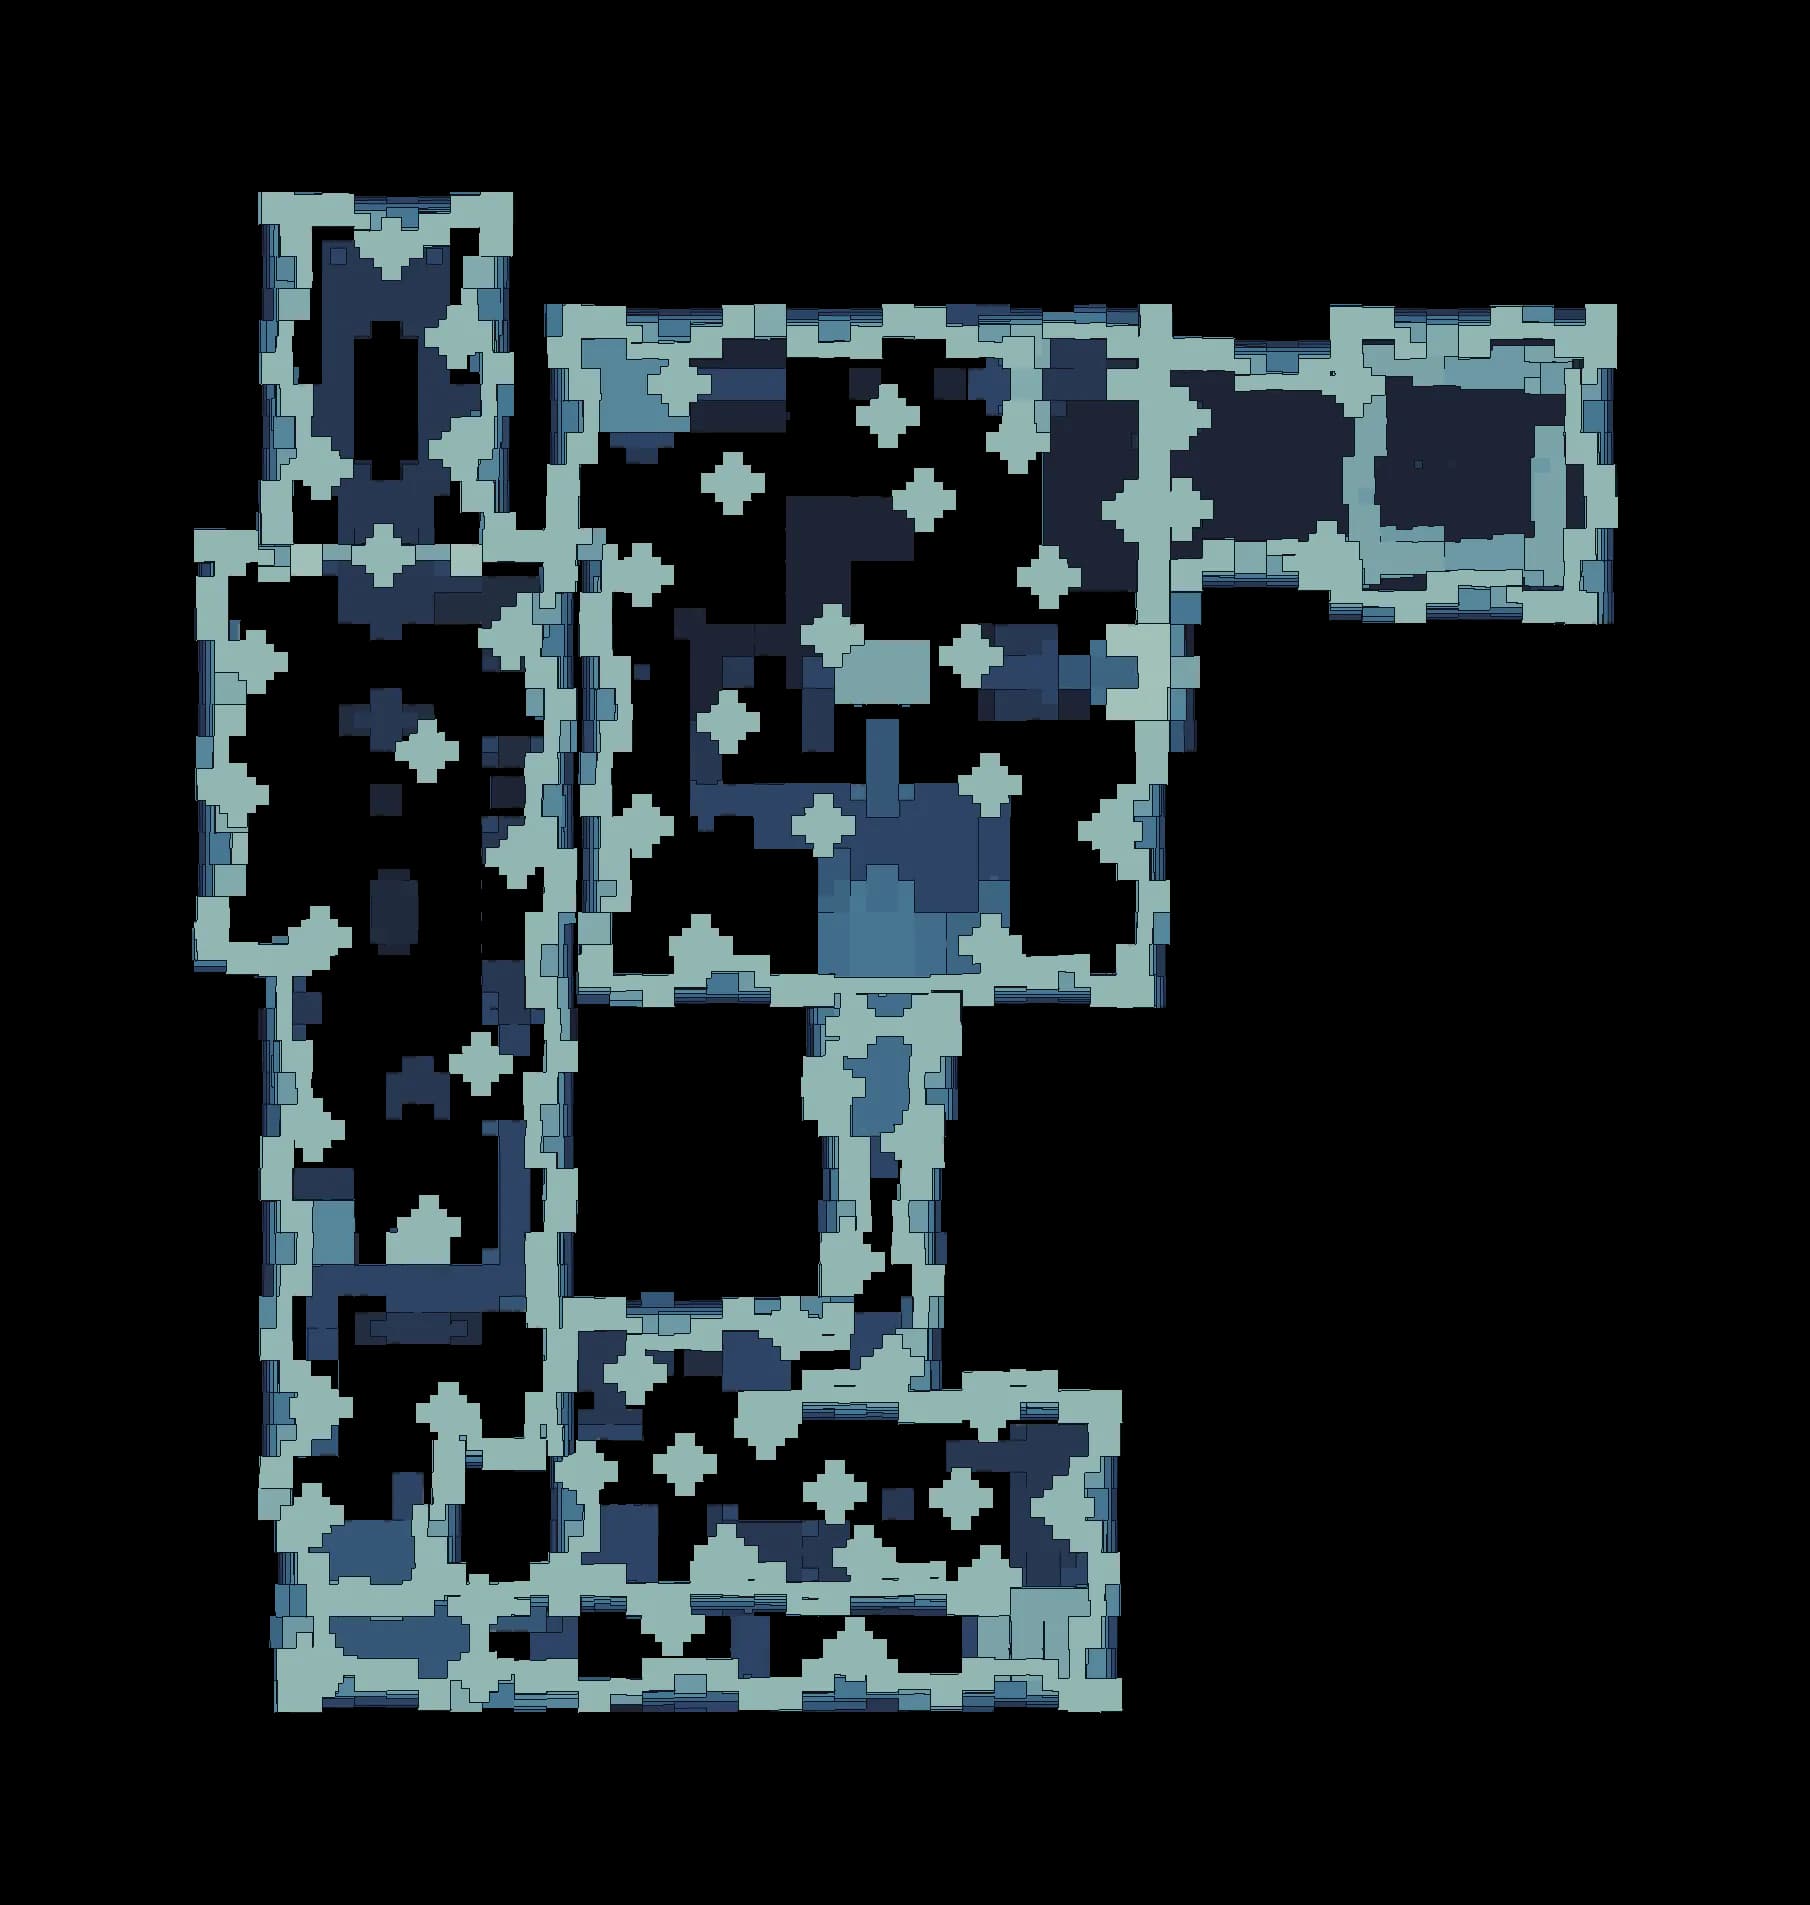 TTXCCC13254ACCACCCCCC
- Entrance
- Checkpoint
- Trial statue
- Terminus
- Chest
- Control
- Mechanism
- Element device
- Hazard
- 1Land on the two pads and claim the sealed trialsRoom 1
Both players arrive on their own pad at the north end of the entrance shelf, and the About Gameplay card fires as you walk south toward the pair of statues. Player A (Gracewing) takes the western statue for Flight and Player B (Sparki) takes the eastern statue for Fire Orb. Either human may take either statue, but keep the labels fixed for the rest of the run.
- 2Burn the opening thorn barrier and light the first save pointRoom 1
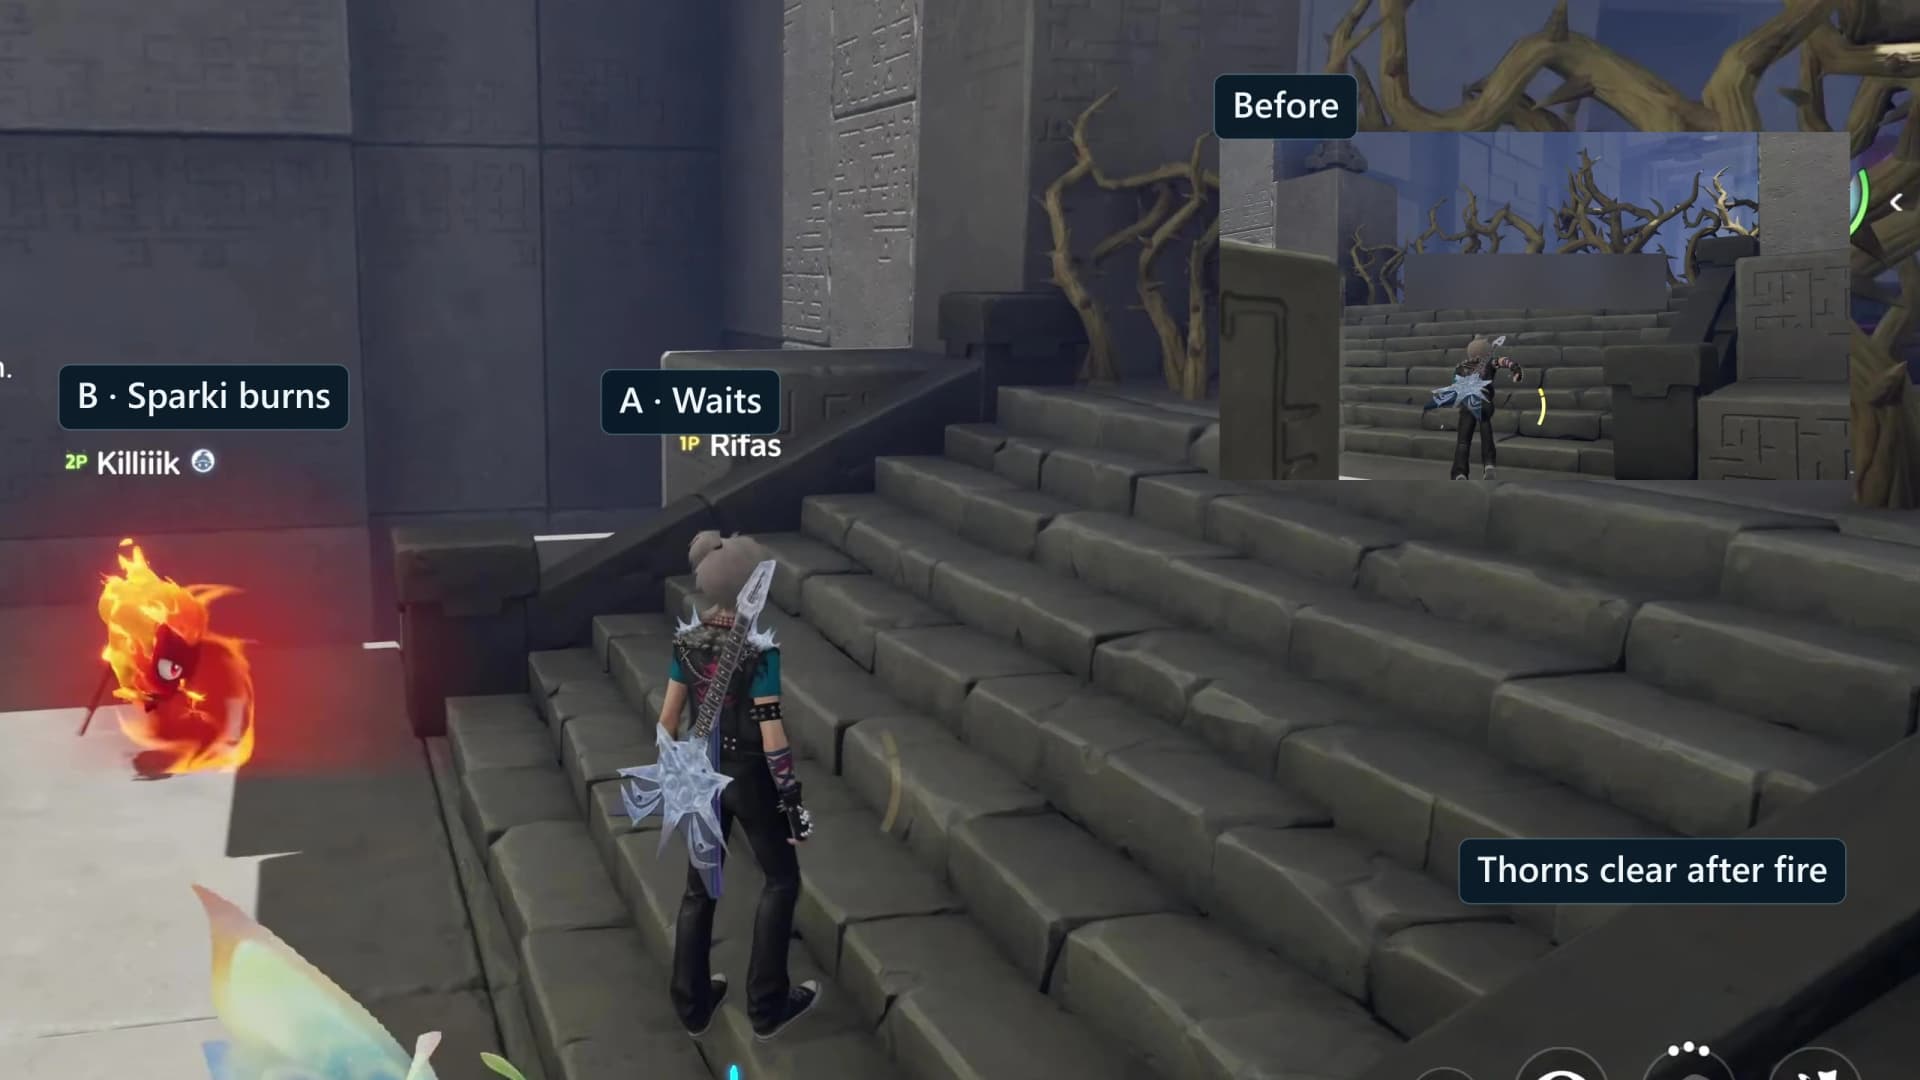
A line of five ground thorns blocks the walk south from the statues. Player B (Sparki) backs off to a clear angle and burns all five with Fire Orb, then both players cross and step onto the first save point. Nothing here is timed, so take the checkpoint before anyone goes near the drop.
- 3Relay the first cyan bridge and springboard to the next checkpointRoom 2
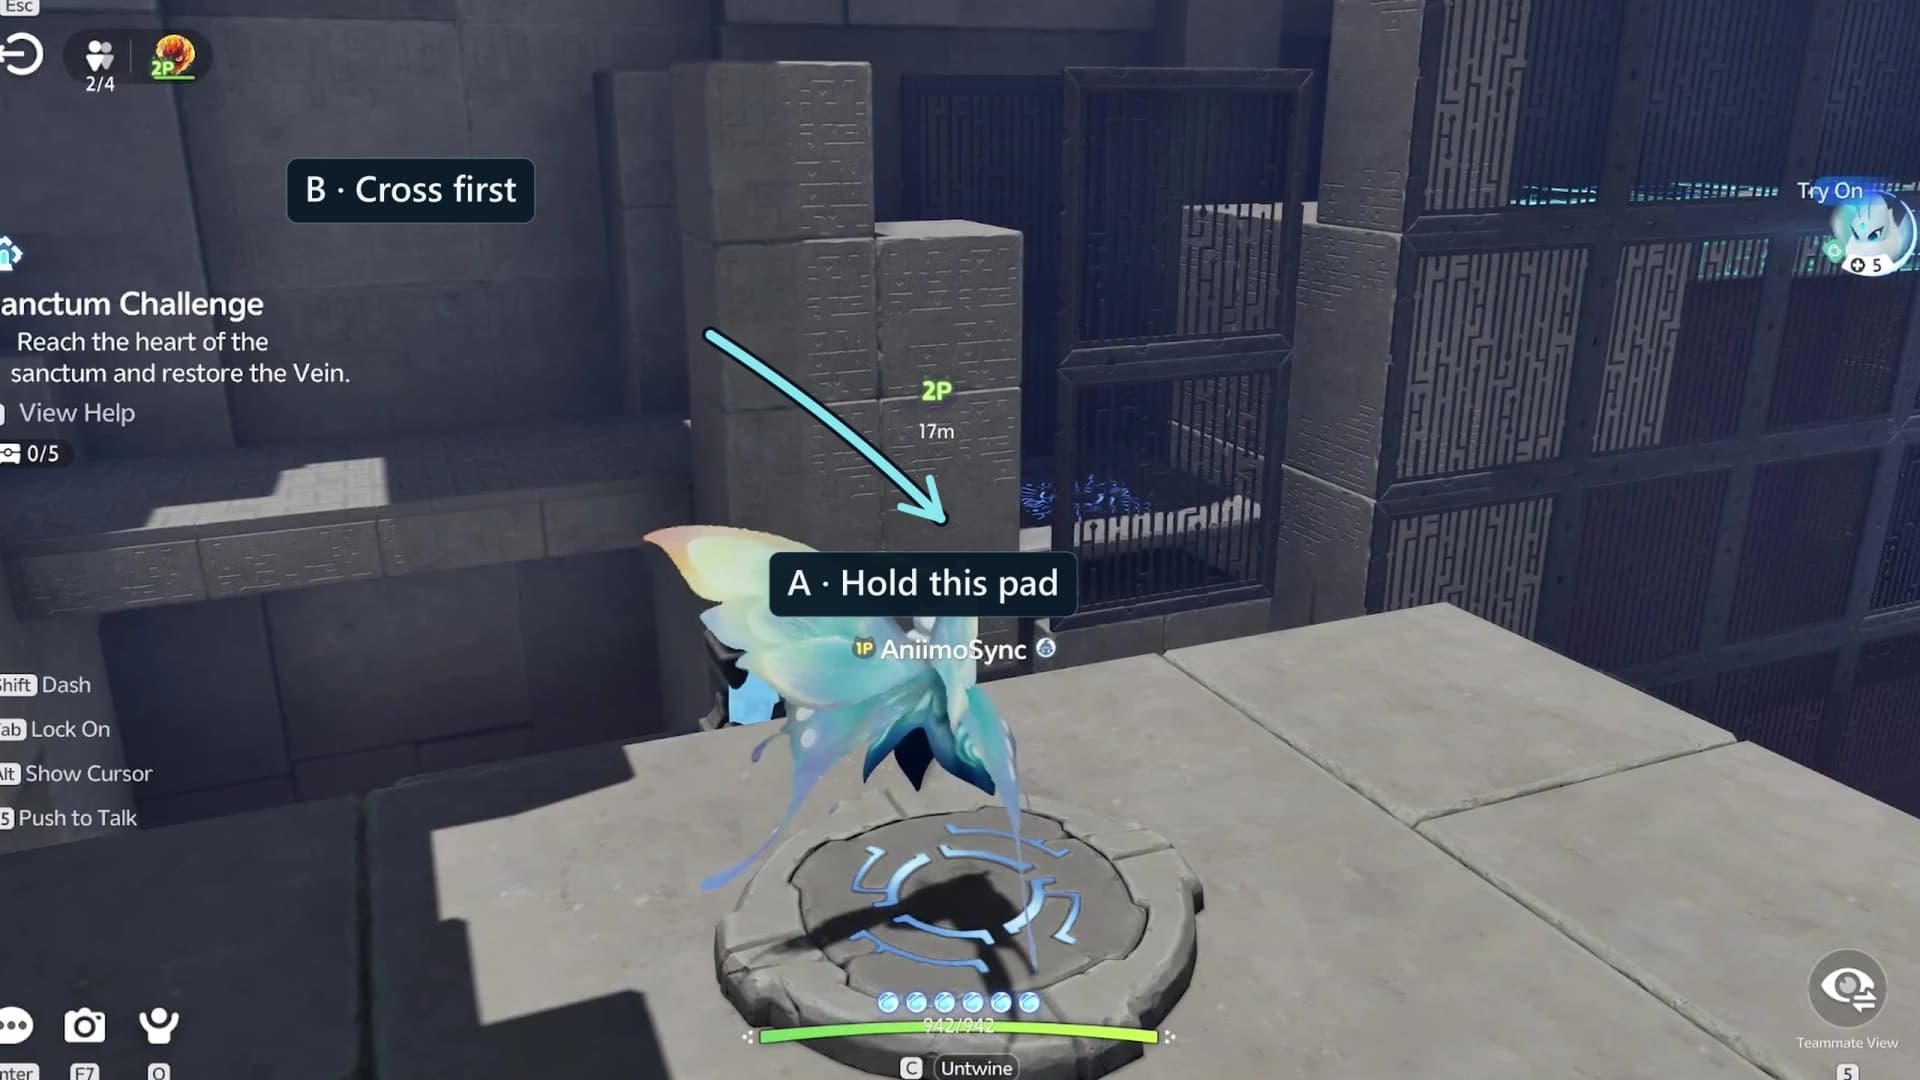
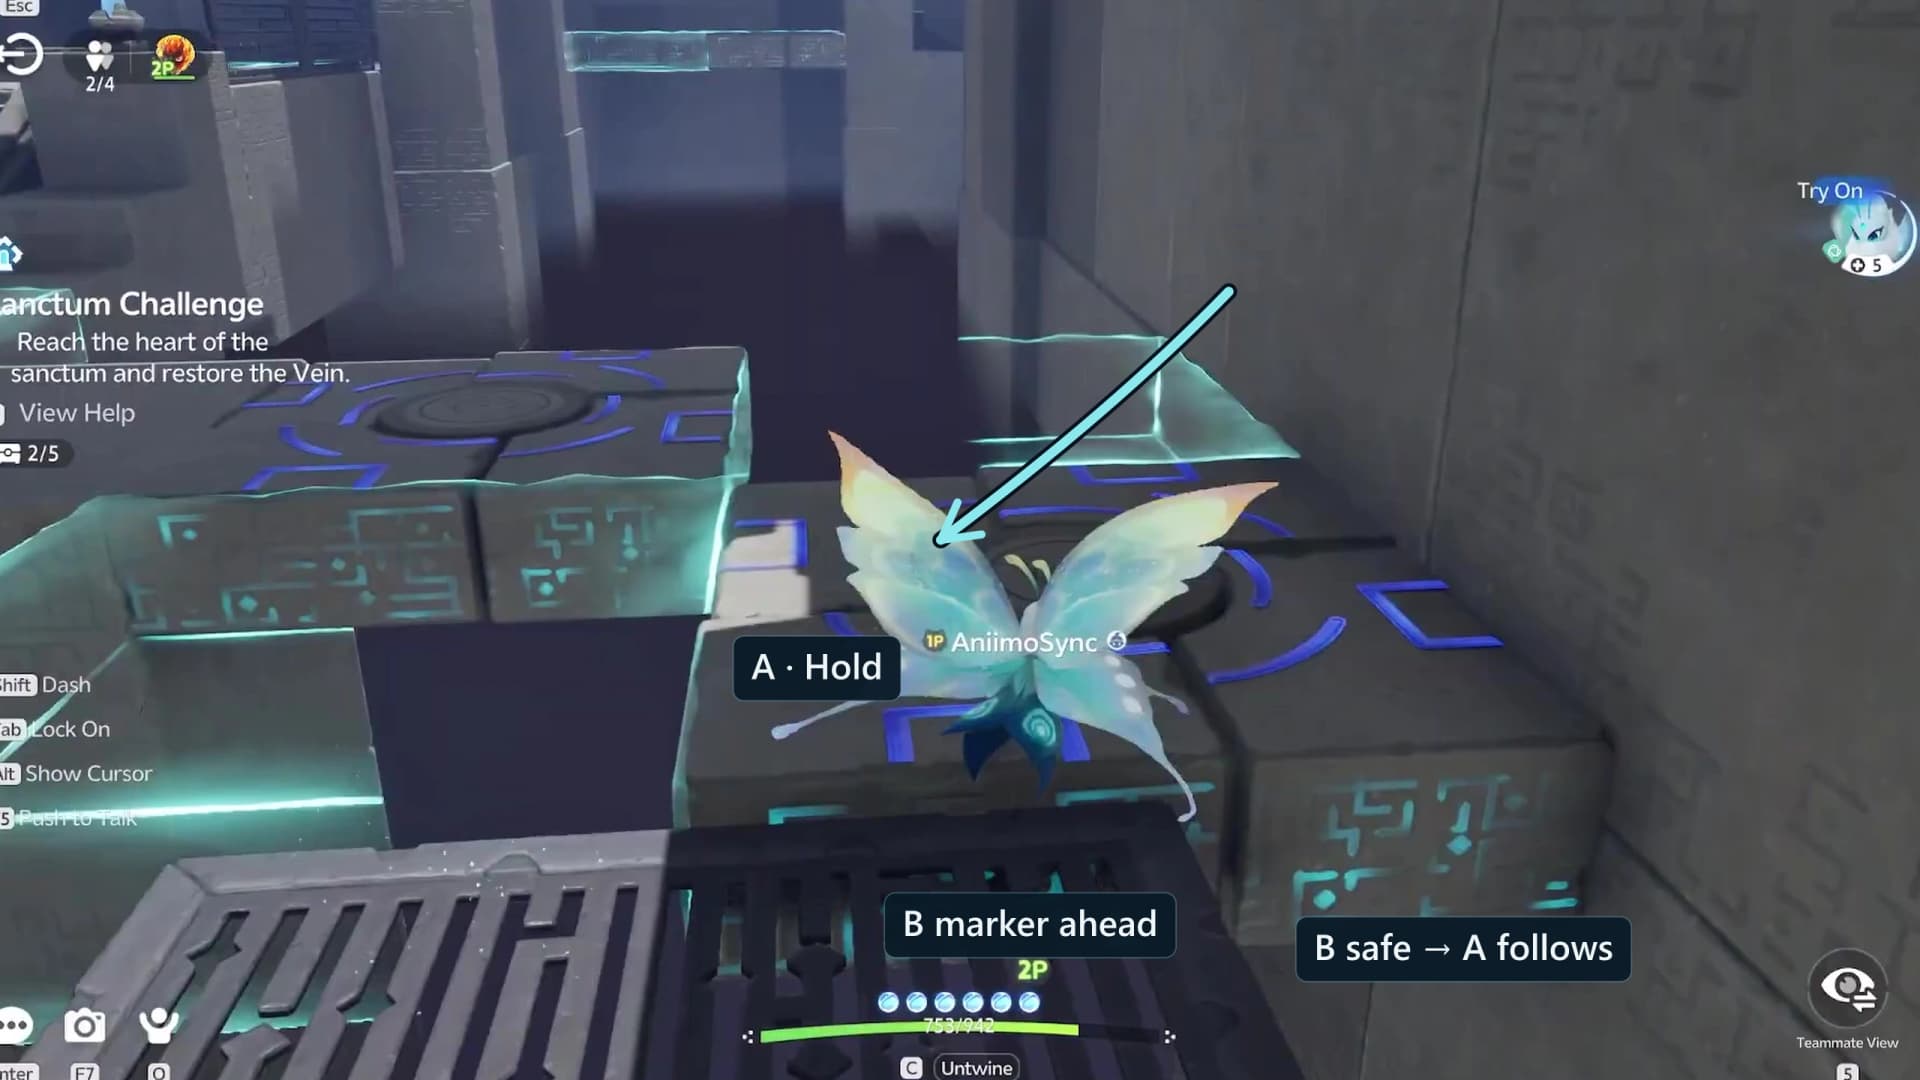
The first circular pad sits against the west wall and the cyan bridge it extends is sixteen units east, so one player has to hold while the other crosses. Player A (Gracewing) stands on the pad, Player B (Sparki) walks the bridge and calls safe, then A leaves the pad and follows by Flight. Drop onto the springboard below the far end and bounce up to the ledge that lights the next checkpoint.
- 4Cross the blinking checkerboard and ride the twin updraftsRoom 2
Below the checkpoint a two-wide blinking floor runs eight units south, with its two halves swapping every three seconds. Take one column each and keep moving on the beat. Past it, two fans sit on platforms that slide east along the west wall, so ride each airflow and let the platform carry you across the gap.
- 5Relay the second cyan bridgeRoom 2
The second circular pad is twelve units west of the bridge it extends, so repeat the relay. Player A (Gracewing) holds the pad, Player B (Sparki) crosses and calls safe, then A follows by Flight. The pit below returns you to the near side of the bridge, not to the last save point.
- 6First chest: the standard chest deep in the west recessOptionalChest 1Room 2
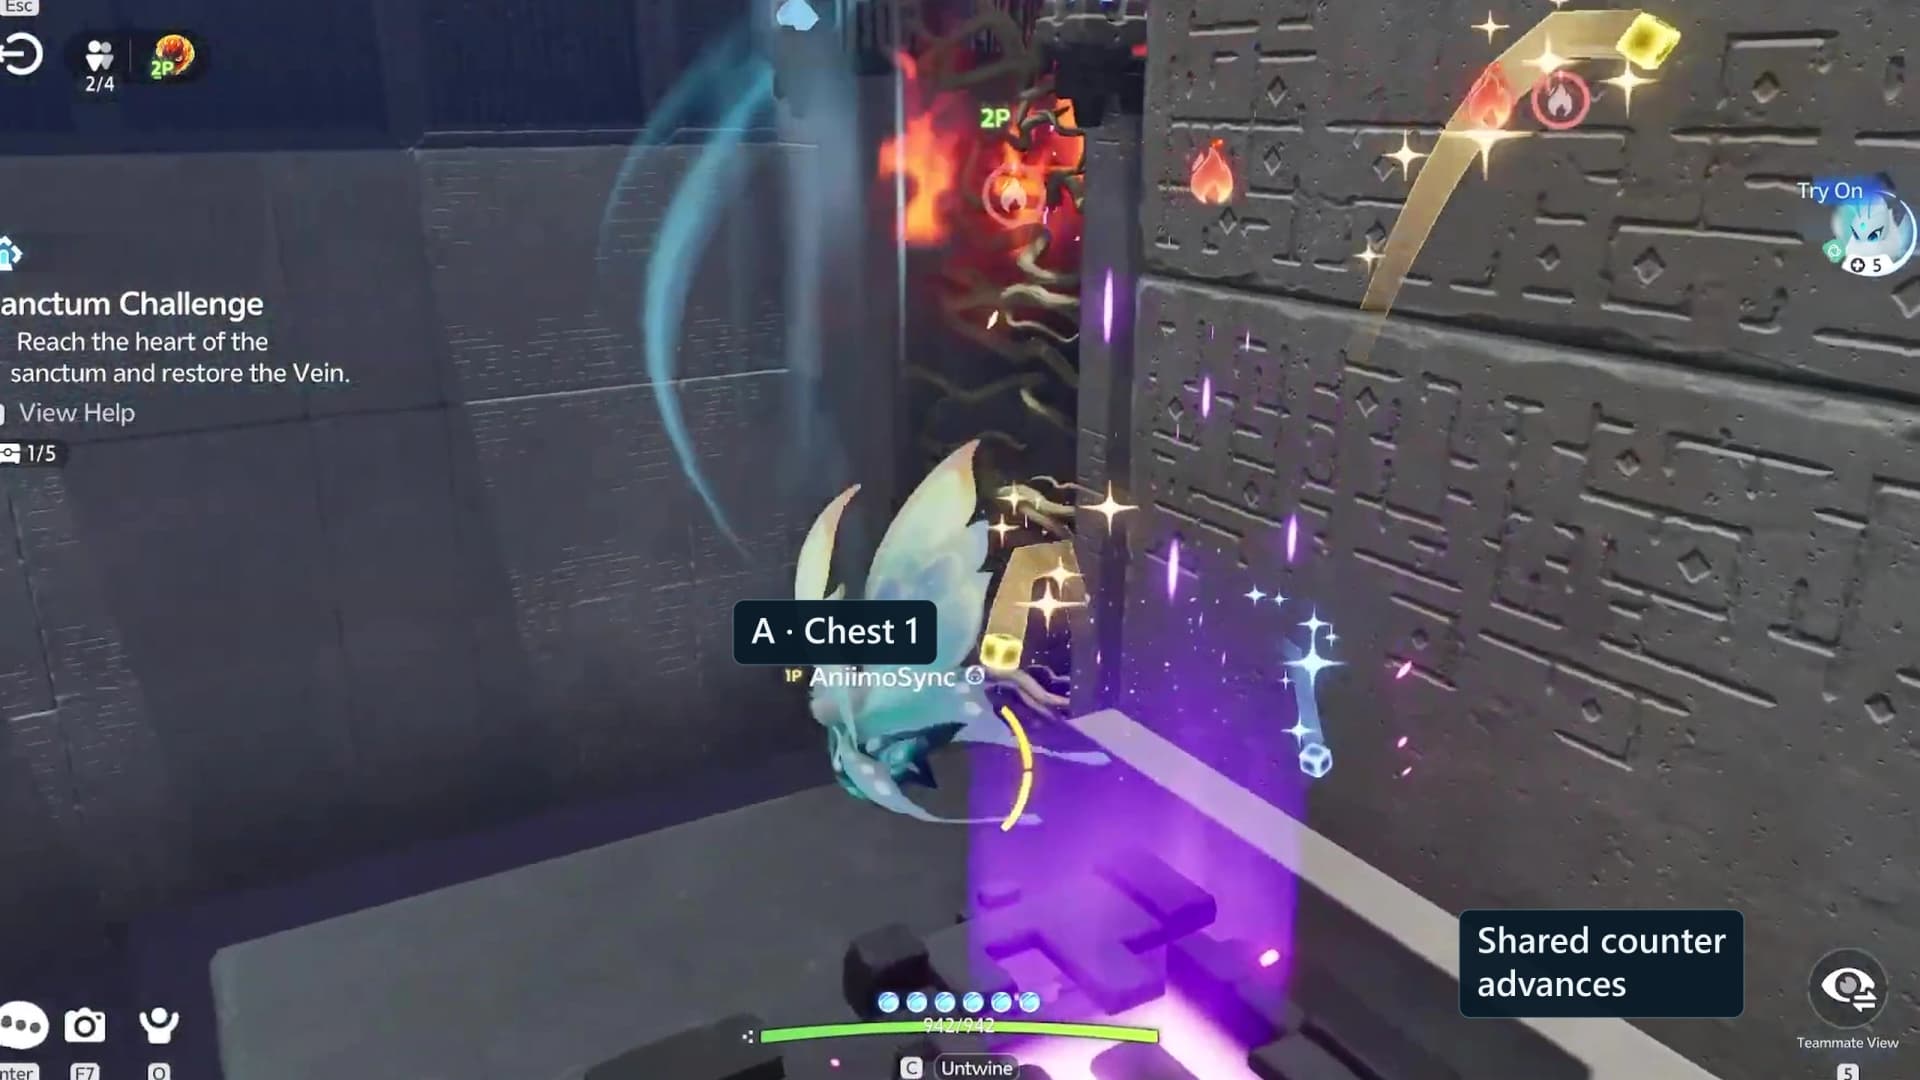
Past the second bridge the shaft opens west into a recess well off the walking line. Player A (Gracewing) flies across and opens the standard chest here, and the shared counter moves from zero of five to one of five.
- 7Burn the thorn wall and ride the updraft to the third checkpointRoom 2
A full-height thorn curtain covers the west shaft face, from floor level up past the ledge above. Player B (Sparki) burns the whole curtain with Fire Orb, which uncovers the fan just south of it. Ride that airflow while its platform slides east, then land on the checkpoint ledge below.
- 8Burn the thorn trail and take the blinking stepRoom 2
Seven more ground thorns run down the slope south of the checkpoint, so Player B (Sparki) clears them before either player commits. Further on, a single blinking platform alternates between two heights eight units apart, so wait for it at the height you need and step across. Two more travelling fans carry you down the last of the west descent.
- 9Relay the third cyan bridgeRoom 2
The last circular pad of the descent flips the pattern, because the bridge it extends is eleven units to the west instead of the east. Player A (Gracewing) holds the pad while Player B (Sparki) crosses, then A follows by Flight. The pit below drops you just north of the bridge.
- 10Hold the first two-player gate togetherRoom 2
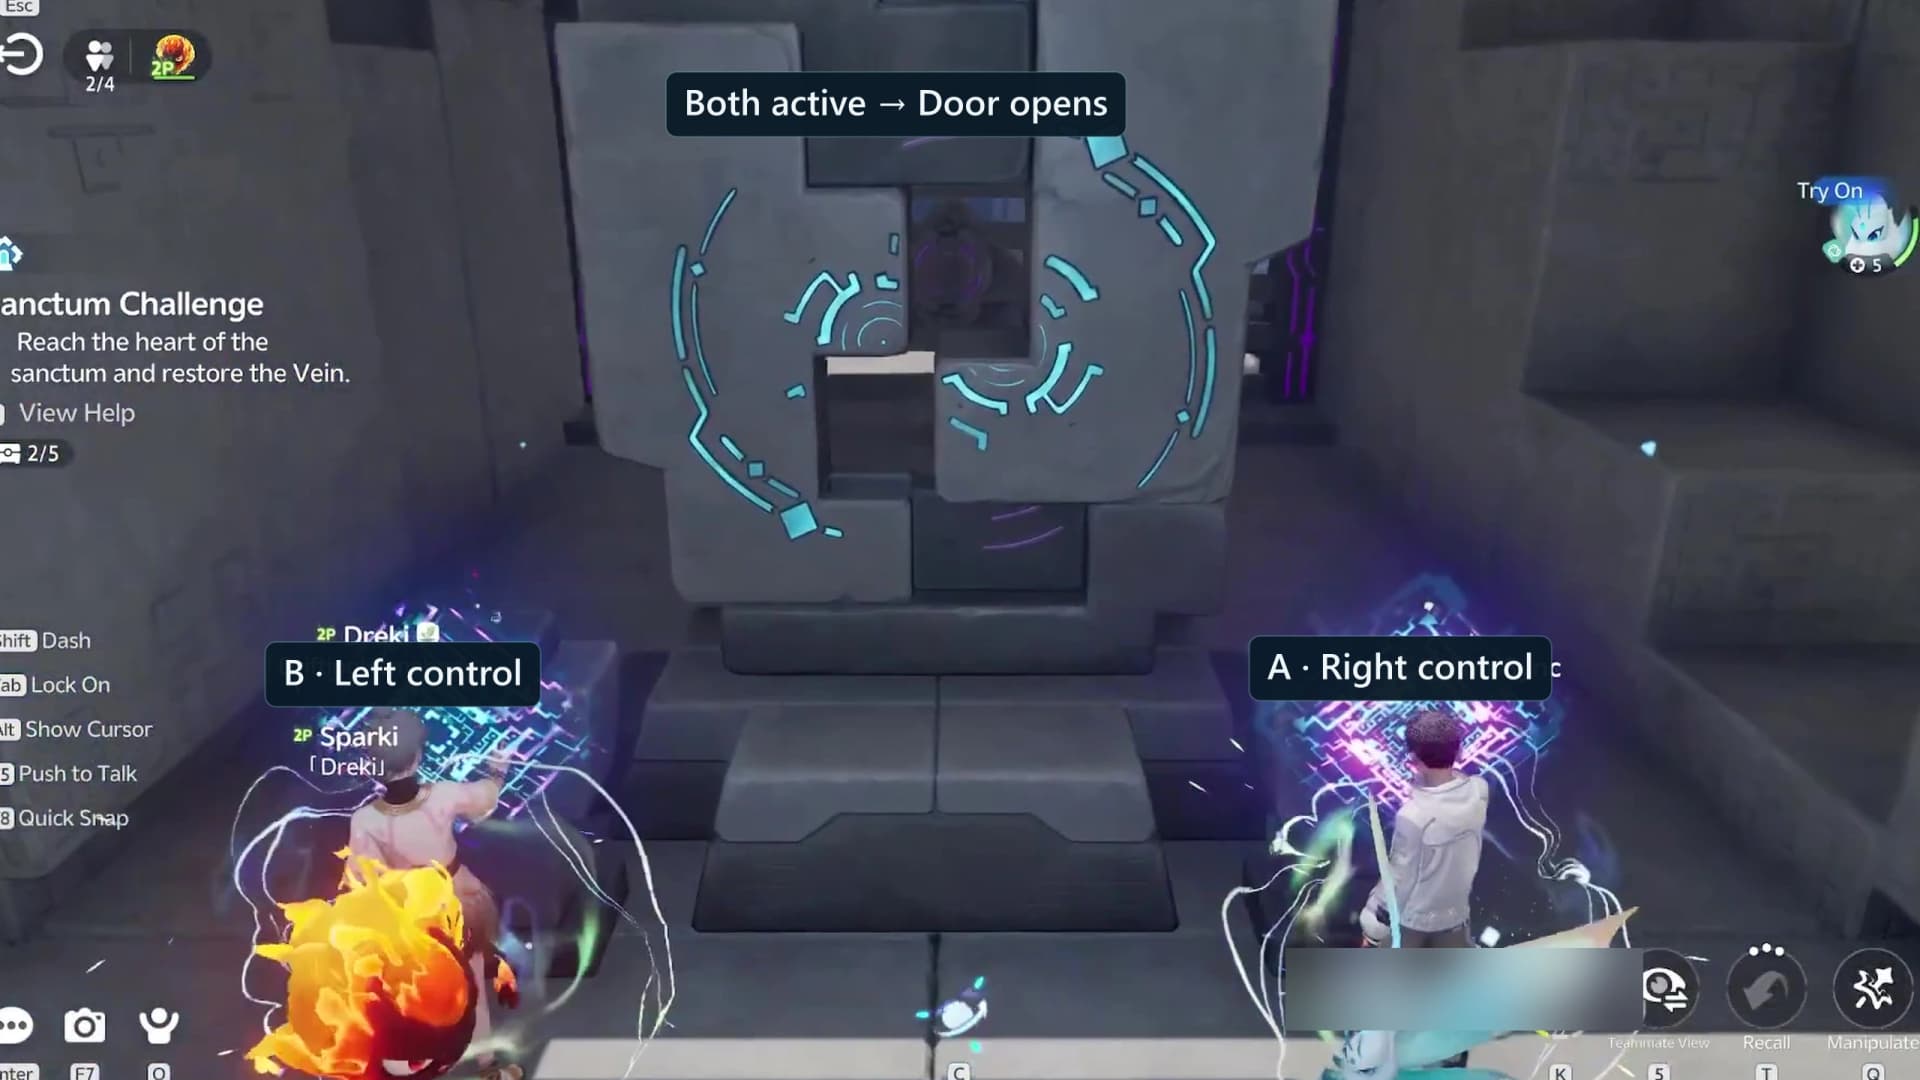
A stone stela stands six units in front of the first large mechanism door at the south-west corner. Both players untwine, activate one side of the stela each and keep both sides active until the door opens. Step through and take the save point on the far side.
- 11Second chest: the premium chest beside the save pointOptionalChest 2Room 2
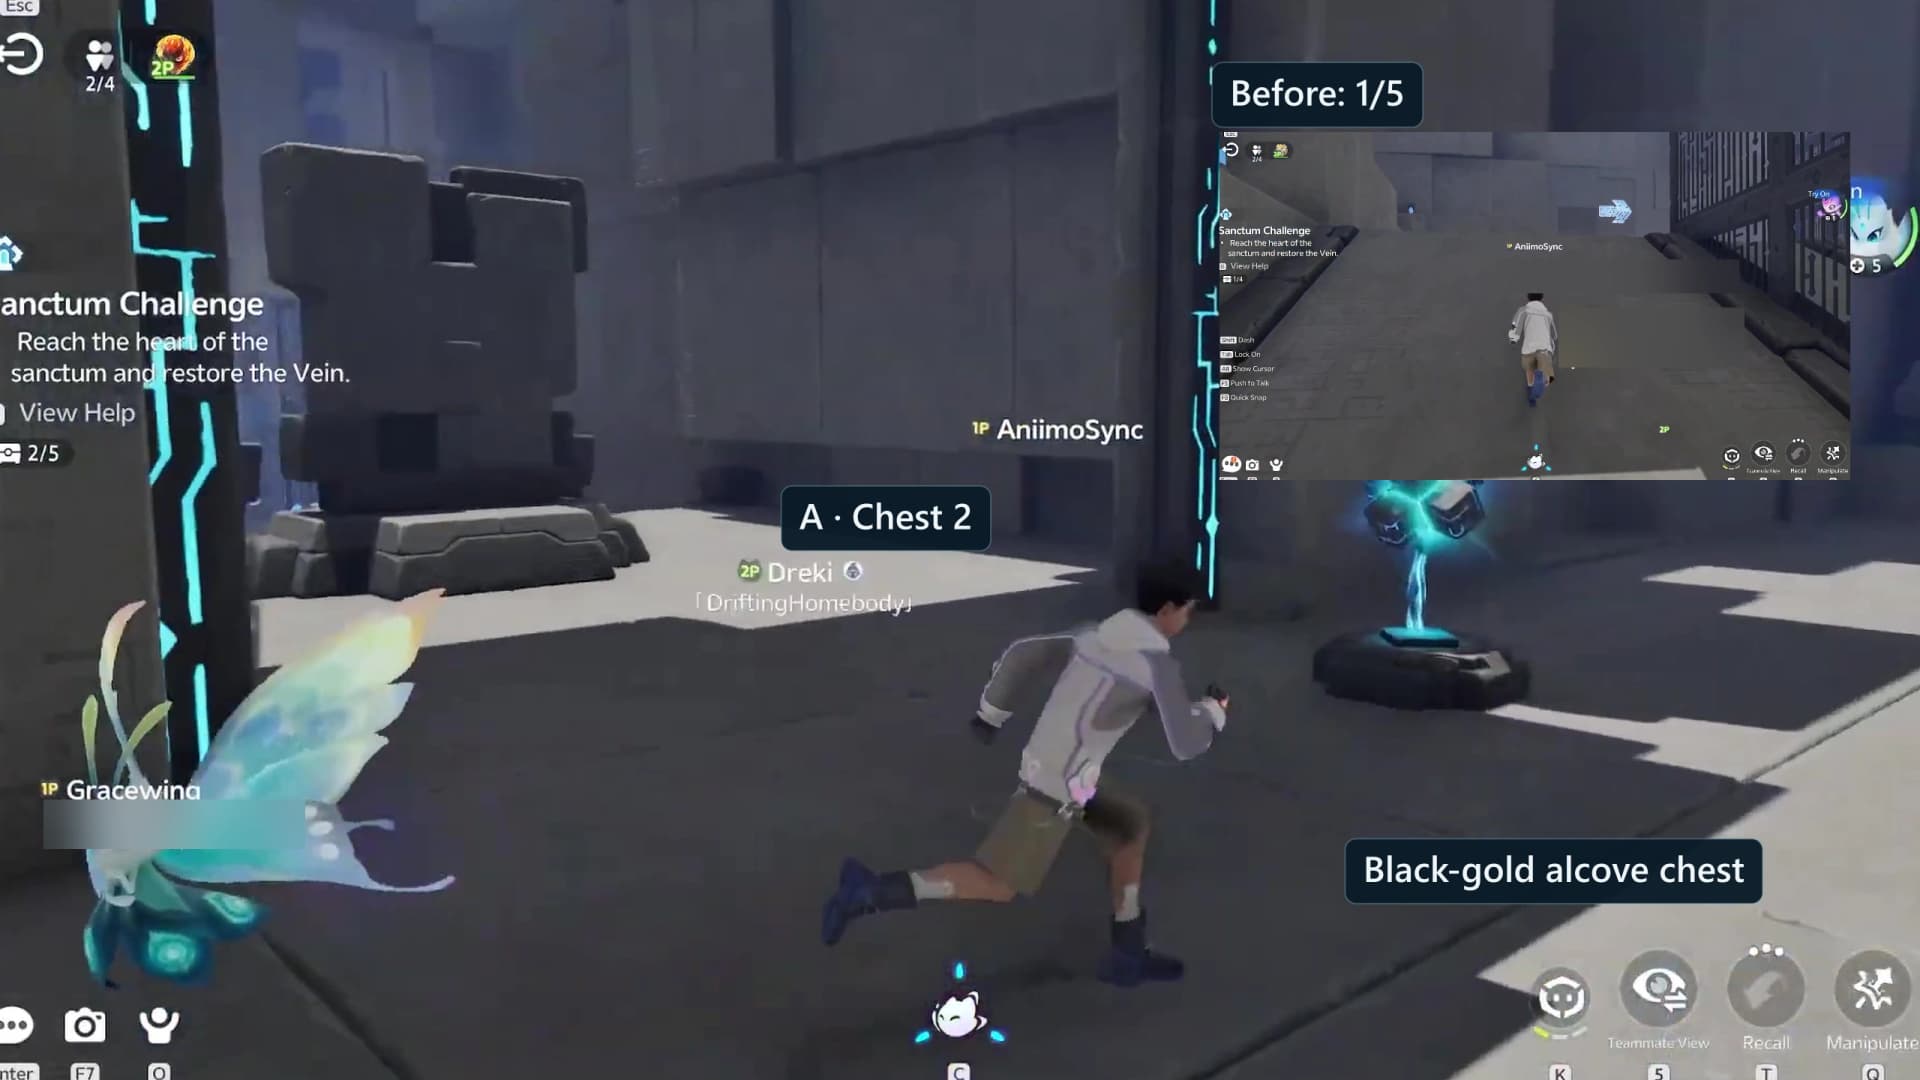
The premium chest sits a few paces west of the save point, at the far corner of the room. Open it here and confirm the shared counter reads two of five before turning east.
- 12Walk the stepping bridge grid eastRoom 3
Ten short bridges line a narrow lane running east, and each one only appears when someone stands on the plate in front of it. The plates alternate, so the deployed sections land first to the north and then to the south as you advance. Move steadily from the west end and keep both players on the same section.
- 13Cross the long blinking runRoom 3
East of the grid the floor becomes two parallel lanes of six blinking platforms covering twenty units. The lanes swap every three seconds, so start on whichever lane is solid and step sideways each time the pattern flips.
- 14Split into the two mirrored blinking climbsRoom 3
The route now forks into two identical climbs, each a pair of small blinking patches stepping north-west. Take one lane each in either order, because the two are mirror images and each lights its own checkpoint. Regroup once both players are on the upper ledges.
- 15Regroup on the springboard ledge and step the four bridgesRoom 3
Both lanes meet at the ledge above the springboard, which lights the next checkpoint. Four more stepping bridges run east of it, deploying alternately north and south of the walk line as you tread each plate.
- 16Climb the eight-step zigzag and springboard to the gate ledgeRoom 3
The last stretch of this half is a centre line with eight plates running north, each deploying one bridge five units to the left or right in turn. Hop side to side as the sections appear, because the drop beneath returns you all the way to the springboard ledge. At the top, bounce off the springboard to reach the high ledge ahead.
- 17Hold the second two-player gate togetherRoom 4
The second stela stands in front of the north mechanism door on the same line. Both players untwine, hold one side each until the door opens, then walk through and take the save point just beyond it. This is the last checkpoint before the arena, so land it before anyone starts flying.
- 18Light the first Fire obelisk and burn the first fan coverRoom 4
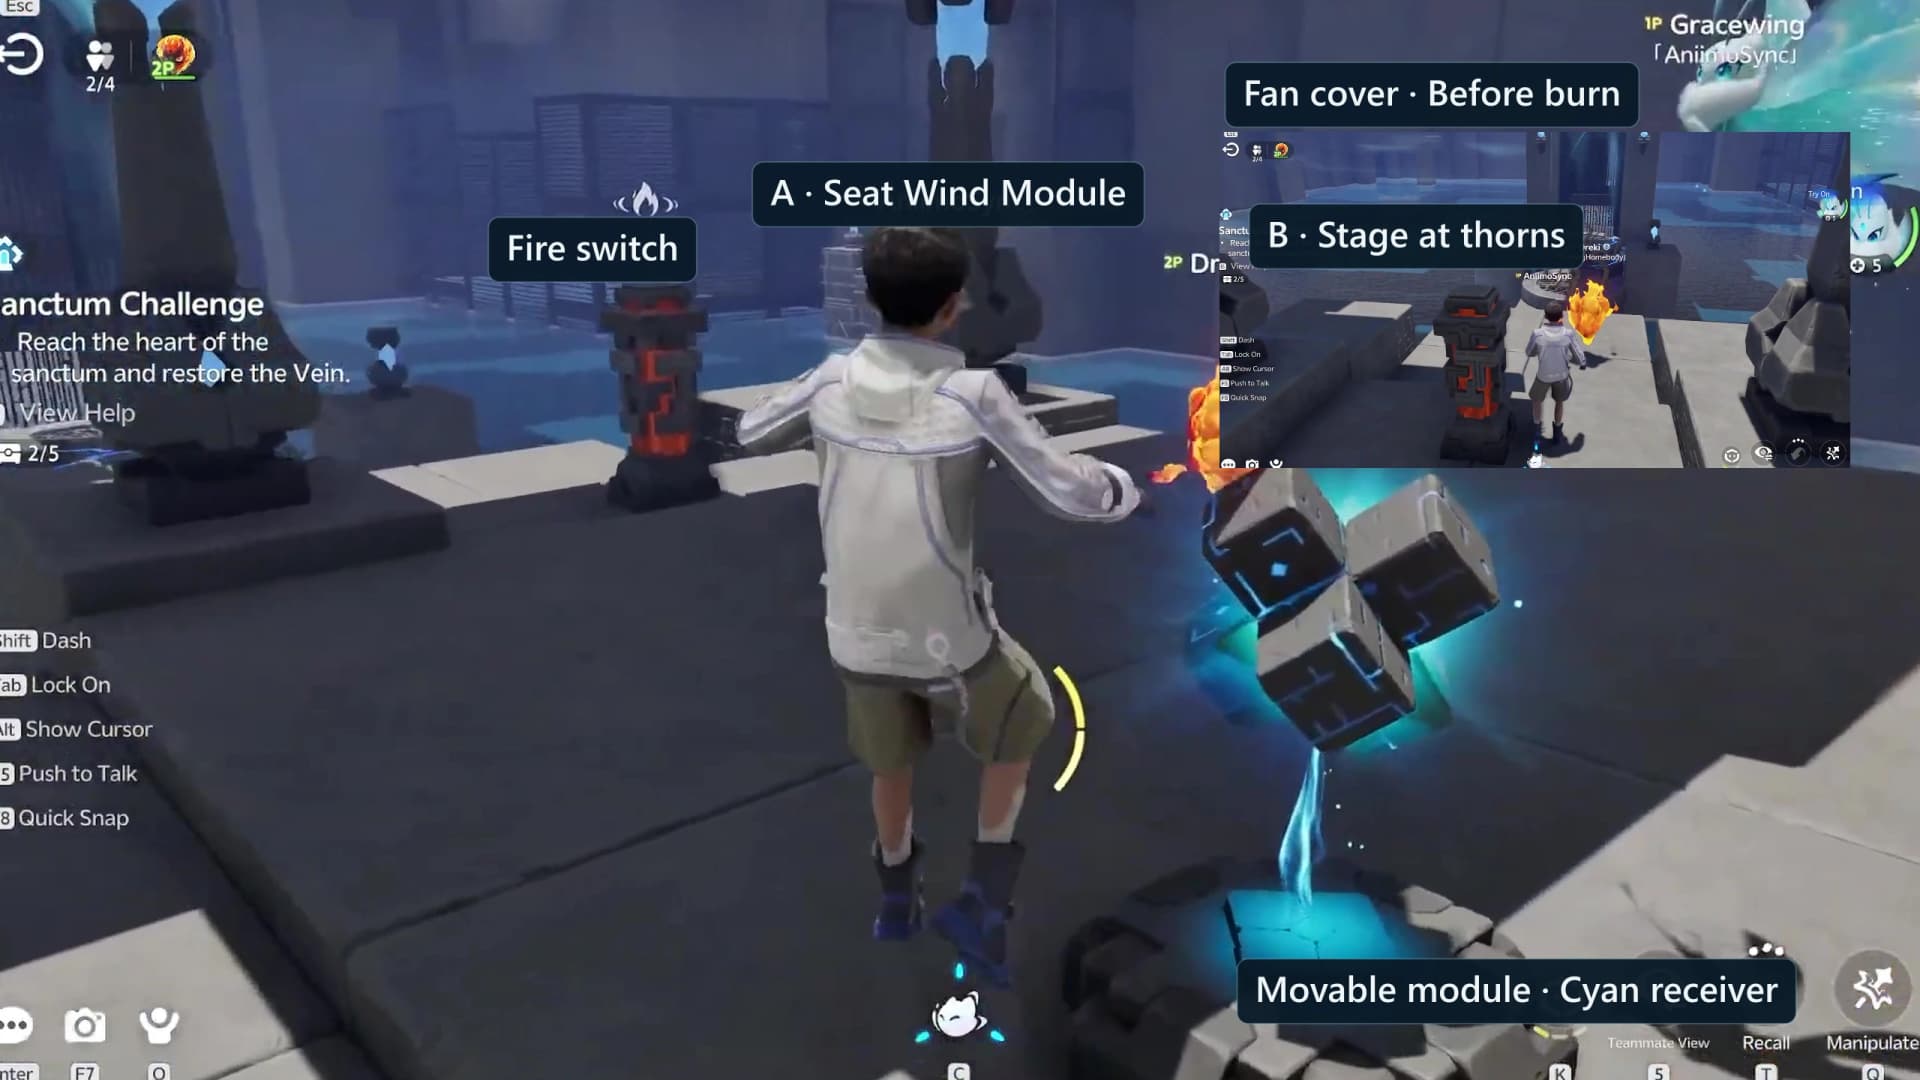
North of the save point the causeway passes a red Fire switch, and beyond it the first of two thorn-covered fans. Player B (Sparki) lights the switch and then burns the cover off the fan, and Player A (Gracewing) waits until the airflow is visibly running before approaching. Fire is what lights these obelisks, so a touch does nothing.
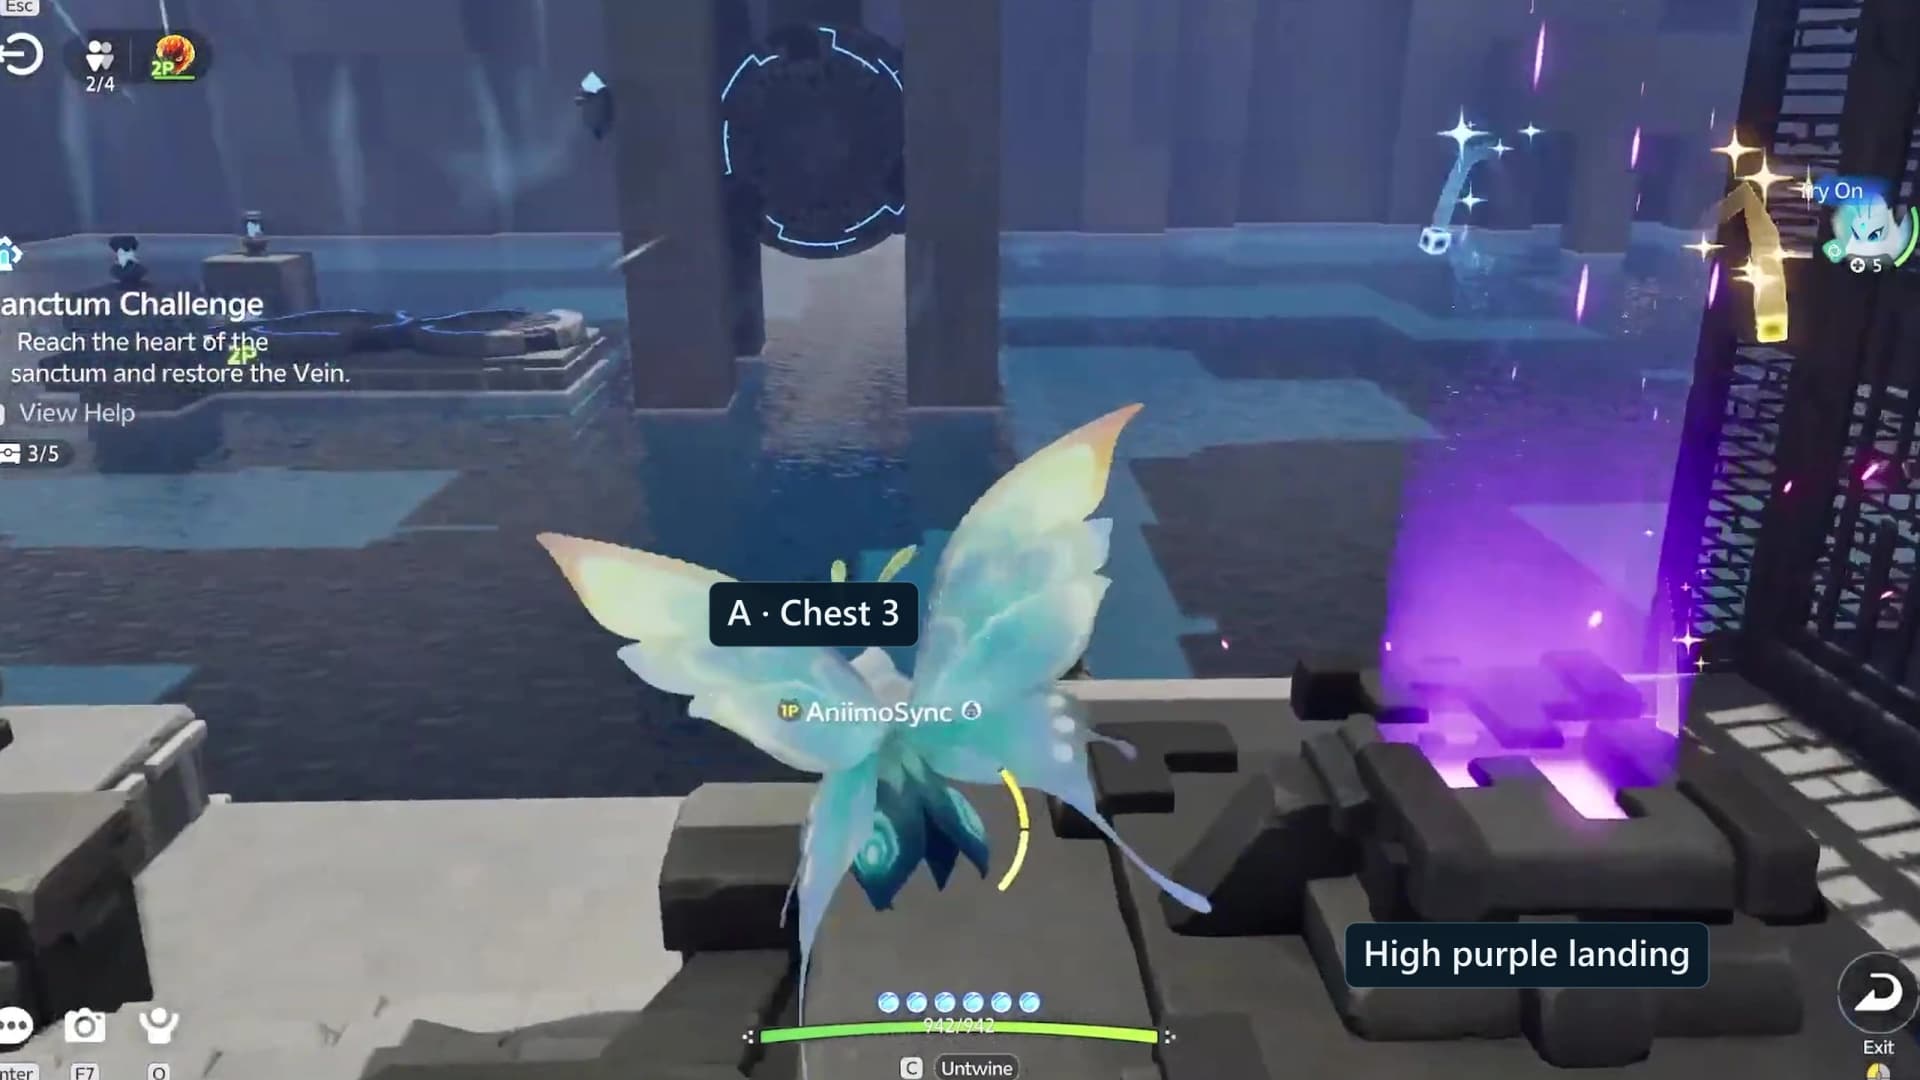
- 19Third chest: the premium chest in the low alcoveOptionalChest 3Room 4
One level below the causeway, on the east side opposite the Fire switch, a premium chest sits in a shallow alcove. Player A (Gracewing) glides down, opens it for three of five and flies back up to the walkway.
- 20Ride the fan chain and aim the swivel fansRoom 4
Three fans in a row carry you north along the same line, up to the pair of tall swivel fans at the top of the arena. If a column is pointing away from the landing Player A (Gracewing) needs, Player B (Sparki) puts one Fire Orb into the matching red switch and the corresponding fan turns. Wait for each change to settle before launching.
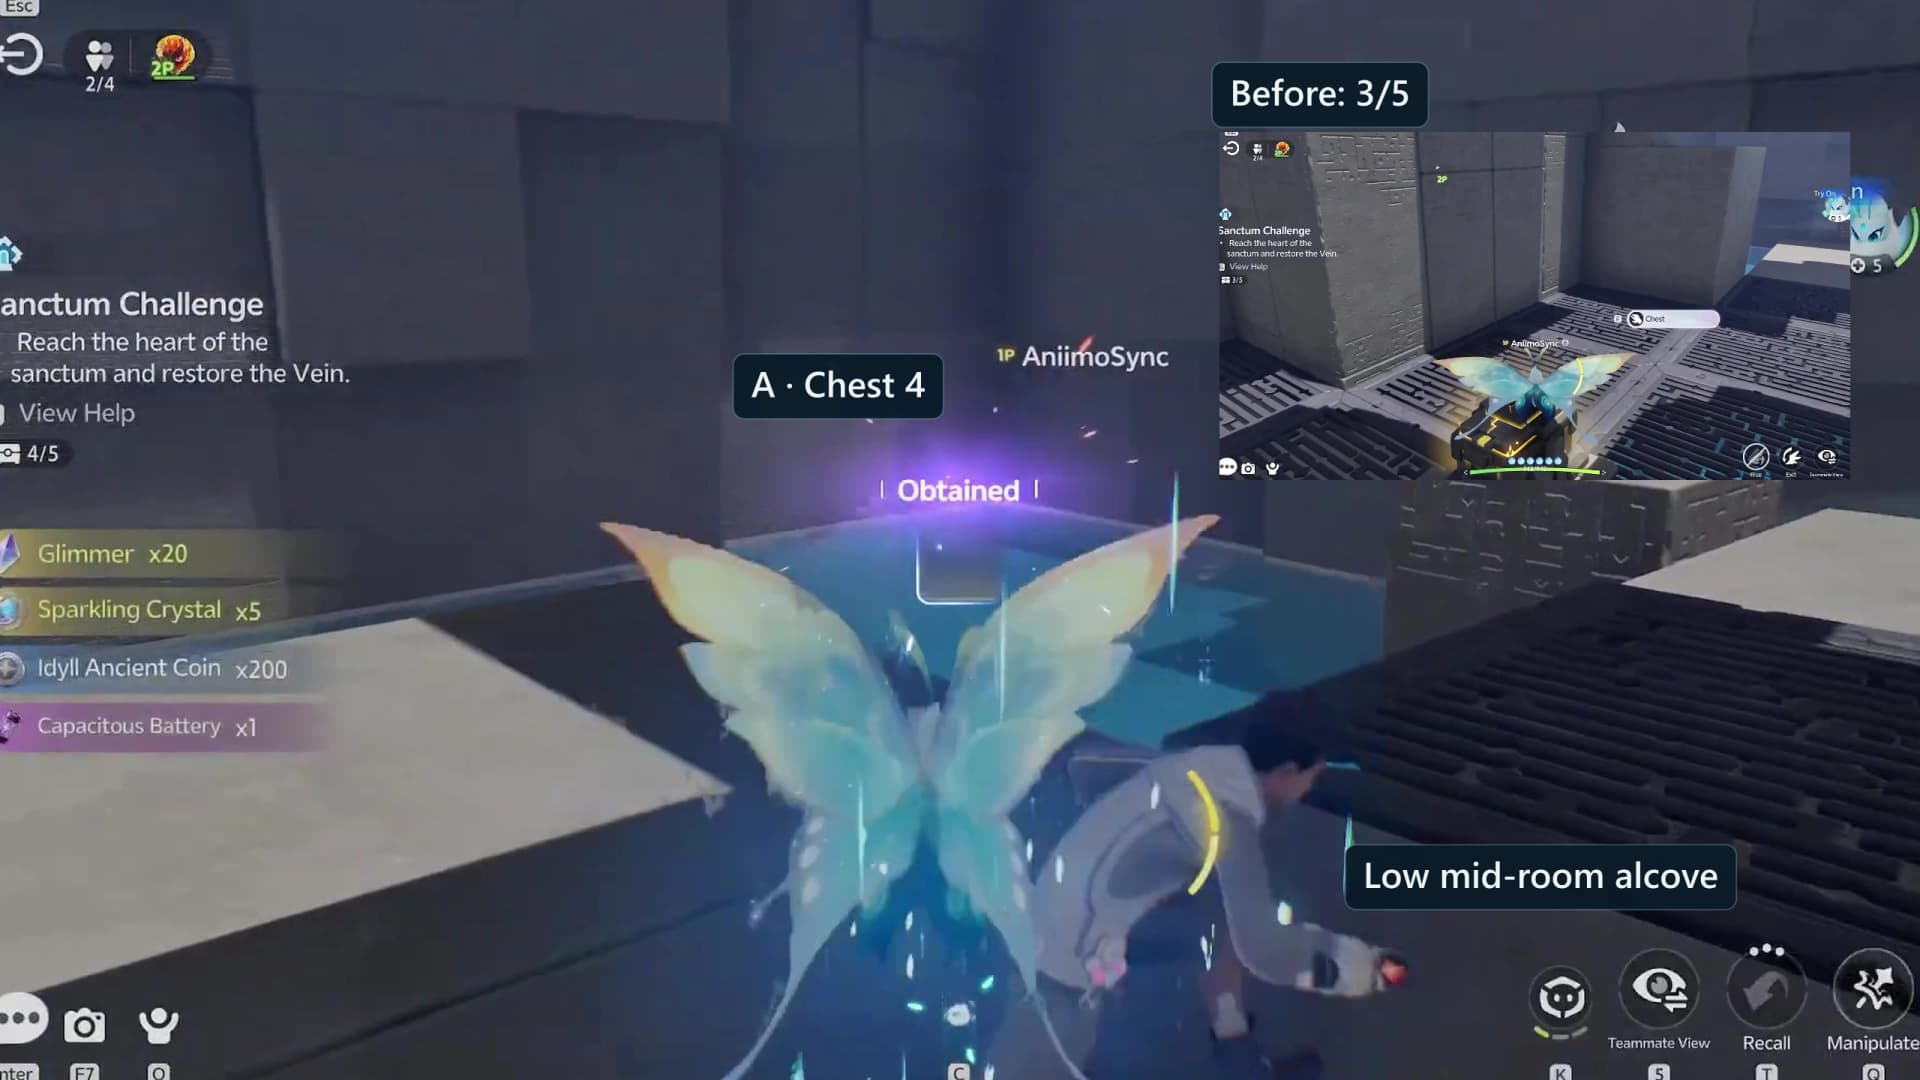
- 21Fourth chest: the standard chest on the east shelfOptionalChest 4Room 4
The highest shelf on the east wall holds a standard chest next to a single one-shot plate. Player A (Gracewing) rides the eastward airflow across and opens it for four of five. The pit below this crossing is the deepest in the room, so do not attempt it while the airflow is still turning.
- 22Burn the second fan cover and ride to the top shelfRoom 4
The second thorn-covered fan stands on the west side of the arena and is by far the strongest in the room. Player B (Sparki) burns its cover, then Player A (Gracewing) rides the column north over the pit to the top shelf. Player B follows once the airflow is steady.
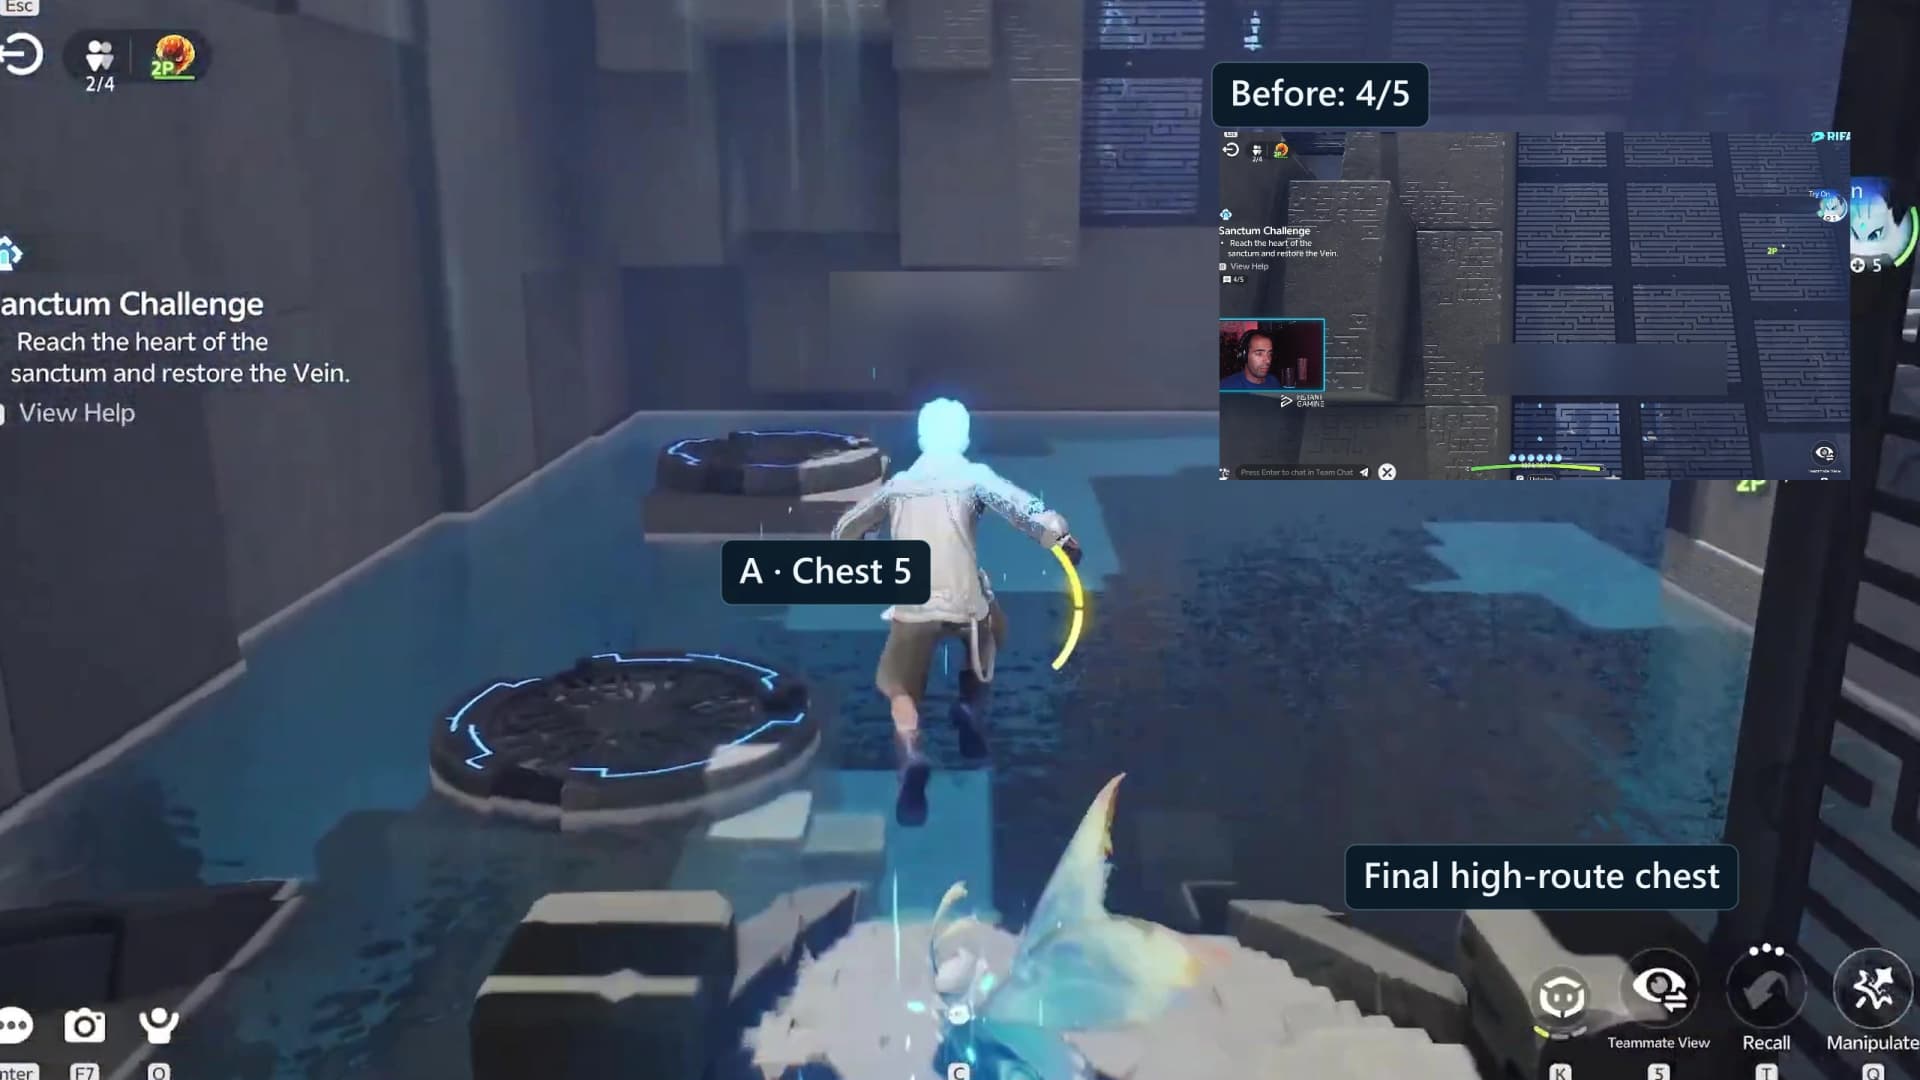
- 23Fifth chest: the premium chest on the north shelfOptionalChest 5Room 4
The last premium chest sits at the low west end of the top shelf, beside the second one-shot plate. Open it and confirm the shared counter reads five of five, because the Terminus ends the room the moment it completes.
- 24Relay the last bridges and touch the TerminusRoom 4
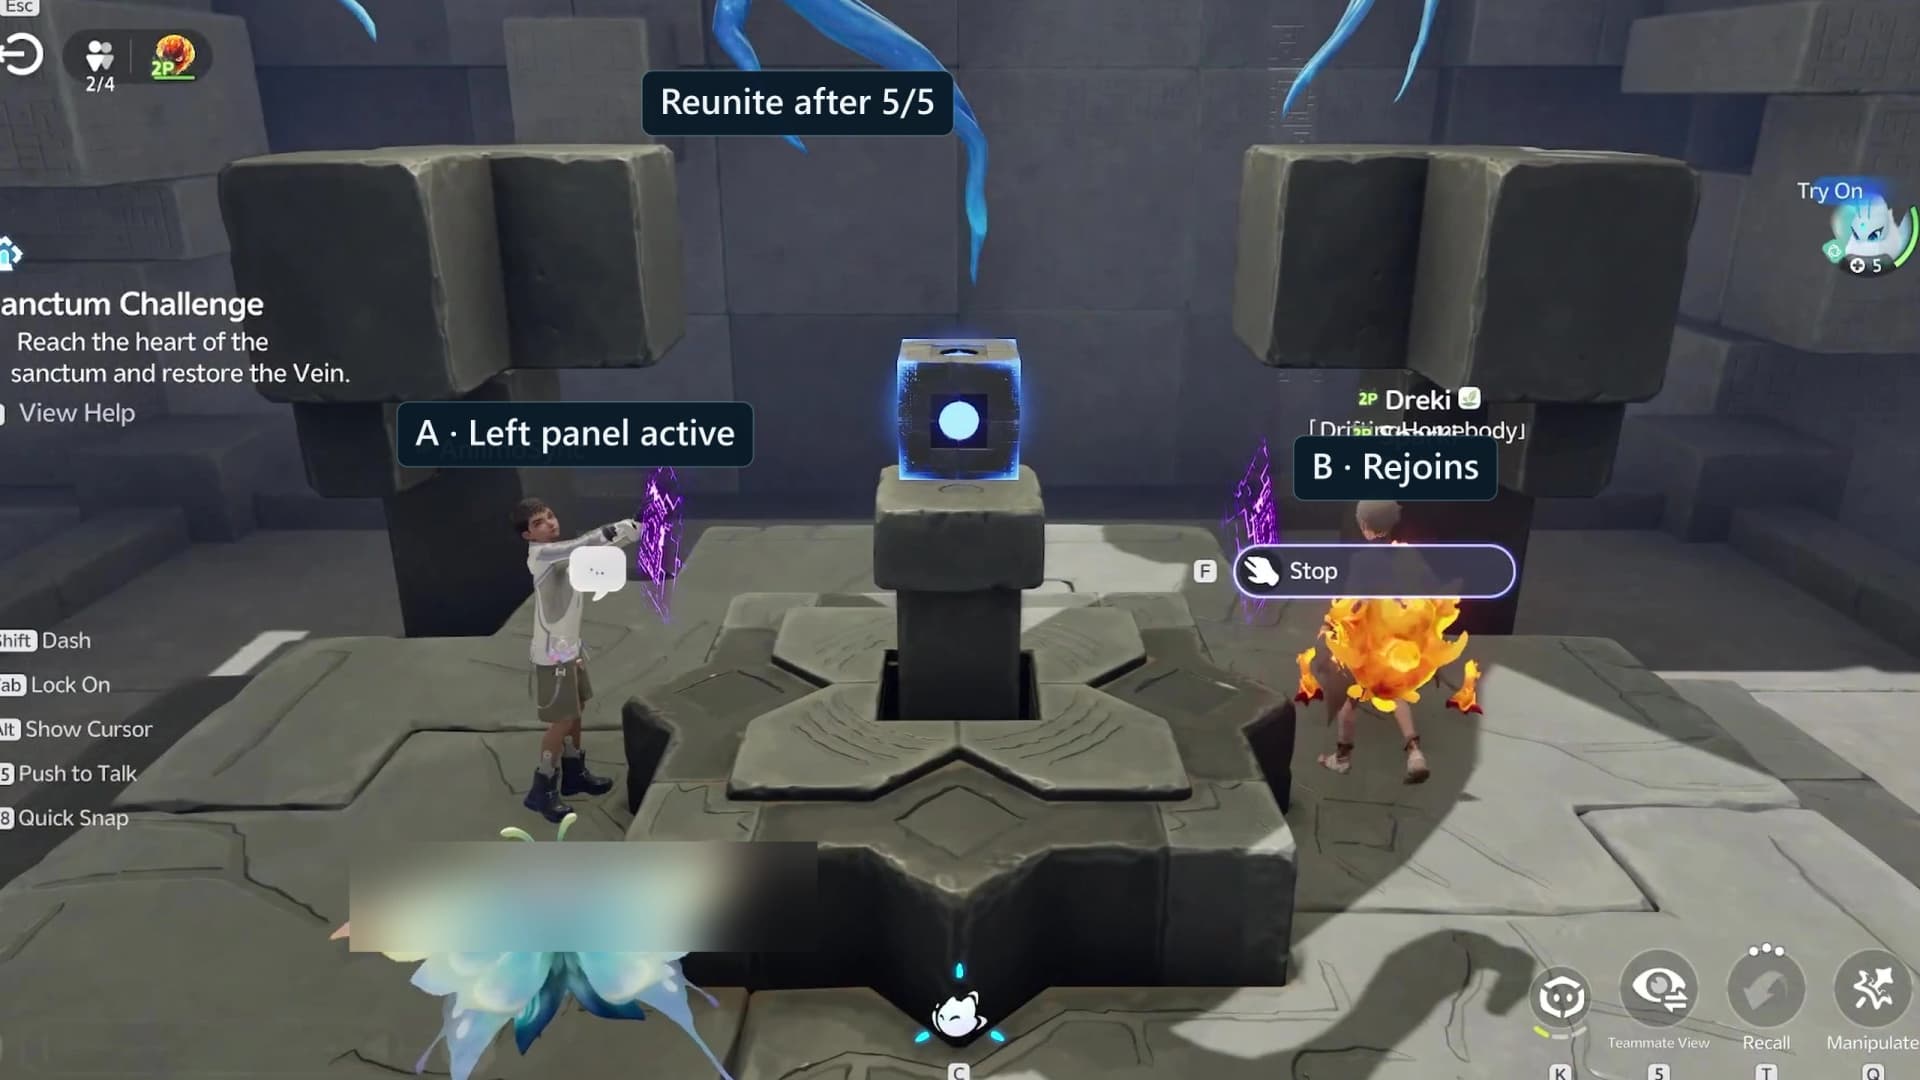
One more circular pad sits at the east end of the top shelf, and holding it extends the four-section cyan run below that leads east to the Terminus. Player A (Gracewing) holds the pad while Player B (Sparki) crosses, then A follows by Flight. Both players activate the Terminus and keep it held until the central cube rises and restores the Vein.
Checkpoints and hazards
Both players enter on their own pad at the north end of the entrance shelf, and that pair is the only respawn the room starts with. Eight interior save points light as you cross them, and each one you skip is distance you will re-run.
- Save point 1, past the opening thorns. Lights once B has burned the five ground thorns and both players walk south. Take it before anyone approaches the first drop.
- Save point 2, above the first springboard. Lights on the ledge you bounce up to after the first cyan bridge.
- Save point 3, below the thorn wall. Lights when you land from the uncovered fan on the west shaft face.
- Save point 4, through the south-west gate. Lights on the far side of the first stela door, beside the premium chest in the corner.
- Save points 5 and 6, the two mirrored climbs. Each blinking climb lights its own save point, so the pair only completes when both players have taken a lane.
- Save point 7, the springboard ledge. Lights where the two climbs reconverge, before the four stepping bridges.
- Save point 8, through the north gate. The last checkpoint before the arena, so land it before anyone starts flying.
Five-chest checklist
The counter is shared, so either human can open any chest and the order below is simply where each one sits on the route. Three of the five are premium. The ledger lists every chest with its tier and its drop list, and closes on the first clear.
| Chest | Tier | Contents |
|---|---|---|
| Chest 1 | Standard | Glimmer x10, Credits x10000, Sparkling Crystal x10, one Rare held item |
| Chest 2 | Premium | Glimmer x20, Credits x20000, Sparkling Crystal x15, one Epic held item |
| Chest 3 | Premium | Glimmer x20, Credits x20000, Sparkling Crystal x15, one Epic held item |
| Chest 4 | Standard | Glimmer x10, Credits x10000, Sparkling Crystal x10, one Rare held item |
| Chest 5 | Premium | Glimmer x20, Credits x20000, Sparkling Crystal x15, one Epic held item |
| First clear | Reward | Lumin Amber: Breezy Plains, EXP x500 |
Every held item: Spirited Feather, Fission Needles, Echoing Grimoire, Ferocious Fang, Miraculous Fleece, Lightning Needle, Gargantuan Horn, Marching Flask, Capacitous Battery, Heartseeker Pendant, Avenging Gear, Heritage Amulet, Explosive Gloves, Giant Tortoise Shell, Auspicious Bell.
Reset, rejoin and missed-switch troubleshooting
- If a cyan section retracts before B is safe, A moves back to the last circular pad and stays. B returns to the last solid platform, crosses again, calls “safe,” then A follows by Flight.
- If an arena fan stays inert, its thorn cover is still on. B burns the cover with Fire Orb, and A waits until the airflow is visibly running before retwining and launching.
- If an exposed fan points away from the next landing, B hits the adjacent red Fire switch once on A’s call. A waits for the airflow to settle, checks the direction, and asks for another hit only if needed. There is no fixed shot count.
- If a chest does not advance the shared counter, walk back into the alcove and open it again before moving on. Do not start the top-shelf crossing until both players see 4/5.
- A Reset Gameplay control exists in the Sanctum interface. If either player uses it, check the shared chest counter before continuing.
- If a stela door will not open, both players have to be untwined and holding one side each at the same time. There are two of these gates, one at the south-west corner and one on the north causeway, and neither can be forced by one player.
- If a player disconnects, reform the two-player party and re-enter the Sanctum, then check whether the new run starts at 0/5.
- If the wrong human took a statue, that player can interact with it again to reseal the trial Aniimo. Re-establish A=Gracewing and B=Sparki before continuing so the calls remain unambiguous.
Complete the Sanctum and continue
At 5/5, A and B reunite at the Terminus east of the top shelf, reached across the last four-section cyan run. A activates and keeps holding one panel while B activates the other. Keep both active until the central cube rises and restores the Vein. This Sanctum Terminus/Tesseract is the device that restores the Vein, not the Vein itself.
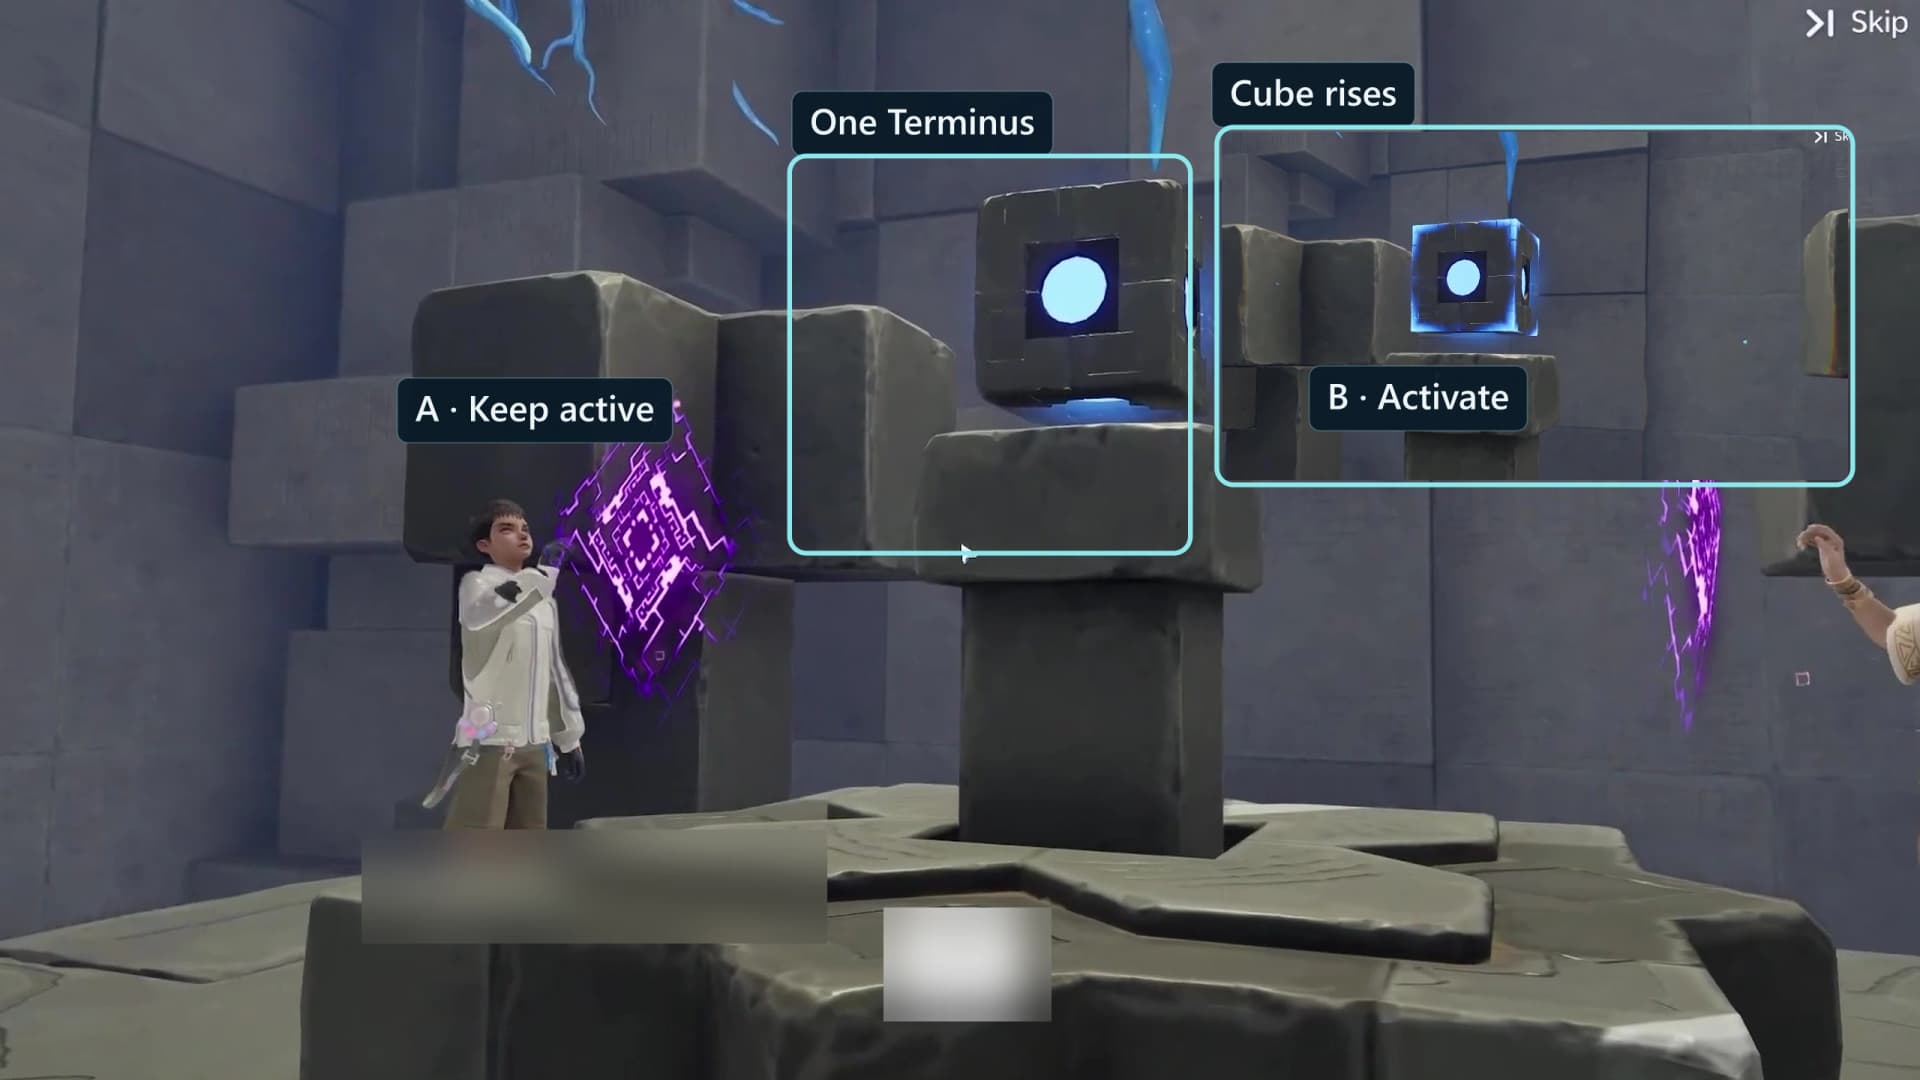
To return to the entrance, open the Blazing Wings atlas pin.
Frequently asked
Can either player take Gracewing in Blazing Wings?
Yes. Blue A and orange B are guide labels, not game-assigned slots. Whichever human takes Gracewing becomes A; the human who takes Sparki becomes B. Keep those labels stable even while untwined.
Which player collects each Blazing Wings chest?
This guide sends A/Gracewing for all five, which keeps the flight detours and the pad holds on one player. The counter is shared, so either human can open any chest. Three of the five are premium; keep the labels stable and confirm the counter after every chest.
How do the Blazing Wings fan controls work?
B burns the thorn cover off a fan with Fire Orb, and several fans then travel east on sliding blocks, so A rides the airflow and lets the block carry them. If a swivel fan in the arena points away from the next landing, each Fire hit on the adjacent red switch turns it; A waits for the new direction before flying.
What is the Blazing Wings first-clear reward?
The first clear pays one Lumin Amber: Breezy Plains and 500 EXP, lights the room’s Leyline Tree node and counts toward the Sanctum Delver badges. Later clears pay nothing beyond the optional chests.