

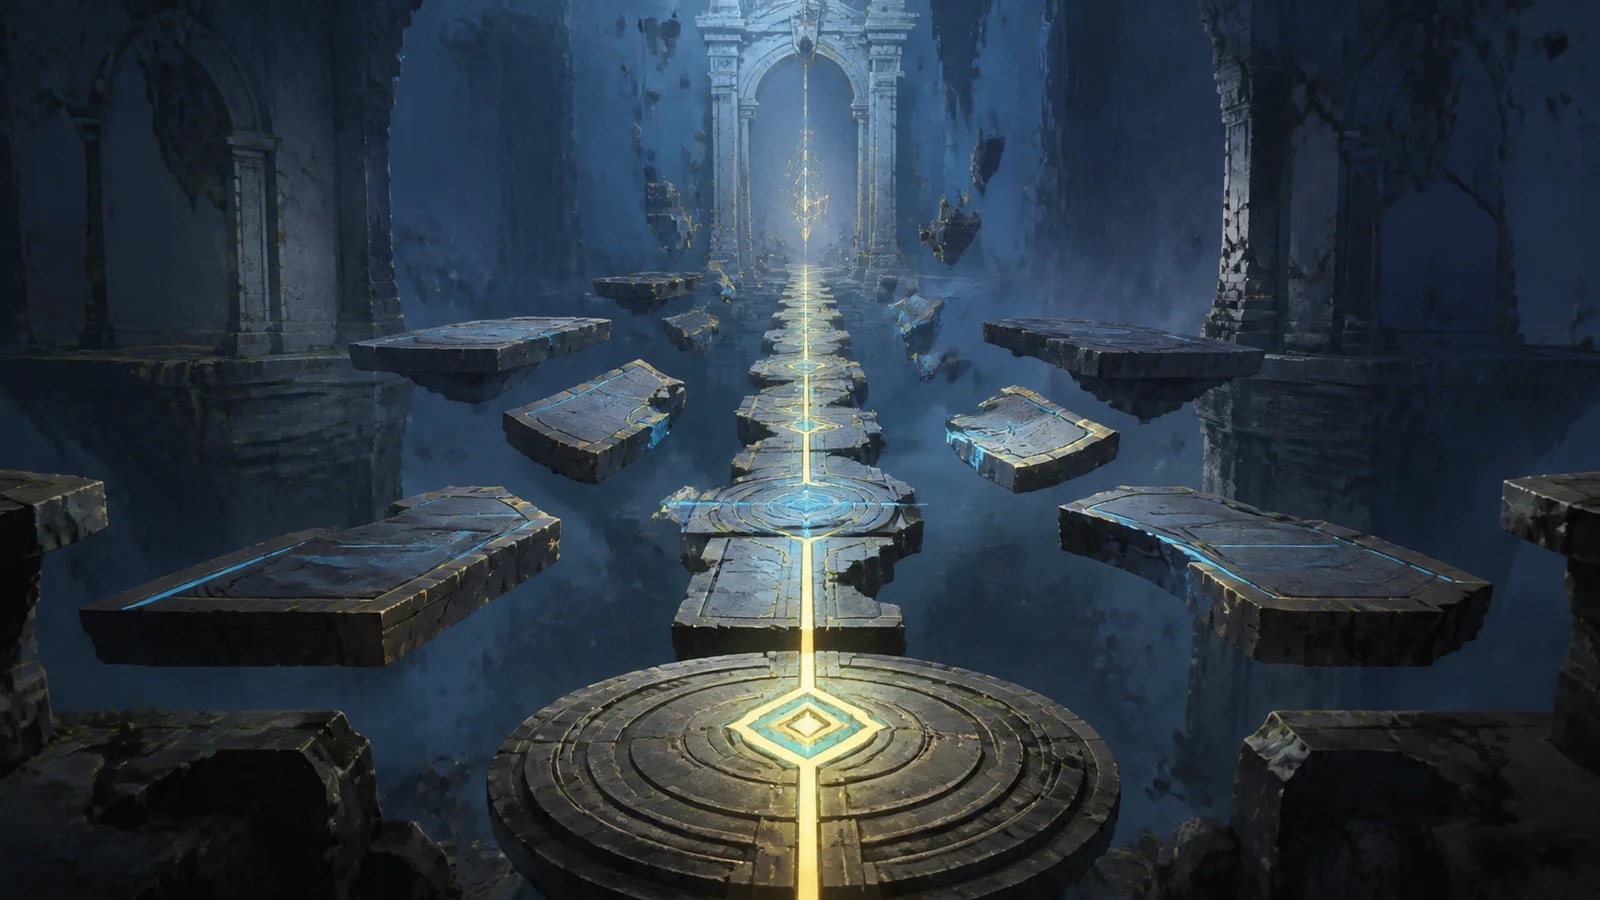
Location and route overview
Open the exact First Sight atlas pin in Russet Highlands. The marker sits at 2083, 662 on the AniimoVerse atlas. The entrance is solo and its optional-chest counter runs from 0/5 to 5/5.
Russet Highlands
Players
- Value
- 1 · Solo
Optional chests
- Value
- 5
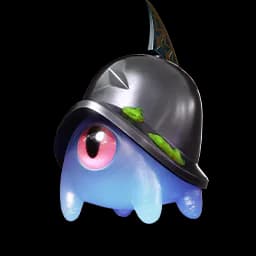
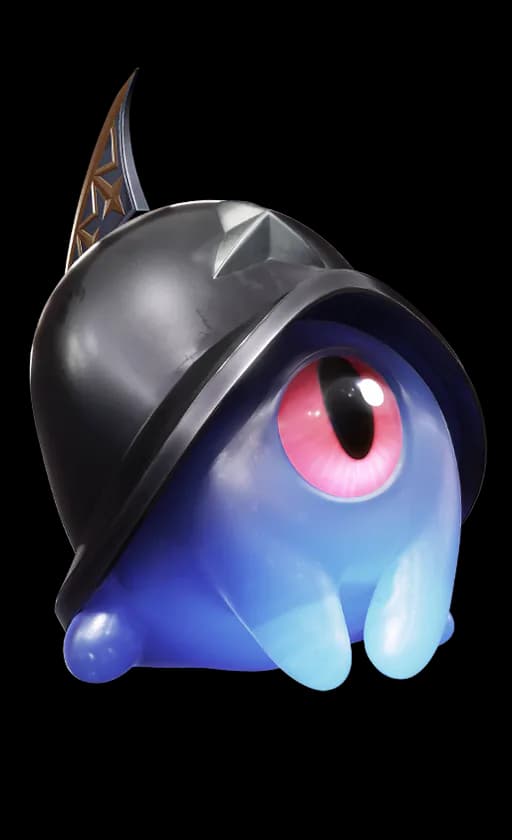
Trial Aniimo
- Value
- Helmut
Room action
- Value
- Detection
Mechanism prompt
- Value
- Raise/Lower Ram
How Detection and the remote rams work
The square object beside the player is an environmental control, not a ram, pressure plate or place to stand. The room tutorial says its distant battering ram can form a path or knock a ball into a socket. After you Twine with trial Helmut, Detection reveals the hidden rails, the green ball and the mechanism slot through obstacles. Use the nearby control’s Raise/Lower Ram action while reading that hidden route.
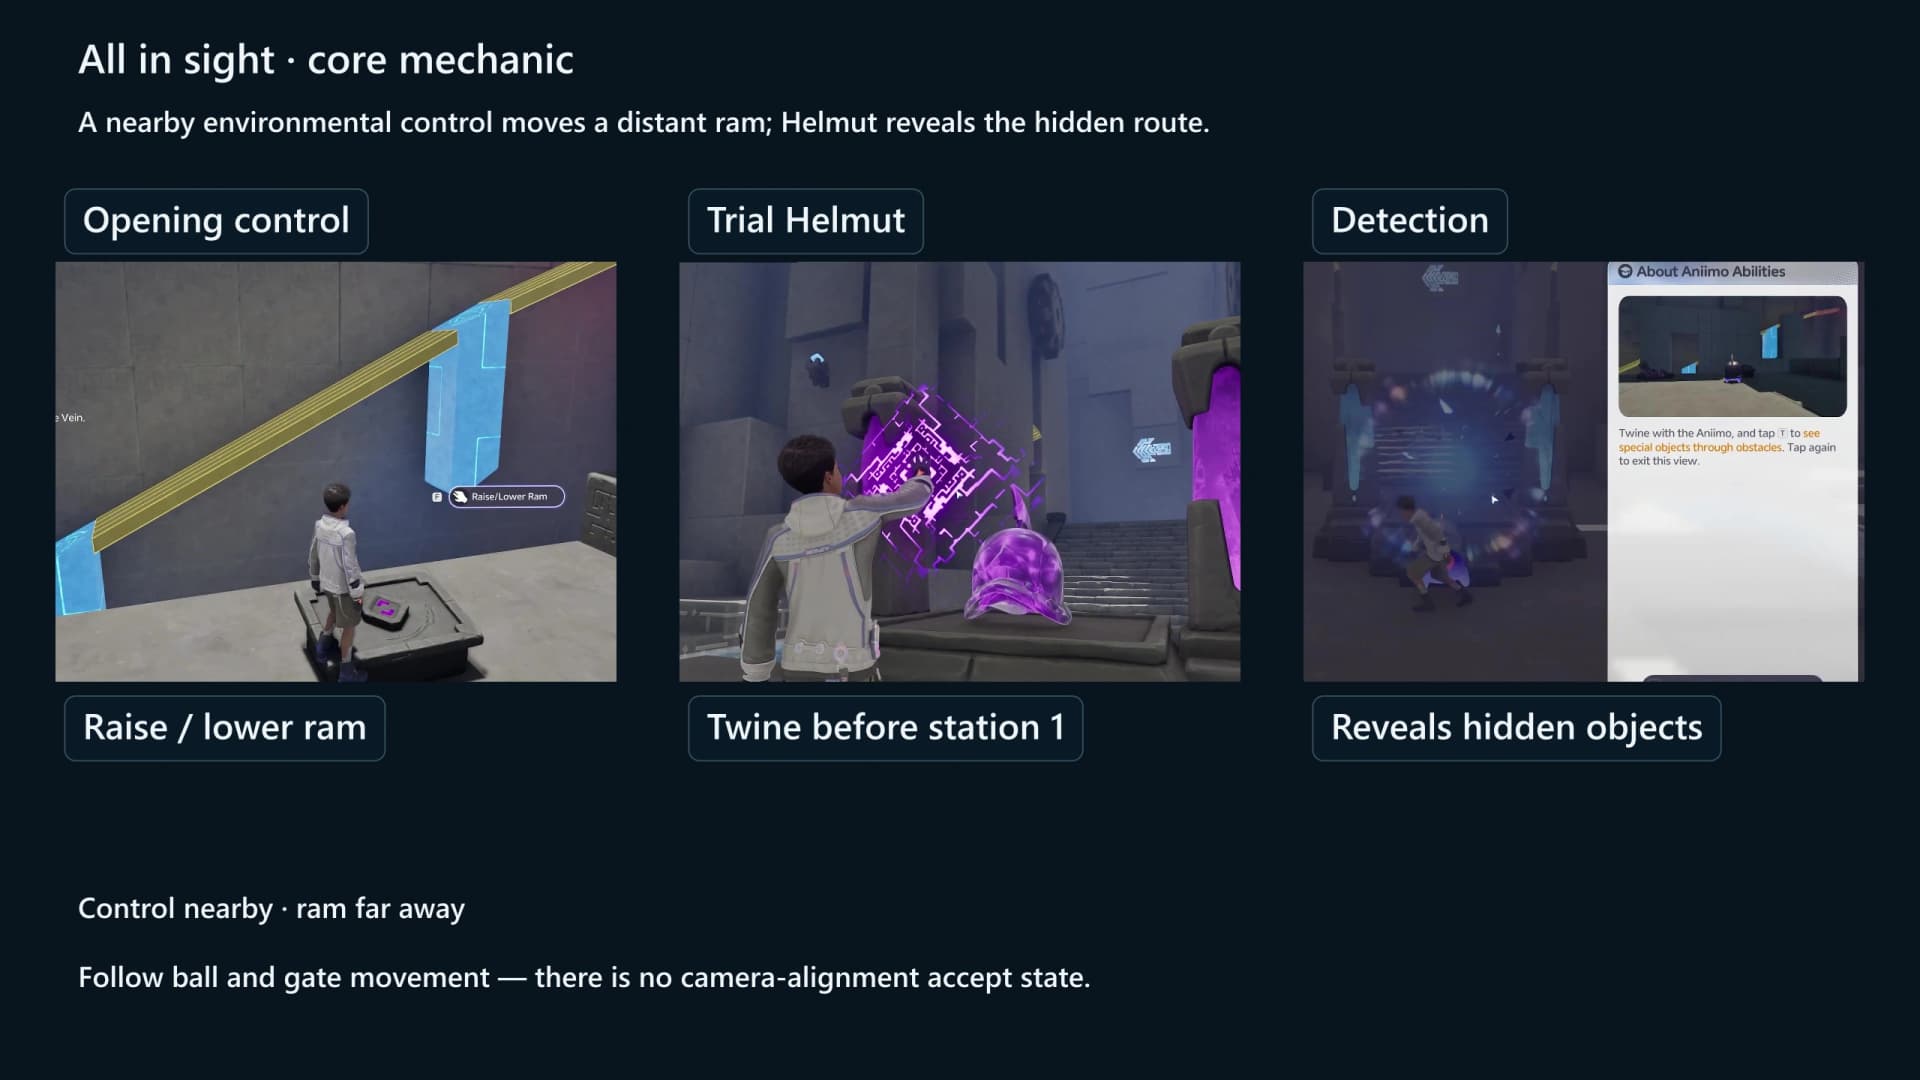
- Use the control from beside it. Helmut never needs to stand on the square mechanism.
- Enter Detection to read the route. Amber view exposes the hidden rails, green ball and socket state.
- Press Raise/Lower Ram as the ball path requires. The control changes a distant ram; it does not align the camera.
- Watch the room, not a silhouette. Progress is the ball moving into a mechanism slot or a gate/path opening.
- Ignore the turning cogs. The room is full of them, over doorways and above the chest cells, and not one is a dial to set or a wheel to time.
- Use Refresh Ball only when that exact prompt appears. Recall is a separate combat action and is not the room reset.
Route, step by step
The room carries three ram consoles in all, and the first of them sits before the statue, so only two are available once you have Helmut. The extra Detection sequences come from the sockets rather than from extra controls: the west shaft has four sockets sharing one ball, and each one you seat swallows that ball and drops a fresh one at the top, so you work the same console again instead of finding a new one. Follow the mechanisms in room order and use the ball and gate movement as your confirmation, since the number of button presses depends on where the ball currently sits.
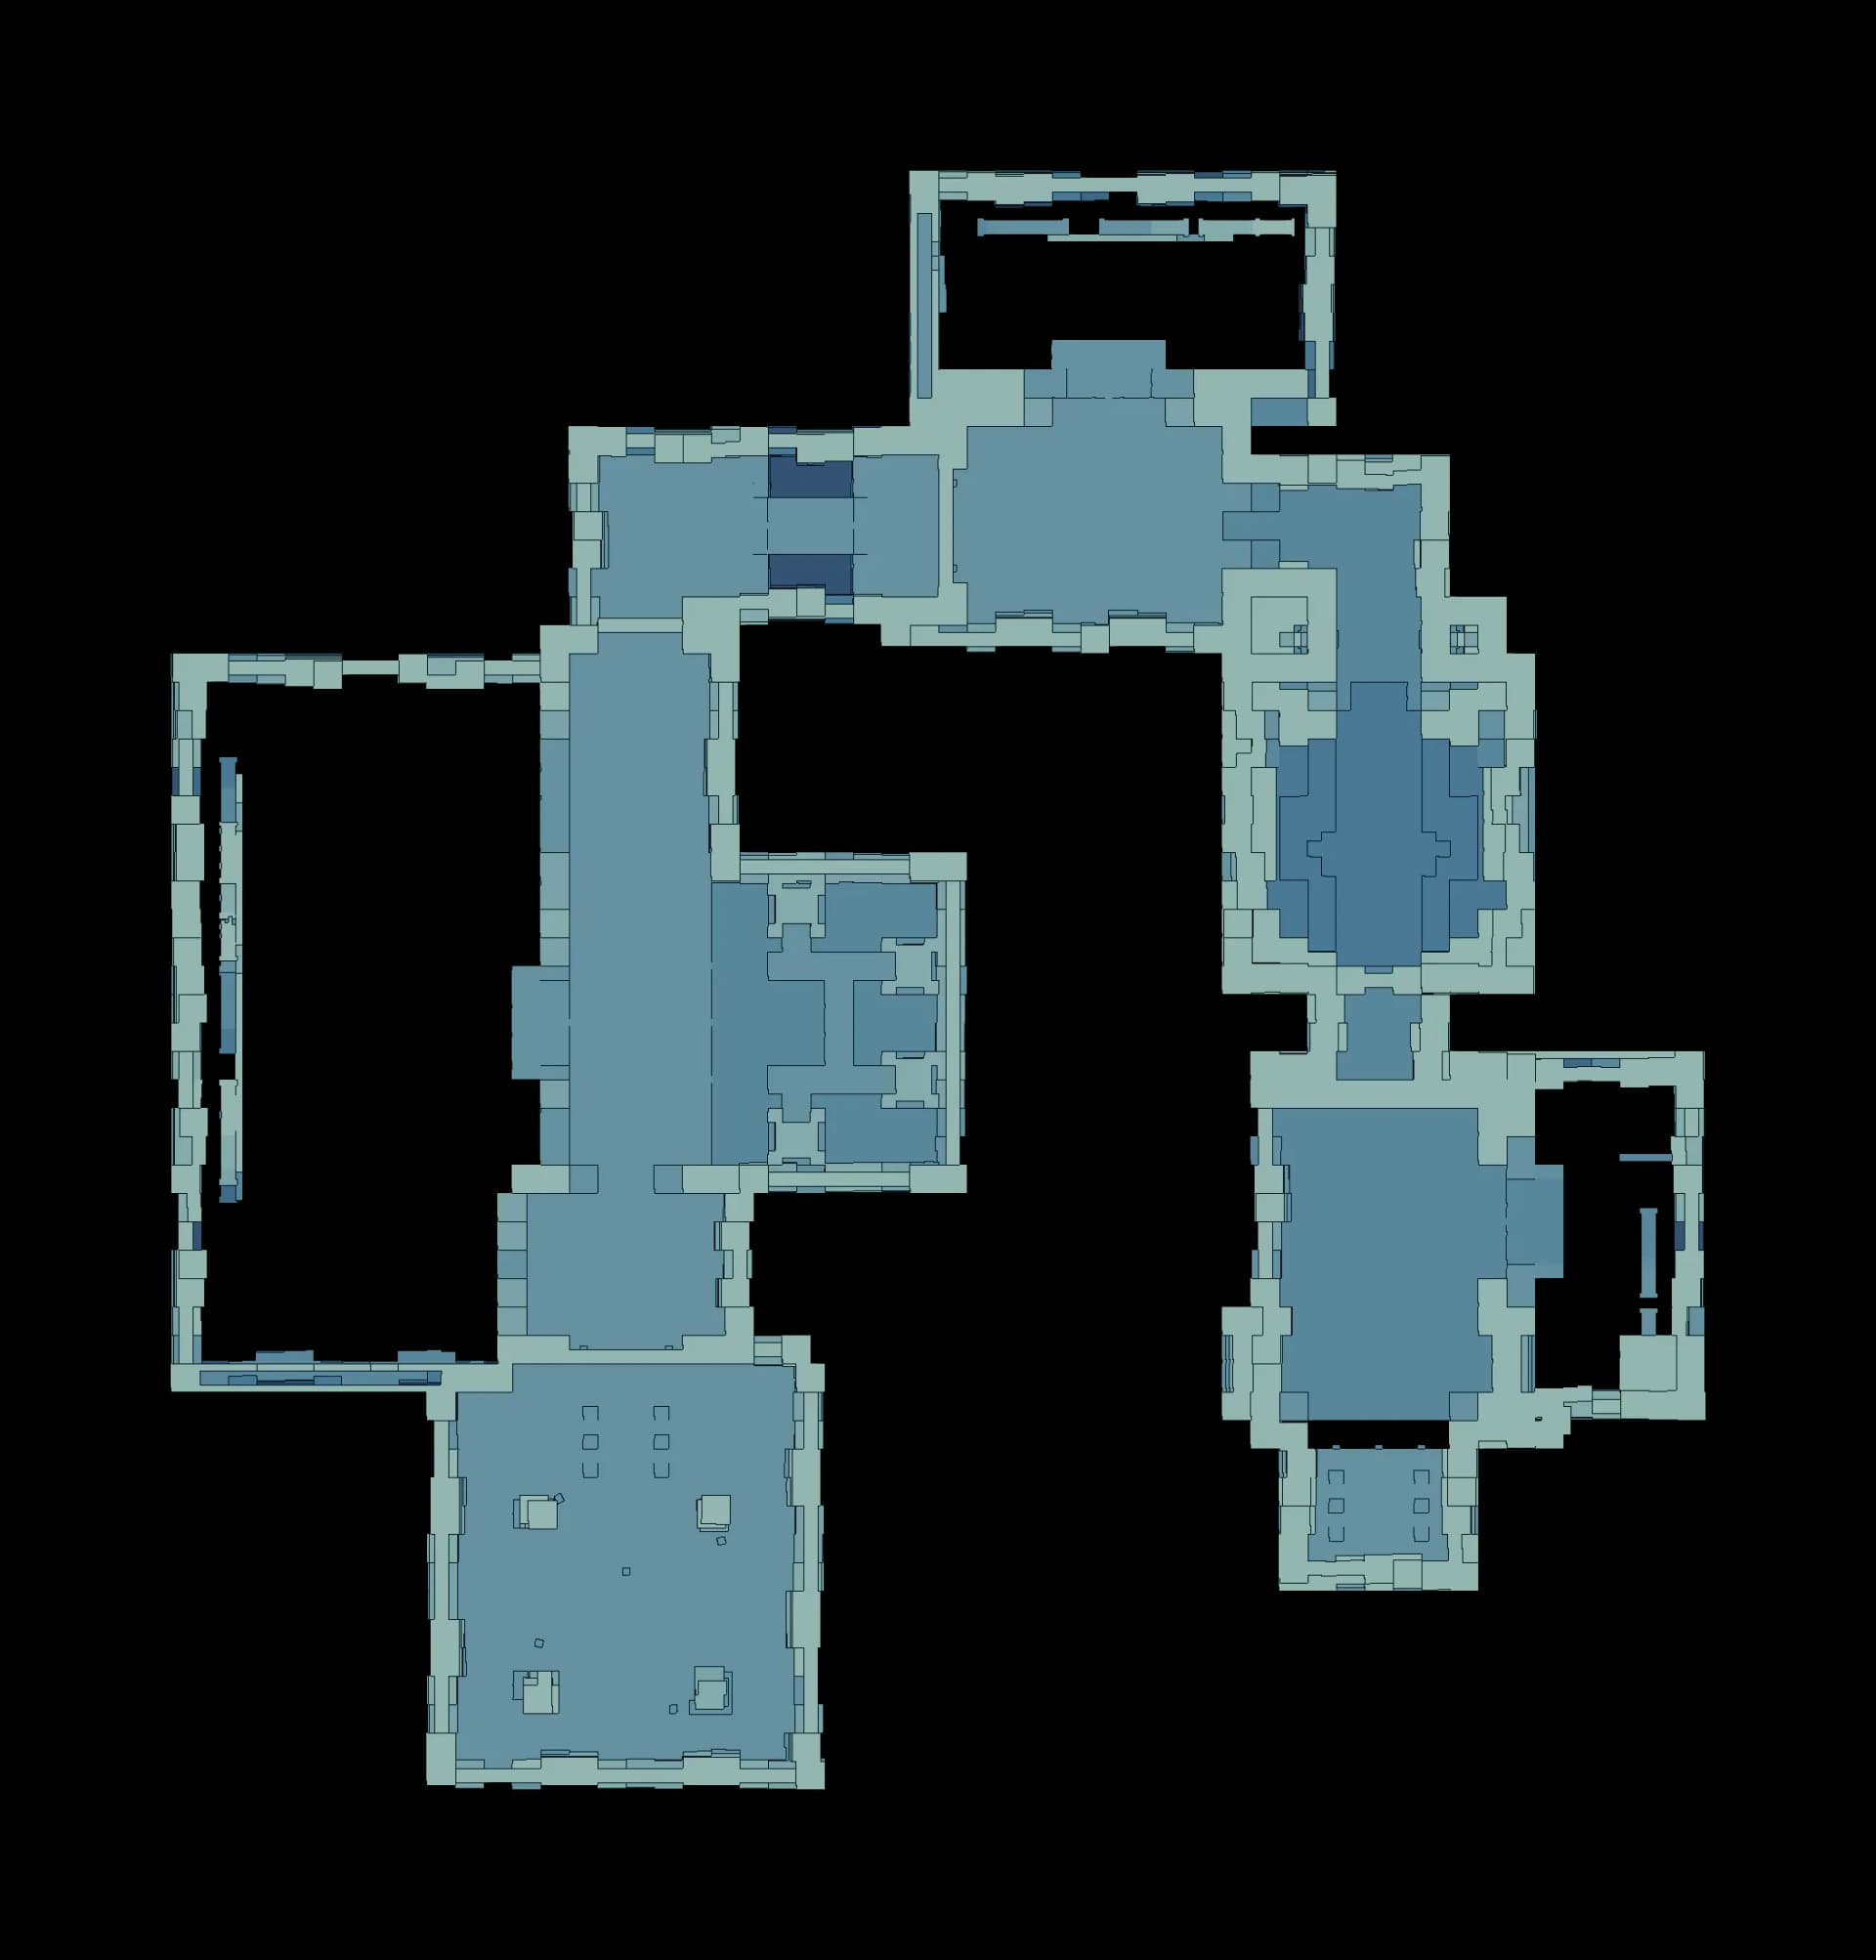 TX14253ACCCC
- Entrance
- Checkpoint
- Trial statue
- Terminus
- Chest
- Control
- Mechanism
- Hazard
- 1Drop into the Sanctum entranceRoom 0
You arrive on the entrance pad at the south end of the long stone axis. This is the only respawn point the room starts with, so everything ahead of you is one-way until you light the first checkpoint.
- 2Walk east into the first shaft and take the checkpointRoom 1
Head east until the ledge above the first shaft. Crossing this line unlocks the checkpoint portal, drops the first Mechanical Ball on the high ledge across the gap, and fires the battering ram tutorial card.
- 3Use the first remote ram controlRoom 1
Stand beside the square console and use Raise/Lower Ram. It drives the two battering rams across the gap at x 36, the upper one at z 28.5 and the lower one at z 42.5. Helmut Detection is not available yet, so read the ball by eye.
- 4Punch the ball into the first ball socketRoom 1
Work the rams until the ball rides down the far wall and seats in the socket at the bottom of the run. If the ball falls into the pit below it is recreated automatically, and the lever beside the console is the Refresh Ball reset if it hangs up.
- 5Pass the first large mechanism doorRoom 0
With the socket seated, the big geared door on the entrance axis opens. Walk back west and north through it. The pair of turning cogs above the frame is scenery, not a dial to set.
- 6Twine with trial Helmut at the statueRoom 0
Interact with the stone statue base to take trial Helmut. One second later the Detection tutorial appears. From here on, Detection shows the hidden rails, the Mechanical Balls and the socket states through walls.
- 7Chest 1: drop into the gear gallery pitOptionalChest 1Room 3
Just past the statue two large cogs turn over a split pit with a loose ball on each side. The pit floor only destroys the balls, not you, so drop into the left-hand side and open the standard chest. Climb back out and continue north-west.
- 8Take the second checkpoint on the north-west landingRoom 2
Follow the route north-west to the landing overlooking the second shaft. Crossing it unlocks the checkpoint portal and drops the second Mechanical Ball on the high ledge at the east end of the shaft.
- 9Run Detection at the second remote ram controlRoom 2
Enter Detection so the hidden rails along z 180 are visible, then use Raise/Lower Ram at the console. This control drives two rams, the near one at x -28 and the far one at x -42. The lever beside the console is Refresh Ball if the ball ends up off the rail.
- 10Seat the ball in the second socketRoom 2
Drive the ball west along the rail until it seats in the socket at the far end of the shaft. Keep clear of the drop between the rams, which kills the player as well as the ball.
- 11Pass the second large mechanism door and take checkpoint threeRoom 4
The second geared door opens on the crossing at z 138. Go through it and the trigger just beyond unlocks the checkpoint portal. This is the only checkpoint in the room that does not also hand you a ball.
- 12Chest 2: the north basic chest on the west wallOptionalChest 2Room 7
Head south into the pillared chest corridor. The first cell on your right, behind an ancient mechanism gate under a turning cog, holds a basic chest. If the cell is still barred, come back after the shaft sequences.
- 13Chest 3: the north standard chest on the east wallOptionalChest 3Room 7
Directly opposite, the matching cell on the left holds a standard chest. Chests 2 and 3 face each other, so take them in either order. This route goes west wall first.
- 14Take the fourth checkpoint at the west shaftRoom 6
Leave the corridor to the west and step onto the balcony that looks into the tall descent shaft. This unlocks the last checkpoint portal and drops the final Mechanical Ball at the very top of the shaft.
- 15Read the whole descent in DetectionRoom 6
Enter Detection from the balcony. The far wall carries seven battering rams stacked from the top of the shaft down to the floor, plus four ball sockets set into it at different heights. All seven rams answer the single console beside you.
- 16Fill the two upper shaft socketsRoom 6
Work Raise/Lower Ram until the ball drops onto the upper rams and seats in the high socket, then again for the second socket below it. Each socket swallows its ball and a fresh one appears at the top, so expect to repeat the sequence rather than steer one ball into everything.
- 17Fill the two lower shaft socketsRoom 6
Repeat the run with the lower rams and the moving wall until the last two sockets at the foot of the shaft are seated. The lever beside the console is the Refresh Ball reset whenever the ball ends up somewhere the rams cannot reach.
- 18Chest 4: the premium chest in the south cellOptionalChest 4Room 7
Go back east to the chest corridor and continue past the first pair to the south spur. The gold premium chest sits behind the east gate at z 60. If the gate was barred earlier, it opens after the shaft sequences.
- 19Chest 5: the last basic chest in the far south cellOptionalChest 5Room 7
The final cell is the last barred one at the south end of the corridor on the west wall. Take the basic chest here and confirm the counter reads 5/5 before you move on, because the Terminus ends the room.
- 20Pass the last door and touch the TerminusRoom 6
The third large mechanism door opens at the south end of the shaft room. Walk through it to the square Sanctum Terminus and use Touch. That sets the Terminus to its completion state, restores the Vein and clears the Sanctum.
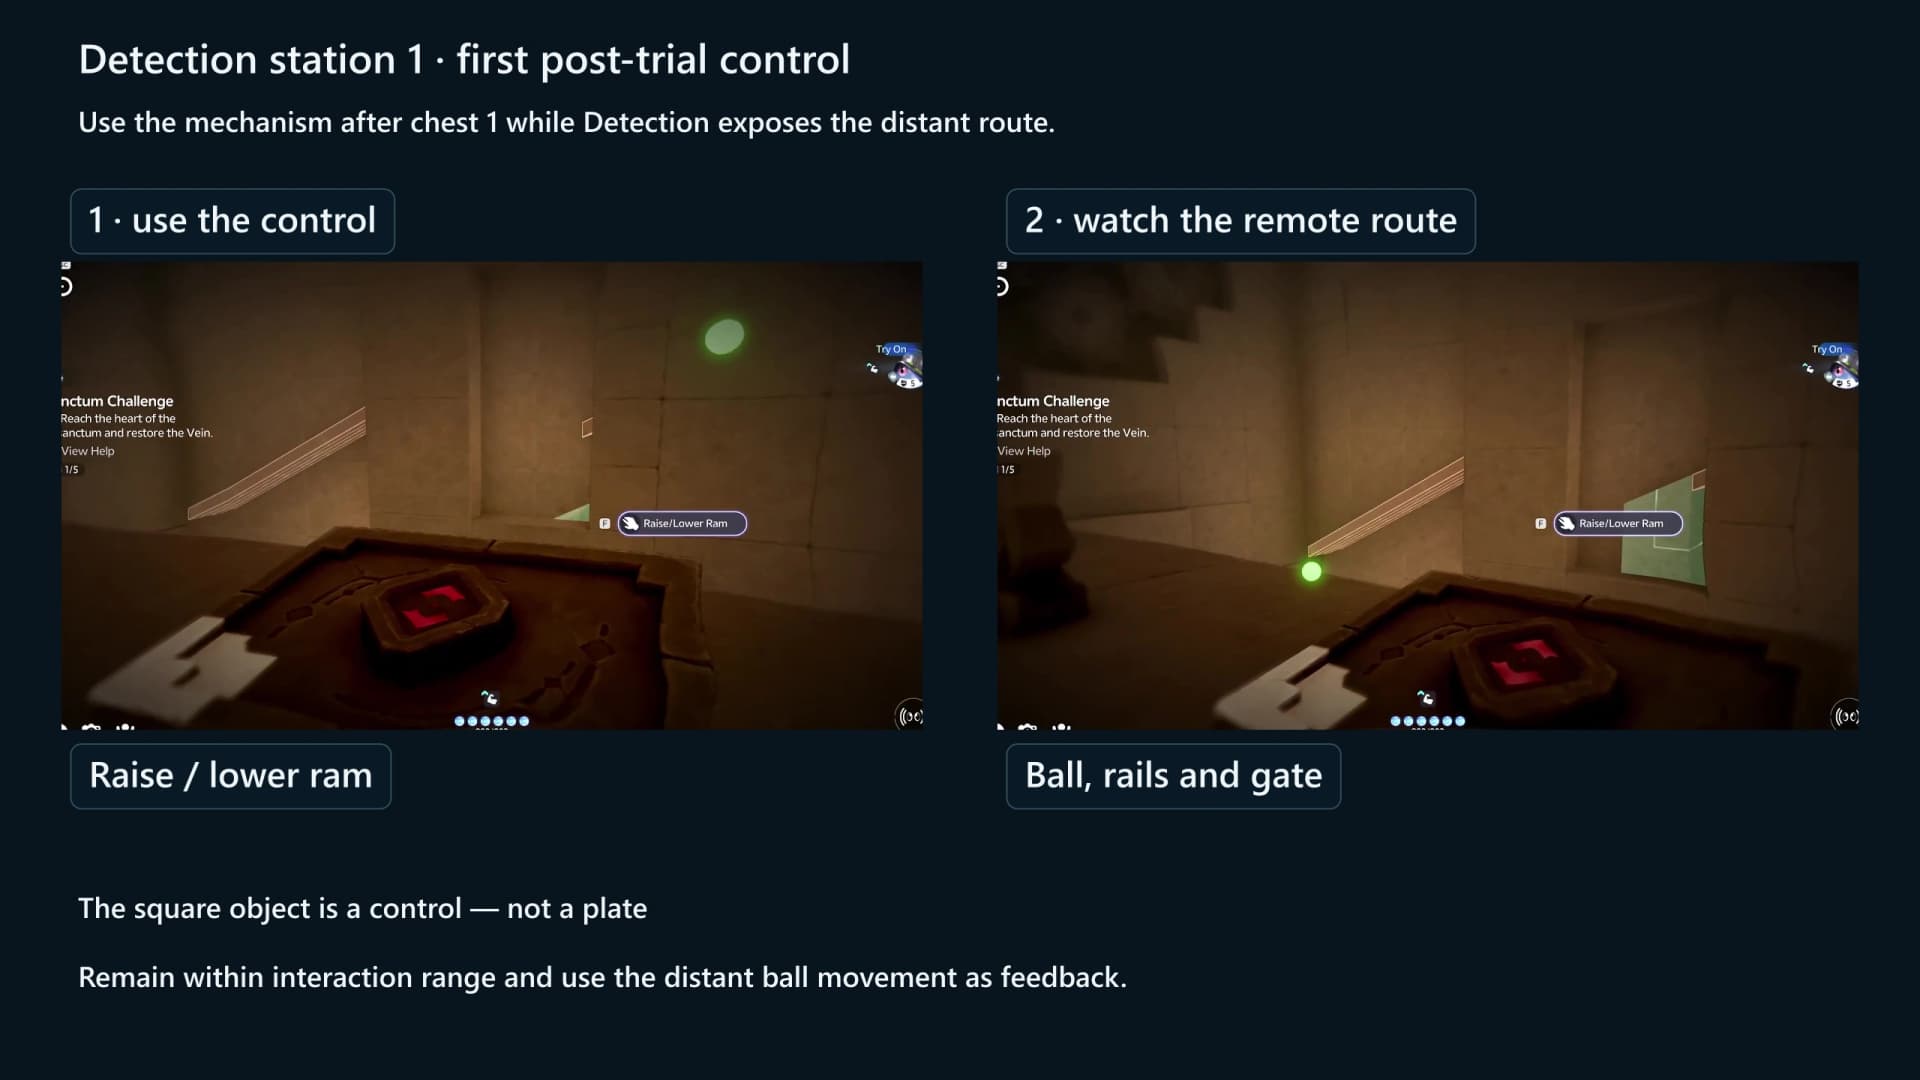
The first post-trial console
After chest 1, stop at the first square control overlooking a revealed rail field. Enter Detection, keep the control within interaction range and use Raise/Lower Ram. The green ball and pale rails are the useful state indicators; continue until the ball advances and the route opens.
The west shaft console and its four sockets
The tall west shaft has one console, not a neighbouring pair. Its far wall carries seven battering rams stacked from the top of the shaft down to the floor and four ball sockets set into it at different heights, and all seven rams answer that single control. The device a few steps away from it is the Refresh Ball lever, which is a reset rather than a second console, and that is what makes the shaft read as two stations when it is one.
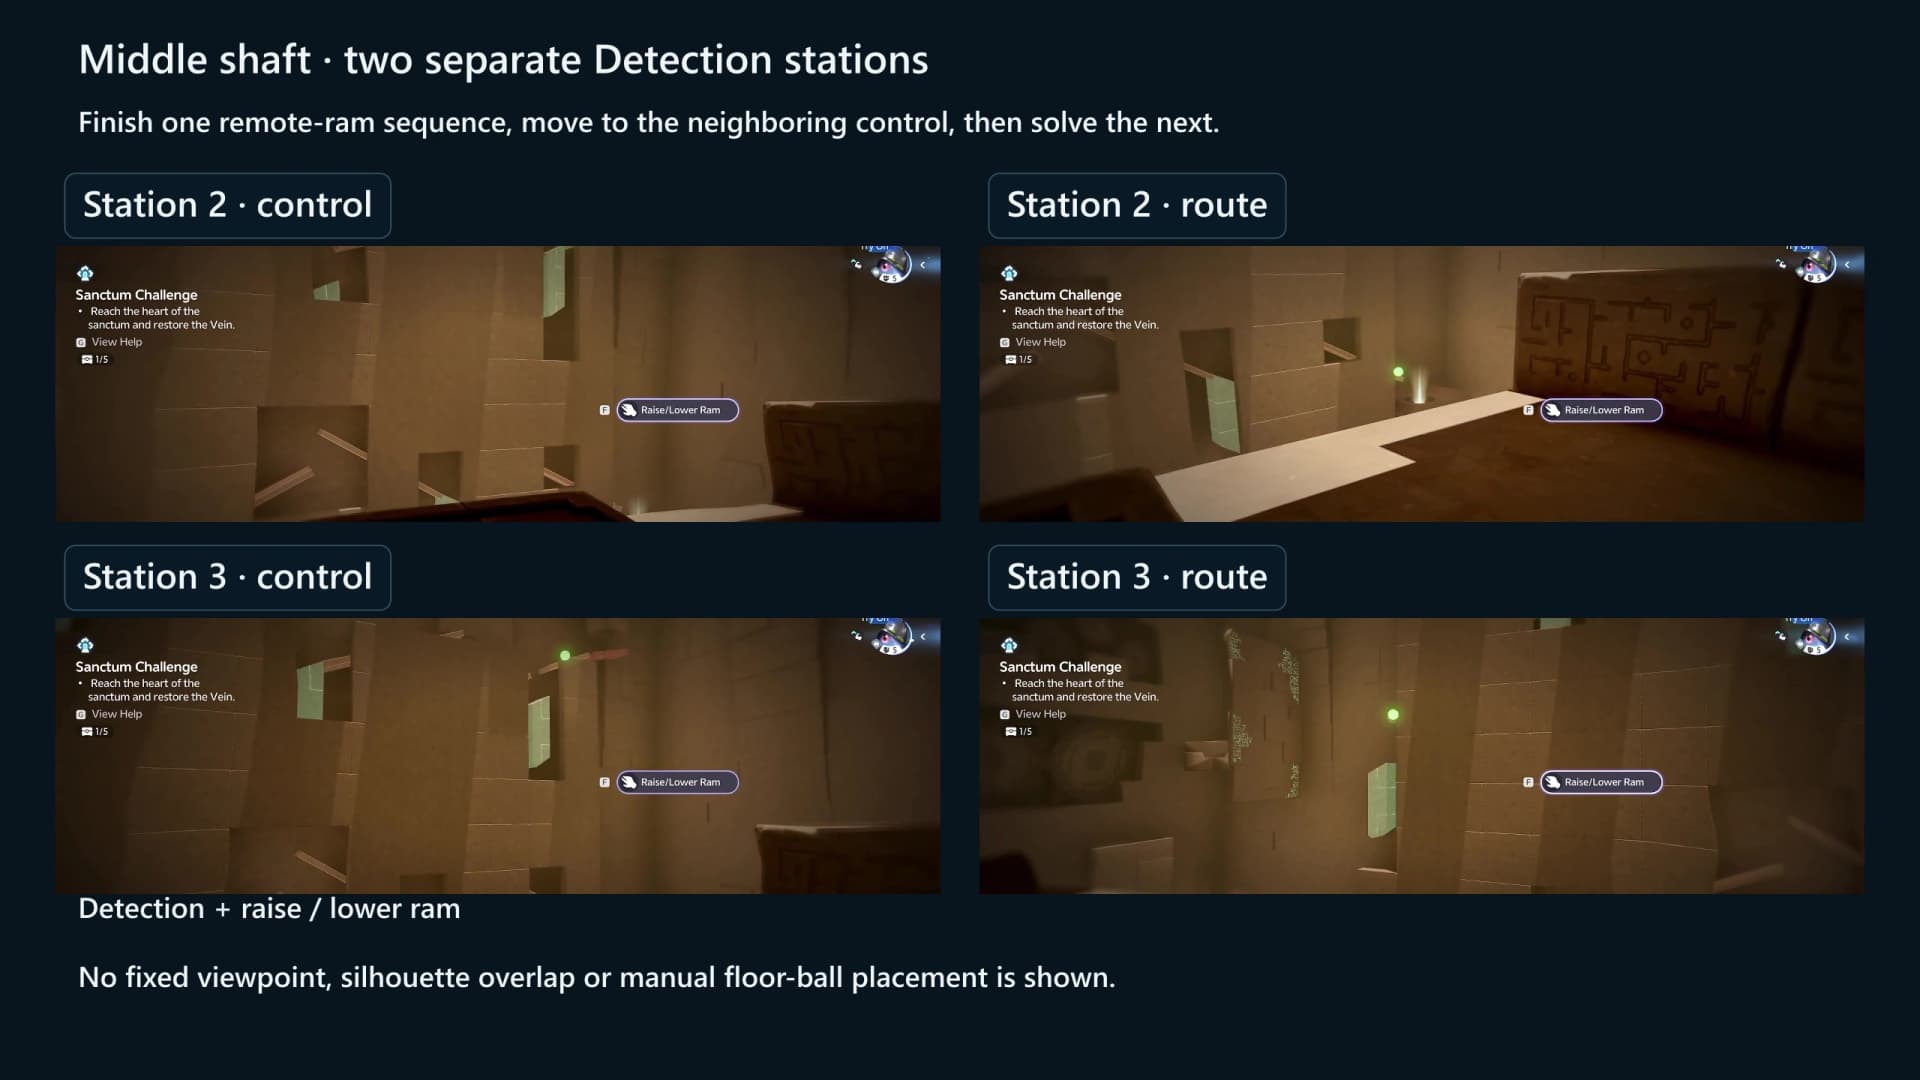
Why the same console repeats
Every socket you fill swallows its ball and a fresh one appears at the top of the shaft, so the work reads as a new sequence each time even though you never leave the console. In Detection, use the adjacent Refresh Ball device if its prompt is present, then operate Raise/Lower Ram until the next ball reaches the socket you are working on. The south chest spur is the part of the corridor to sweep again once the shaft is finished.

Five-chest checklist
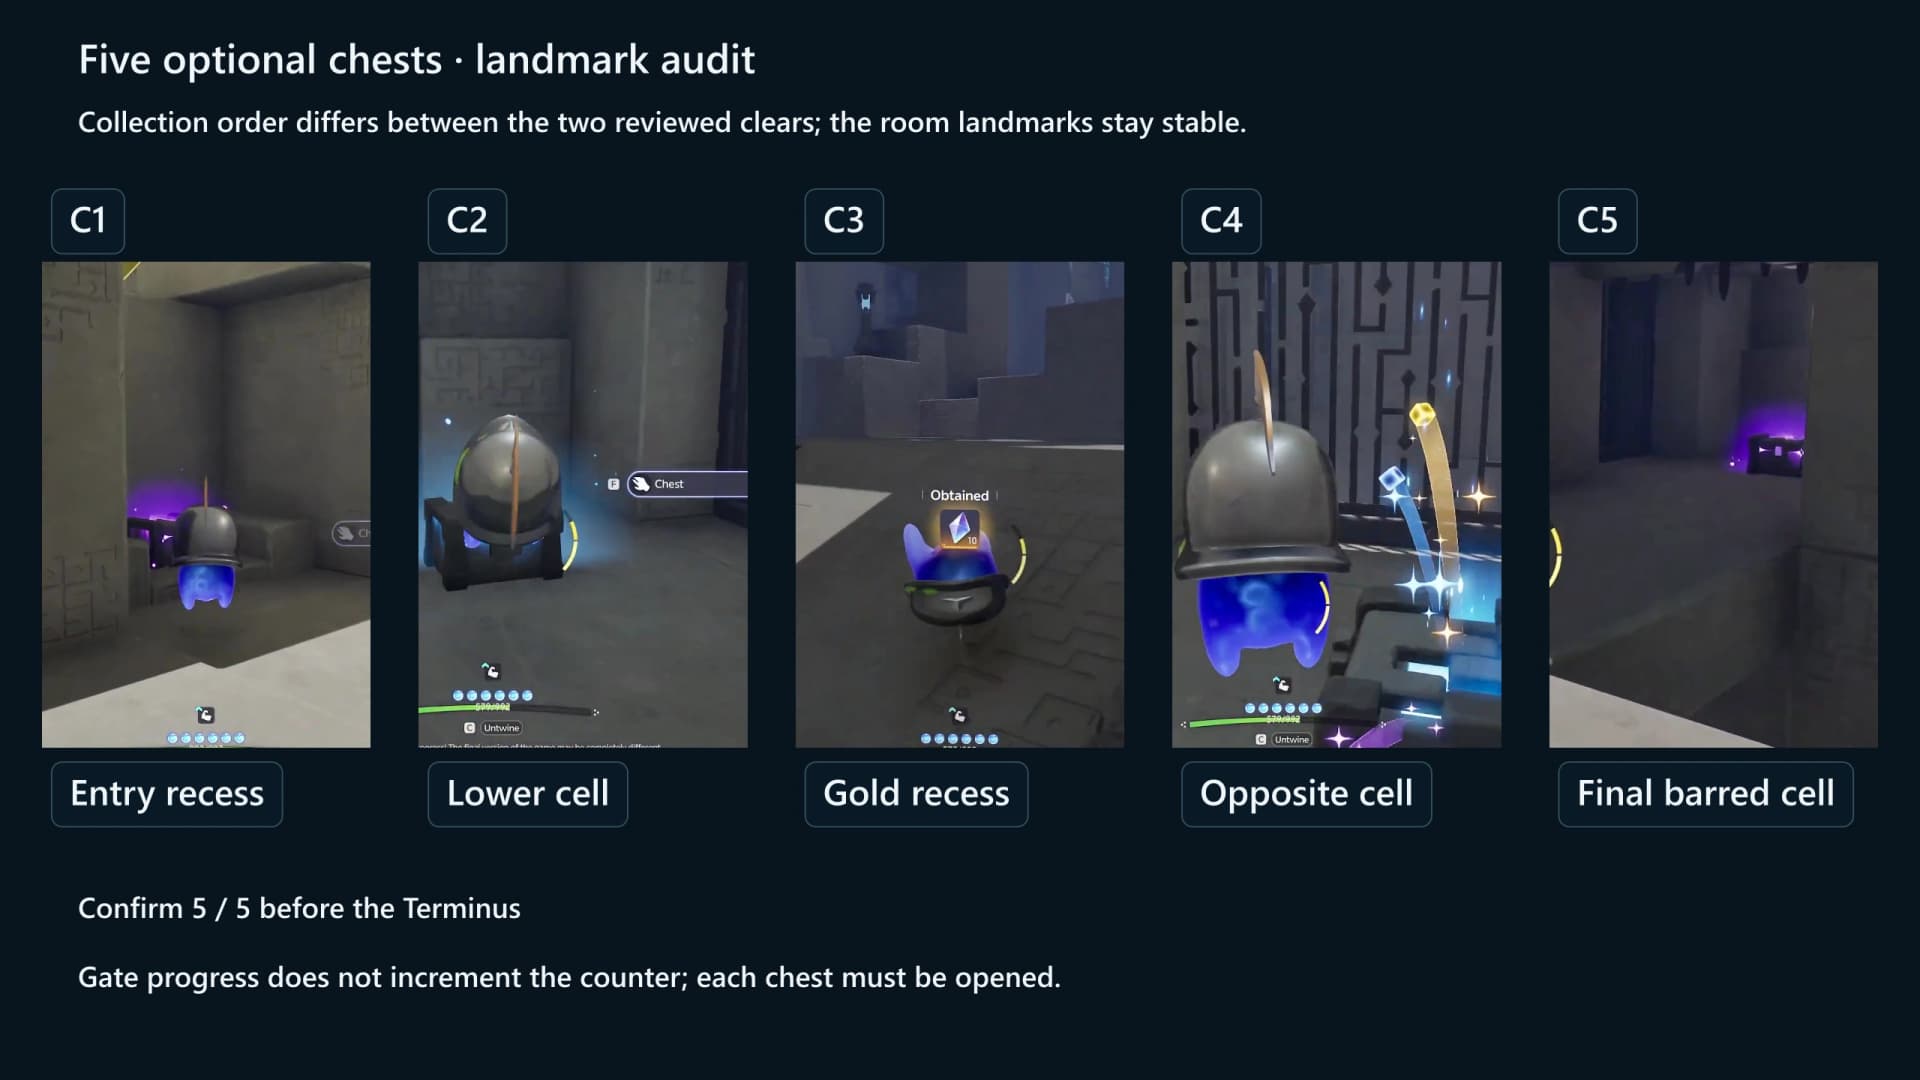
Chest 1 sits on its own in the gear gallery just past the statue. The other four are in a single straight corridor laid out as two facing pairs: the north pair is on the walking line to the west shaft, and the south pair is a dead-end spur past the console turn-off. Take the north pair on the way through, come back for the south pair, and use the ledger below and the HUD counter rather than one gate animation to track the order.
| Chest | Tier | Contents |
|---|---|---|
| Chest 1 | Standard | Glimmer x10, Credits x10000, Sparkling Crystal x10, one Rare held item |
| Chest 2 | Basic | Glimmer x5, Credits x5000, Sparkling Crystal x5 |
| Chest 3 | Standard | Glimmer x10, Credits x10000, Sparkling Crystal x10, one Rare held item |
| Chest 4 | Premium | Glimmer x20, Credits x20000, Sparkling Crystal x15, one Epic held item |
| Chest 5 | Basic | Glimmer x5, Credits x5000, Sparkling Crystal x5 |
| First clear | Reward | Lumin Amber: Breezy Plains, EXP x500 |
Every held item: Spirited Feather, Fission Needles, Echoing Grimoire, Ferocious Fang, Miraculous Fleece, Lightning Needle, Gargantuan Horn, Marching Flask, Capacitous Battery, Heartseeker Pendant, Avenging Gear, Heritage Amulet, Explosive Gloves, Giant Tortoise Shell, Auspicious Bell.
Checkpoints and hazards
First Sight is the longest route in the family and it is checkpointed accordingly: the entrance pad plus four interior portals, each unlocked by crossing a line rather than by using anything. Three of the four hand you a Mechanical Ball at the same moment, which is the room telling you a new shaft has opened.
- Entrance pad, south end of the long axis. Your only respawn until the first checkpoint lights, so the opening ram work is the one stretch with a long walk back.
- The ledge above the first shaft. Crossing east unlocks it, drops the first ball on the high ledge across the gap and fires the battering ram tutorial.
- The north-west landing over the second shaft. Unlocks with the second ball on the high ledge at the east end of that shaft.
- Just past the second mechanism door. The only checkpoint in the room that does not also hand you a ball.
- The balcony over the west descent shaft. The last one, and it drops the final ball at the very top of the shaft.
Troubleshooting
Sanctum Terminus, rewards and next guides
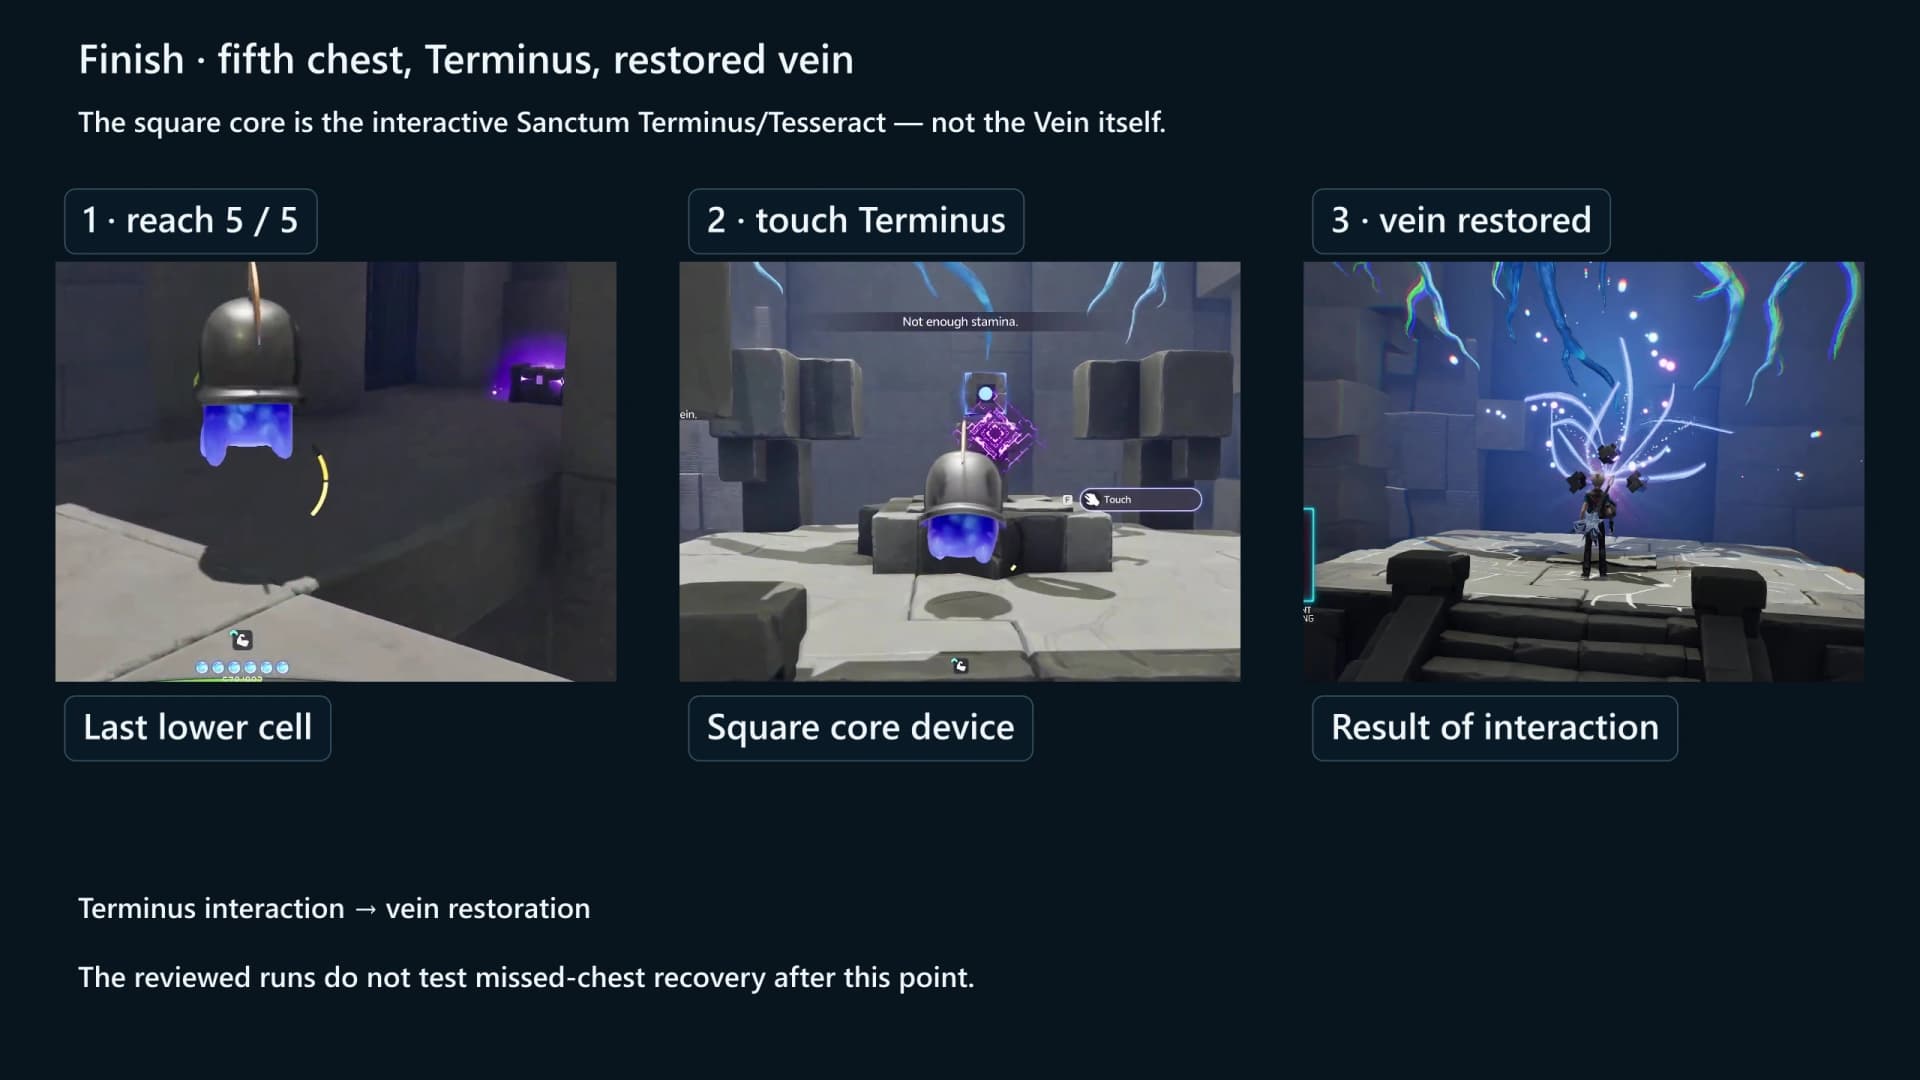
A first clear pays Lumin Amber: Breezy Plains ×1 plus 500 EXP. It also lights this room’s node on the Leyline Tree and counts toward the Sanctum Delver badges at 3, 5, 10 and 15 clears. Repeat clears pay nothing, and optional chest loot is separate from the first-clear award, which is one more reason to reach 5/5 before the Terminus.
Frequently asked
Where is the First Sight Sanctum?
First Sight is a solo Sanctum in Russet Highlands. Use the exact atlas pin; the marker sits at 2083, 662 on the AniimoVerse atlas.
Which trial Aniimo and ability does First Sight use?
The room supplies Helmut. Its Detection action reveals hidden route objects while nearby controls move distant battering rams. It is not a Bilateral camera-alignment puzzle.
How many optional chests are in First Sight?
There are five. Take C1 in the gear gallery past the statue, then sweep the four cells of the chest corridor, north pair first, as the ram sequences open them. Confirm 5/5 before touching the Sanctum Terminus.
How do I reset the ball, and can I return for missed chests?
Use Refresh Ball when that exact prompt appears; do not substitute Recall. Treat the room as one visit and complete it at 5/5, because a chest left behind is gone once the Vein is restored.