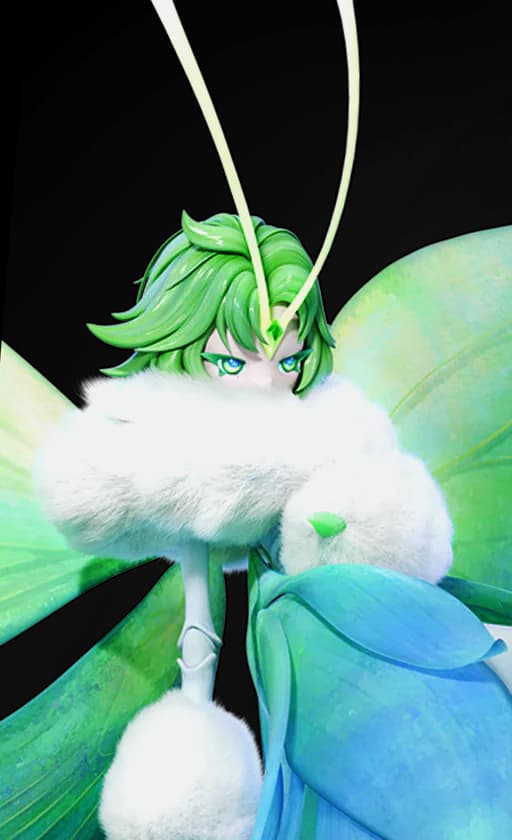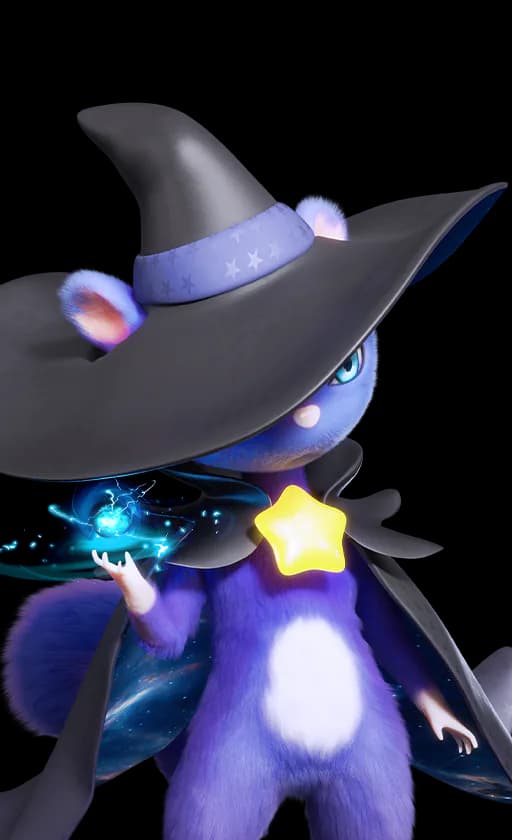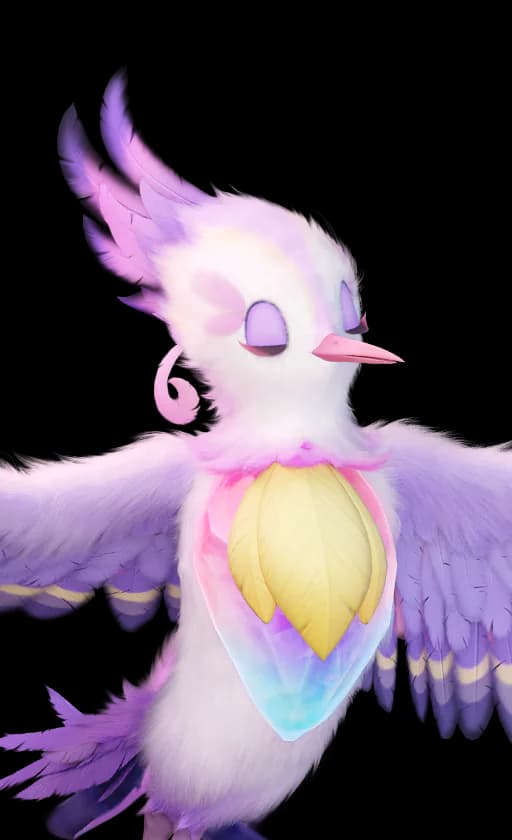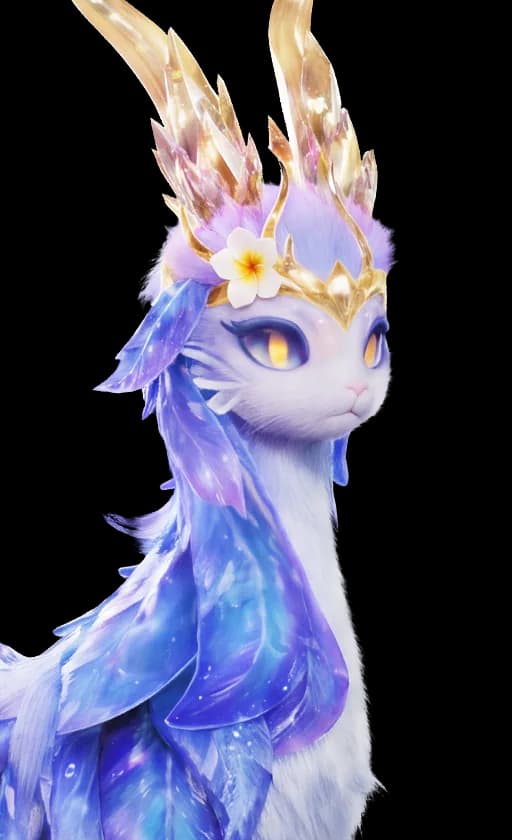
Team healing · Grass and Water

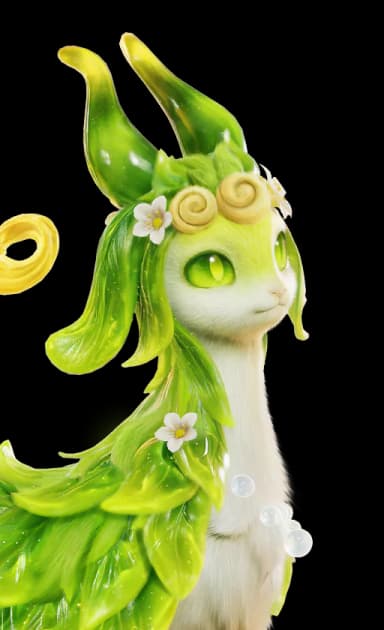
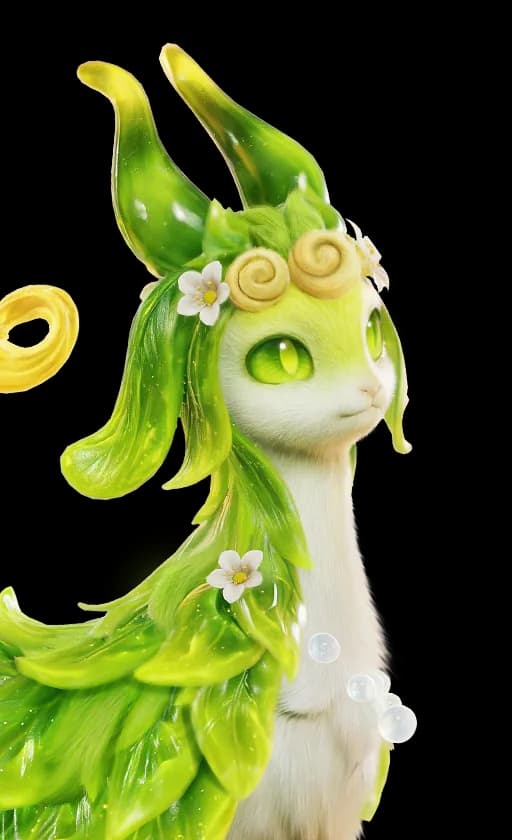
Glameep Bubble Healer

Glameep heals for 12% of its own maximum HP over 6 seconds, shields for 7% and raises healing received by 15%. Damage the target to fill Bubble Energy, spend the full bank on Healbubb, and pick the bubble beam that matches the form you are running.

By AniimoVerse ·

3 party blueprints2 loadout options2 forms
Base attribute total
540points
GrassS Tier
Easy difficultyFill the bank before you heal
Current game data · 19 Sep 2026

Attribute breakdown

Bars share a 0–150 scale
HP117
ATK100
BREAK50
P.DEF92
M.DEF89
REGEN92

Start playing

Your first rotation

  1. 01

    Open with Leafwave Bubble. It raises healing received by 15% for nearby allies for 30 seconds and returns 21% of Glameep maximum HP to itself over 2 seconds.

  2. 02

    Damage the target with Baa-Baa Leaf Shot or a bubble beam. Each damaging skill adds 3 Bubble Energy on top of the 1 that arrives every 3 seconds.

  3. 03

    Cast Baa-Baa Healbubb at 10 Bubble Energy. The base heal is 12% of maximum HP over 6 seconds and the full bank adds another 12% on top.

EP is your skill resource. BREAK is the vulnerable phase after the enemy’s break bar is depleted. An ultimate is the charged special skill. Read the full rotation and entry requirements.

At a glance

Stat priorities

Start with the first priority and work down. These are practical build goals, not simulated stat weights.

  1. 1. HP

    Every heal reads off Glameep maximum HP: Healbubb restores 12%, Sweetbubb shields 7%, and Leafwave Bubble returns 21% to Glameep itself. Raising the 117 base pool raises all three numbers at once.

  2. 2. REGEN

    Healbubb costs 15 EP and each bubble beam costs 20. Its 92 base REGEN helps determine how often the heal is available.

  3. 3. P.DEF and M.DEF

    At 92 and 89 Glameep can hold position while the beam pierces the line. Raise the one that matches the damage school rather than splitting both.

Party blueprints

Pair Glameep with something that needs uninterrupted time

A shield plus a heal buys a carry the window it would otherwise spend dodging. Each blueprint lists the damage dealer first and opens in that order in the Planner. Core slots define this blueprint. Replace a flex member only if its replacement still covers the job described on the card.

Protect a Grass field carry

Evergreen WardRecommended

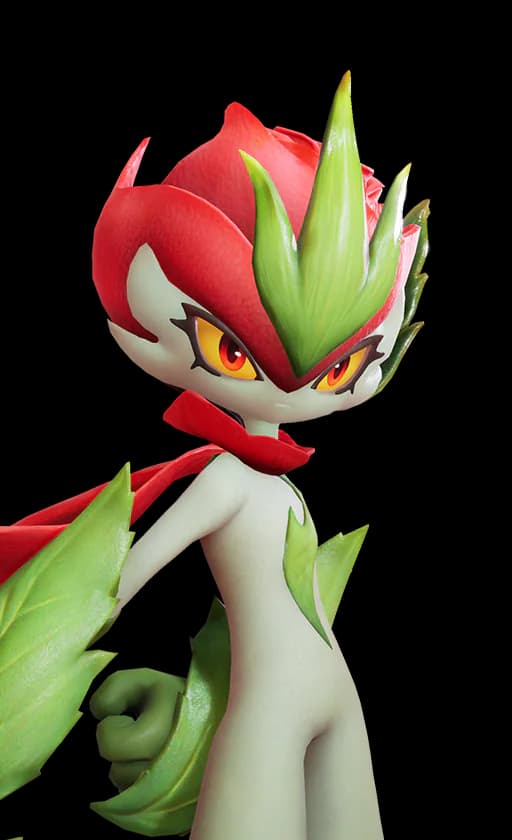
Thornblade needs uninterrupted time to cash out Sword Dance stacks, which is exactly what a shield plus a heal buys. Helmut takes the pressure phase and Somniwing keeps everyone funded while Glameep banks Bubble Energy.
Load in Team Planner
ThornbladeBasic

Core · Damage dealer

Builds Sword Dance stacks with skills and cashes them out on basics inside the shield window.
HelmutBasic

Flex

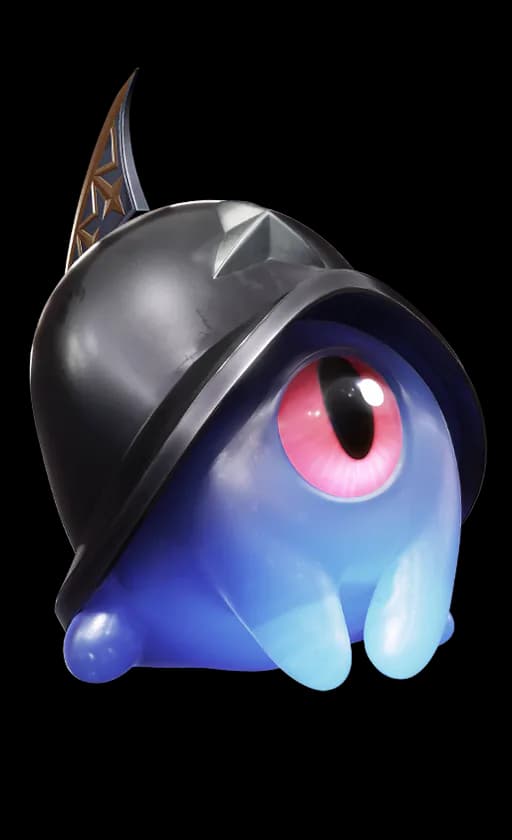
Takes the pressure phase and opens the BREAK bar so the carry gets a clean window.

SomniwingBasic

Flex

The light wave grants 24% EP recovery for 20 seconds, which pays for the next Healbubb.
Run the Dark form beside Dark damage

Prismana Shadow LinePrismana form

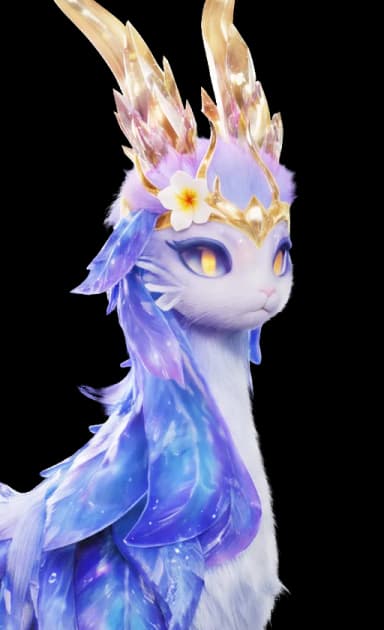
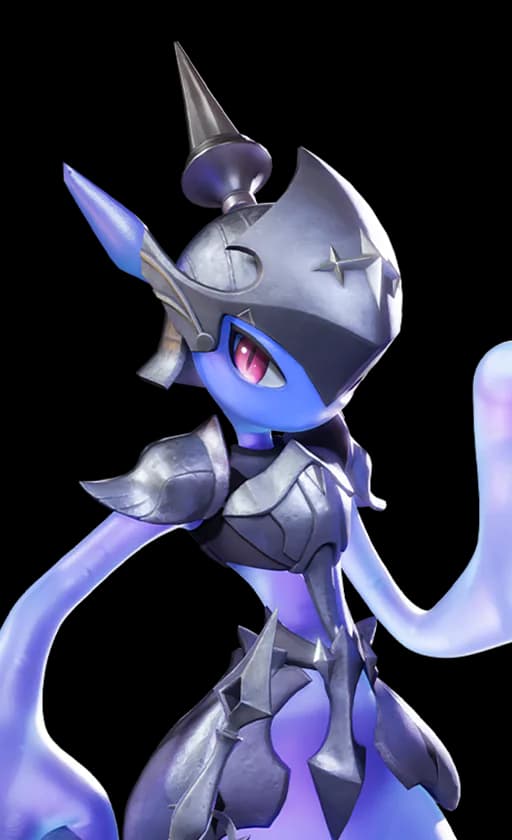
Prismana Glameep is Grass and Dark instead of Grass and Water, which makes Baa-Baa Darkbubb the matching beam. Pawney and Stellarys both push Dark damage, and Fragrancier keeps the marks up.

Load in Team Planner
PawneyBasic

Core · Damage dealer

Dark damage that lines up with the Darkbubb beam and the Dark typing of the Prismana form.

StellarysBasic

Flex

Sets the clone and adds Dark pressure while the shield beam covers the front line.

FragrancierBasic

Flex

Marks the target so the Dark burst lands where the shield beam already passed.

Water damage with a Water-typed shield

Tideline PressureWater team

Baa-Baa Sweetbubb is the Water beam on the basic form, so it lines up with a Water carry and Water support without asking Glameep to change form. Somniwing covers the EP the beams eat.

Load in Team Planner
SherroBasic

Core · Damage dealer

Chases a moving target with Water pressure while the pierced shield keeps it in the fight.

PanpantaBasic

Flex

Adds Water damage and a second shield layer so the beam is not the only mitigation.

SomniwingBasic

Flex

Keeps EP recovery high so the 20 EP beams and the 15 EP heal all fit in one window.

Forms and typing

Grass and Water, or Grass and Dark

Both forms share the same six skills and the same 540 attribute total. The form decides which bubble beam matches the typing, and the Prismana version swaps the Water half for Dark.

Regional forms guide
Combat loadouts

Keep Healbubb, choose the beam

Leafwave Bubble and the basic attack hold their own slots. The second combat slot is the shield beam, and which one you take follows the form. Each loadout labels its equipped skills. An optional swap, where shown, replaces slot 2.

Held items

Healing effect, then the HP it scales on

Miraculous Fleece raises the output directly and Giant Tortoise Shell raises the number every percentage heal is measured against.

Evolution requirements

Route 1Bubbeep evolves into Glameep at Aniimo level 53. · Defeat Omega Glameep first.
Quick rotation5 steps · follow in order

Buff, bank, beam, heal

Four actions, in that order, and the last one is only worth casting with a full bank.

  1. Step 1: Open with Leafwave Bubble

    It costs 0 EP, raises healing received by 15% for nearby allies for 30 seconds and restores 21% of Glameep maximum HP to itself over 2 seconds. Cast it before anyone is hurt so the buff is already live.

  2. Step 2: Fill the bank with damage

    Bubble Energy ticks up by 1 every 3 seconds on its own, which is 30 seconds for a full bank. A damaging skill adds 3, so two beams and a Leaf Shot cover most of it in a few seconds.

  3. Step 3: Line the beam through the team

    Baa-Baa Sweetbubb and Baa-Baa Darkbubb pierce allies and enemies alike, shielding everyone on the line for 7.0% of Glameep maximum HP for 10 seconds. Aim it down the party line so the shield lands on all three allies.

  4. Step 4: Spend the full bank on Healbubb

    Healbubb heals all allies in range for 12% of maximum HP over 6 seconds while Glameep floats and moves. At 10 Bubble Energy it spends the bank and adds another 12%, so healing at 4 stacks throws value away.

  5. Step 5: Switch out and let the buff run

    The Leafwave Bubble buff lasts 30 seconds and the shield 10. Both keep working after Glameep leaves the field, so hand the window back to the damage dealer.

Homeland abilities

GrassGrass-type Aniimo specialize in planting seeds and gathering resources.Lv 3
WaterWater-type Aniimo specialize in brewing and watering plants.Lv 3
Execution notes

Make the build hold together

Use these encounter rules to preserve the rotation instead of forcing the same sequence into every target.

Two beams, two answers

Grass deals 1.6x into Earth and Water. Water deals 1.6x into Fire and Earth. Dark deals 1.6x into Electric, Grass and Light. Pick the beam that matches the target in front of you.

The Prismana form changes the typing

Prismana Glameep is Grass level 4 and Dark level 3 rather than Grass and Water, so the Water weakness to Electric, Grass, Ice and Earth is replaced by a Dark one to Wind and Light.

Where to find Glameep

Glameep lives on the Whisperwake Isles with an atlas pin at 1278,1300, and Bubbeep evolves into it at Aniimo level 53 once you have beaten Omega Glameep. Swimming level 2 reaches the shoreline.

The Prismana spawn does not come back

Prismana Glameep appears on the mountain top of the hidden tidal land in Crescent Bay during Prismana Flow, and the client states that only one can appear at a time and it does not respawn. Converting a Glameep you already raised costs one Whisperwake Isles Prismana Orb and needs that form registered first.

Healing never reads ATK

Nothing in the kit scales a heal or a shield off ATK, so the 100 base ATK only moves beam and basic-attack damage. Spend investment on HP and REGEN instead.