Pile and BREAKRecommended
Bouldus is the core pairing. Helmut prepares BREAK and Gracewing covers healing.
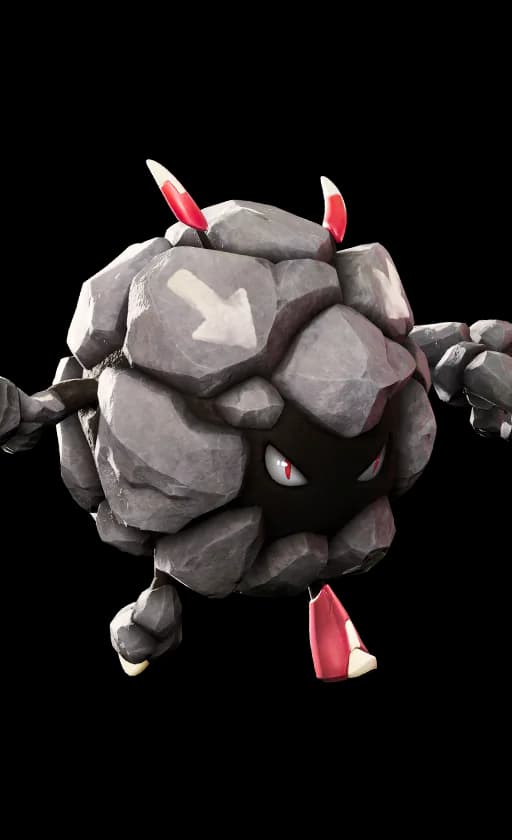
BouldusBasicCore
Place Rock Piles for Waleetle; use Clay Ball only when it will not delay the handoff.

Let Bouldus place the piles, then use Drift before the sustained spin.
By AniimoVerse ·
Start playing
Have Bouldus place Rock Piles beside the prepared target.
Use Stone Ball Drift through the piles, checking which skill will consume Overload.
Use Sandstorm Spin while the target is exposed, then recover and rebuild after it moves.
EP is your skill resource. BREAK is the vulnerable phase after the enemy’s break bar is depleted. An ultimate is the charged special skill. Read the full rotation and entry requirements.
Start with the first priority and work down. These are practical build goals, not simulated stat weights.
Improve the damage delivered during the opening your teammates prepare.
Keep the second rotation available instead of optimizing only the first burst.
Stay in range long enough to complete the useful part of the attack.
Start with the recommended four, then use the alternatives to cover survival or resource problems. These are kit-based starting teams; compare performance at your own investment. Core slots define this blueprint. Replace a flex member only if its replacement still covers the job described on the card.
Bouldus is the core pairing. Helmut prepares BREAK and Gracewing covers healing.
BouldusBasicCore
Place Rock Piles for Waleetle; use Clay Ball only when it will not delay the handoff.
Somniwing replaces the specialist breaker when resource recovery is the bigger problem.
BouldusBasicCore
Place Rock Piles for Waleetle; use Clay Ball only when it will not delay the handoff.
Rookey creates an opening while Bouldus supplies the piles. Do not let setup consume the entire window.
BouldusBasicCore
Place Rock Piles for Waleetle; use Clay Ball only when it will not delay the handoff.
The loadout uses the stated elemental skills. Owning another form can change which skills you can equip; check the two slots before spending upgrade materials.
Use the numbered slots together. Slot 2 choice: keep the recommended skill for the main plan or replace it with the listed alternative for the stated job. Each loadout labels its equipped skills. An optional swap, where shown, replaces slot 2.
Keep Drift to activate Bouldus’s piles. Spin is the sustained follow-up; watch both EP and the target’s movement.
Slot 2 choice: Replace Sandstorm Spin with Stone Ball Cutter for a shorter attack commitment.
Choose from these item options after checking their current level effects. Reliable turns and survival matter before an extra offensive upgrade.
The shopping list covers the full Resonance ladder. Fund the next unlocked stage first; form unlocks and Core Skill upgrades are separate.
View stage-by-stage costsFollow the visible resource and target cues. Reposition or switch when the opening closes instead of finishing a sequence into danger.
Use Bouldus’s Rock Tackle after defensive setup. Confirm the piles are in reach instead of immediately spinning elsewhere.
Switch to Waleetle and use Stone Ball Drift to destroy the piles. Check the target remains inside the useful area.
Inspect your charge before the next skill. Use Sandstorm Spin during a safe opening, preferably against a target in BREAK.
Leave the spin when the target moves or EP becomes limiting. Rebuild the setup after recovery instead of chasing an empty patch of ground.
Use these encounter rules to preserve the rotation instead of forcing the same sequence into every target.
Placement and hit confirmation matter more than the theoretical maximum debuff stacks.
Do not assume one Rock Tackle instantly reaches the trait cap.
If the preceding skill used Overload, do not assume the following spin still starts fully accelerated.