


Choose supports for the mode you are playing
- 1Select the active carry first
Match its attack element and rotation to the fight. In Team Combat Mode, the supports are not three alternative on-field attackers.
- 2Read the actual Core Skill
Glacy supplies Healing Water, Somniwing supplies Ethereal Light Wave, Leafy supplies Vitality Blooms and Turbo supplies Nimbi Burst. Do not count a support ultimate or second skill in that slot.
- 3Check recipients and prerequisites
Leafy’s bloom restores EP to Grass teammates in range. Somniwing’s wave needs the right path. Turbo’s larger buff needs mist. Supply missing terrain or select a heal that does not depend on it.
- 4Fund the handoff
Budget base costs before conditional refunds or upgraded costs. Apply short damage buffs after longer recovery preparation so the carry keeps more of the window.
- 5Coordinate with other players
Agree who brings healing, recovery and the matching damage buff. Do not multiply identical buffs by the number of support users without checking the effect actually stacks.
Egg Heist also normalizes combat attributes and changes how Held Items apply, so an open-world training comparison is not a Heist damage comparison. Follow the Egg Heist equipment rules and the Interlink route modifiers when choosing the last support slot.
Turn an early team into a finished team

Keep your trained damage dealer while you improve the jobs around it. A finished team is one that can repeat its intended rotation against the content you play. It does not require four rare forms or four maximum-investment creatures.
- 1First working team
One trained attacker, Rookey for BREAK, Glacy for recovery and a flexible travel or coverage slot. Use available personalities and ordinary forms while learning the loop.
- 2Solve the failed step
If the attacker waits for EP, add recovery. If it cannot get a safe opening, improve the breaker. If the team dies before the second cycle, improve healing or durability.
- 3Complete the interaction
Add the exact partner or skill upgrade that enables the build: terrain for Water, debuff preparation for Fire, or the upgrade needed for a timed channel.
- 4Refine the same team
Only after two reliable cycles, spend on stronger personalities, item upgrades and special forms. Preserve the role coverage that made the early version work.
Water melee
- Early functional version
- Sherro + Rookey + Glacy + flexible slot
- Next meaningful change
- Add opposite-sex Piopiota and learn puddle timing; consider Panpanta for the breaker job.
Finished rotation
- Puddle
- BREAK
- Sherro’s prepared Water sequence
Keep a puddle available when healing.
Jackpot channel
- Early functional version
- Gachapus + Rookey + Glacy + flexible slot; use one funded channel.
- Next meaningful change
- Add resource support and upgrade Everything Must Go before attempting the two-channel sequence.
Finished rotation
- BREAK
- Rigged Draw
- Super Jackpot
- upgraded channel
- check EP and time before a second
Fire burst
- Early functional version
- Your trained Fire attacker + Rookey + Glacy + flexible slot.
- Next meaningful change
- Choose one destination: a charged Scorchhowl hit, or the debuff setup that supports Infergon/Magmarex.
Finished rotation
Prepare the target and resources before entry; do not consume the debuffs the attacker needs.
Light starter
- Early functional version
- Lunara or Helion + Rookey + Glacy + flexible slot.
- Next meaningful change
- Add Somniwing when resources limit you; switch the breaker to Helmut when survivability limits you.
Finished rotation
- Prepare BREAK
- transform in combat
- maintain the mark or halo loop
Check who receives the Water buff
Piopiota’s Radiant Charm gives 16% to 27% Water damage to opposite-sex teammates, scaling with Piopiota’s ATK. A male Water attacker needs a female Piopiota for this passive, and a female attacker needs a male Piopiota. Wrath of the Sea separately grants team members 20% to 35% Water damage for 30 seconds, also scaling with Piopiota’s ATK, without the sex requirement. The Piopiota support build covers the two buffs and when to preserve puddles instead of consuming them for healing.
For a Panpanta Water team, pair Panpanta with an opposite-sex member of the Susuta family to activate Appeal. When Piopiota supports both Panpanta and a Water damage dealer, choosing the same sex for those two teammates can satisfy both relationships. An unrelated breaker does not gain Appeal merely by matching that arrangement. Preserve a puddle for the next absorption skill before using Piopiota’s healing.

Solve the problem, then choose the support

EP runs dry
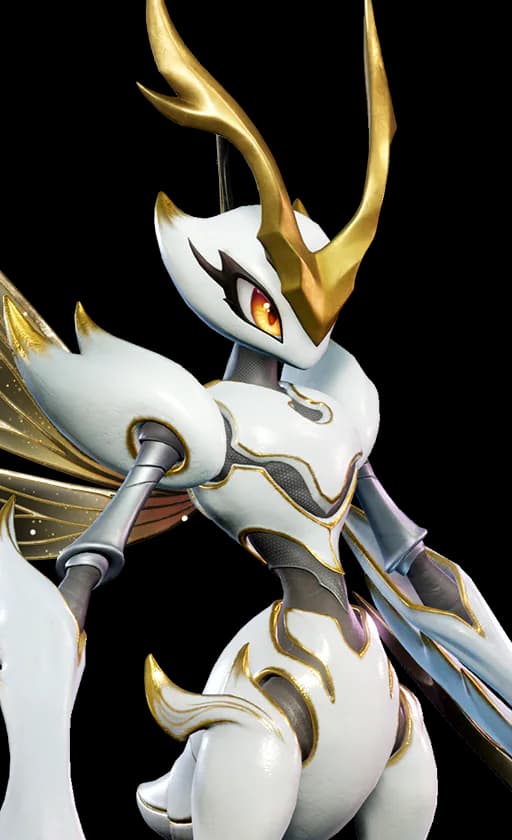
Somniwing · Basic · Ethereal Light Wave
24% to 36% faster EP recovery for 20s, scaling with REGEN
- Condition to respect
- Teammates must be along the wave path; this is recovery rate, not an instant full refill.
One decisive burst hit
Somniwing · Basic · Hypnotic Spores
25% increased damage taken, up to 5s
- Condition to respect
- Breaks on damage; Grass targets are immune. Incidental hits can consume the setup.

Party needs healing
Glacy · Basic · Healing Water
Party heal equal to 10% of caster max HP
- Condition to respect
- The extra 12% over 5s heals Glacy itself. Do not attribute that whole amount to every ally.
Safe damage buff
Glacy · Basic · Glimmer Shot
15% team damage for 15s
- Condition to respect
- The projectile must hit. Its Light damage does not restrict the buff to Light attacks.

Grass carry needs EP
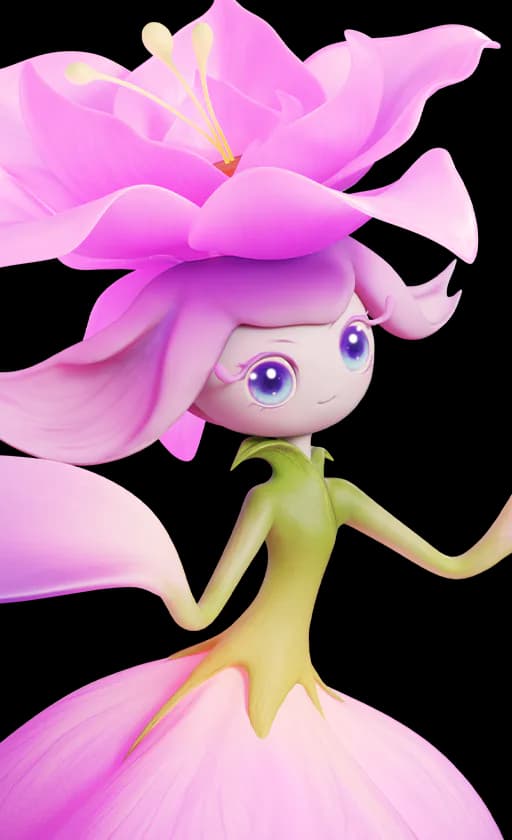
Leafy · Basic · Vitality Blooms
Nearby Grass teammates regain 2.4 to 3.6 EP per second for 12s, scaling with REGEN
- Condition to respect
- Grass terrain upgrades the bloom to add healing; bring Cyclone of Leaves if your mode lets Leafy cast it. See the Leafy support build.

Damage and BREAK utility
Turbo · Basic · Nimbi Burst
15% damage and BREAK efficiency for 20s; 30% with Shrouded in Mist
- Condition to respect
- The first skill consumes mist. Cast the buff before filler; see the Turbo support build.
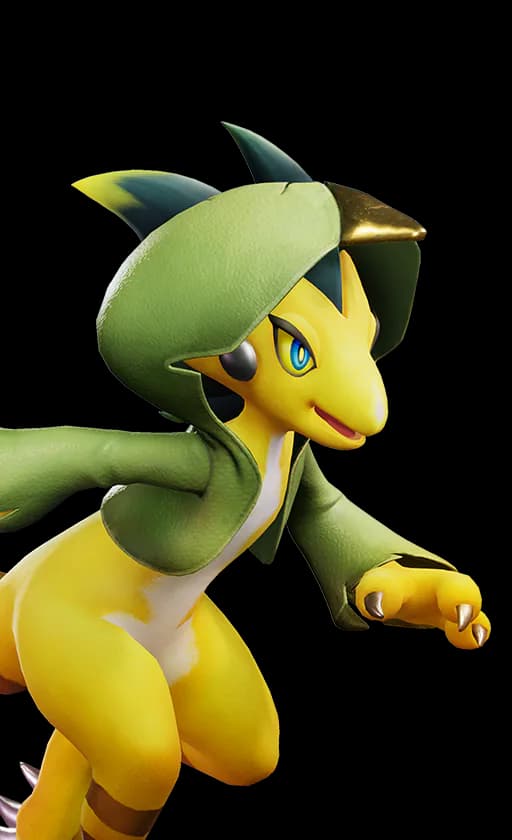
Lightning attacks need crit
Dazmand · Basic · Thunder Sweep
20% to 35% Lightning-damage critical rate for 20 seconds on hit, scaling with Dazmand’s ATK
- Condition to respect
- The buff applies to Lightning damage, not every attack by a Lightning-typed Aniimo. See the Dazmand support build.
Need healing while moving
Turbo · Basic · Collectible Drop
Seven healing pickups, each worth 6% HP
- Condition to respect
- They must be collected. Do not treat the ultimate as an instant party heal or count it in a Core Skill support slot.
- 1Name the failed part of the rotation
Is the carry empty on EP, unable to survive, missing the target, or hitting without BREAK? Fix that failure before adding a second damage buffer.
- 2Check the recipient
Read whether the skill affects its caster, the whole team, nearby allies, one element’s damage, or the enemy. Similar icons do not guarantee the same recipients.
- 3Choose the exact form and two skills
Use the selected form in the Team Planner. Keep the enabling skill when a support needs terrain or a mark.
- 4Test the whole sequence
Repeat the same encounter with the same investment. Compare successful rotations, not one lucky critical hit. Change one support slot at a time.
For worked examples, use Scorchhowl’s EP burst and Magmarex’s Fire-stack carry. Their core/flex labels identify the build’s foundation and the slots you can replace by job.
Fit five possible jobs into four slots

DPS
- 31
- in the roster
Spend the burst window. What good play looks like: Enters with EP, buffs and the correct matchup ready. Common mistake: Casting setup skills until the carry reaches BREAK empty.
BREAK
- 26
- in the roster
Open the target’s BREAK state. What good play looks like: Builds the meter efficiently without consuming the carry’s resources. Common mistake: Choosing a breaker whose attack element is resisted.
Support
- 18
- in the roster
Multiply a specific plan. What good play looks like: Buffs the correct element, attack type or combat state at the right time. Common mistake: Adding a famous buffer whose condition never matches the carry.
REGEN
- 10
- in the roster
Restore EP and sustain the cycle. What good play looks like: Makes the second rotation possible instead of only improving the opener. Common mistake: Treating EP as unlimited because the first test starts full.
Heal
- 7
- in the roster
Protect uptime and recover mistakes. What good play looks like: Keeps the team attacking and stabilizes long encounters. Common mistake: Dropping sustain for paper damage, then spending the window dodging.
Choose the carry before the teammates

- 1Pick the creature you want to pilot
A favorite with a clear damage loop is a better foundation than four unrelated high-tier picks. Record its skill elements, damage types and largest EP costs.
- 2Name the burst condition
Decide what must be true: target in BREAK, puddles placed, repeated skill stacks, low target HP, full EP or another kit-specific state.
- 3Find the matching Break partner
Prefer a breaker that attacks the encounter effectively and can open the meter without stealing the carry’s burst resources.
- 4Add the correct amplifier
Read every Support effect literally. “Electric damage,” “normal attacks” and “damage during BREAK” are three different promises.
- 5Fund the loop
Add Regen if the team cannot repeat its setup. A training-room opener that collapses on cycle two is not a finished team.
- 6Decide how much safety is required
Use Heal when survival or uninterrupted uptime outweighs a second amplifier. Replace it only after the encounter is consistently stable.

Use the team planner to compare roles and elements, then open each linked Aniilog page for the exact skill wording. The tier list is a tie-breaker between candidates for the same job, not a substitute for a rotation.
Separate creature element from skill element
Aniimo has nine elements, but damage follows the element printed on the move being used. A creature’s native element organizes identity and defensive matchup; it does not automatically recolor every attack. Inspect the individual skill and its element tooltip before concluding that an off-element move will receive a team buff.
| Check | Question | Decision |
|---|---|---|
| Enemy matchup | Is this move 1.6×, 1× or 0.625× into the current target? | Prefer the super-effective move; avoid building a rotation around resistance. |
| Support wording | Does the effect name an element, skill type, normal attack or state? | Only count it if the carry’s planned casts meet the literal condition. |
| Breaker matchup | Can the breaker pressure the meter without resisted damage? | Change the breaker or its move before replacing the carry. |
| Second coverage | What defeats the carry’s bad matchup? | Reserve a flex slot for a different effective attacking element. |
Run the four-phase rotation
- 1
Prime
Active jobs: Regen · long-duration Support. Goal: build EP, fields, marks and any persistent team effect. Leave the phase when the carry has enough resources for its planned burst.
- 2
Pressure
Active jobs: Break · safe off-field damage. Goal: move the meter close to opening without triggering it too early. Leave the phase when one short breaker sequence will create BREAK.
- 3
Buff
Active jobs: Short-duration Support. Goal: apply the narrowest matching effects last. Leave the phase when every required icon is active and still has useful duration.
- 4
Burst
Active jobs: Break then DPS. Goal: open BREAK and immediately spend the carry’s strongest sequence. Leave the phase when the window ends or the next high-value cast would land too late.
For exact damage multipliers and EP language, continue into the combat damage loop; its worked rotations cover Grass and Water in full.


Four practical team templates
Comfort story team
- DPS
- BREAK
- REGEN
- Heal
- Swap options
- Replace Heal with matching Support only after the route is stable.
- Use it when
- Learning bosses, exploring or fighting above your comfort level.
Fast farm team
- DPS
- BREAK
- REGEN
- matching Support
- Swap options
- Replace Support with Heal if mistakes interrupt the farm.
- Use it when
- Known encounters where survival is already consistent.
Boss progression team
- DPS
- BREAK
- REGEN
- Heal
- Swap options
- Replace Heal or Regen only when the encounter stops testing that job.
- Use it when
- A long fight exposes meter, EP and sustain problems across several cycles.
Three-element challenge roster
- DPS
- BREAK
- Regen/Support
- coverage
- Swap options
- Rebuild the four slots for each elemental lane rather than carrying three simultaneous cores.
- Use it when
- Holo Battle Simulator restrictions divide stages by elemental answer.
Worked elemental cores
Electric burst planner
- Order and purpose
- Use Lightning Surge and Nimbi Burst before Blazen opens BREAK; Fulmintis then spends the window with Lightning Blade Storm. Replace Turbo with Gracewing when healing is the limiting job.
Grass setup planner
- Order and purpose
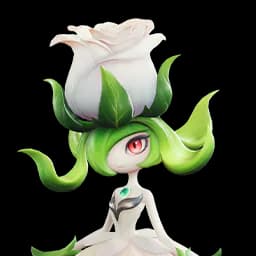
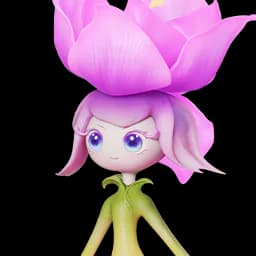
- Leafy uses Vitality Blooms for EP, Melloblum applies Thorny Blessing, and Irisal carries the prepared Grass window. The fourth slot must supply Break or Heal for the encounter.
Water field planner
- Order and purpose
- Erlath uses Bubbles and Crazy Bubbles to restore EP and buff Water; Sherro places puddles with Hydro Roll and converts them with Torrent Slam. Fill the last two slots with Break plus Support or Heal.














Cover more elements with fewer trained teams
Build a reusable support pool, then train the next carry only for a matchup your current attackers handle poorly. Four attack elements can give a super-effective answer to every single element, but dual types, encounter rules and the skills you equip still decide the real result.
| Attack element | Super-effective against single types | Example carry |
|---|---|---|
| Dark | Lightning, Grass, Light | Stellarys or Pawney |
| Light | Dark, Wind | Helion or Lunara |
| Grass | Earth, Water | Irisalis or Thornblade |
| Earth | Fire, Ice | Grizbo |


Do not budget pact or skill-upgrade transfers from a training-profile promise. Preview what changes on both Aniimo, then check their equipped skills and Held Items again. Keep a useful trained attacker until the replacement can repeat its job.
Fix the first failed job

| Symptom | Missing job | First change |
|---|---|---|
| The carry is empty on cycle two. | Regen or resource discipline | Add Regen, remove low-value setup casts or delay the Ultimate. |
| Buffs expire before the damage lands. | Timing | Apply the shortest Support effect immediately before the final Break hit. |
| The meter barely moves. | Compatible Break | Change the breaker or use a non-resisted Break move. |
| The team dies while swapping. | Heal, positioning or control | Add sustain and place fields where the target will stop, not where it began. |
| Damage is still resisted. | Coverage | Use the type chart and bring a second carry or alternate move. |
| The buff icon appears but damage barely changes. | Condition match | Re-read whether the effect amplifies the carry’s actual element and attack type. |
Frequently asked
What roles should every Aniimo team have?
Start with DPS and Break, then add Regen plus either matching Support or Heal. The final slots cover a bad elemental matchup or a specific encounter mechanic.
Do all four team members need the same element?
No. Supports may be off-element when their exact skill effects match the carry. What matters is the element on each damaging move and the literal condition on each buff.
When should I use a healer instead of another support?
Use Heal whenever survival, swap safety or uninterrupted uptime is the bottleneck. Replace it with more offense only after the same encounter is consistently stable.
What is the correct Aniimo rotation?
Prime EP and persistent effects, pressure the BREAK meter, apply short buffs, use the final Break hit, then spend the DPS carry’s strongest sequence inside the window.